As a plumbing expert, I know that removing an old bathtub faucet can seem like a daunting task. But fear not! With a few simple steps, you’ll have that outdated fixture out in no time.
So grab your wrench and get ready to say goodbye to that leaky faucet and hello to a sleek new upgrade. In this article, I’ll guide you through the process, providing clear and concise instructions along the way.
Let’s dive in and make your bathroom renovation dreams a reality!
Key Takeaways
- Identify the type of faucet (compression, ball, cartridge, or disk)
- Use the appropriate tools to remove the faucet
- Shut off the water supply before removing the faucet
- Inspect for any damage or corrosion on the old faucet

Dual-Flush Actuator Plate for Concealed Cisterns Jet Black Gloss Compatible with 115.770.DW.5 Sigma01 Wall Mount Toilets Series
Color:Jet Black, Gloss; Material: High-quality molded plastic
As an affiliate, we earn on qualifying purchases.
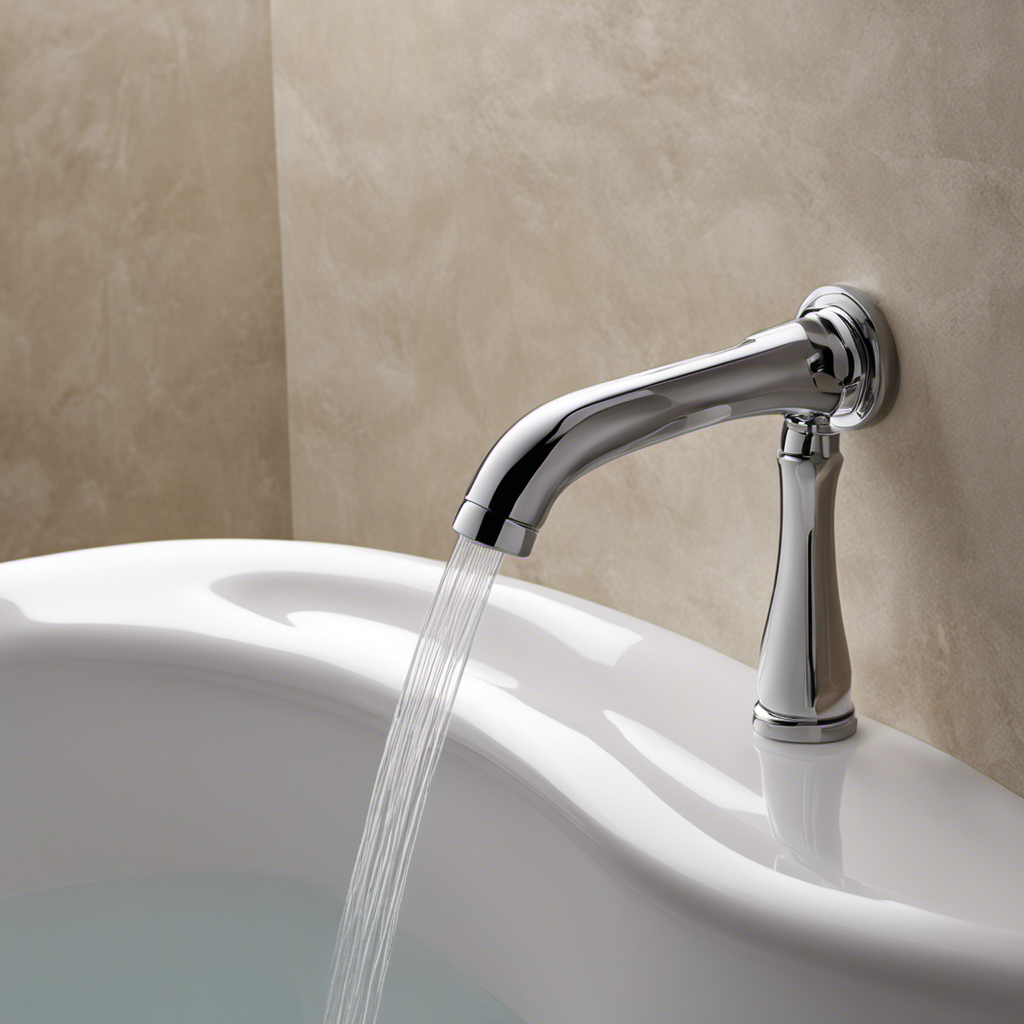
Assessing the Faucet Type
Before you can start removing the old bathtub faucet, it’s important to assess the type of faucet you have. Assessing faucet compatibility is crucial to ensure that you have the right tools and materials for the job.
Start by identifying the type of faucet you have, whether it’s a compression faucet, ball faucet, cartridge faucet, or disk faucet. Each type requires different removal techniques, so it’s essential to know which one you’re dealing with.
Additionally, take the time to troubleshoot common faucet issues, such as leaks, low water pressure, or difficulty in turning the handles. Understanding these issues will help you address any underlying problems during the removal process.

Banhey Dual Flush Actuator Plate, Compatible with Geberit 115.770.46.5. Replacement Parts for Concealed Cistern Toilet Repair (White)
Exquisite Appearance and Multiple Color Options of Toilet Tank Parts: The dual-flush actuator plate in the toilet tank...
As an affiliate, we earn on qualifying purchases.
Gathering the Necessary Tools
When it comes to removing an old bathtub faucet, having the right tools is essential for a successful and efficient process. As a plumbing expert, I understand the importance of proper tool selection and the impact it can have on the overall outcome.
In this discussion, I will guide you through the essential removal tools you’ll need and provide step-by-step instructions on how to choose the right tools for the job.
Essential Removal Tools
You’ll need a few essential tools to remove the old bathtub faucet. Here is a list of the tools you will need:
| Tools | Quantity | Description |
|---|---|---|
| Adjustable wrench | 1 | Used to loosen and tighten nuts |
| Screwdriver | 1 | Used to remove screws and pry off any covers |
| Allen wrench | 1 | Used to remove small set screws |
| Plumber’s tape | 1 roll | Used to create a watertight seal when reassembling |
Removing rust and replacing parts can be a challenging task, but with the right tools and techniques, it can be done successfully. Start by turning off the water supply to the bathtub and draining any remaining water. Use the adjustable wrench to loosen and remove the nuts holding the faucet in place. If there are any screws or set screws, use the appropriate screwdriver or Allen wrench to remove them. Once the old faucet is removed, inspect it for any signs of rust or damage. If necessary, replace any worn or corroded parts before installing the new faucet. Remember to use plumber’s tape to ensure a tight and leak-free fit.
Proper Tool Selection
To properly select the right tools, make sure you have an adjustable wrench, a screwdriver, an Allen wrench, and plumber’s tape. These tools are essential for removing an old bathtub faucet effectively and efficiently.
As a plumbing expert, I understand the importance of tool maintenance to ensure their optimal performance. Before starting the removal process, it is crucial to inspect and clean your tools. Check for any rust or damage and lubricate moving parts if necessary.
Additionally, troubleshooting tips can come in handy if you encounter any difficulties during the removal. For instance, if the faucet is stuck, applying heat with a hairdryer can help loosen it.

ThermoMate CZ422NG Natural Gas Tankless Water Heater, Up to 5 GPM 113,000 BTU, High Efficiency Instant On-Demand Hot Water for Whole House Use, Indoor Residential Water Heater with Multi-Point Heating
[Max 5 GPM & 113,000 BTU] - The ThermoMate instant hot water heater can supply two showers simultaneously,...
As an affiliate, we earn on qualifying purchases.
Shutting Off the Water Supply
First, make sure you’ve shut off the water supply before attempting to remove the old bathtub faucet. Assess water pressure to determine the appropriate steps. Locate the water valve, usually near the bathtub or in the basement, and turn it clockwise to shut off the water supply. This step is essential to prevent water leakage or damage during removal. Once the water is turned off, proceed with confidence. Remember to use caution and wear protective gloves for safety. Now that the water supply is secured, move on to the next step of removing the handle and trim. This is an important part of the process to access the faucet assembly.

NEW Rinnai RX199iN Condensing Smart Sense Natural Gas or Propane Tankless Water Heater, Indoor or Outdoor Water Heater, Up to 11.1 GPM, 199,000 BTU
One Model, Anywhere: This Rinnai tankless water heater is installable indoors or outdoors thanks to our new Versa...
As an affiliate, we earn on qualifying purchases.
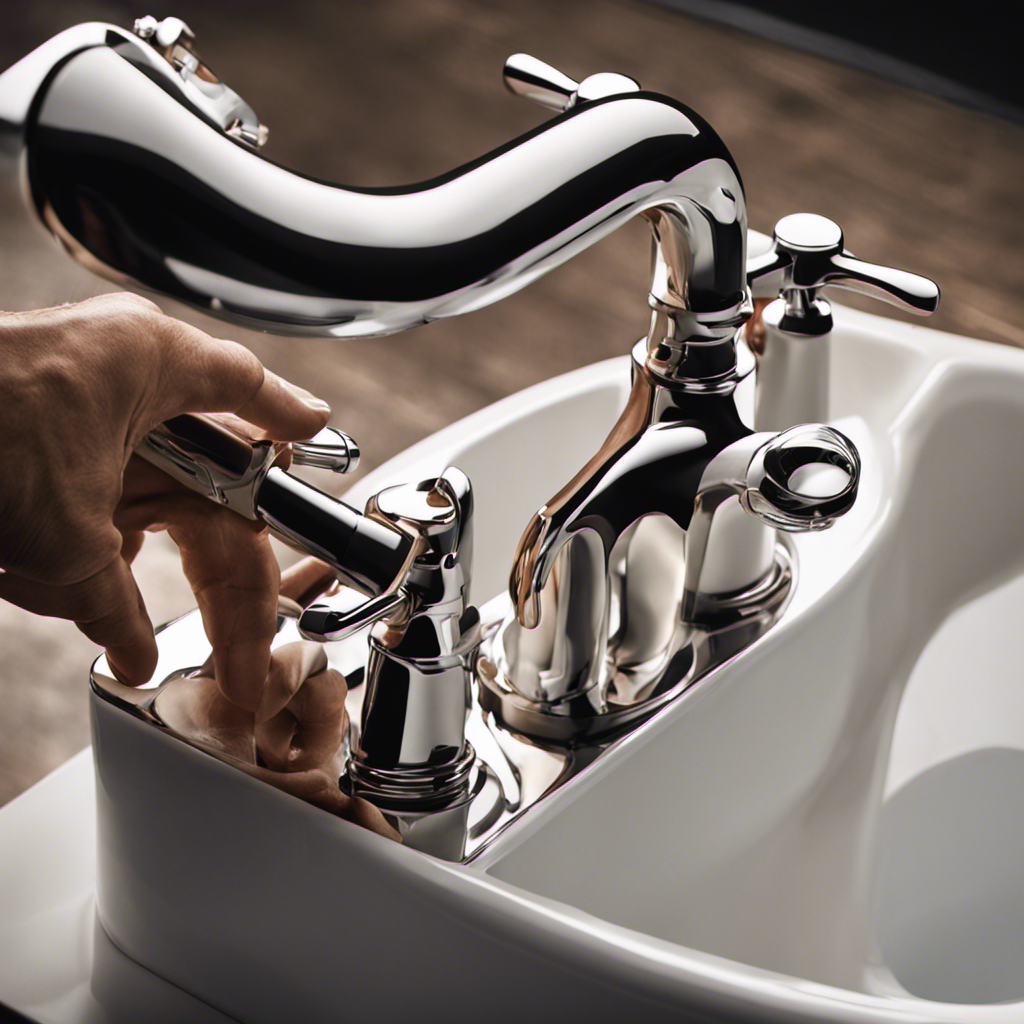
Removing the Handle and Trim
After shutting off the water supply, it’s time to tackle removing the handle and trim. This is an important step in the process of removing an old bathtub faucet, as it allows access to the cartridge or valve that controls the flow of water.
To properly remove the handle and trim, follow these step-by-step instructions:
-
Start by locating the set screw on the handle. This is usually located underneath a decorative cap or button.
-
Use a screwdriver or Allen wrench to loosen and remove the set screw.
-
Once the set screw is removed, gently pull the handle away from the wall to expose the trim plate.
-
Use a screwdriver to remove any screws securing the trim plate to the wall.
-
Carefully pry off the trim plate using a flathead screwdriver or trim removal tool.
By following these steps, you can successfully remove the handle and trim of an old bathtub faucet. However, it’s important to troubleshoot common issues that may arise during this process. For instance, if the set screw is stuck or stripped, you may need to use penetrating oil or replace the screw altogether. Additionally, if the trim plate is difficult to remove, be cautious not to damage the surrounding wall or tile.
Taking these precautions and troubleshooting any issues will ensure a smooth and successful removal process.
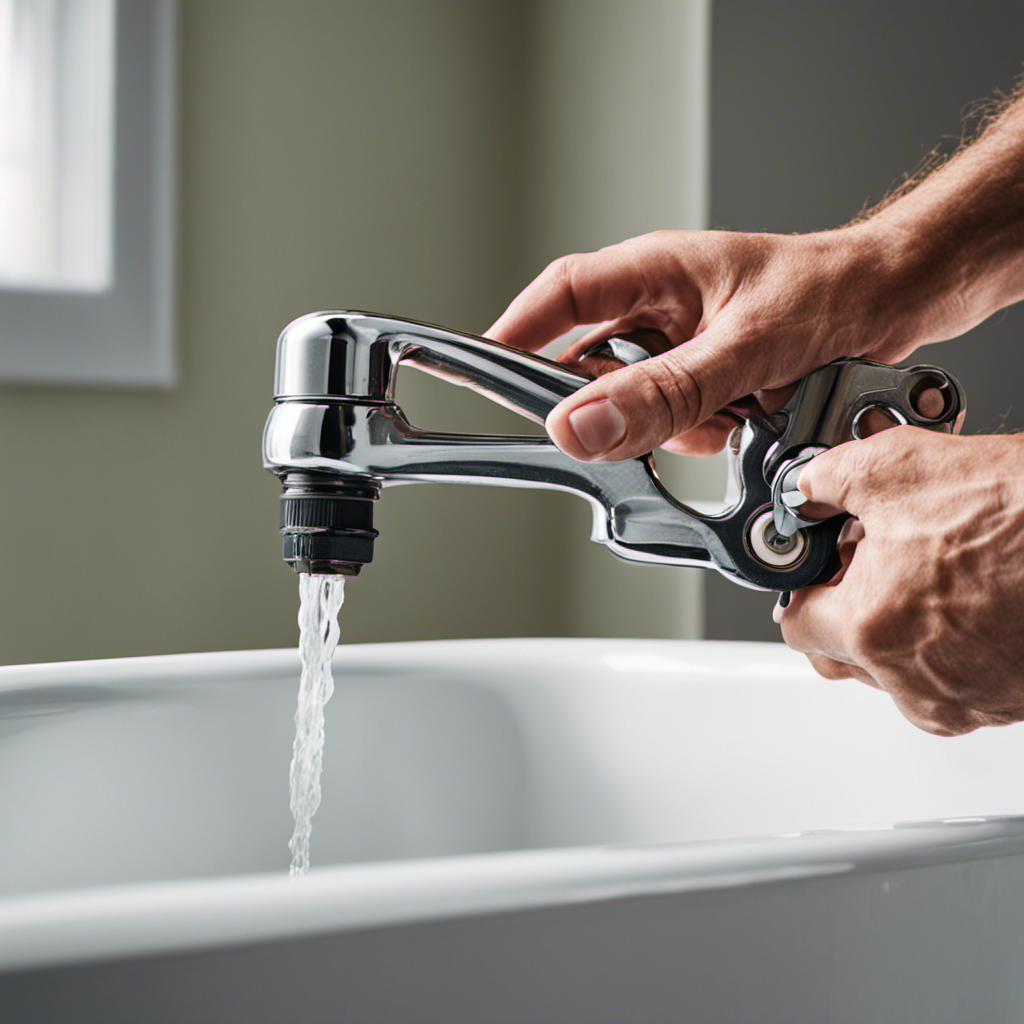
Detaching the Old Faucet
Once the handle and trim are detached, you can proceed with disconnecting the old faucet. To ensure a successful removal, it is important to follow the proper detaching technique and take necessary safety precautions.
First, locate the water supply valves and turn them off to prevent any water flow. Next, use a wrench to loosen the nuts connecting the faucet to the water supply lines. Be careful not to damage any surrounding pipes or fittings.
Once the nuts are loosened, carefully lift the old faucet out of the installation area. It may be helpful to have a bucket or towel nearby to catch any remaining water. Remember to wear protective gloves and eyewear throughout the process to avoid any potential injuries.
With the old faucet removed, you can now move on to cleaning and preparing the installation area for the new faucet.
Cleaning and Preparing the Installation Area
Before installing a new bathtub faucet, it’s crucial to ensure that the installation area is free from debris and obstructions.
Begin by clearing away any dirt, dust, or loose materials that may interfere with the installation process.
Next, measure the space where the new faucet will be placed and secure it properly to prevent any movement or instability.
Taking these steps will ensure a smooth and successful installation, providing a reliable and functional bathtub faucet for years to come.
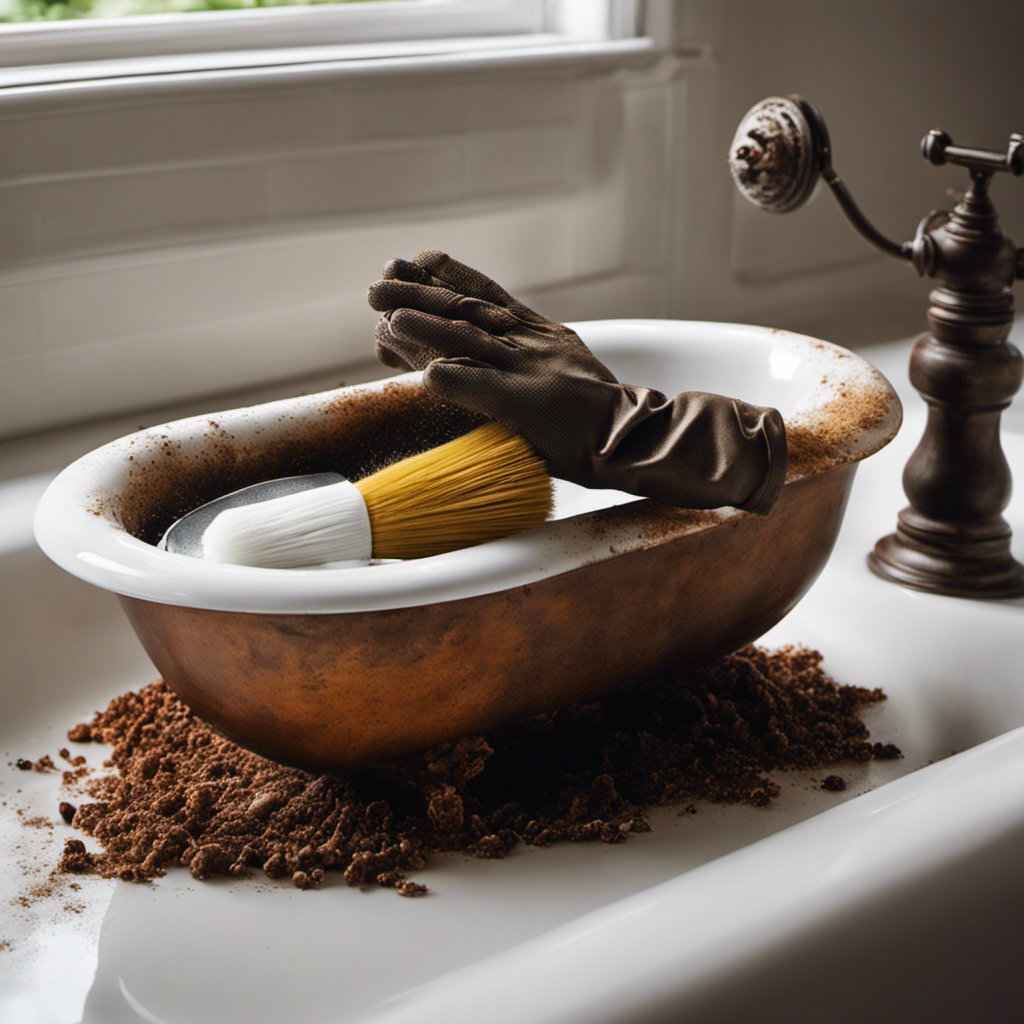
Clearing Debris and Obstructions
To remove debris and obstructions from the old bathtub faucet, you’ll need to use a small brush or toothpick to gently clean out any buildup. This step is crucial in ensuring the smooth operation of your faucet and preventing clogged drains in the future.
Take your brush or toothpick and carefully insert it into the faucet openings, removing any dirt, grime, or mineral deposits that may be causing blockages. Be thorough in your cleaning, paying attention to every nook and cranny.
Once you have cleared out the debris, run water through the faucet to flush out any remaining residue. By regularly clearing out these obstructions, you can maintain the optimal functioning of your faucet and prevent future problems.
Measuring and Securing Space
After measuring the space, secure the new fixture in place with screws or brackets.
Proper measurement techniques are crucial to ensure the new fixture fits securely and functions properly. Begin by measuring the distance between the hot and cold water supply pipes, as well as the distance from the wall to the center of the tub spout. This will help determine the appropriate size and placement of the new faucet.
Once the measurements are taken, select the appropriate securing methods. For screws, use anchors if necessary to provide additional support. Brackets can also be used to secure the fixture in place.
It is important to follow the manufacturer’s instructions and use the recommended securing methods to ensure a secure and stable installation.
Installing the New Faucet
Once you’ve purchased the new faucet, it’s time to start installing it. Follow these step-by-step instructions to ensure a successful installation:
-
Prepare the area: Before installing the new faucet, make sure the water supply is turned off. This can usually be done by shutting off the main water valve. Also, remove any old caulk or debris from the installation area.
-
Install the new hardware: Begin by attaching the new faucet to the sink or bathtub. Use the appropriate tools to secure it tightly, ensuring there are no leaks. Connect the water supply lines and tighten them with a wrench. Don’t forget to apply plumber’s tape to the threads to prevent leaks.
-
Troubleshoot common installation issues: If you encounter any issues during the installation process, such as leaks or difficulty connecting the water supply lines, refer to the manufacturer’s instructions or consult a professional plumber. They will be able to provide guidance and solutions to common problems.
Conclusion
In conclusion, removing an old bathtub faucet requires careful assessment of the faucet type and gathering the necessary tools.
It is important to shut off the water supply before removing the handle and trim.
Detaching the old faucet should be done with precision and caution.
Afterward, thoroughly clean and prepare the installation area before installing the new faucet.
This process is similar to a surgeon delicately removing a tumor, ensuring every step is precise and thorough.
By following these detailed instructions, you can successfully remove your old bathtub faucet like a professional plumbing expert.