So, you’ve noticed a crack in your plastic bathtub. Don’t worry, I’ve got you covered! In this step-by-step guide, I’ll show you how to fix that crack and have your bathtub looking good as new.
We’ll start by assessing the crack and gathering the necessary materials.
Then, we’ll prepare the surface and apply the patching material.
After a bit of sanding and smoothing, we’ll finish it off with some final touches and maintenance tips.
Let’s dive in and get that crack fixed!
Key Takeaways
- Carefully inspect the crack to determine its size, location, and signs of damage.
- Clean the crack and surrounding area with mild detergent and warm water.
- Choose a high-quality adhesive specifically designed for plastic repairs.
- Sand the area around the damaged spot with fine-grit sandpaper in a circular motion.
Assessing the Crack
Before you can fix the crack, you’ll need to assess the extent of the damage. Start by carefully inspecting the crack to determine its size and location. Is it a hairline crack or a larger one? Is it near the surface or deeper into the plastic? Evaluating the damage will help you determine the appropriate repair method.
Next, clean the crack and the surrounding area with a mild detergent and warm water to remove any dirt or debris. This will ensure a better bond when you apply the repair material.
Once the crack is clean, you can proceed with determining the repair method based on the size and depth of the crack.
Gathering the Necessary Materials
To start, you’ll need to gather all the materials necessary for the repair.
First and foremost, you’ll need a high-quality adhesive that is specifically designed for plastic repairs. When choosing the right adhesive, it’s important to consider the type of plastic your bathtub is made of. Different adhesives work better with certain types of plastics, so make sure to do your research or consult a professional if you’re unsure.
Additionally, you’ll need a clean cloth or sponge, sandpaper or a sanding block, a putty knife or scraper, and a plastic repair kit if you prefer a more comprehensive solution.
Before you begin the repair, it’s crucial to take proper safety precautions. Make sure to wear protective gloves and safety goggles to avoid any potential injuries.
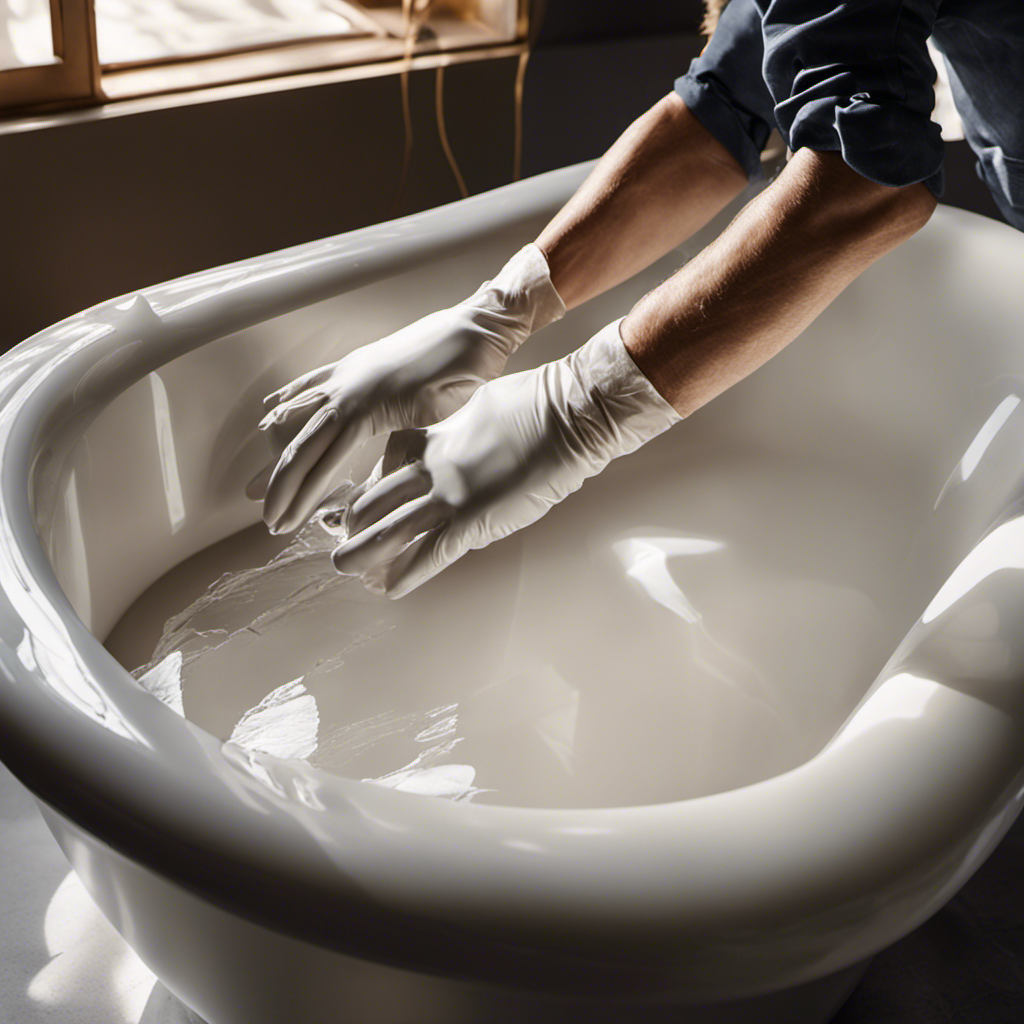
Preparing the Surface
Once you’ve gathered all the necessary materials, it’s important to prepare the surface before starting the repair. Preparing the surface involves cleaning the bathtub thoroughly to ensure proper adhesion of the patching material.
Here are the step-by-step instructions for preparing the surface:
- Start by removing any loose debris or dirt from the crack using a soft brush or cloth.
- Mix a solution of warm water and mild dish soap in a bucket.
- Dip a sponge or cloth into the soapy water and gently scrub the area around the crack to remove any grease or grime.
- Rinse the area with clean water and wipe it dry with a clean cloth.
- Inspect the surface for any remaining stains or residue, and repeat the cleaning process if necessary.
- Once the surface is clean and dry, it is ready for the next step of applying the patching material.
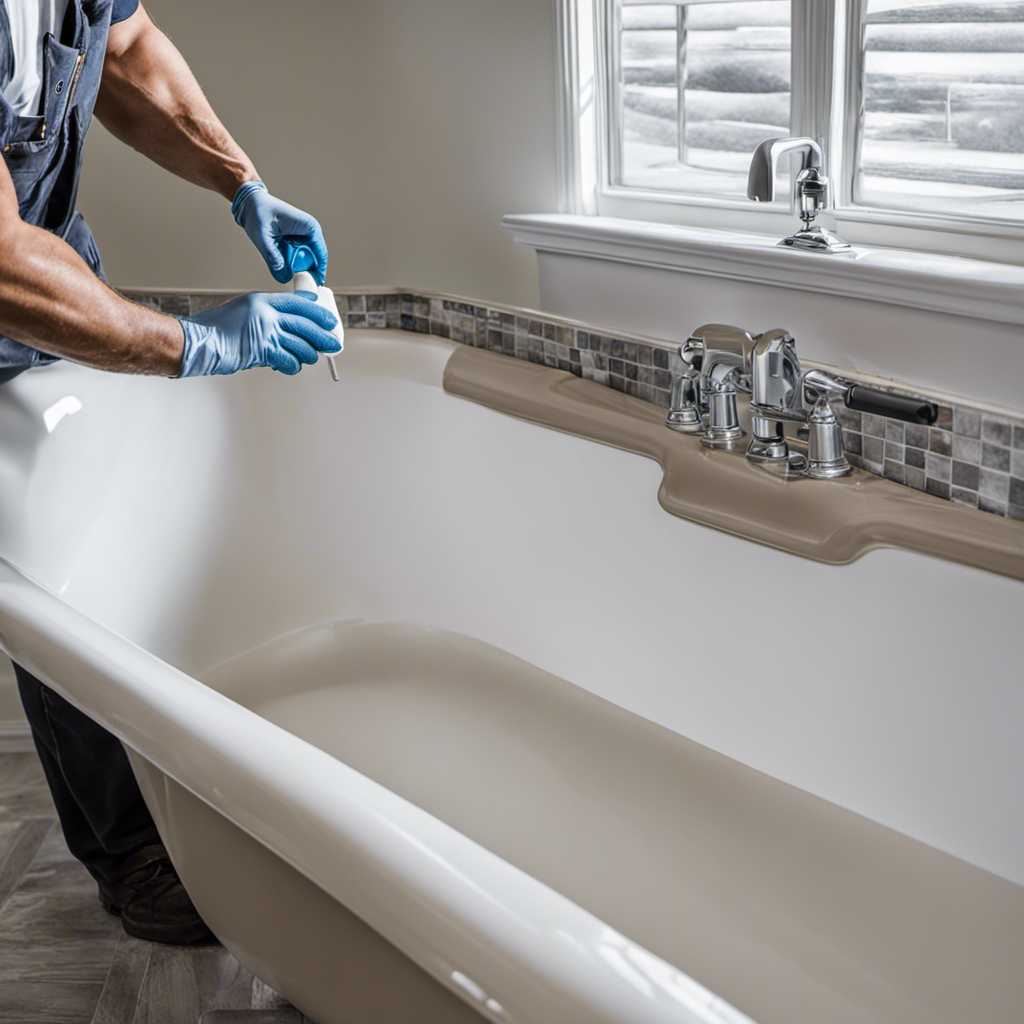
Applying the Patching Material
After preparing the surface, it’s time to apply the patching material to fix the damaged area. Here’s a step-by-step guide on how to do it:
-
Choose the right patching material: Different types of plastic bathtubs require different patching techniques. Make sure to select a patching material that is compatible with your specific bathtub material.
-
Clean the area: Before applying the patching material, thoroughly clean the cracked area with a mild detergent and water. This will ensure proper adhesion of the patching material.
-
Apply the patching material: Use a putty knife or a plastic scraper to apply the patching material to the crack. Make sure to fill the crack completely and smooth out the surface.
-
Let it dry: Allow the patching material to dry completely according to the manufacturer’s instructions. This usually takes a few hours or overnight. Avoid using the bathtub until the patch has fully cured.
Remember to avoid these common mistakes when applying patching material to a plastic bathtub crack:
-
Rushing the process: Take your time to properly clean and apply the patching material to ensure a long-lasting repair.
-
Using the wrong patching material: Using an incompatible patching material can result in a weak bond or even further damage to the bathtub.
-
Neglecting to sand the surface: If the crack is deep, it’s important to sand the area around it to create a smooth surface for the patching material to adhere to.
-
Overfilling the crack: Applying too much patching material can cause it to bulge or crack, so make sure to fill the crack without excess.
Sanding and Smoothing the Repair
Sand the area around the damaged spot to create a smooth surface for the patching material to adhere to. Begin by using a fine-grit sandpaper and gently sand the surface in a circular motion. Be careful not to apply too much pressure, as this may further damage the bathtub. Continue sanding until the area feels smooth to the touch.
Once the sanding is complete, wipe away any dust or debris with a clean, damp cloth. This will ensure that the patching material adheres properly to the bathtub.
After sanding, it is important to seal the repaired area to prevent any future cracks or damage. There are various sealing methods available, such as using a bathtub sealant or applying a clear epoxy. These sealing methods will provide an extra layer of protection and help maintain the integrity of the repaired area.
With the sanding and sealing complete, it is time to move on to the finishing touches and maintenance tips.
Finishing Touches and Maintenance Tips
To add the finishing touches and maintain your bathtub’s appearance, simply apply a layer of glossy topcoat to protect the repaired area. This will not only ensure that the crack stays sealed, but also give your bathtub a polished and sleek look.
Here are some additional tips to prevent future cracks and to clean and maintain your repaired bathtub:
-
Preventing future cracks:
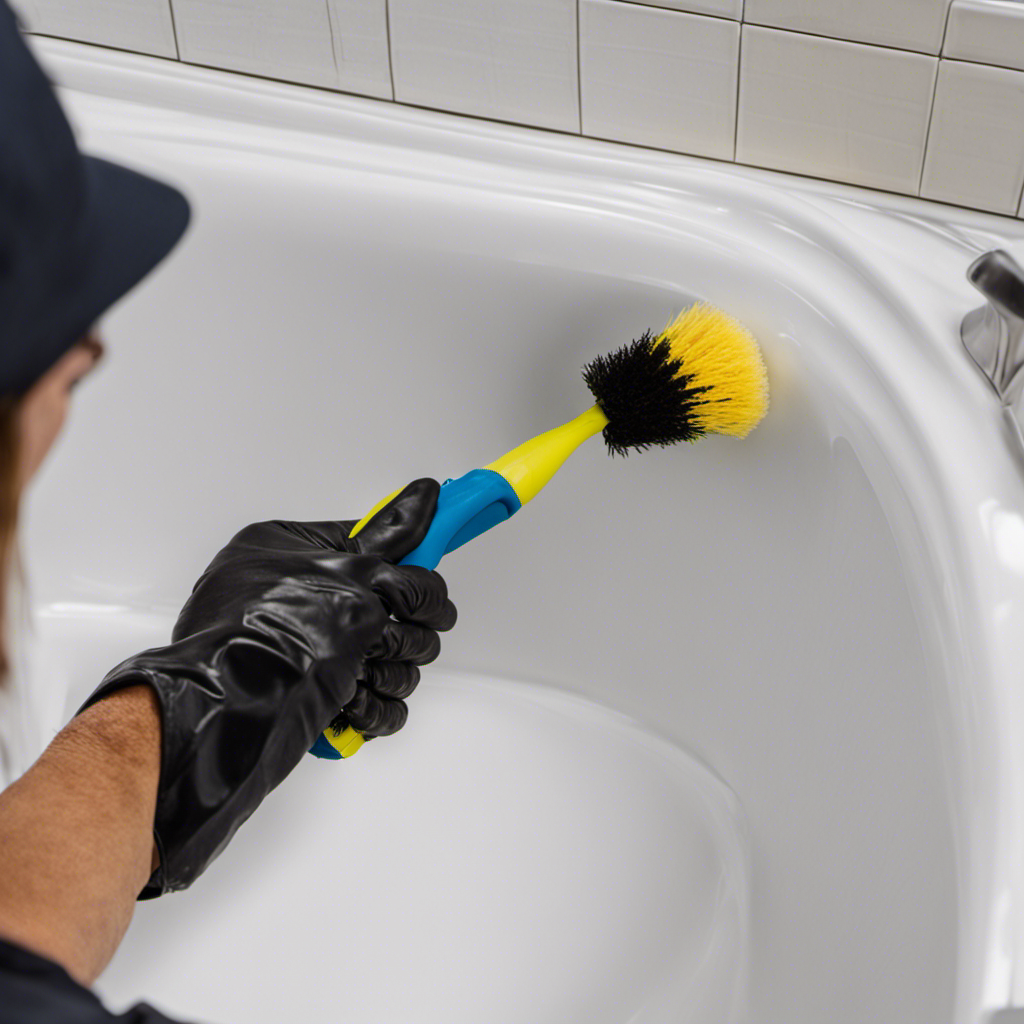
- Avoid using abrasive cleaners or scrub brushes that could damage the surface of the bathtub.
- Always use a non-slip mat or adhesive strips to prevent accidents and potential cracks from falls.
- Regularly inspect the bathtub for any signs of wear and tear, and address any issues promptly.
- Be cautious with heavy objects or sharp tools near the bathtub to prevent accidental damage.
-
Cleaning and maintaining the repaired bathtub:
- Use a mild, non-abrasive cleaner and a soft sponge or cloth to clean the surface.
- Rinse thoroughly after cleaning to remove any residue.
- Avoid using harsh chemicals or abrasive materials that may scratch the surface.
- Apply a layer of wax or sealant every few months to maintain the shine and protect the repaired area.
Frequently Asked Questions
Can I Use the Same Materials and Steps to Fix a Crack in a Fiberglass Bathtub?
Yes, you can use similar materials and steps to repair a crack in a fiberglass bathtub. The process involves cleaning the area, applying a fiberglass repair kit, and sanding it down for a smooth finish. Regular maintenance is important to prevent further cracks.
How Long Will the Repair Last Before I Need to Fix the Crack Again?
I’ll tell you how to prevent cracks in a plastic bathtub and signs that indicate a crack needs repair. Trust me, follow my detailed, step-by-step instructions and you won’t need to fix that crack again anytime soon!
Can I Still Use the Bathtub While the Crack Is Being Repaired?
Yes, you can still use the bathtub while the crack is being repaired. However, it is recommended to avoid using it until the repair is complete. In the meantime, consider alternative bathing options.
Will the Patching Material Be Visible After the Repair?
After patching the crack in my plastic bathtub, I made sure to use patching techniques for invisible repairs. I carefully chose a patching material that matched the color of the bathtub, so the repair is hardly noticeable.
Are There Any Special Precautions I Need to Take When Cleaning the Bathtub After the Repair?
When cleaning the bathtub after the repair, it’s important to take some precautions. Avoid using abrasive cleaners that can scratch the surface. Instead, opt for mild cleaners and a soft cloth or sponge. Regular maintenance will help prolong the life of the repair.
Conclusion
Well, congratulations on successfully fixing that pesky crack in your plastic bathtub! Now you can finally enjoy your relaxing bubble baths without the fear of flooding your bathroom.
Remember, it’s always important to assess the crack, gather the necessary materials, prepare the surface, apply the patching material, sand and smooth the repair, and finish it off with some stylish touches.
And don’t forget to follow the maintenance tips to ensure your bathtub stays crack-free for years to come.
Happy bathing, my fellow DIY experts!