Have you ever stared at that unsightly crack in your bathtub and wondered how on earth you’re going to fix it? Well, fear not, because this article is here to save the day!
In just a few simple steps, we’ll show you how to transform your cracked bathtub into a smooth, pristine surface that will make you feel like you’re bathing in luxury.
So grab your tools and get ready to become a bathtub repair expert in no time!
Key Takeaways
- Assess the crack to determine its size, depth, and potential structural risks before deciding on the appropriate repair method.
- Clean the crack thoroughly with mild detergent and water before applying a waterproof filler.
- Use a putty knife to apply the filler and smooth it out, allowing it to dry completely before sanding and applying a waterproof sealant.
- Consider seeking professional repair services for a flawless and seamless repair, especially for specialized bathtubs like porcelain or fiberglass.

Tub Repair Kit White, Tub Chip and Bathtub Repair Kit for Enamel, Fiberglass, Acrylic, Porcelain, Patch and Repairs Chips, Crack, Scratches, Rust, Holes on Tubs, Toilet, Sink, Shower, Tray in Bathroom
- Instantly Restores Glossy White Finish: Covers chips, cracks, and scratches seamlessly
- Strong, Durable Coverage: Resists scratches, rust, and high temperatures
- Waterproof, Stain-Resistant Finish: Prevents yellowing and stains over time
As an affiliate, we earn on qualifying purchases.
As an affiliate, we earn on qualifying purchases.
Assess the Crack
Now, take a closer look at the crack to assess the severity and determine the best course of action.
Assessing crack severity is crucial in determining the appropriate repair method for your bathtub. Start by examining the length, width, and depth of the crack. Is it a hairline crack or a larger, more significant fissure?
Next, inspect the surrounding area for any signs of water damage or leaks. This will help you understand if the crack is just cosmetic or if it poses a structural risk. Additionally, check if the crack is stable or if it extends further beneath the surface.
Understanding these factors will guide you in deciding whether a simple patch or a more involved repair is necessary.
With the crack assessed, you can now gather the necessary tools and materials to fix it effectively.
Gather the Necessary Tools and Materials
First, make sure you have all the tools and materials you’ll need for the job. To properly repair a crack in your bathtub, you’ll need the following:
-
Safety equipment: Protect yourself by wearing gloves, safety goggles, and a dust mask. This will prevent any injuries and keep you safe during the repair process.
-
Choosing the right bathtub filler: Select a filler that is specifically designed for bathtub repairs. Look for a product that is waterproof, durable, and can withstand the constant exposure to water.
-
Proper bathtub crack repair technique: Start by cleaning the crack with a mild detergent and water. Then, use a putty knife to apply the filler into the crack, smoothing it out as you go. Allow the filler to dry completely before sanding it down and applying a waterproof sealant.
Following these steps and using the right materials will ensure a successful and long-lasting repair for your bathtub crack.
Prepare the Bathtub Surface
Before you begin repairing the crack in your bathtub, it’s crucial to properly prepare the surface. This involves cleaning and sanding the area around the crack to ensure a smooth and adhesive-ready surface.
Additionally, choosing the right filler is essential for a successful repair. Different fillers are suitable for different types of cracks.
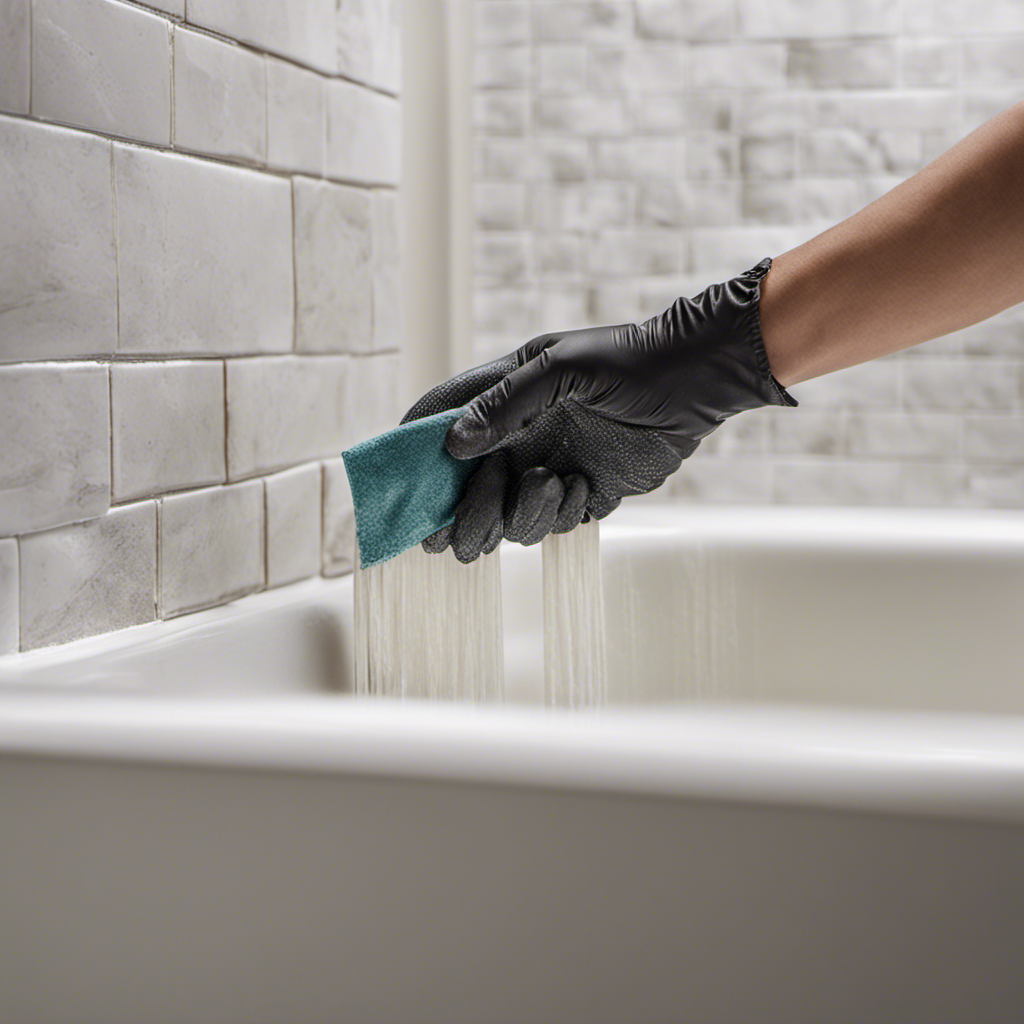
Cleaning and Sanding
To start cleaning and sanding the crack in your bathtub, grab a sponge and some sandpaper. Follow these steps to ensure a thorough cleaning and smooth surface for the repair:
-
Dampen the sponge with warm water and apply a mild cleaning solution. Scrub the crack gently to remove any dirt, grime, or soap residue. This will help the filler adhere better to the surface.
-
Rinse the area with clean water and dry it thoroughly using a towel. Any moisture left on the surface can interfere with the adhesion of the filler.
-
Once the surface is clean, use sandpaper to smooth the edges of the crack. Start with a coarse grit sandpaper to remove any rough edges, and then switch to a finer grit to create a smooth finish.
Choosing the Right Filler
Once you have finished cleaning and sanding, you can now choose the right filler for the repair. When it comes to fixing a crack in your bathtub, there are several filler options available. Each filler has its own pros and cons, so it’s important to choose the best one for your specific situation.
One of the most common fillers used for bathtub repairs is epoxy. Epoxy fillers are durable and have excellent adhesive properties, making them ideal for fixing cracks. However, they can be quite expensive and may require a longer curing time.
Another option is a polyester filler. Polyester fillers are affordable and easy to work with. They dry quickly and can be sanded down easily, allowing for a smooth finish. However, they may not be as long-lasting as epoxy fillers.
Finally, there are acrylic fillers, which are a popular choice for minor repairs. They are easy to apply and dry quickly. However, they may not be as strong as epoxy or polyester fillers.
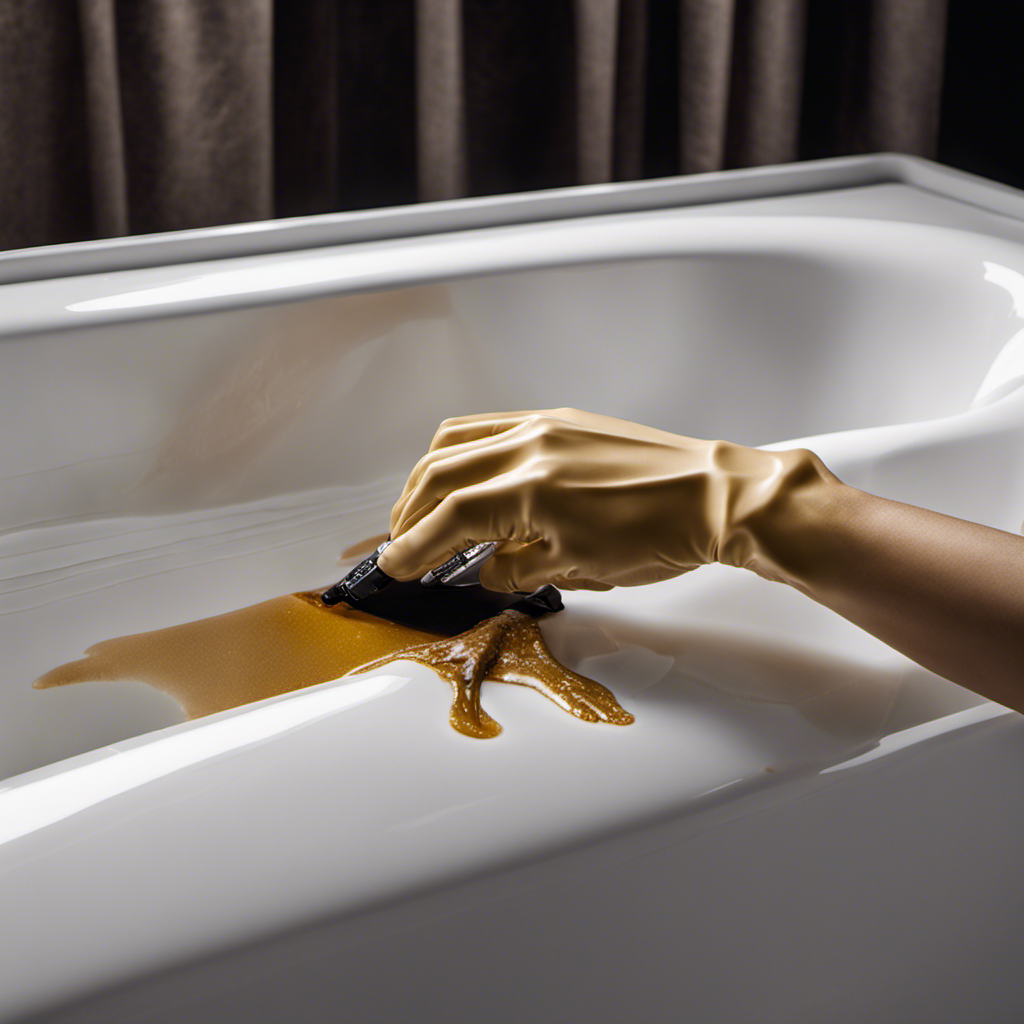
Applying the Repair Compound
When applying the repair compound, make sure to follow the instructions provided by the manufacturer. Repair compound application is a crucial step in fixing a crack in your bathtub. To help you achieve a successful repair, here are some tips:
-
Prepare the surface: Clean the crack thoroughly using a mild detergent and warm water. Rinse it off and let it dry completely.
-
Apply the compound: Using a putty knife, spread the repair compound evenly over the crack. Make sure to fill the crack completely, smoothing out any excess compound.
-
Smooth and blend: Once the compound is applied, use a damp cloth or sponge to smooth and blend it with the surrounding surface.
Troubleshooting common issues during repair compound application:
-
If the compound is not adhering properly, make sure the surface is clean and dry before applying.
-
If the compound shrinks after drying, apply an additional layer to fill any gaps.
Now that you’ve successfully applied the repair compound, let’s move on to the next step: applying a crack repair kit.
Apply a Crack Repair Kit
First, gather the crack repair kit and carefully follow the instructions to apply it on the bathtub crack. Crack repair techniques have come a long way, and using a crack repair kit is one of the most efficient methods to fix a crack in your bathtub.
These kits are designed to provide a durable and long-lasting solution. Start by cleaning the crack and removing any loose debris. Then, mix the repair compound according to the kit’s instructions. Apply the compound generously over the crack, making sure to fill it completely. Smooth out the surface with a putty knife and allow it to dry completely.
Once dry, sand the area lightly to ensure a smooth finish. Alternative bathtub repair methods may exist, but a crack repair kit offers a reliable and professional solution to fix your bathtub crack.
Sand and Smooth the Repaired Area
Now that you’ve successfully applied the crack repair kit and the repaired area is dry, it’s time to move on to the finishing touches.
These final steps are crucial in achieving a seamless bathtub repair that looks as good as new.
Start by sanding and smoothing the repaired area to ensure it blends in seamlessly with the rest of the surface.
Once you’ve achieved a smooth finish, it’s time to polish the repaired surface to give it a professional, glossy appearance.
Finishing Touches for Crack
To complete the crack repair, you’ll need to apply a layer of waterproof sealant. This will provide a protective barrier against water damage and ensure the longevity of your bathtub. Here’s what you need to do:
-
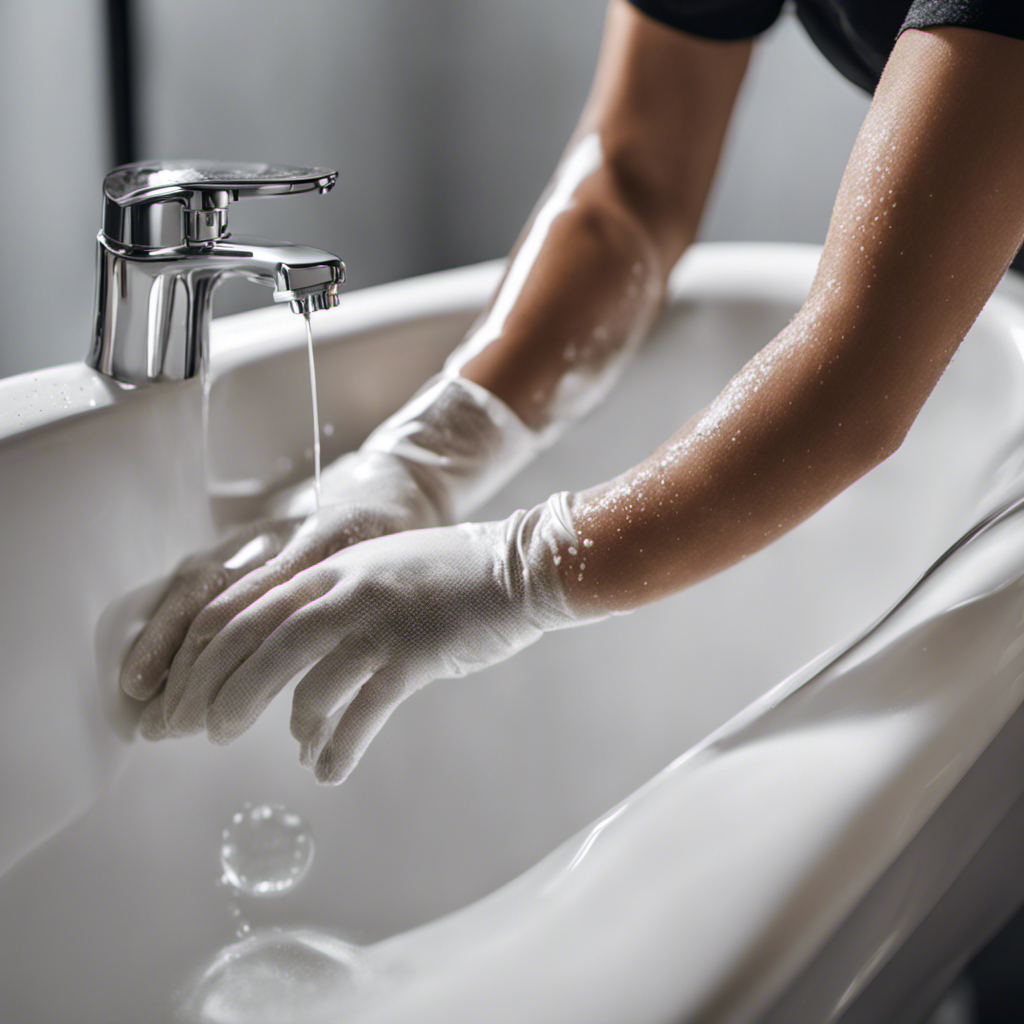
Clean the surface: Before applying the sealant, make sure the repaired area is clean and free of any debris. Use a mild detergent and a soft cloth to gently clean the surface. Rinse thoroughly and let it dry completely.
-
Apply the sealant: Using a caulking gun, carefully apply a thin layer of waterproof sealant over the crack. Start from one end and work your way to the other, making sure to fill the crack completely. Smooth out any excess sealant with a putty knife for a neat finish.
-
Let it cure: Allow the sealant to cure according to the manufacturer’s instructions. This usually takes a few hours, but it’s best to wait overnight to ensure it sets properly.
Achieving Seamless Bathtub Repair
If you’re unsure about your ability to complete a seamless repair on your bathtub, it’s always recommended to seek professional services. Achieving a seamless bathtub finish requires skill and expertise to ensure a flawless repair.
Professional repair services have the knowledge and experience to seamlessly repair any cracks or damages in your bathtub, leaving it looking as good as new. They understand the importance of attention to detail and use specialized techniques to achieve a smooth and seamless finish.
Polishing the Repaired Surface
You can achieve a smooth and polished finish on the repaired surface by using a high-quality polishing compound. Here are three polishing techniques and buffing methods to help you achieve the best results:
-
Start by applying a small amount of polishing compound onto a soft cloth or buffing pad. Make sure to use a compound that matches the material of your bathtub.
-
Using circular motions, gently rub the polishing compound onto the repaired surface. Apply consistent pressure and work in small sections to ensure even coverage.
-
After polishing the entire repaired area, wipe off any excess compound with a clean cloth. Then, use a separate cloth to buff the surface to a high shine. This will help blend the repaired area with the rest of the bathtub and create a seamless finish.
Prime and Paint the Bathtub
First, make sure to sand down the crack in your bathtub before priming and painting it. This is an essential step to ensure that the surface is smooth and the primer adheres properly.
When choosing the right primer for your bathtub, opt for one that is specifically designed for use on porcelain or fiberglass surfaces. These primers are formulated to provide excellent adhesion and durability.
Once the crack is sanded and cleaned, apply the primer evenly using a brush or roller. Allow the primer to dry completely before moving on to the next step.
After the primer has dried, you can begin painting the bathtub with a high-quality epoxy or acrylic paint. Apply multiple thin coats, allowing each coat to dry before applying the next. This will ensure a smooth and long-lasting finish.
Remember to follow the manufacturer’s instructions and recommendations for drying times and application techniques.
Seal and Waterproof the Crack
Now that you’ve successfully primed and painted your bathtub, it’s time to move on to the next step: sealing and waterproofing the crack. This is an essential part of the repair process as it ensures the longevity of the fix and prevents any further damage.
There are various sealing techniques you can use, but here are three common methods:
-
Caulk: Apply a bead of silicone caulk along the crack, making sure to fill it completely. Smooth the caulk with a caulk smoothing tool for a seamless finish.
-
Epoxy: Mix the epoxy according to the manufacturer’s instructions and apply it to the crack using a putty knife. Allow it to dry and sand it down until it is smooth and level with the surrounding area.
-
Fiberglass patch: Cut a piece of fiberglass cloth slightly larger than the crack. Apply a layer of epoxy over the crack, place the fiberglass cloth on top, and then apply another layer of epoxy. Smooth out any air bubbles and let it cure.
Test the Repaired Area
Once the sealing and waterproofing methods have been applied, it’s important to test the repaired area to ensure its durability and effectiveness.
Testing the durability of the crack repair is crucial to ensure that it will withstand the daily wear and tear of your bathtub. A visual inspection is an effective way to assess the quality of the repair. Look closely at the sealed and waterproofed area, checking for any signs of cracking, peeling, or flaking. Pay attention to the color and texture of the repaired section, ensuring that it matches the surrounding bathtub surface.
Run your fingers along the repaired area, feeling for any rough spots or inconsistencies. By conducting a thorough visual inspection, you can be confident in the durability and effectiveness of the crack repair.
Maintain and Prevent Future Cracks
To prevent future cracks, it’s essential to regularly maintain and inspect your bathtub. Here are some preventive measures you can take to keep your bathtub in top condition:
-
Clean regularly: Use a mild cleaner and a soft cloth to clean your bathtub regularly. This will help remove any dirt, grime, or soap scum that can weaken the surface of the tub and lead to cracks.
-
Avoid harsh chemicals: Harsh chemicals, such as bleach or abrasive cleaners, can damage the finish of your bathtub and make it more prone to cracking. Stick to gentle cleaning products that are specifically designed for use on bathtubs.
-
Handle with care: Be mindful of how you use your bathtub. Avoid dropping heavy objects or applying excessive force that could cause damage. Additionally, be cautious with the water temperature, as extreme hot or cold water can also lead to cracks.
Frequently Asked Questions
How Long Does the Crack Repair Kit Take to Dry?
The drying time of the crack repair kit depends on the specific product you are using. Typically, it can take several hours to fully dry. Follow the application process carefully for best results.
Can I Use Regular Paint to Touch up the Repaired Area?
When it comes to touch up methods for a repaired crack in your bathtub, regular paint may not be the best option. It’s recommended to use alternative materials specifically designed for tub repairs to ensure a seamless and long-lasting fix.
Can I Still Use the Bathtub While the Crack Is Being Repaired?
While the crack in your bathtub is being repaired, it’s best to avoid using it to prevent further damage. Prioritize bathtub maintenance and consider the potential bathtub repair cost if you continue to use it.
How Often Should I Check for Cracks in My Bathtub?
Regularly checking for cracks in your bathtub is important to ensure its longevity and prevent further damage. Look for signs such as discoloration, peeling paint, or a soft, spongy feel to the surface.
Are There Any Specific Cleaning Products I Should Avoid Using on the Repaired Area?
To prevent further damage and maintain the repaired area, it’s important to avoid using harsh chemicals when cleaning. Stick to gentle, non-abrasive cleaners to ensure the longevity of your bathtub’s fix.
Conclusion
Now that you’ve followed these steps to fix the crack in your bathtub, it’s time to put your repair skills to the test.
But hold on, there’s one more important step to take before you can fully enjoy your newly repaired bathtub.
In the next section, we’ll reveal a crucial maintenance tip that will ensure your bathtub stays crack-free for years to come.
So stay tuned, because this secret technique will keep you one step ahead of future cracks and save you from any potential headaches down the line.