Did you know that a leaking bathtub can waste up to 90 gallons of water per day?
It’s not just a nuisance, but also a significant drain on your resources.
In this article, I will guide you through the step-by-step process of fixing a bathtub leak.
By following these simple instructions and using basic tools, you can save water, money, and prevent further damage to your bathroom.
Let’s get started and put an end to that annoying bathtub leak once and for all.
Key Takeaways
- Assess the damage and identify the source of the leak.
- Gather the necessary tools for the repair.
- Use proper tool selection and maintenance for successful repairs.
- Locate the source of the leak and address any issues promptly.

Faucet Floor-Mount Freestanding Tub Filler Rough-In Valve,Compatible with Delta Freestanding Tub Fillers R4700-FL
1.Application:Floor-Mount Freestanding Tub Filler Rough-In Valve is compatible with freestanding tub filler trim kits such as T4579-fl、T4759-FL、T4768-FL、T4774-FL、T4767-FL、T4752-FL、T4797-FL、T4759-FL、T4797‑SSFL‑LHP and...
As an affiliate, we earn on qualifying purchases.
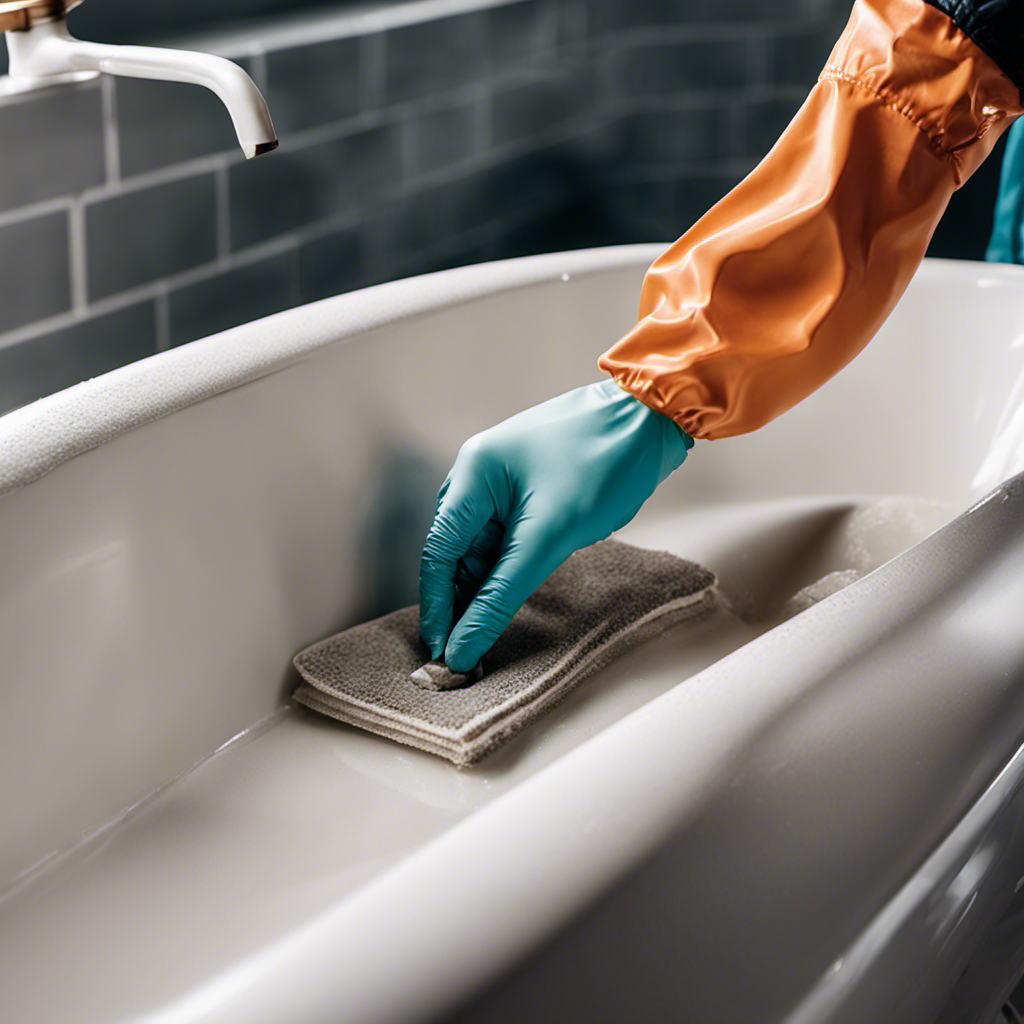
Assess the Leak
First, you’ll need to assess the leak in your bathtub. Assessing the damage is crucial to determine the severity of the problem and the necessary steps for repair.
Start by examining the area around the leak. Look for signs of water damage, such as discoloration or peeling paint. Check for any cracks or gaps in the bathtub itself, as well as in the surrounding tiles or caulking.
Next, try to identify the source of the leak. Is it coming from the faucet, the drain, or the overflow pipe?
Once you have assessed the damage and pinpointed the location of the leak, you can move on to troubleshooting tips to fix it.

R4700-FL Floor-Mount Rough-in Valve for Freestanding Tub Filler, Stainless Steel Tub Filler Rough-in Valve Compatible with Delta Tub & Shower Faucets
Perfect Fit – Engineered exclusively for Delta floor-mount tub & shower faucets; drops straight in with zero guesswork
As an affiliate, we earn on qualifying purchases.
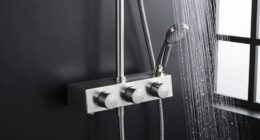
Gather the Necessary Tools
When it comes to tackling repair projects, having the right tools is essential. In order to successfully fix any leaks or malfunctions, it is important to have a set of essential repair tools that will allow you to complete the job efficiently and effectively. Proper tool selection is also crucial, as using the wrong tool can lead to further damage or even injury.
Additionally, organizing your tools in a systematic way can save you time and frustration, ensuring that you can easily locate the necessary tools when you need them.
Essential Repair Tools
You’ll need a few essential repair tools to fix a bathtub leak. One of the most important tools is a wrench, which is used to tighten or loosen nuts and bolts. It’s crucial to have a wrench with adjustable jaws to fit various sizes of nuts.
Another essential tool is a plumber’s tape, also known as Teflon tape, which helps create a watertight seal on threaded pipe connections.
Additionally, a caulking gun and silicone caulk are necessary to seal any gaps or cracks around the edges of the bathtub.
When it comes to tool maintenance, it’s vital to keep your tools clean and dry after each use to prevent rust and corrosion.
Lastly, to avoid common repair mistakes, always read the manufacturer’s instructions carefully and take your time to ensure a proper and long-lasting repair.
Proper Tool Selection
Using the correct tools is crucial for ensuring a successful and long-lasting repair. Not only do you need to have the right tools for the job, but you also need to properly maintain them for optimal performance and safety. Regular tool maintenance is essential to keep your tools in good condition and prevent any accidents or malfunctions. This includes cleaning them after each use, lubricating moving parts, and storing them in a dry and secure place. Additionally, it’s important to follow tool safety guidelines to protect yourself and others. Always wear appropriate safety gear, such as goggles and gloves, and use tools as intended. Never use damaged or faulty tools, as they can lead to injury. By taking care of your tools and using them safely, you can ensure a successful repair and protect yourself from any potential harm.
| Tool Maintenance Tips | Tool Safety Guidelines |
|---|---|
| Clean after use | Wear safety gear |
| Lubricate moving parts | Use tools as intended |
| Store in a dry place | Avoid damaged tools |
| Secure storage | Follow safety guidelines |
Tool Organization Tips
To keep your tools organized and easily accessible, it’s important to establish a designated storage area for them. One of the best places to store your tools is in the garage. A well-organized garage can make finding the right tool for the job a breeze.
Invest in sturdy shelves and cabinets to keep your tools off the floor and within reach. Use hooks and pegboards to hang smaller tools, such as wrenches and screwdrivers.
In addition to garage organization, you can also utilize kitchen storage for smaller tools that you frequently use. Magnetic strips on the inside of cabinet doors are a great way to store knives and other metal tools.
By keeping your tools organized in both the garage and kitchen, you’ll always know where to find them when you need them.
Now, let’s move on to locating the source of the leak.

R4700-FL Floor-Mount Freestanding Tub Filler Rough-in Valve Compatible with Delta Freestanding Tub Fillers
Perfect Fitment – Compatible with Delta freestanding bathtub and shower faucets.
As an affiliate, we earn on qualifying purchases.
Locate the Source of the Leak
When trying to locate the source of a bathtub leak, there are a few key points to keep in mind.
First, it’s important to inspect the visible plumbing in and around the bathtub to look for any signs of water damage or leaks.
Next, checking the faucet connections is crucial, as loose or worn-out fittings can often be the cause of leaks.
Lastly, testing the drain pipe is essential to ensure it is functioning properly and not contributing to the leak.
Inspect Visible Plumbing
Check if there’s any visible damage or signs of leakage in the plumbing.
Performing a thorough inspection of the visible plumbing in your bathroom can provide numerous benefits. Not only can it help you identify potential issues early on, but it can also save you from costly repairs down the line.
When inspecting your plumbing, pay close attention to the bathtub area as leaks are commonly found there. Look for any signs of water stains, mold, or mildew around the base of the bathtub or on the walls nearby. Additionally, check for any loose or cracked tiles, as these can be indicators of a hidden leak.
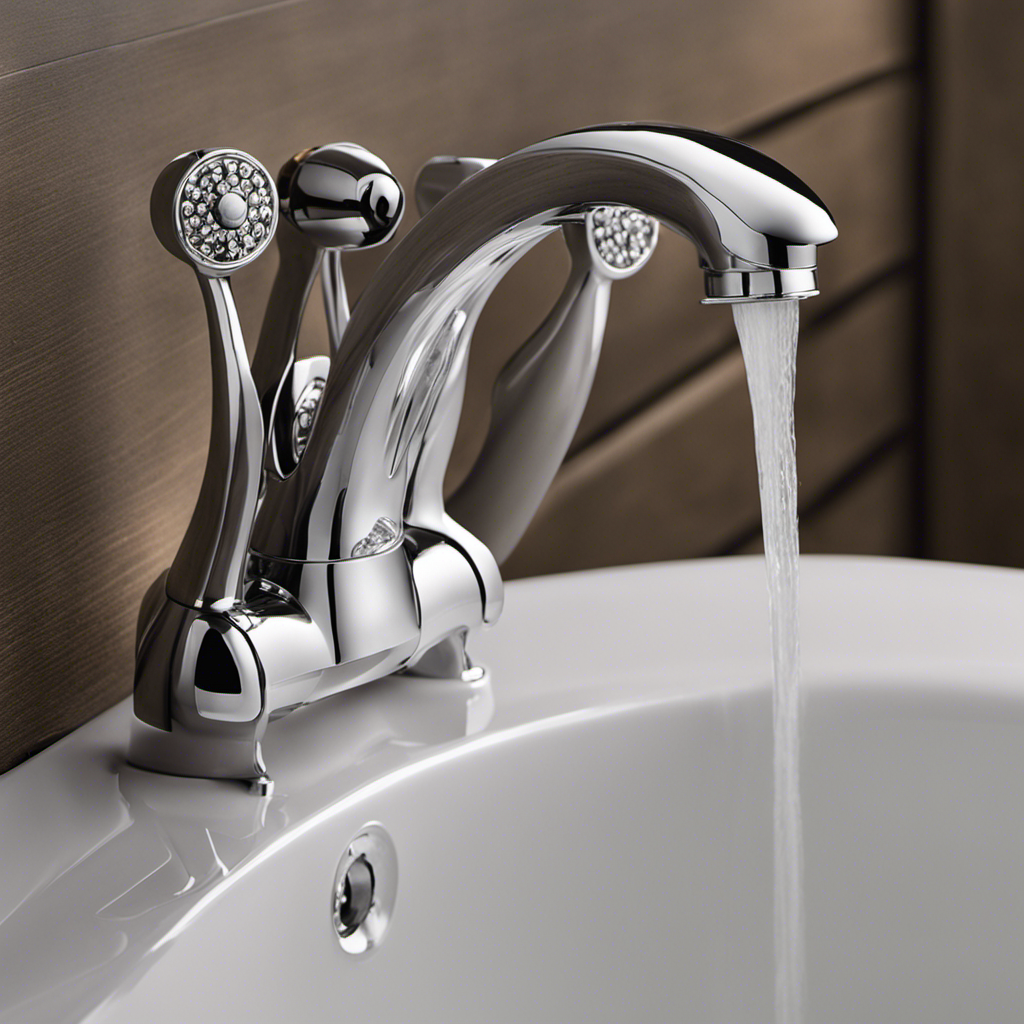
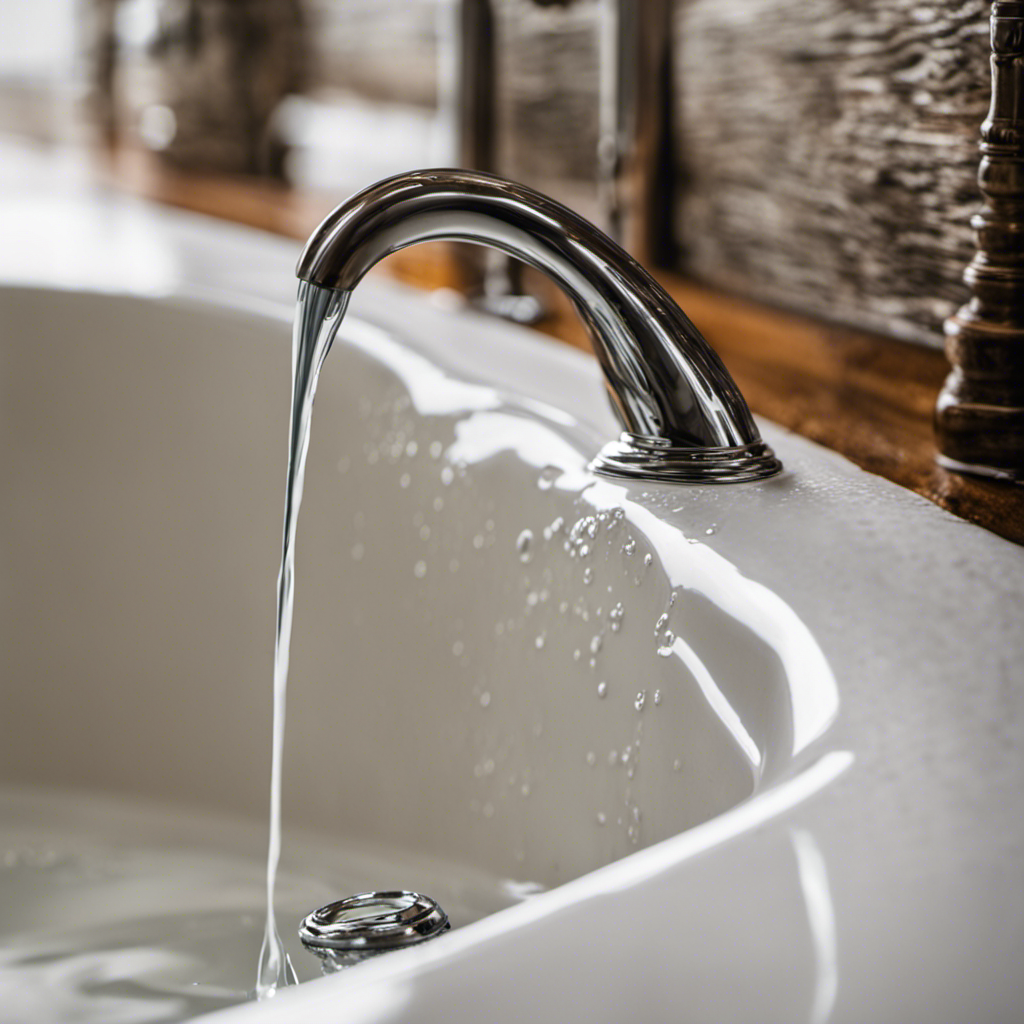
Check Faucet Connections
Make sure you examine the faucet connections in your bathroom for any signs of damage or leaks. Proper faucet maintenance is crucial to prevent water wastage and potential damage to your bathtub plumbing.
A quick inspection of the connections can help you identify any issues before they worsen. Look for any visible leaks, loose connections, or signs of corrosion. If you notice any problems, it’s important to address them promptly to avoid costly repairs down the line.
Regularly checking the faucet connections is a simple yet effective way to ensure the proper functioning of your bathtub plumbing. By taking proactive measures, you can maintain the integrity of your plumbing system and enjoy a leak-free bathing experience.
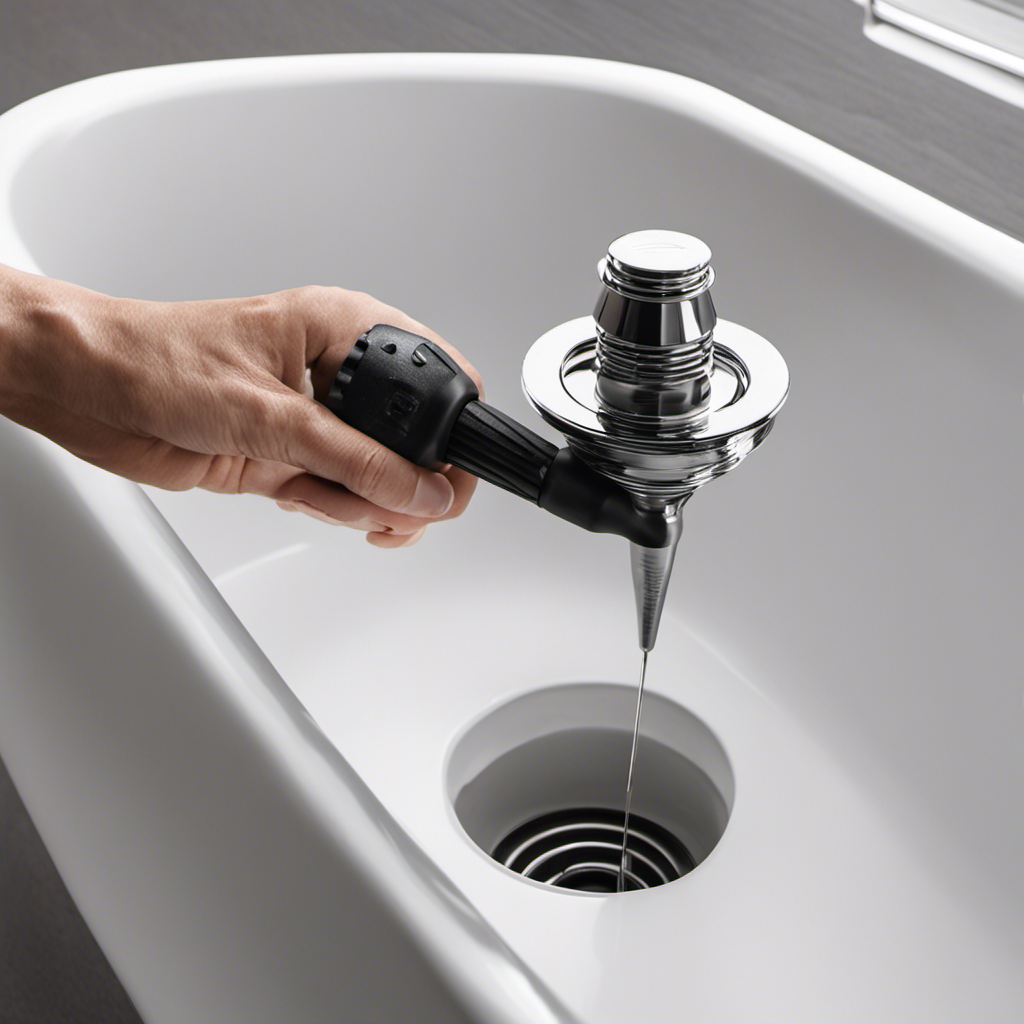
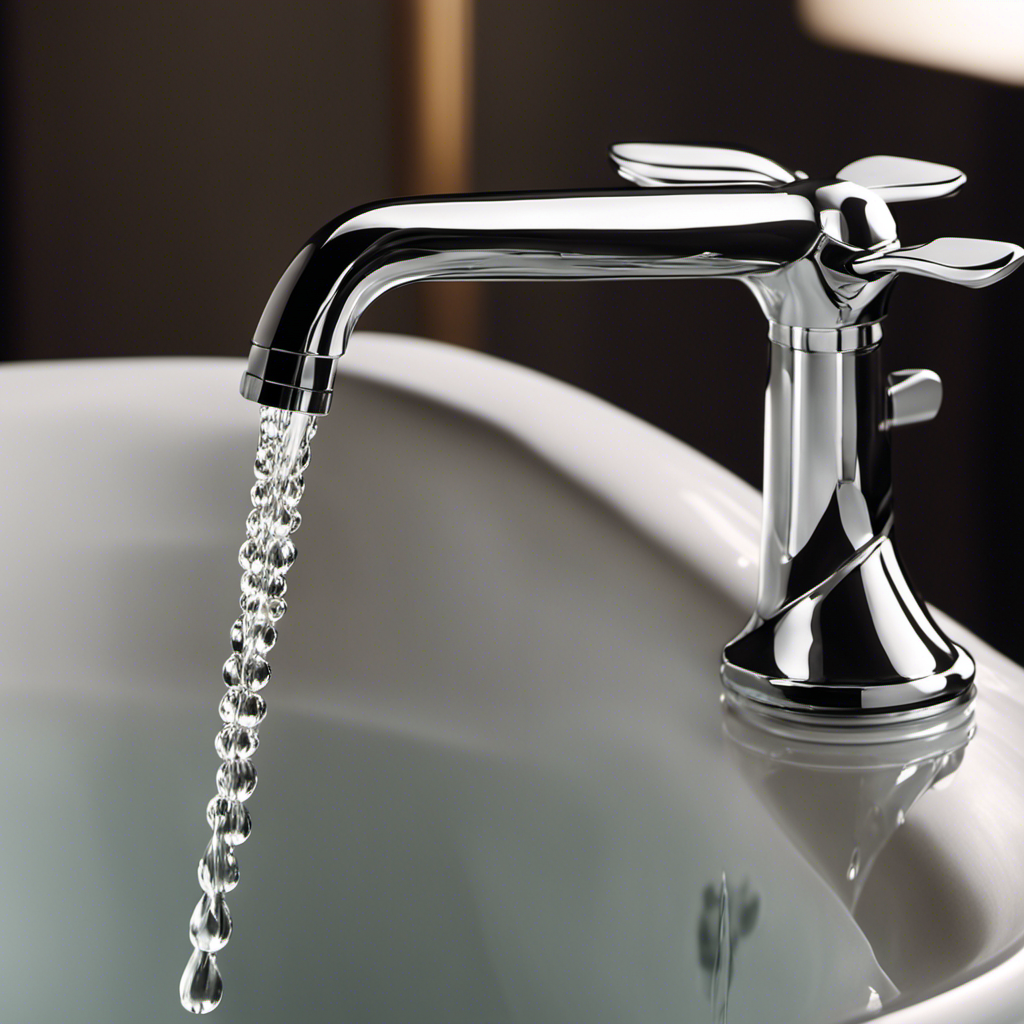
Test Drain Pipe
Ensure you inspect the drain pipe in your bathroom for any signs of clogging or blockage. A clogged drain pipe can lead to leaks and water damage if not addressed promptly. If you notice any slow drainage or unpleasant odors, it’s crucial to take action.
Depending on the severity of the issue, you may need to consider drain pipe repair or even drain pipe replacement. Repairing a drain pipe involves identifying the cause of the clog and removing it using tools like a plunger or drain snake. However, if the pipe is damaged beyond repair or has significant corrosion, it might be necessary to replace the entire pipe.
In such cases, it’s recommended to seek professional assistance to ensure a proper and long-lasting solution.

Rough-in Valve Replacement for R4700-FLWS, Compatible with D Floor-Mount Freestanding Tub Filler(with Screwdriver Stops)
Solid brass construction ensures durability and dependability
As an affiliate, we earn on qualifying purchases.
Repair Small Cracks or Holes
To patch up any small cracks or holes in your bathtub, follow these steps:
- Clean the damaged area thoroughly to remove any dirt or debris.
- Mix the epoxy putty according to the manufacturer’s instructions.
- Apply the putty to the cracks or holes, making sure to smooth it out evenly.
- Allow the putty to dry completely before sanding it down to create a smooth surface.
- Once the putty is sanded, apply a layer of fiberglass resin to reinforce the repair.
- This will ensure a strong and durable seal.
- By repairing fiberglass cracks and sealing the bathtub surface, you can prevent any further leaks or damage.
Now, let’s move on to the next step and replace any damaged caulking or sealant.
Replace Damaged Caulking or Sealant
Now that you’ve learned how to repair small cracks or holes in your bathtub, let’s move on to the next step: replacing damaged caulking or sealant.
This is an important part of bathtub leak maintenance and water damage prevention.
Over time, caulking can become worn out or damaged, leading to leaks and potential water damage. To replace the caulking, start by removing the old caulking using a scraper or putty knife. Make sure to clean the area thoroughly and remove any residue.
Next, apply a new bead of silicone or bathtub sealant along the joint between the bathtub and the wall. Use a caulking gun for a precise application. Smooth out the caulking with your finger or a caulk smoothing tool to ensure a tight seal.
Remember to regularly check and maintain the caulking in your bathtub to prevent future leaks and water damage.
Fix Leaking Pipes or Fittings
If your pipes or fittings are leaking, it’s important to address the issue promptly to prevent further water damage. Fixing plumbing leaks is a crucial task that requires attention to detail and knowledge of common causes of bathtub leaks. To assist you in understanding the potential causes, I have compiled a table below:
| Common Causes of Bathtub Leaks | ||
|---|---|---|
| 1. Loose fittings | 2. Corroded pipes | 3. Damaged seals |
| 4. Cracked pipes | 5. Faulty plumbing installation | 6. High water pressure |
| 7. Aging pipes | 8. Improper pipe connections | 9. Structural damage |
| 10. Excessive wear and tear | 11. Clogged drains | 12. Incorrect pipe size |
Test and Ensure the Leak Is Resolved
Once you have addressed the cause of the leak, make sure to test and confirm that the issue has been resolved. It is crucial to ensure that the bathtub leak is fixed properly to prevent any further damage.
To verify the results, there are several testing methods you can use:
-
Visual inspection: Look for any signs of water leakage around the bathtub, such as dampness or discoloration.
-
Water test: Fill the bathtub with water and let it sit for a while to see if any leaks occur.
-
Pressure test: Use a pressure gauge to check if the water pressure remains stable after fixing the leak.
-
Dye test: Add a few drops of food coloring into the bathtub and see if the colored water leaks out.
Conclusion
After following these steps to fix a bathtub leak, I’m relieved to say that the water is no longer escaping.
With the right tools and a little bit of patience, I was able to locate and repair the source of the leak.
The feeling of accomplishment is as refreshing as a cool, soothing bath after a long day.
Now, I can relax knowing that my bathtub is leak-free and ready for me to enjoy.