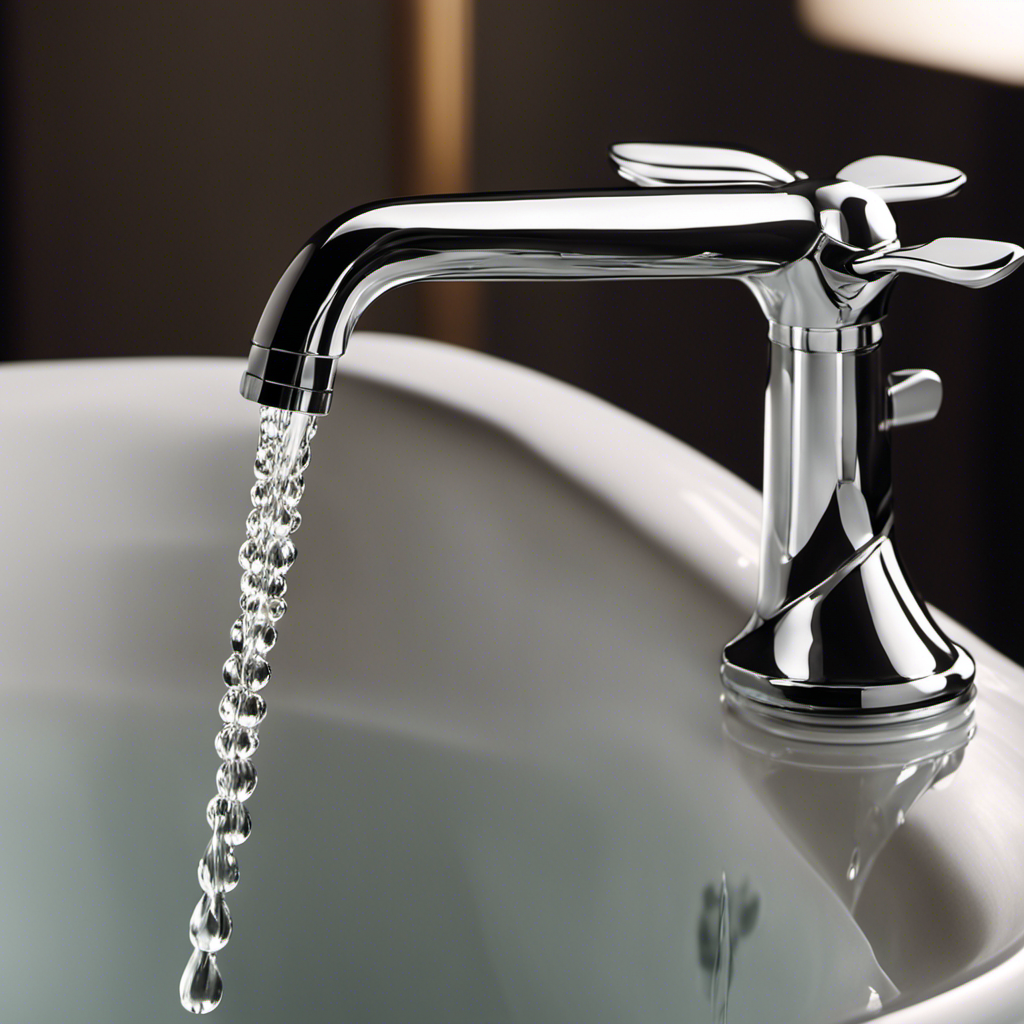
Are you tired of the constant annoyance and wasted water caused by a dripping bathtub faucet? Look no further, because we have the solution for you!
In this step-by-step guide, we will show you how to fix that pesky faucet and put an end to the incessant dripping.
With just a few tools and a little bit of your time, you can become your own handyman and save money on costly repairs.
Get ready to conquer that leaky faucet once and for all!
Key Takeaways
- Common causes of a dripping bathtub faucet include worn-out or damaged washers, a loose valve stem, and mineral deposits.
- Essential repair tools for fixing a dripping bathtub faucet include a wrench, pliers, and a screwdriver.
- Shutting off the water supply before fixing the faucet is important to prevent water damage and save water and money.
- The process of fixing a dripping bathtub faucet involves disassembling the faucet, inspecting and cleaning the components, replacing faulty parts, and ensuring proper reassembly. Regular maintenance and prompt replacement of faulty components are necessary to avoid further damage.
Top picks for "dripp bathtub faucet"
As an affiliate, we earn on qualifying purchases.
Understanding the Problem
To fix the dripping bathtub faucet, you’ll need to understand why it’s leaking in the first place. Troubleshooting tips can help you identify the common causes of a leaking faucet.
First, check the washer, which is often the culprit. Over time, washers can wear out or become damaged, resulting in a leak.
Another possible cause is a loose valve stem. By tightening the stem, you may be able to stop the leak.
Additionally, mineral deposits can accumulate in the faucet, causing it to leak. To fix this, you’ll need to clean the faucet thoroughly.
Understanding these common causes will help you address the problem effectively. Now that you know what to look for, it’s time to gather the necessary tools to fix your dripping bathtub faucet.
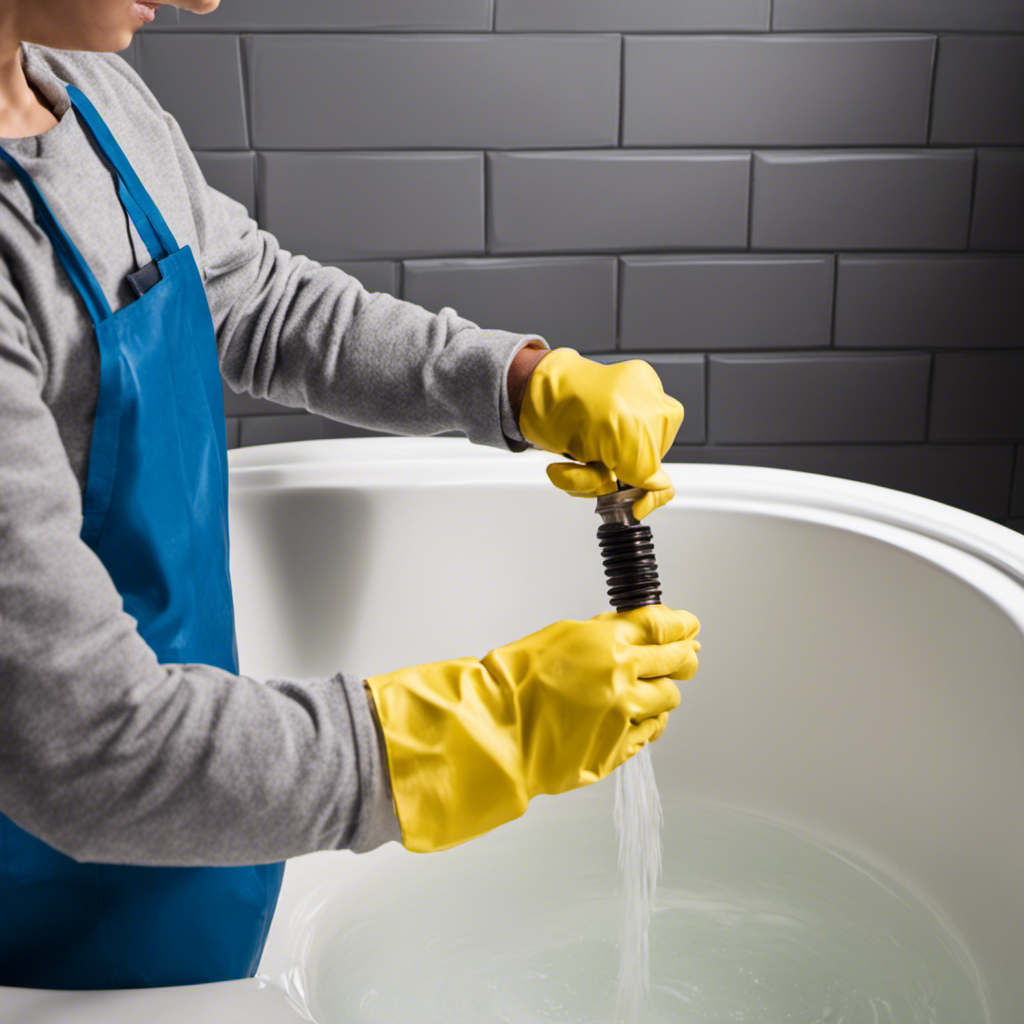
Gathering the Necessary Tools
When it comes to tackling any repair project, having the right tools is essential.
To ensure a smooth and efficient repair process, it is important to have an organized tool list and an efficient tool organization system in place.
This discussion will cover the key points of creating an essential repair tool list and implementing an efficient tool organization system to maximize your productivity and effectiveness in completing repairs.
Essential Repair Tool List
Make sure you have all the essential repair tools for fixing your dripping bathtub faucet, such as a wrench, pliers, and a screwdriver. These tools are crucial for effective repair tool maintenance and troubleshooting common faucet issues.
To start, you will need a wrench to loosen and tighten any nuts or bolts holding the faucet together. A pair of pliers is necessary for gripping and turning small components, such as handles or cartridges. Additionally, a screwdriver will be handy for removing screws that secure the faucet in place.
By having these tools readily available, you can easily tackle any faucet problem that arises. Proper repair tool maintenance is also crucial to ensure their longevity and effectiveness. Keep your tools clean and dry, and store them in a secure and organized manner. Regularly inspect the tools for any signs of damage or wear and replace them as needed.
Efficient Tool Organization
Having the right tools readily available and organized can greatly improve the efficiency of your repair experience.
When it comes to tool storage, there are a few key principles to keep in mind.
Firstly, consider the layout of your workspace. Maximize the available space by utilizing wall-mounted storage solutions such as pegboards or shelving units. This will help keep your tools easily accessible and visible.
Secondly, categorize your tools and designate specific areas for each category. For example, keep all your plumbing tools together in one section and electrical tools in another. This will save you time searching for the right tool when needed.
Lastly, invest in tool organizers such as toolboxes or tool chests. These provide a compact and portable storage solution, keeping your tools protected and easily transportable.
Shutting Off the Water Supply
Before you begin fixing your dripping bathtub faucet, it’s important to shut off the water supply to prevent any potential flooding or damage.
The shut-off valve is typically located near the water meter or in the basement. To turn off the water, simply rotate the valve clockwise until it is fully closed.
Importance of Shutting off
When fixing a dripping bathtub faucet, it’s crucial to shut off the water supply first. Here’s why:
-
Prevent water damage: Shutting off the water supply prevents further leakage and potential water damage to your bathroom and surrounding areas. Regular maintenance is essential to catch these issues early on and avoid costly repairs.
-
Save water and money: A dripping faucet can waste a significant amount of water over time, leading to higher water bills. By promptly fixing the issue, you can conserve water and save money in the long run.
-
Ensure safety: Fixing a leaking faucet may seem simple, but it can involve complex plumbing procedures. Hiring a professional plumber ensures the job is done correctly and safely, preventing any potential accidents or damage to your plumbing system.
Locating the Shut-Off
To locate the shut-off valve, you should first look under your bathroom sink.
Finding the right replacement for a dripping faucet starts with understanding the common causes.
First, check the faucet handle for any loose or worn parts. If the handle is loose, tighten the screw underneath. If it’s worn, replace the handle entirely.
Next, inspect the cartridge or valve inside the faucet. Mineral deposits or a damaged seal can cause leaks. If the cartridge is faulty, remove it and replace it with a new one.
Finally, check the aerator for any clogs. A clogged aerator can disrupt water flow and cause dripping. Cleaning or replacing the aerator can solve this issue.
Turning off Water
You can easily turn off the water by locating the shut-off valve under your bathroom sink. Follow these steps to ensure a proper shut-off and conserve water:
-
Locate the shut-off valve: It is usually located on the wall or the back of the cabinet under the sink. Turn the valve clockwise to shut off the water supply.
-
Test the shut-off: Turn on the faucet to check if the water flow has stopped completely. If not, tighten the valve further.
-
Water pressure adjustment: If you notice high water pressure after shutting off the water, consider adjusting the pressure regulator on your main water supply line to conserve water and prevent future dripping issues.
Disassembling the Faucet
Once you’ve gathered the necessary tools, it’s time to start disassembling the faucet.
Begin by turning off the water supply to the faucet. Use a wrench to loosen the retaining nuts that hold the faucet handle in place. Remove the handle and set it aside.
Next, use a screwdriver to remove the screws that secure the faceplate. Carefully take off the faceplate and expose the cartridge or valve stem. Depending on the type of faucet, you may need to use pliers or a wrench to unscrew the cartridge or valve stem.
Once removed, inspect for any signs of damage or wear. This disassembling process allows you to access and address common faucet problems such as leaks, worn-out washers, or faulty cartridges.
Inspecting and Cleaning the Components
After removing the cartridge or valve stem, it’s important to inspect and clean the components for any signs of damage or wear. This step is crucial in fixing your dripping bathtub faucet. Follow these steps for an effective cleaning procedure:
-
Check for corrosion: Look for any signs of corrosion on the cartridge or valve stem. Corrosion can cause leaks and hinder the proper functioning of the faucet.
-
Inspect the O-rings: Examine the O-rings for any cracks or tears. Damaged O-rings are a common cause of leaks and need to be replaced.
-
Clean all components: Using a soft brush and vinegar solution, clean all the components thoroughly. Pay attention to any mineral deposits or debris that may have accumulated.
Replacing Faulty Parts
To replace faulty parts in your bathtub faucet, start by identifying the specific component that needs to be replaced. The most common causes of faucet dripping are worn out parts like the cartridge, O-rings, or washers.
To begin, turn off the water supply to your faucet. Next, remove the handle by unscrewing the set screw using an Allen wrench. Once the handle is off, locate the cartridge, which is usually housed inside a metal or plastic valve body.
Use pliers to carefully remove the cartridge by pulling it straight out. Inspect the cartridge for any signs of damage or wear, such as cracks or worn-out O-rings. If necessary, replace the cartridge with a new one.
Reassembling and Testing the Faucet
Now that you have replaced the faulty parts, it’s time to reassemble the faucet and test it for any leaks. Follow these simple steps to ensure a successful reassembly and proper functioning of your bathtub faucet:
-
Connect the faucet handle: Take the handle and slide it onto the stem, aligning the screw holes. Secure it in place using the screws provided.
-
Attach the spout: Apply plumber’s tape to the threads on the spout and screw it onto the pipe, ensuring a tight fit. Use a wrench to tighten it securely.
-
Test for leaks: Turn on the water supply and slowly open the faucet. Check for any leaks around the handle, spout, or any connections. If you notice any leaks, tighten the affected area or replace any worn-out parts.
Frequently Asked Questions
How Often Should I Clean and Inspect the Components of My Bathtub Faucet?
Regularly cleaning and inspecting your bathtub faucet components is important. Look out for signs of wear and tear such as leaks, corrosion, or loose parts. By doing so, you can prevent further damage and ensure your faucet functions properly.
Can I Use Any Type of Cleaning Solution to Clean the Faucet Components?
You can’t use any cleaning solution to clean faucet components. Some solutions can damage the parts. Instead, use a mild soap and warm water to clean them properly.
Should I Replace All the Components of the Faucet at Once or Just the Faulty Ones?
To fix your dripping bathtub faucet, you should first determine whether all the components need replacing or just the faulty ones. It is possible to fix it without replacing any components, but hiring a professional is recommended for the best results.
How Can I Prevent My Bathtub Faucet From Dripping in the Future?
To prevent your bathtub faucet from dripping in the future, take preventive measures. Identify common causes, such as worn-out washers or loose connections. Regularly inspect and maintain your faucet to ensure its proper functioning and avoid annoying drips.
Is It Necessary to Shut off the Water Supply When Disassembling the Faucet?
To ensure water supply safety and prevent any potential leaks or accidents, it is necessary to shut off the water supply before disassembling the faucet. This precautionary step is crucial for a successful repair.
Conclusion
In conclusion, fixing a dripping bathtub faucet is a simple task that can be done by anyone with the right tools and knowledge. By following the step-by-step instructions provided, you can easily identify the problem, clean or replace faulty components, and reassemble the faucet.
Once you have completed these steps, it’s time to turn the water supply back on and test your handy work. So, why wait? Start fixing that annoying drip today and enjoy a leak-free bathtub experience.