
I’ve been there – standing in front of my bathtub, staring at the stubborn dried grout that seemed impossible to remove. But fear not! I’m here to share my tried and true method for tackling this challenge.
With a few simple tools and some patience, you’ll have your bathtub looking brand new in no time. So grab your gloves and let’s dive into the step-by-step guide to removing dried grout from your bathtub.
Key Takeaways
- Dried grout can be challenging to remove from a bathtub.
- Having the right grout removal tools is crucial for effective grout removal.
- Preparing the bathtub surface and taking safety precautions are important before starting the removal process.
- After grout removal, thoroughly clean the bathtub and apply bathtub polish to restore shine and prevent future grout buildup.

Goopreen 5 in 1 Caulking Tool Silicone Caulking Grout Removal Sealant Finishing Tool with Stainless Steel Head, 6 Replaceable Pads, Gap Seam Repair Kit for Kitchen Bathroom Sink Toilet Caulking
- Multifunctional Caulking Tool: Removes, repairs, and applies caulk
- Caulking Finishing Tool: Smooths and finishes sealing lines
- Reusable Silicone Pads: Includes 6 replaceable, size-varied pads
As an affiliate, we earn on qualifying purchases.
As an affiliate, we earn on qualifying purchases.
Understanding Dried Grout and Its Challenges
Removing dried grout from a bathtub can be quite challenging. Understanding grout composition is essential to effectively remove it.
Grout is a mixture of cement, sand, and water, used to fill the gaps between tiles and create a waterproof seal. When it dries, grout becomes hard and stubborn, making it difficult to remove.
However, there are effective grout removal techniques that can make the task easier.
One option is to use a grout removal tool, such as a grout saw or a grout scraper, to scrape away the dried grout.
Another method involves using a grout removal solution, which softens the grout, allowing it to be easily scrubbed away.
Regardless of the technique chosen, it is important to be patient and gentle to avoid damaging the bathtub surface.
Gathering the Necessary Tools and Materials
To get started, you’ll need to gather the necessary tools and materials for the job. The right grout removal tool is crucial for effectively removing dried grout from your bathtub. Here are some tips for choosing the right tool:
- A grout saw: This handheld tool has a small blade that is perfect for removing grout from tight corners and edges.
- An oscillating tool: This versatile tool uses a vibrating blade to quickly and efficiently remove grout from larger areas.
- A grout removal attachment for a power drill: This attachment allows you to use the power of a drill to remove grout with ease.
By having these tools on hand, you’ll be prepared to tackle even the toughest dried grout.
Additionally, to prevent dried grout in the future, make sure to clean your bathtub regularly and apply a grout sealer to protect the grout from moisture and stains. With the right tools and preventive measures, you can keep your bathtub grout looking fresh and clean for years to come.
Now that you have gathered the necessary tools, it’s time to prepare the bathtub surface for grout removal.
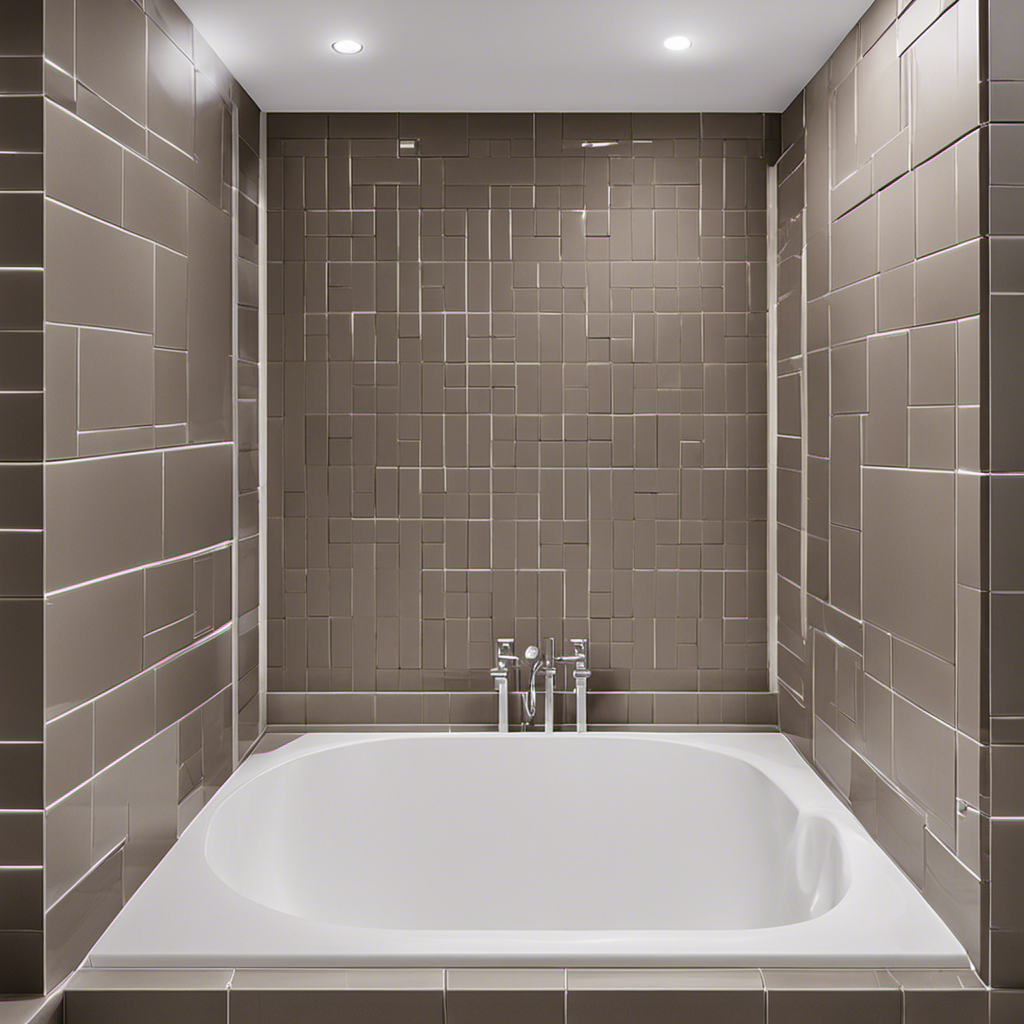
Preparing the Bathtub Surface for Grout Removal
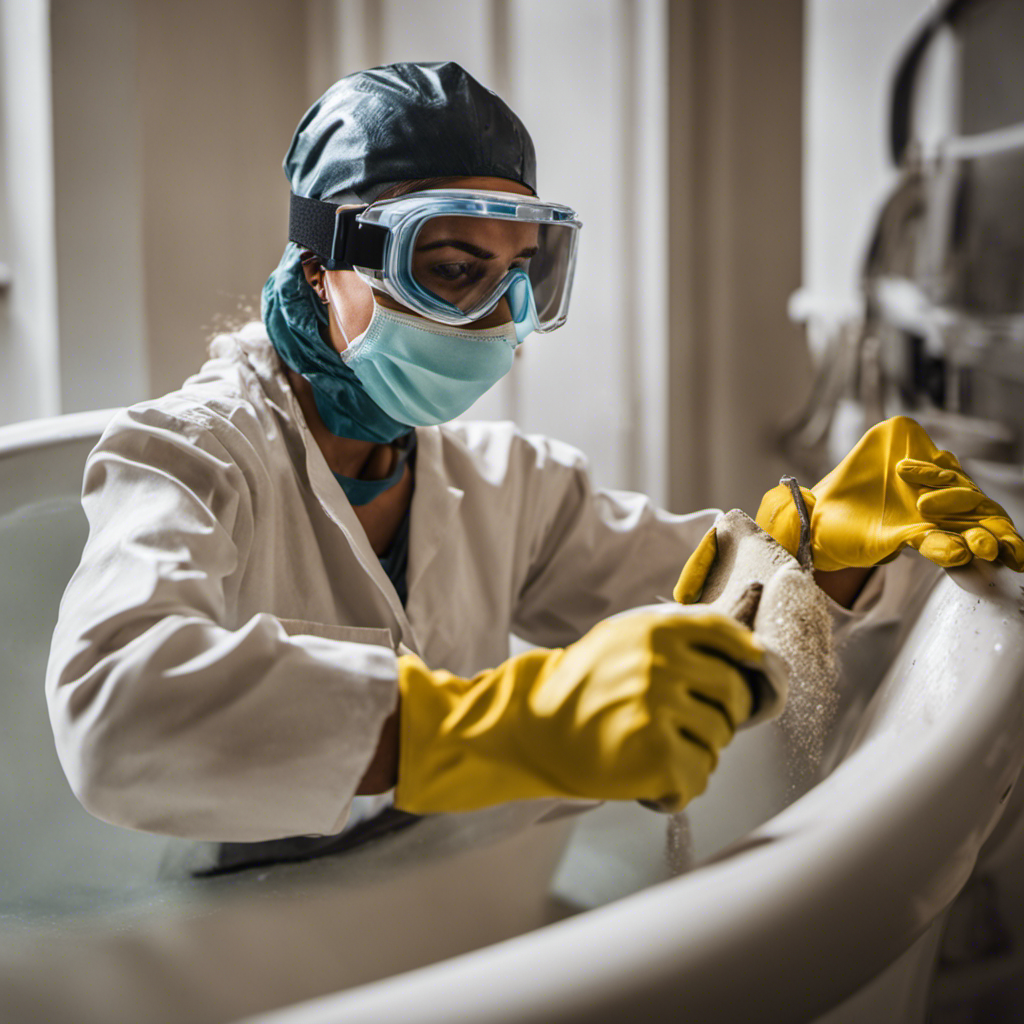
Once you’ve got the right tools, it’s important to prepare the surface of your bathtub for grout removal. Before starting the process, it is crucial to take safety precautions to ensure a smooth and accident-free experience.
Make sure to wear protective gloves and safety goggles to prevent any potential injury. Additionally, open windows or use a fan to ensure proper ventilation in the area.
If you’re looking for alternative methods to remove dried grout from your bathtub, there are a few options to consider. One approach is using a grout removal tool, which can be effective in scraping away the hardened grout. Another method is using a mixture of vinegar and water to soften the grout before scrubbing it away.
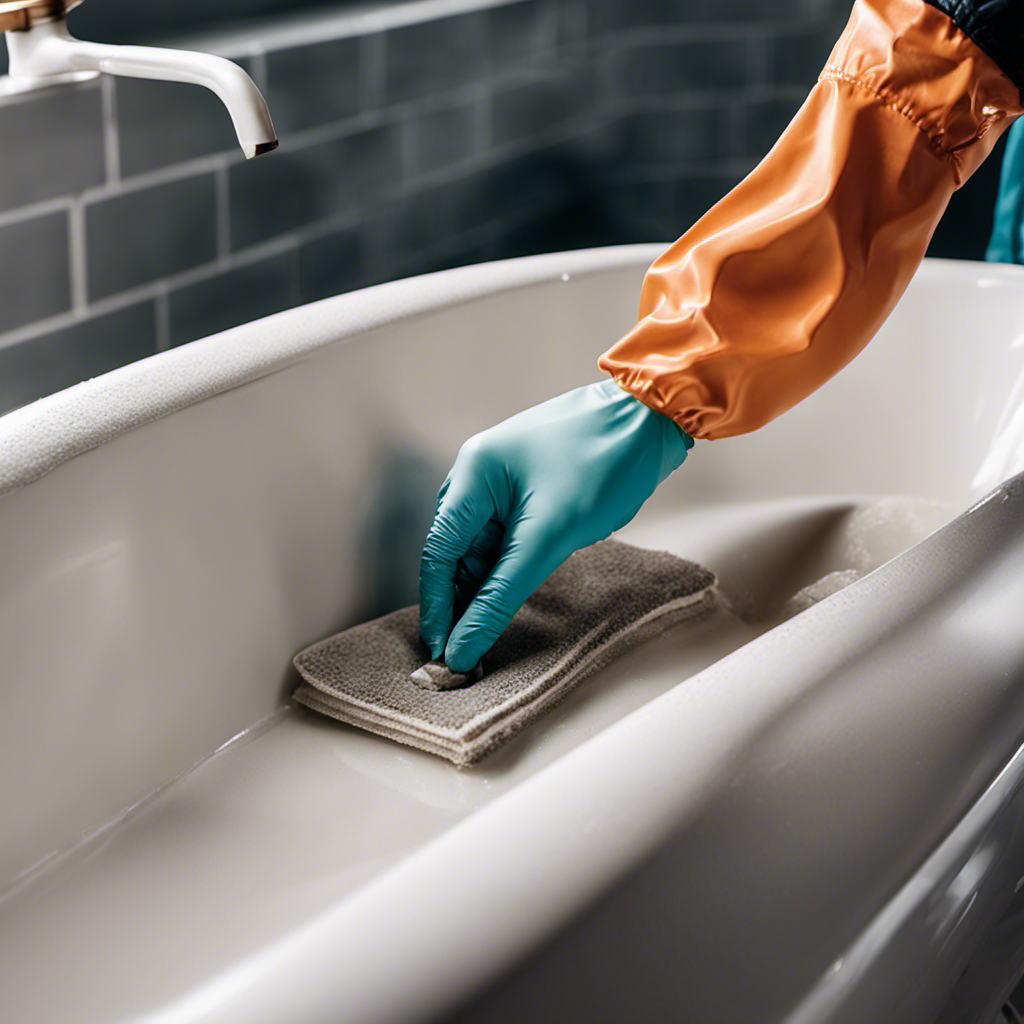
Step-by-Step Guide to Removing Dried Grout
First, you’ll need to gather all the necessary materials for the step-by-step guide on how to get rid of hardened grout in your bathtub. Here are three items you’ll need to have on hand:
- Safety goggles: Protect your eyes from any flying debris or grout particles that may come loose during the removal process.
- Grout removal tool: Use a specialized tool, such as a grout saw or grout rake, to carefully scrape away the dried grout from the surface of your bathtub.
- Cleaning solution: Prepare a mixture of warm water and mild detergent to clean the bathtub after the grout has been removed.
To effectively remove dried grout from your bathtub, start by wearing your safety goggles to protect your eyes. Then, use the grout removal tool to scrape away the hardened grout, taking care not to damage the bathtub surface. Work in small sections and apply gentle pressure to avoid any scratches.
Once all the grout has been removed, use the cleaning solution to thoroughly clean the bathtub and prevent any grout stains.
Cleaning and Finishing Touches for a Pristine Bathtub
After removing the dried grout, it’s important to thoroughly clean and polish your bathtub for a pristine finish. Bathtub maintenance is essential for preventing grout buildup and keeping your tub looking its best.
To start, gather your cleaning supplies, such as a non-abrasive cleaner, a soft sponge or cloth, and a bathtub polish. Begin by wetting the surface of the tub and applying the cleaner. Use the sponge or cloth to scrub the entire bathtub, paying special attention to any areas where grout was previously present.
Rinse the tub thoroughly with warm water to remove any residue. Finally, apply the bathtub polish according to the manufacturer’s instructions to restore shine and protect against future grout buildup.
Regular maintenance is key to keeping your bathtub in top condition.
Conclusion
In conclusion, tackling dried grout on your bathtub can be quite a challenge, but with the right tools and technique, you can achieve a pristine and sparkling tub once again.
By following the step-by-step guide provided, you can remove the stubborn grout and restore your bathtub’s beauty.
Remember to take your time and be patient throughout the process, as it may require some elbow grease.
With a little effort, you’ll be able to enjoy a clean and fresh bathtub experience, free from the remnants of dried grout.