Are you tired of that old, worn-out bathtub taking up precious space in your bathroom? It’s time to take action and remove it for good.
In this article, we’ll guide you through the step-by-step process of how to remove an old bathtub. With the right tools and materials, you’ll be able to disconnect the plumbing, detach the bathtub from the wall and floor, and effectively deal with any remaining caulk or adhesive.
Get ready to reclaim your bathroom and say goodbye to that outdated bathtub.
Key Takeaways
- Assess the condition of the old bathtub, looking for cracks, chips, discoloration, stability, water damage, and extent of damage.
- Gather the necessary tools and materials such as an adjustable wrench, screwdriver, pry bar, safety goggles, and gloves.
- Disconnect the plumbing and water supply by shutting off the water supply, disconnecting the drain pipe, and removing faucet connections.
- Remove the bathtub surround or tiles using a pry bar, starting from the top, and using a putty knife to remove adhesive or caulk.

LEIVI Electric Bidet Toilet Seat with Wireless Remote and Side Panel, Multiple Spray Modes, Adjustable Heated Seat, Warm Water and Air Dryer, Auto LED Nightlight, Elongated
User-Friendly & Feature-Rich - This electronic bidet toilet seat delivers a premium bathroom experience with user-friendly design. Features...
As an affiliate, we earn on qualifying purchases.
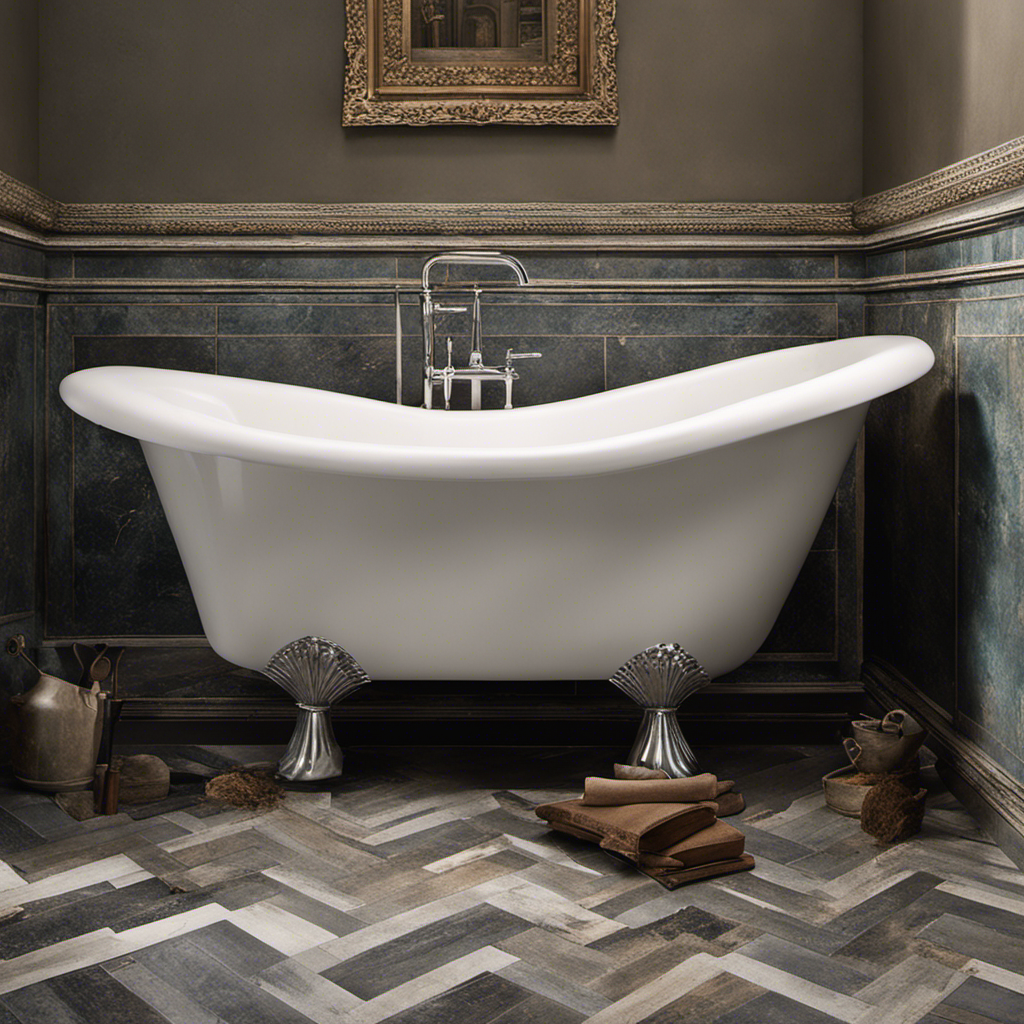
Assessing the Condition of the Old Bathtub
Before you start removing the old bathtub, you should first assess its condition to determine the extent of the damage. This step is crucial as it will help you evaluate the amount of work and resources required for the bathtub replacement.
Start by inspecting the surface of the tub for any cracks, chips, or discoloration. Check if the tub is stable and firmly connected to the floor and walls. Look for any signs of water damage, such as mold or mildew growth, as this could indicate leaks or plumbing issues.
Once you have evaluated the damage, you can then determine the repair options available to you. This could range from simple cosmetic fixes to more extensive repairs or even a complete replacement of the bathtub.
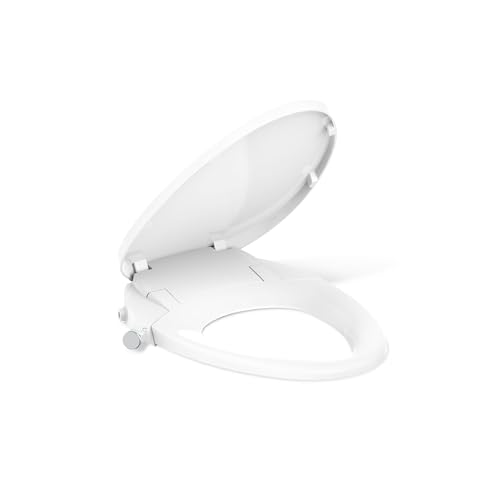
Kohler PureWash M300 Manual Elongated Bidet Toilet Seat, Chrome Handle, Quiet-Close Lid Prevents Slamming, Toilet Bidet, Easy Installation with Quick-Release Hinges, Self-Cleaning Wand
The manually operated handle on this non electric bidet requires no batteries or electrical power. The Quiet-Close� elongated...
As an affiliate, we earn on qualifying purchases.
Gathering the Necessary Tools and Materials
To get started, you’ll need a few tools and materials for the task at hand. Here’s a list of necessary tools and required materials:
- Adjustable wrench: This will help you loosen and tighten the nuts and bolts.
- Screwdriver: You’ll need this to remove any screws holding the bathtub in place.
- Pry bar: Use this to pry off any caulking or adhesive that may be securing the bathtub.
- Safety goggles and gloves: It’s important to protect your eyes and hands throughout the process.
Now that you have gathered all the necessary tools and materials, you can move on to disconnecting the plumbing and water supply. This step is crucial before removing the old bathtub to avoid any potential water damage or leaks.

Clirass Bidet Toilet Seat, Soft Close Elongated Toilet Seat, Button control Feminine/Posterior Wash Switch, Knob Control Water Pressure,White Bidet Seat Attachment with Brass inlet Easy Installation
Dual Nozzles Bidet Function: The elongated toilet seat can be chosen from feminine wash, rear wash and nozzles...
As an affiliate, we earn on qualifying purchases.
Disconnecting the Plumbing and Water Supply
Before you can remove an old bathtub, there are several steps you need to take to disconnect the plumbing and water supply.
First, you’ll need to shut off the water supply to the bathroom.
Then, you’ll disconnect the drain pipe from the bathtub, ensuring that any remaining water is drained.
Lastly, you’ll remove the faucet connections, disconnecting them from the bathtub to fully disconnect the plumbing.
Shutting off Water Supply
First, make sure you shut off the water supply before attempting to remove the old bathtub. This is an important step to prevent any water leakage or accidents during the removal process. Here’s a step-by-step guide to help you shut off the water supply:
-
Locate the main water shut-off valve: Typically, the shut-off valve is located near the water meter or where the main water line enters your home. It may be in the basement, crawlspace, or near the water heater.
-
Turn off the water supply: Rotate the valve clockwise until it is fully closed. This will shut off the water supply to your entire house.
-
Open faucets to relieve pressure: To ensure that no water remains in the pipes, open the faucets in your bathroom and let the water drain out.
-
Test the water supply: Check if the water supply is fully shut off by turning on a faucet. If no water flows, then the water supply has been successfully shut off.
Disconnecting Drain Pipe
Once you’ve shut off the water supply, you can start by disconnecting the drain pipe. To do this, you’ll need a pipe wrench and a bucket to catch any water that may still be in the pipe.
First, place the bucket under the pipe to catch any water that may come out. Then, using the pipe wrench, loosen the nut that connects the drain pipe to the bathtub drain. Turn it counterclockwise until it is loose enough to remove by hand. Be careful not to apply too much force to avoid damaging the pipe or causing any leaks.
Once the nut is removed, gently pull the drain pipe away from the bathtub. Set it aside for now, as you will need to remove the caulk around the drain before reinstalling it.
With the drain pipe disconnected, you can now move on to removing the faucet connections.
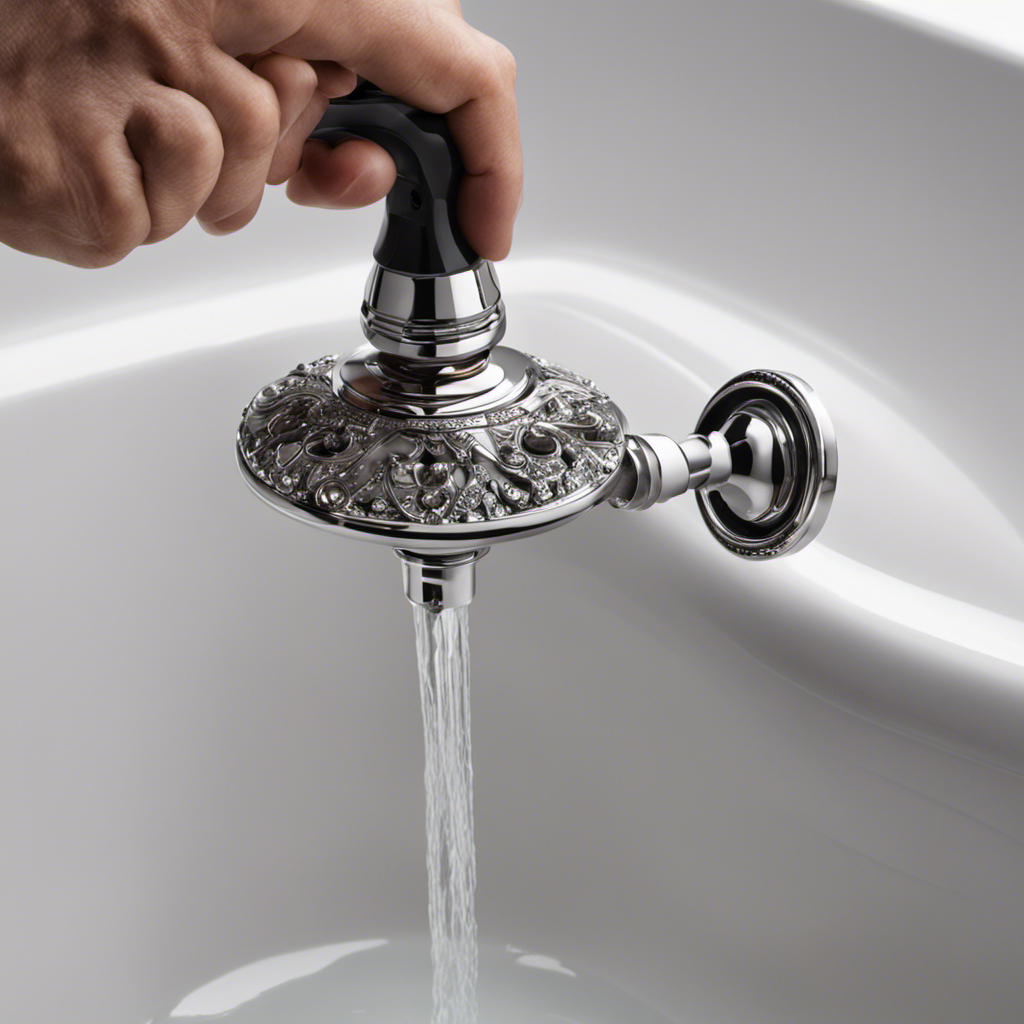
Removing Faucet Connections
To remove the faucet connections, you’ll need to use a wrench to loosen the nuts that secure them in place. Follow these steps to successfully remove the faucet connections during your bathtub replacement project:
-
Turn off the water supply: Before you begin, it is crucial to shut off the water supply to prevent any water damage or leaks.
-
Locate the nuts: Look underneath the sink and find the nuts securing the faucet connections. They are usually located where the water pipes meet the faucet.
-
Loosen the nuts: Using a wrench, turn the nuts counterclockwise to loosen them. Be careful not to apply too much force to avoid damaging the pipes or the faucet.
-
Remove the connections: Once the nuts are loose, carefully disconnect the faucet connections from the water pipes.
CLEAR REAR Elongated Bidet Toilet Seat – Non Electric Attachment for Toilets, Easy to Install Self Cleaning, Rear & Feminine Wash Nozzles, Adjustable Water Sprayer, Eco Friendly Hygienic Upgrade
EASY, NON-ELECTRIC INSTALLATION IN MINUTES: Fits most standard elongated toilets with a bowl length of approximately 18-19.5 inches....
As an affiliate, we earn on qualifying purchases.
Removing the Bathtub Surround or Tiles
You can start by using a pry bar to gently loosen the bathtub surround or tiles. Be careful not to damage the surrounding walls or the bathtub itself. Once you have loosened the surround or tiles, you can slowly pry them away from the wall, starting from the top and working your way down. Use a putty knife to help remove any adhesive or caulk that may be holding the surround or tiles in place.
When removing the bathtub surround or tiles, it is important to be cautious and take your time to avoid causing any damage. Here is a helpful table to guide you through the process:
| Step | Actions |
|---|---|
| 1 | Use a pry bar to gently loosen the surround or tiles. |
| 2 | Start from the top and work your way down, prying them away from the wall. |
| 3 | Use a putty knife to remove any adhesive or caulk. |
| 4 | Dispose of the old surround or tiles properly. |
Detaching the Bathtub From the Wall and Floor
When detaching the bathtub from the wall and floor, be sure to disconnect the plumbing fixtures and carefully lift the bathtub away from its position. Here is a step-by-step guide to help you with this process:
-
Turn off the water supply: Locate the shut-off valves for both hot and cold water and turn them off. This will prevent any water from flowing when you disconnect the plumbing fixtures.
-
Disconnect the plumbing fixtures: Use a wrench to loosen the nuts that connect the faucet, showerhead, and other fixtures to the bathtub. Once they are loose, gently remove the fixtures and set them aside.
-
Remove the bathtub feet: If your bathtub has feet, look for screws or bolts that attach them to the floor. Use a screwdriver or wrench to remove them, and carefully detach the feet from the bathtub.
-
Lift the bathtub: With the plumbing fixtures and feet removed, you can now lift the bathtub away from the wall and floor. Enlist the help of a friend to ensure that you can lift it safely without causing damage.
Dealing With Any Remaining Caulking or Adhesive
When it comes to dealing with any remaining caulking or adhesive, there are a few key points to keep in mind.
First, you’ll need to know the proper caulk removal techniques to ensure a clean and smooth surface. This can involve using a caulk removal tool, such as a razor blade or caulk scraper, to carefully scrape away the old caulk.
Next, you’ll want to tackle any adhesive residue left behind. There are various solutions available, such as adhesive removers or rubbing alcohol, that can help dissolve and remove the residue.
Lastly, it’s important to prioritize safety precautions during the removal process. This may include wearing protective gloves and goggles, ensuring proper ventilation, and being mindful of any potential hazards.
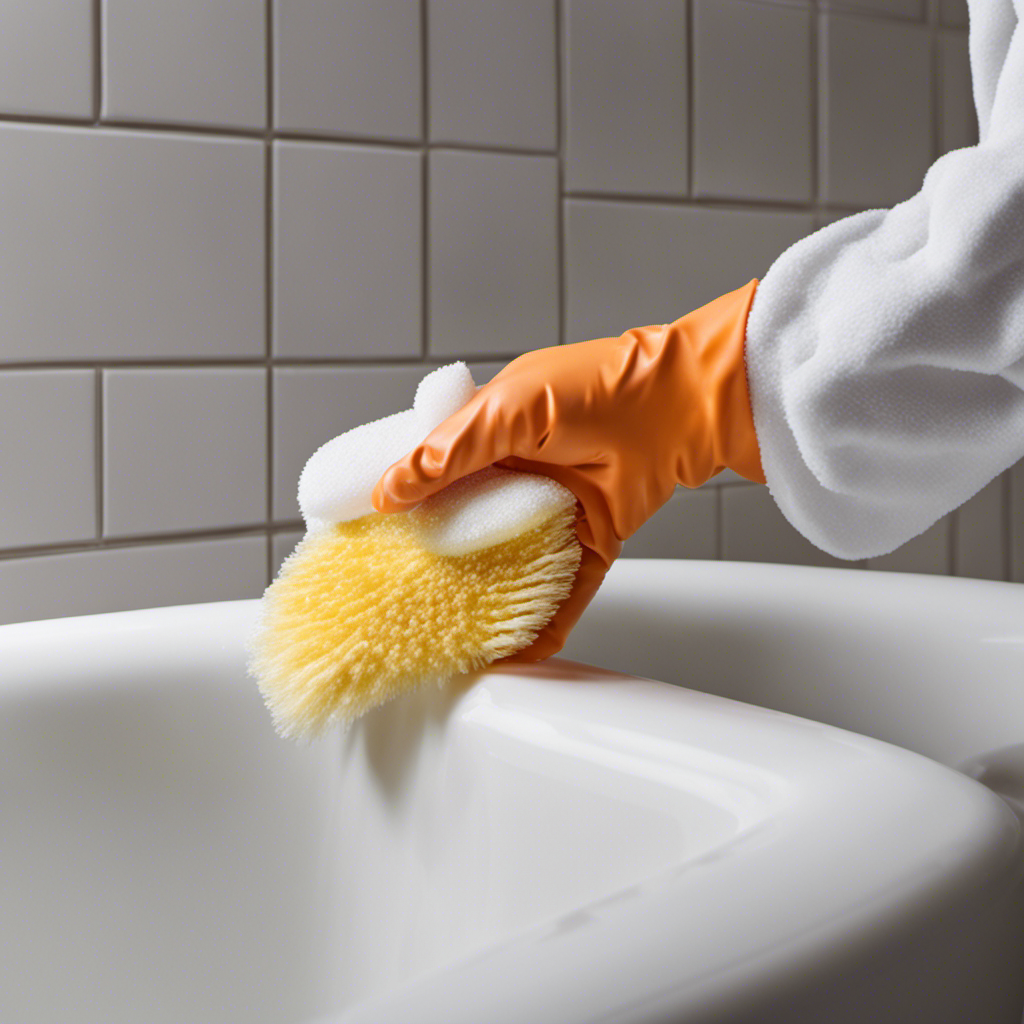
Caulk Removal Techniques
To remove old caulk from the bathtub, start by scoring it with a caulk removal tool. This will help loosen it and make removal easier.
Here are some caulk removal techniques and tools to help you with the process:
-
Score the caulk: Use a caulk removal tool to create a shallow groove along the length of the caulk.
-
Apply caulk remover: Apply a caulk remover solution or gel to the scored caulk. This will soften it and help break the bond between the caulk and the bathtub.
-
Use a caulk scraper: Once the caulk remover has done its job, use a caulk scraper to gently scrape away the softened caulk. Be careful not to damage the bathtub surface.
-
Clean and prep: Once the old caulk is removed, clean the area thoroughly and make sure it is dry before applying new caulk.
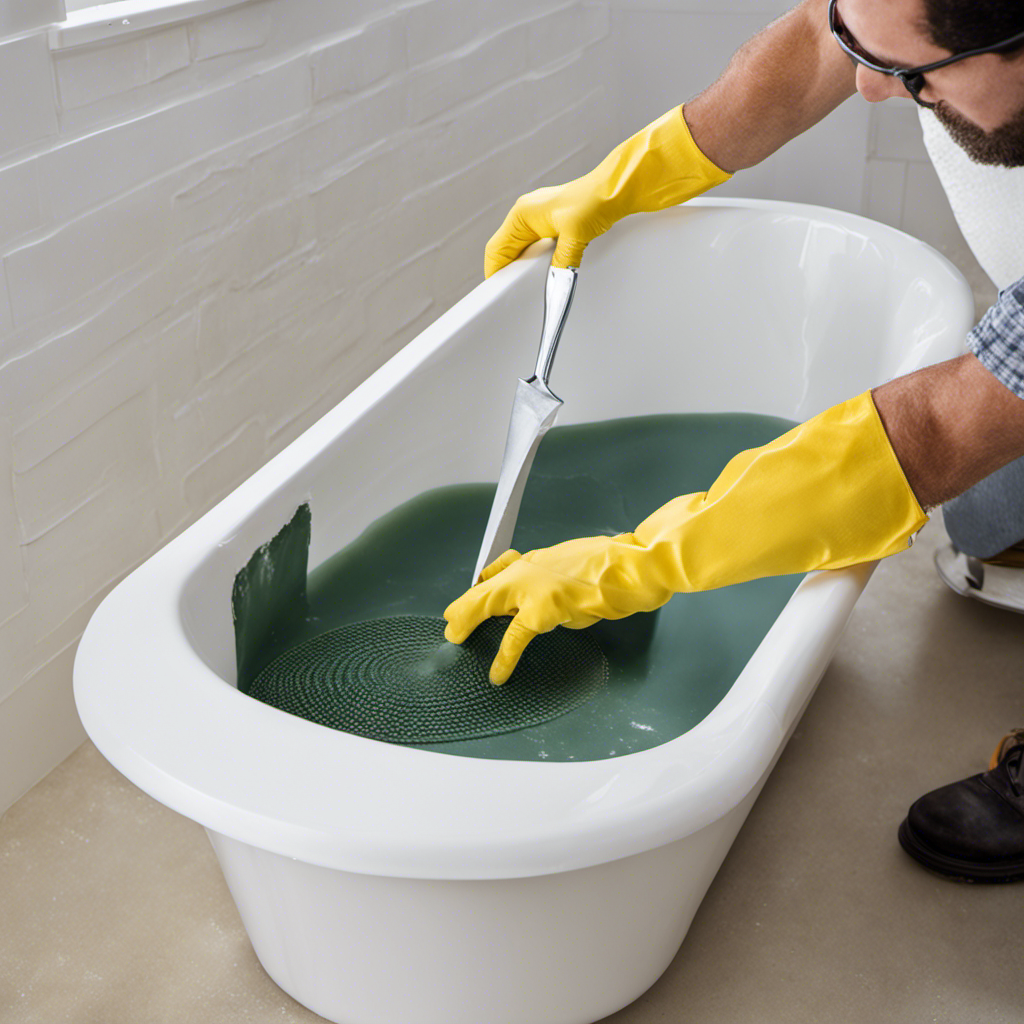
Adhesive Residue Solutions
Now that you have successfully removed the caulk from your old bathtub, it’s time to tackle the adhesive residue left behind. Removing adhesive residue can be a bit tricky, but with the right cleaning techniques, you can get rid of it easily. Here are some steps to follow:
-
Gather your supplies: You will need a plastic scraper, rubbing alcohol, a clean cloth, and warm soapy water.
-
Begin by using the plastic scraper to gently scrape off as much adhesive residue as possible. Be careful not to scratch the surface of the bathtub.
-
Next, dampen a clean cloth with rubbing alcohol and gently rub the remaining adhesive residue. The alcohol will help break down the adhesive and make it easier to remove.
-
If there is still some residue left, create a mixture of warm soapy water and use a cloth to scrub the area. Rinse the cloth frequently to avoid spreading the residue.
-
Once all the adhesive residue is gone, rinse the bathtub thoroughly with clean water and dry it with a clean towel.
Remember to be patient and gentle while removing the adhesive residue to avoid damaging the bathtub surface.
Now that your bathtub is free from adhesive residue, let’s move on to the next section where we will discuss the safety precautions to take during the removal process.
Safety Precautions for Removal
To ensure your safety during the removal process, it’s important to follow these precautions:
-
Wear appropriate safety equipment: Before starting the bathtub removal, make sure to wear protective gear such as gloves, goggles, and a dust mask. This will help protect you from any potential injuries or respiratory problems caused by dust, debris, or chemicals.
-
Use proper lifting techniques: Bathtubs can be heavy, so it’s crucial to use proper lifting techniques to avoid strain or injury. Bend your knees, keep your back straight, and lift with your legs, not your back. If the bathtub is too heavy to lift on your own, consider getting help from a friend or using lifting equipment.
-
Clear the path: Before removing the bathtub, clear the surrounding area to ensure there are no obstacles or tripping hazards. Remove any loose objects or furniture that could get in the way during the removal process.
-
Take breaks when needed: Removing a bathtub can be physically demanding. Listen to your body and take breaks when needed to prevent fatigue and reduce the risk of accidents.
Properly Disposing of the Old Bathtub
You should check with your local waste management facility for guidance on how to properly dispose of the old bathtub. They will be able to provide you with information on the proper disposal methods and recycling options available in your area.
Here is a step-by-step guide to help you understand the process:
-
Contact your local waste management facility: Reach out to them and ask about their specific guidelines for disposing of large items like bathtubs. They may have specific instructions or requirements.
-
Follow their instructions: The waste management facility will likely provide you with instructions on how to prepare the bathtub for disposal. This may include removing any fixtures, draining the tub, and cleaning it thoroughly.
-
Schedule a pickup or drop-off: Depending on your area, you may need to schedule a pickup for the old bathtub, or you may be required to drop it off at a designated location. Make sure to follow their instructions on scheduling and logistics.
-
Consider recycling options: In some cases, your waste management facility may offer recycling options for old bathtubs. This is a great way to reduce waste and contribute to sustainable practices. Ask about recycling options and see if it’s available in your area.
Properly disposing of your old bathtub is important for environmental reasons. By following these steps and checking with your local waste management facility, you can ensure that your old bathtub is disposed of in a responsible manner.
Frequently Asked Questions
How Much Does It Typically Cost to Remove an Old Bathtub?
Removing an old bathtub can vary in cost depending on factors such as location and the complexity of the removal process. The average bathtub removal cost can range from $300 to $500.
Can I Reuse the Old Plumbing Fixtures After Removing the Bathtub?
You can reuse old plumbing fixtures after removing the bathtub, but there may be potential issues. For example, the fixtures could be outdated, corroded, or incompatible with new plumbing systems.
Are There Any Safety Precautions I Should Take During the Removal Process?
To ensure safety during the removal process, there are a few precautions you should take. First, wear protective gear such as gloves and safety goggles. Second, make sure to have the necessary tools, like a pry bar and a utility knife.
Can I Remove the Old Bathtub by Myself or Do I Need to Hire a Professional?
You can remove the old bathtub by yourself, but hiring a professional is recommended for safety and efficiency. There are various DIY bathtub removal techniques available, but experts have the skills and tools to handle the job effectively.
What Are Some Alternative Options if I Don’t Want to Dispose of the Old Bathtub?
Looking to repurpose your old bathtub? Get creative and transform it into a unique piece of furniture or garden planter. With some imagination and DIY skills, you can upcycle your old tub in exciting ways!
Conclusion
Congratulations! You’ve successfully completed the process of removing your old bathtub. By following the step-by-step guide, you were able to detach the bathtub from the wall and floor, deal with any remaining caulk or adhesive, and properly dispose of the old bathtub.
Now, you can enjoy a fresh start and a brand new bathing experience. Remember, ‘Out with the old, in with the new’ – you’ve taken a significant step towards transforming your bathroom into a modern oasis.
Keep up the great work!