
Alright, folks, listen up! Today, I’m going to spill the beans on how to fix a gnarly hole in your fiberglass bathtub. Trust me, I’ve been there, and I’ve got the know-how to guide you through this sticky situation.
In this article, I’ll break down the steps you need to take, from assessing the damage to finishing and sealing the repair.
So grab your tools and let’s dive right in to make that bathtub good as new!
Key Takeaways
- Assess the size and shape of the hole and determine if there is any structural damage.
- Use a repair kit specifically designed for fiberglass repairs, including resin, hardener, cloth, and a mixing container.
- Clean and prepare the damaged area before applying the repair materials.
- Finish the repair by applying a sealant designed for fiberglass surfaces and allowing it to dry properly.

EUDELE 5-Pack Rustproof Stainless Steel Shower Caddy Set– No Drill Adhesive Bathroom Organizer, Space-Saving Shower Shelves for Apartment Essentials, Bathroom/Kitchen Storage Home Decor-L Size
5 Hanging Shower Organizer Set for Sufficient Bathroom Storage Space:The bathroom organizer comes with 5 pieces for different...
As an affiliate, we earn on qualifying purchases.
Assessing the Damage
Now, you’ll want to take a closer look at the hole to assess the damage.
When it comes to fixing a large hole in a fiberglass bathtub, it’s important to thoroughly understand the extent of the damage before proceeding with any repair techniques.
Start by examining the size and shape of the hole. Is it a clean cut or does it have jagged edges?
Next, determine if the hole has caused any structural damage to the surrounding area. Look for any signs of cracks or weakening in the fiberglass.
Assessing the damage in detail will help you determine whether you can tackle the repair yourself or if it requires professional assistance.

GoveeLife Mini Air Purifier for Bedroom, Smart Filter Air Purifier with App Alexa Control for Pet Hair, Odors, Pollen, HEPA Portable Air Cleaner with 3 Speeds, 2 Modes, Timer, Aroma for Home
App & Voice Control: Connect your smart air purifier to App for features such as power on/off, custom/sleep...
As an affiliate, we earn on qualifying purchases.
Gathering the Necessary Materials
First, you’ll need to gather all the materials you’ll need. To fix a large hole in a fiberglass bathtub, it’s important to choose the right repair kit. Look for a kit specifically designed for fiberglass repairs, as it will contain all the necessary components for a successful fix. These kits typically include a fiberglass resin, a hardener, a fiberglass cloth, and a mixing container.
Before starting the repair process, it’s crucial to clean and dry the damaged area thoroughly. Remove any loose particles or debris using a soft brush or cloth. Then, wipe the area with a clean, dry rag to ensure there is no moisture present. This will ensure proper adhesion of the repair materials and ultimately result in a long-lasting fix.

Mixing Bowls with Airtight Lids Set, 26PCS Stainless Steel Khaki Bowls with Grater Attachments, Non-Slip Bottoms & Kitchen Gadgets Set, Size 7, 4, 2.5, 2.0,1.5, 1QT, Great for Mixing & Serving
AIRTIGHT LIDS & 3 GRATER ATTACHMENTS:The airtight lids that come with this mixing bowl set make it easy...
As an affiliate, we earn on qualifying purchases.
Preparing the Surface for Repair
After gathering all the necessary materials, it’s important to prepare the surface for repair. To ensure a successful fix for the large hole in a fiberglass bathtub, proper surface preparation is crucial. Here are the steps to follow:
-
Clean the area: Begin by thoroughly cleaning the damaged area using a mild detergent and water. This will remove any dirt, grime, or soap residue that may hinder the repair process.
-
Sand the surface: Next, use a fine-grit sandpaper to gently sand the edges of the hole. This will create a smooth surface for better adhesion of the repair material.
-
Apply a primer: After sanding, apply a primer specifically designed for fiberglass surfaces. This will enhance the bonding of the repair material and ensure a long-lasting fix.
-
Fill the hole: Finally, using a fiberglass repair kit, carefully fill the hole with the repair material, following the manufacturer’s instructions. Smooth out the surface using a putty knife and allow it to dry completely before proceeding.

Knife Set, Brewin Kitchen Knife Set, Knives Set for Kitchen, Universal Knife Block, Utility Knife Block Set, New Home Essentials, Apartment Essentials, camping essentials, rv essentials
COMPLETE PROFESSIONAL SET – This Brewin knife set includes an 8” chef knife, 8” slicing knife, 8” bread...
As an affiliate, we earn on qualifying purchases.
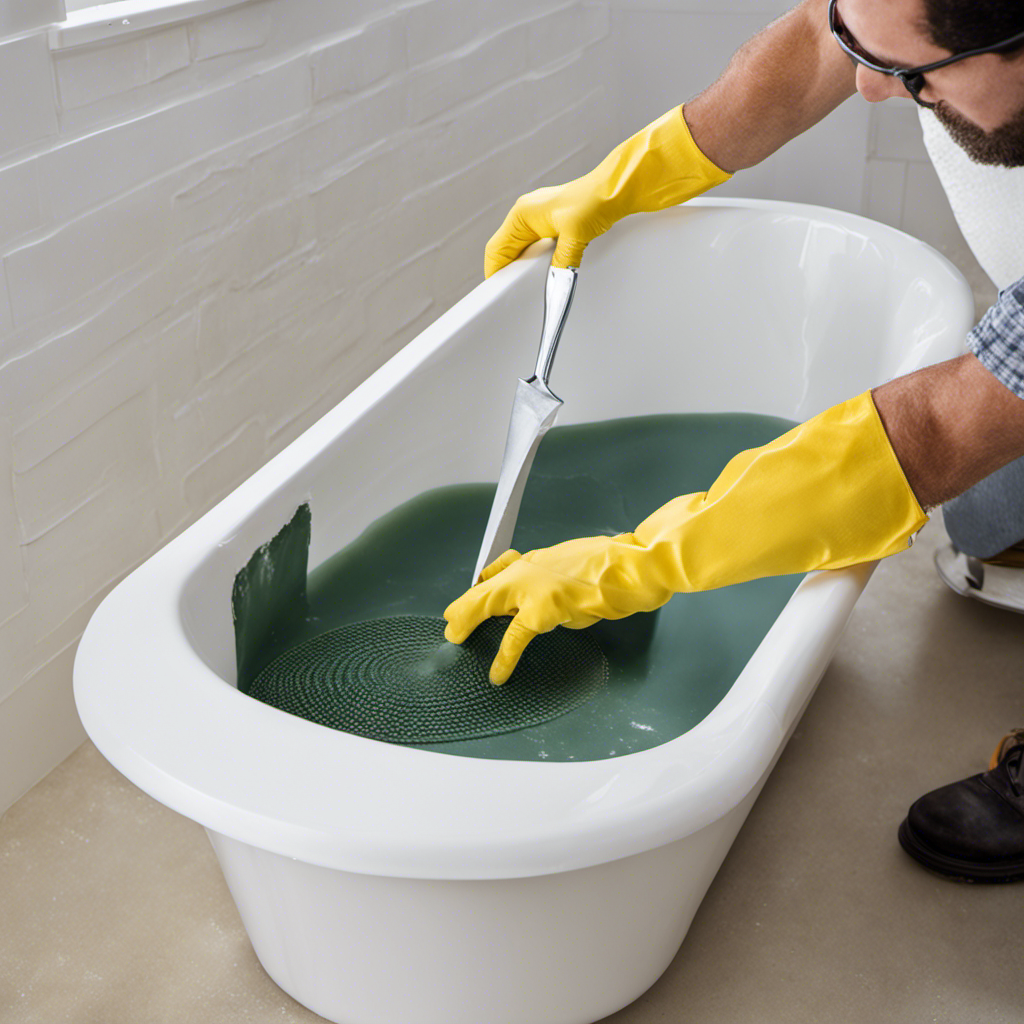
Fixing the Large Hole in the Fiberglass Bathtub
To successfully repair the damage, start by thoroughly cleaning the area using a mild detergent and water. This will ensure that the surface is free from any dirt, grime, or oils that could prevent the repair materials from adhering properly.
Once the area is clean, you can begin the process of repairing the large hole in your fiberglass bathtub. First, apply a layer of fiberglass repair filler to the damaged area, making sure to smooth it out evenly. Allow the filler to cure according to the manufacturer’s instructions.
Next, sand the repaired area to create a smooth surface. Finally, apply a layer of fiberglass resin over the repaired area to strengthen and waterproof the repair.
With proper maintenance, your fiberglass bathtub can last for many years to come.
Finishing and Sealing the Repair
Now that you’ve applied the fiberglass repair filler and sanded the area, it’s time to finish and seal the repair.
Here are some tips for achieving a smooth finish and choosing the right sealant:
-
Choose the right sealant: When it comes to sealing the repaired area, it’s important to choose a sealant specifically designed for use on fiberglass. Look for a waterproof sealant that is resistant to mold and mildew.
-
Prepare the surface: Before applying the sealant, make sure the repaired area is clean and free from any dust or debris. Use a damp cloth to wipe down the surface, and let it dry completely.
-
Apply the sealant: Use a caulk gun to apply a thin, even layer of sealant over the repaired area. Start from one end and work your way to the other, ensuring full coverage.
-
Smooth and finish: Use a putty knife or your finger to smooth out the sealant and create a seamless finish. Wipe away any excess sealant and let it dry according to the manufacturer’s instructions.
Conclusion
In conclusion, fixing a large hole in a fiberglass bathtub is a task that can be accomplished with the right materials and techniques. By assessing the damage, gathering the necessary materials, preparing the surface, and fixing the hole, you can restore your bathtub to its former glory.
Remember to finish and seal the repair to ensure its longevity. Following these steps will help you successfully repair your bathtub and enjoy the benefits of a fully functional and beautiful bathroom fixture.