Are you tired of dealing with a leaky bathtub? It’s time to take matters into your own hands and reseal that tub!
In this article, we will guide you through the step-by-step process of resealing your bathtub, ensuring a watertight seal that lasts. Get ready to roll up your sleeves and gather your tools because we’re about to dive into the world of bathtub resealing.
Say goodbye to pesky leaks and hello to a beautifully sealed bathtub!
Key Takeaways
- Inspect the bathtub sealant for wear and tear, cracks, gaps, discoloration, and mold growth.
- Gather the necessary tools and materials including a caulk gun, putty knife, silicone caulk, caulk remover, and cleaning solution.
- Prepare the bathtub by cleaning it thoroughly and removing any old sealant residue.
- Ensure the bathtub surface is completely dry before applying the new sealant to ensure a proper seal.
Assessing the Condition of the Bathtub Sealant
First, take a close look at the bathtub sealant to see if it needs to be resealed. Assessing the effectiveness of the sealant is crucial before proceeding with any repairs.
Start by inspecting the sealant for any visible signs of wear and tear, such as cracks or gaps. These can allow water to seep through and cause damage to the surrounding areas. Additionally, check for discoloration or mold growth, as these indicate moisture penetration.
Troubleshooting sealant issues requires a keen eye and attention to detail. Look for any areas where the sealant has become loose or separated from the surface. If you notice any of these issues, it is a clear indication that the sealant needs to be resealed.
Moving forward, gather the necessary tools and materials to begin the resealing process.
Gathering the Necessary Tools and Materials
When it comes to resealing your bathtub, there are a few essential tools that you’ll need to gather. These include a caulk gun, a putty knife, and a utility knife.
In addition to the tools, you’ll also need to gather the required materials such as silicone caulk, caulk remover, and a cleaning solution.
Essential Tools for Resealing
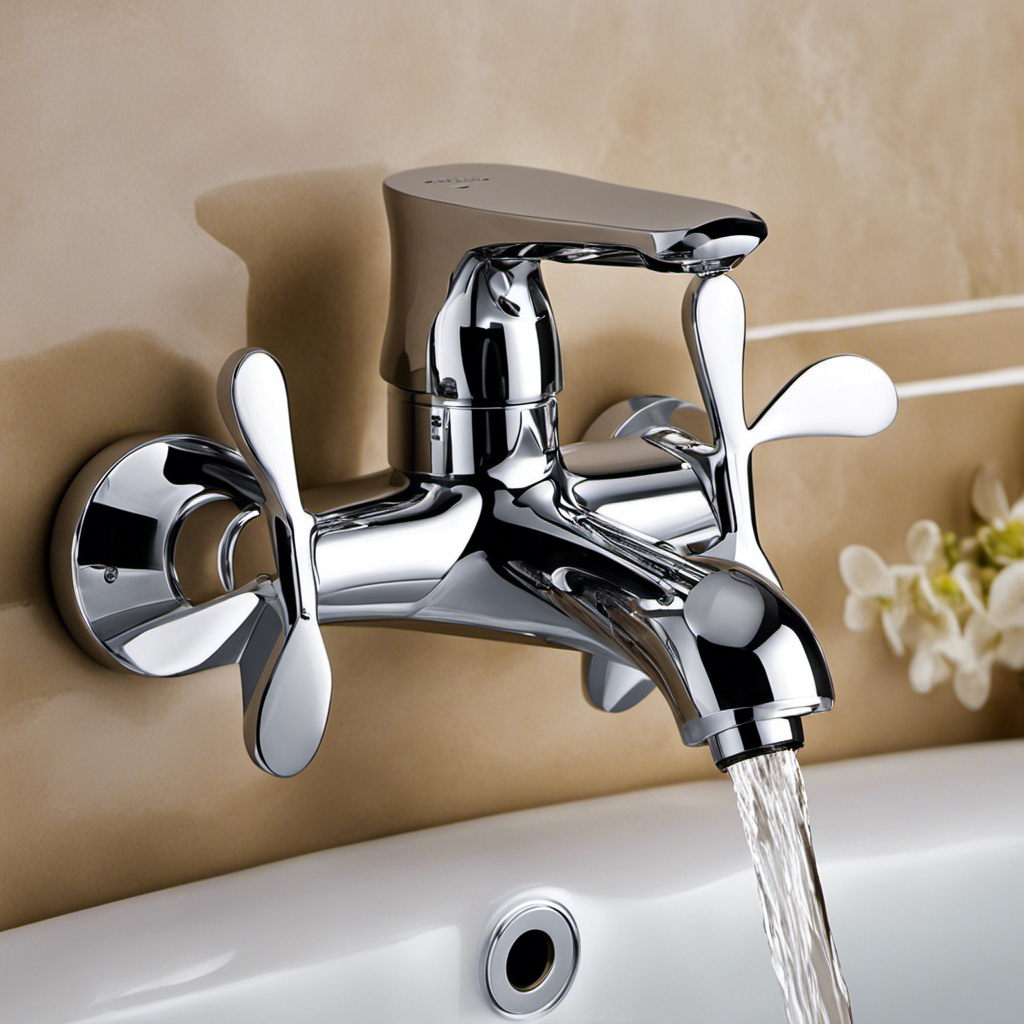
To reseal your bathtub, you’ll need a few essential tools like a caulk gun and silicone caulk. These tools are crucial for achieving a proper seal and preventing water leakage. The caulk gun allows for precise application of the silicone caulk, ensuring a watertight seal. In addition to these tools, it’s important to select the appropriate sealant for your bathtub. Silicone caulk is the most commonly used sealant due to its durability and water resistance. It is flexible, allowing for expansion and contraction of the bathtub without compromising the seal. When selecting a sealant, consider the color and type of caulk that matches your bathtub. By using these essential tools and selecting the right sealant, you can effectively reseal your bathtub and prevent any future water damage.
| Tools | Materials |
|---|---|
| Caulk gun | Silicone caulk |
| Putty knife | Rag or paper towel |
| Scrub brush | Caulk remover |
| Safety goggles | Painter’s tape |
| Gloves |
Required Materials for Resealing
Make sure you have all the necessary materials like a caulk gun, silicone caulk, putty knife, scrub brush, safety goggles, gloves, and painter’s tape.
Choosing the right sealant is crucial for a successful resealing project. Look for a silicone caulk specifically formulated for bathroom use, as it is resistant to moisture and mold. This will ensure a long-lasting seal that prevents leaks and water damage. Additionally, consider the color of the caulk to match your bathtub and bathroom décor.
Tips for a successful resealing project include thoroughly cleaning the area before applying the caulk, using painter’s tape to create clean lines, and wearing safety goggles and gloves to protect yourself.
Now that you understand the importance of choosing the right sealant, let’s move on to gathering the right supplies.
Gathering the Right Supplies?
First, make sure you have all the necessary materials for the resealing project. This includes a caulking gun, a utility knife, a scraper, a cleaning solution, and of course, the right sealant.
When choosing the sealant, it’s important to consider the type of bathtub you have. For acrylic or fiberglass tubs, a silicone-based sealant is recommended, while for porcelain or ceramic tubs, a latex or acrylic caulk is more suitable.
Avoiding common mistakes is crucial for a successful resealing job. One common mistake is applying too much sealant, which can lead to a messy finish and difficulty in cleaning. Another mistake is not properly cleaning and preparing the surface before applying the sealant, which can result in poor adhesion.
By taking the time to gather the right supplies and avoiding these common mistakes, you’ll ensure a smooth and long-lasting resealing project.
Next, you’ll need to prepare the bathtub for resealing.
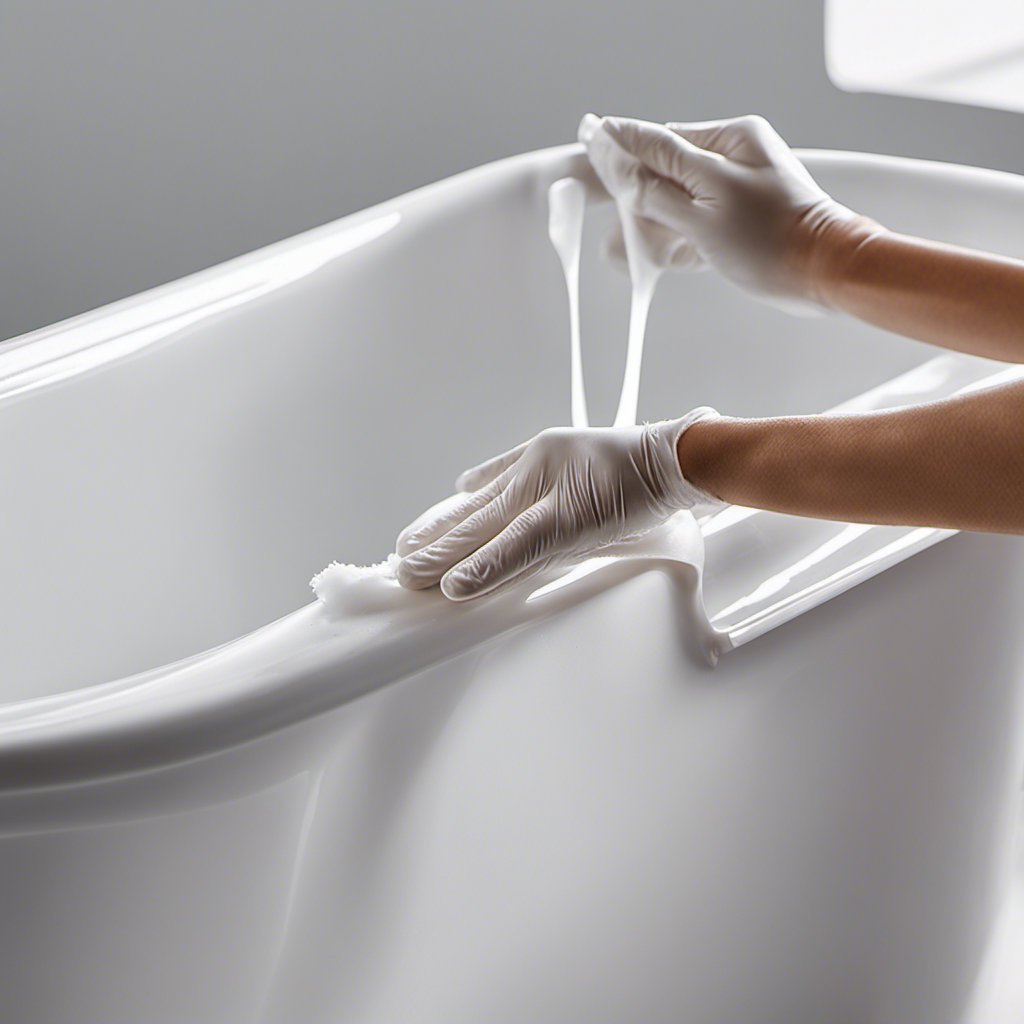
Preparing the Bathtub for Resealing
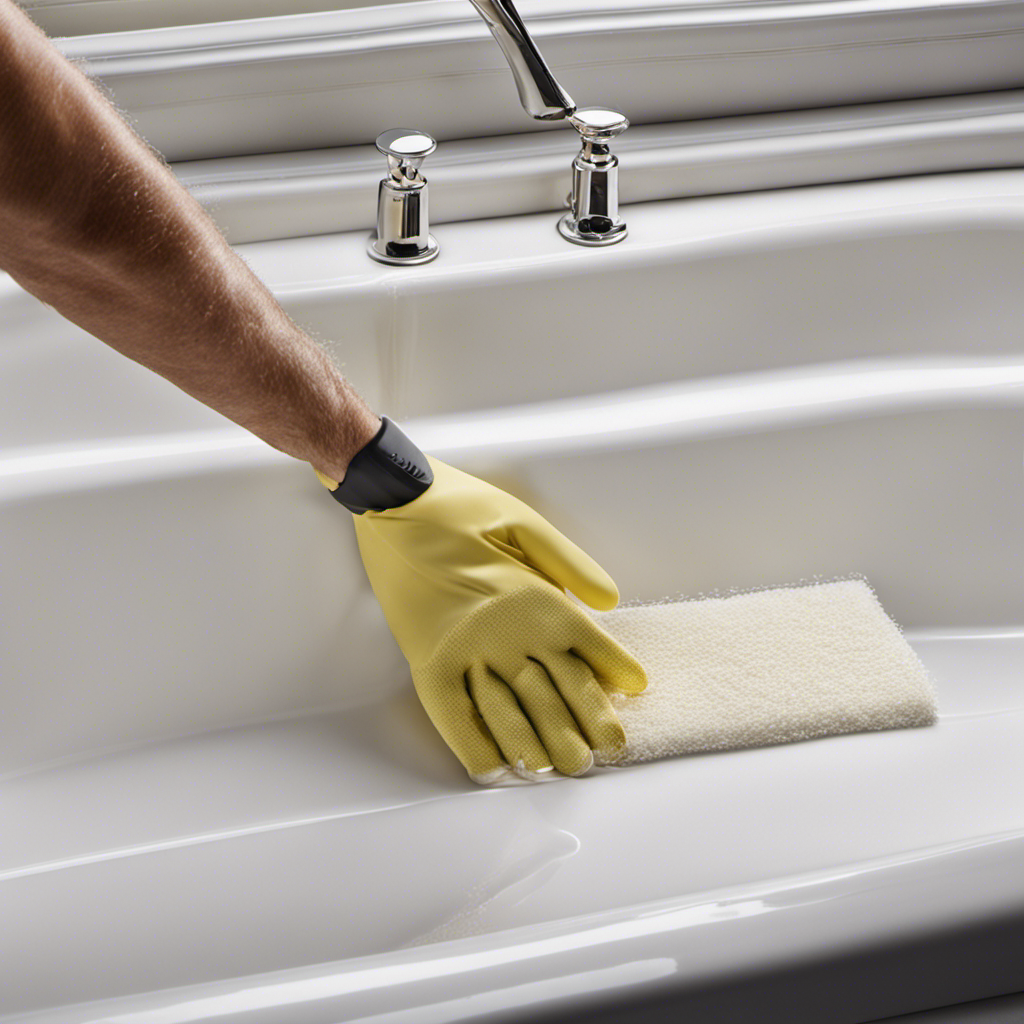
Before you begin, ensure that the bathtub is completely clean and free of any debris or old sealant residue.
Start by gathering the necessary cleaning tools such as a scrub brush, mild detergent, and a sponge.
Fill the tub with warm water and add the detergent to create a soapy solution.
Use the scrub brush to thoroughly scrub the entire surface of the bathtub, paying special attention to any areas with stubborn stains or build-up.
Rinse the tub with clean water to remove any soap residue.
Next, inspect the bathtub for any old sealant residue.
Use a scraper or putty knife to carefully remove any remaining sealant.
Once the tub is clean and free of debris, it is ready for the resealing process.
Removing the Old Sealant
When it comes to removing old sealant from your bathtub, it is crucial to follow proper procedures to ensure a clean and smooth surface for resealing.
One of the key points to consider is the proper sealant removal technique, which involves using the right tools and methods to avoid damaging the bathtub surface.
In order to achieve a successful removal, you will need a combination of tools such as a utility knife, a caulk scraper, and a heat gun to soften and scrape off the old sealant.
Proper Sealant Removal
To properly remove the sealant, you’ll need a putty knife or a scraper. Begin by carefully inserting the edge of the tool into the sealant and gently prying it away from the surface.
Here are some sealant removal techniques to ensure a smooth process:
- Use a heat gun or a hairdryer to soften the sealant before scraping.
- Apply a sealant remover solution to dissolve the sealant and make it easier to remove.
To prevent future sealant damage, follow these steps:
- Clean the area thoroughly before applying new sealant to ensure proper adhesion.
- Use a high-quality silicone sealant that is specifically designed for bathrooms.
- Regularly inspect the sealant and reapply if any cracks or gaps are noticed.
Tools for Removing Sealant
One option for removing sealant is to use a putty knife or scraper. These tools are essential for effectively cutting through the old sealant and scraping it away from the surface. A putty knife with a sharp edge is particularly useful for getting into tight corners and crevices.
When using a scraper, make sure to apply even pressure and work in a slow and controlled manner to avoid damaging the bathtub or surrounding areas.
Additionally, there are alternative sealant removal options available, such as using a heat gun or chemical sealant removers. A heat gun can soften the sealant, making it easier to remove, while chemical sealant removers dissolve the sealant for effortless removal. Always follow the manufacturer’s instructions when using these alternative methods.
Cleaning and Drying the Bathtub Surface
After wiping down the bathtub surface, make sure it’s completely dry before proceeding. Moisture can hinder the effectiveness of the sealant and lead to mold growth, so thoroughly drying the surface is crucial. Here are some steps to ensure your bathtub is properly cleaned and dried:
- Cleaning Techniques:
- Use a mild detergent or bathroom cleaner to remove any dirt, soap scum, or residue from the surface.
- Scrub the bathtub using a soft-bristle brush or sponge to ensure all areas are thoroughly cleaned.
Preventing Mold Growth:
- Rinse the bathtub with warm water to remove any remaining cleaner.
- Dry the surface with a clean towel or allow it to air dry completely before applying the new sealant.
Choosing the Right Sealant for the Job
When choosing the right sealant for the job, it’s important to consider factors such as durability, waterproofing capabilities, and compatibility with your bathtub surface. Not all sealants are created equal, so it’s crucial to choose the one that will provide long-lasting protection and a seamless finish. Here are some tips to help you make the right choice:
| Sealant Type | Durability | Waterproofing Capabilities | Compatibility with Bathtub Surface |
|---|---|---|---|
| Silicone-based | Excellent | Excellent | Best for non-porous surfaces |
| Acrylic-latex | Good | Good | Suitable for most surfaces |
| Epoxy | Excellent | Excellent | Ideal for high-moisture areas |
Applying the New Sealant to the Bathtub
When it comes to resealing your bathtub, choosing the right sealant is crucial. There are various options available, but the best sealant for this job is a silicone-based one, as it offers excellent water resistance and durability.
However, applying the sealant correctly is just as important as selecting the right one. To ensure a successful seal, make sure to clean and dry the surface thoroughly before applying the sealant and use a caulking gun for precise application.
Best Sealant Options
To achieve the best seal for your bathtub, you should consider using silicone or acrylic caulk. Both options have their own pros and cons, so it’s important to choose the one that suits your needs best.
Here are some of the best sealant brands and the advantages and disadvantages of each type:
- Silicone Caulk:
Pros: - Excellent flexibility, allowing for movement without cracking.
- Great water resistance, preventing leaks and mold growth.
- Long-lasting durability, making it ideal for high-moisture areas.
Cons:
-
Longer curing time compared to other types of caulk.
-
Can be more challenging to apply due to its sticky nature.
-
Acrylic Caulk:
Pros: -
Quick drying time, allowing for faster completion of the project.
-
Easy application, making it suitable for beginners.
-
Can be painted over, providing a seamless finish.
Cons:
- Not as flexible as silicone, which may lead to cracking over time.
- Less water resistance, requiring more frequent resealing in wet areas.
Consider these factors when choosing the best sealant for your bathtub.
Applying Sealant Correctly
Now that you have chosen the best sealant for your bathtub, it’s time to move on to the next step: applying the sealant correctly. Before you begin, gather all the necessary supplies, such as a caulking gun, a utility knife, and a scraper.
First, use the scraper to remove any old sealant or residue from the bathtub surface. Make sure the area is clean and dry before proceeding.
Next, load the caulking gun with the sealant cartridge and cut off the tip at a 45-degree angle. Apply steady pressure on the trigger to release a consistent bead of sealant along the joint or crack in the bathtub.
Using your finger or a wet sponge, smooth out the sealant to create a neat, even finish. Be sure to work quickly, as the sealant can dry fast.
Once you have applied the sealant, let it cure according to the manufacturer’s instructions before using the bathtub again.
Smoothing Out the Sealant for a Professional Finish
You can achieve a professional finish by carefully smoothing out the sealant with a caulk smoothing tool. This tool is specifically designed to help you achieve smooth and even lines, ensuring that your bathtub resealing project looks seamless and polished.
Here are some techniques to consider when smoothing out the sealant:
-
Apply light pressure: Use the caulk smoothing tool to gently press down on the sealant, moving it along the joint in one continuous motion. Applying too much pressure can cause the sealant to spread unevenly or become lumpy.
-
Angle the tool: Hold the caulk smoothing tool at a slight angle to the surface, allowing the edges of the tool to glide smoothly over the sealant. This will help create a clean and professional look.
-
Remove excess sealant: After smoothing out the sealant, use a damp cloth or sponge to remove any excess that may have accumulated. This will further enhance the finish and ensure a neat appearance.
Allowing the Sealant to Dry Properly
After applying the sealant, it’s important to allow it to dry properly before using the area. The drying process is crucial for ensuring a long-lasting and effective seal.
One common mistake people make is not giving the sealant enough time to dry completely. Rushing the process can result in a weak and ineffective seal, which can lead to water leakage and damage to the bathtub.
To avoid this, it’s recommended to follow the manufacturer’s instructions regarding the drying time. Typically, it takes about 24 to 48 hours for the sealant to dry completely. During this time, it’s important to avoid using the bathtub or exposing it to any moisture.
Once the sealant has dried properly, you can proceed to the next step, which is inspecting the newly sealed bathtub for any imperfections.
Inspecting the Newly Sealed Bathtub for Any Imperfections
To ensure a quality seal, take a close look at the newly sealed area for any imperfections. Inspecting imperfections is crucial to ensure that your bathtub remains leak-free and properly sealed. Here’s what you should do:
- Start by visually examining the sealed area:
- Look for any visible gaps or cracks in the sealant.
- Check if the sealant is evenly applied across the surface.
- Ensure that there are no air bubbles trapped within the sealant.
Next, perform a leak test:
- Fill the bathtub with water and let it sit for a few hours.
- Monitor the sealed area for any signs of water leakage.
- Use a tissue paper or a dry cloth to check for any moisture around the sealant.
Maintaining the Bathtub Sealant for Long-Lasting Results
Maintaining the bathtub sealant is essential for ensuring long-lasting results without the need to reseal the area.
To start, choosing the right sealant color is key in maintaining the overall aesthetic of your bathroom. When selecting a sealant, opt for one that matches or complements the color of your bathtub or tiles. This attention to detail will ensure a seamless and polished look.
Additionally, regularly cleaning and drying the sealed area is crucial for preventing mold growth. After every use, wipe down the bathtub and surrounding sealant with a mild cleaner to remove any soap scum or moisture. This simple routine will help keep your bathtub sealant in excellent condition and prevent any unwanted mold or mildew from developing.
Frequently Asked Questions
How Long Does the New Sealant Need to Dry Before Using the Bathtub Again?
The drying time for the new sealant before using the bathtub again depends on the specific product you use. Follow the instructions for proper application to ensure the sealant sets and dries thoroughly.
Can I Use Regular Bathroom Caulk Instead of Bathtub Sealant?
Using regular bathroom caulk instead of bathtub sealant has its pros and cons. It may be more convenient, but it might not provide the same level of durability and waterproofing. Consider the long-term implications before making a decision.
Is It Necessary to Remove All of the Old Sealant Before Applying the New One?
Before applying new sealant on your bathtub, it is necessary to remove all of the old sealant to ensure proper adhesion. Removing residue can be done using a putty knife or alternative methods.
How Often Should I Reseal My Bathtub?
To maintain bathtub sealant, it’s best to reseal every 1-2 years. Start by removing old sealant, cleaning and drying the area. Apply new sealant evenly, making sure to follow manufacturer instructions for best results.
Can I Use a Hairdryer to Speed up the Drying Process of the Sealant?
Using a hairdryer to speed up the drying process of sealant can be tempting, but it’s not recommended. The heat may cause the sealant to dry unevenly, leading to poor adhesion and potential leaks.
Conclusion
In conclusion, resealing your bathtub is a simple and effective way to maintain its condition and prevent water damage. By following the steps outlined in this article, you can achieve a professional finish and ensure long-lasting results.
Did you know that according to a study conducted by the National Association of Home Builders, bathrooms are one of the most commonly remodeled rooms in a home, with bathtub resealing being a popular DIY project? Taking the time to properly reseal your bathtub will not only improve its appearance but also increase the value of your home.
So grab your tools and get started on resealing your bathtub today!