
Have you ever been frustrated by a leaky bathtub faucet?
Well, I’ve got good news for you! In this article, I’m going to share with you step-by-step instructions on how to stop that annoying drip.
With just a few simple tools and materials, you’ll be able to fix the problem in no time.
So, let’s get started and put an end to that pesky leak once and for all!
Key Takeaways
- Turn off the water supply to prevent further leaking.
- Examine the faucet handle and surrounding area for visible signs of leakage.
- Disassemble the faucet to inspect the inner components if the leak persists.
- Repair or replace faulty components to restore proper faucet functioning and prevent future leaks.

Enhon 2 Set Tub Spout Diverter Repair Kit, Includes 2 x Diverter Valve Stems, 2 x Cup Seals and 2 x Gates, Bathroom Shower Bathtub Leaky Faucet Repair Replacement Parts (Chrome,Classic)
- Universal Fit: Compatible with most standard tub spouts
- Leak Repair Solution: Stops bathtub spout leaks effectively
- Durable Materials: Made of metal, plastic, and rubber for longevity
As an affiliate, we earn on qualifying purchases.
As an affiliate, we earn on qualifying purchases.
Identifying the Source of the Leak
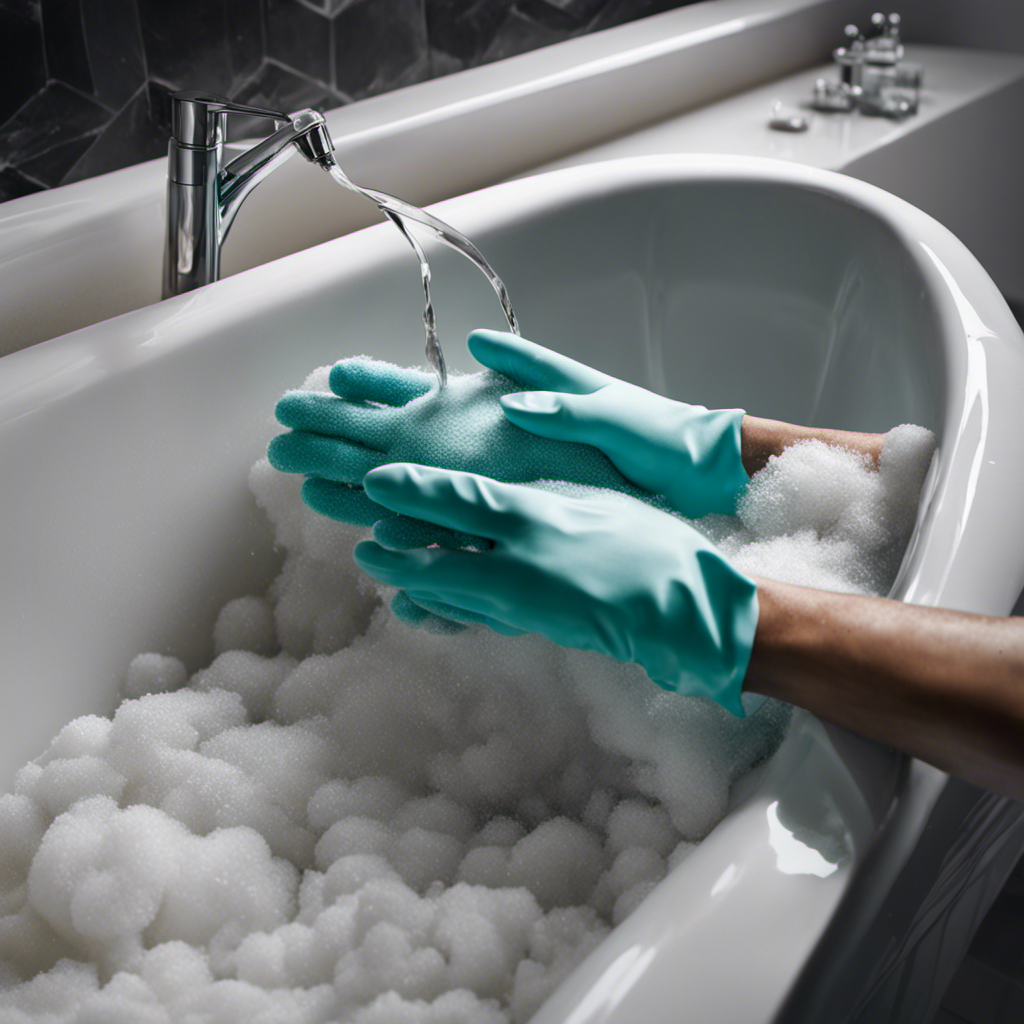
First, you’ll want to turn off the water supply to your bathtub to prevent any further leaking.
Identifying the source of the leak is crucial in order to fix it properly. There are several common causes for a leaky bathtub faucet, such as a worn-out washer, a faulty valve, or a damaged cartridge.
To troubleshoot the issue, start by examining the faucet handle and the area surrounding it for any visible signs of leakage. Next, check for any loose connections or damaged parts.
If the leak persists, you may need to disassemble the faucet to inspect the inner components more thoroughly. Once you have identified the source of the leak, you can move on to gathering the necessary tools and materials to fix it.
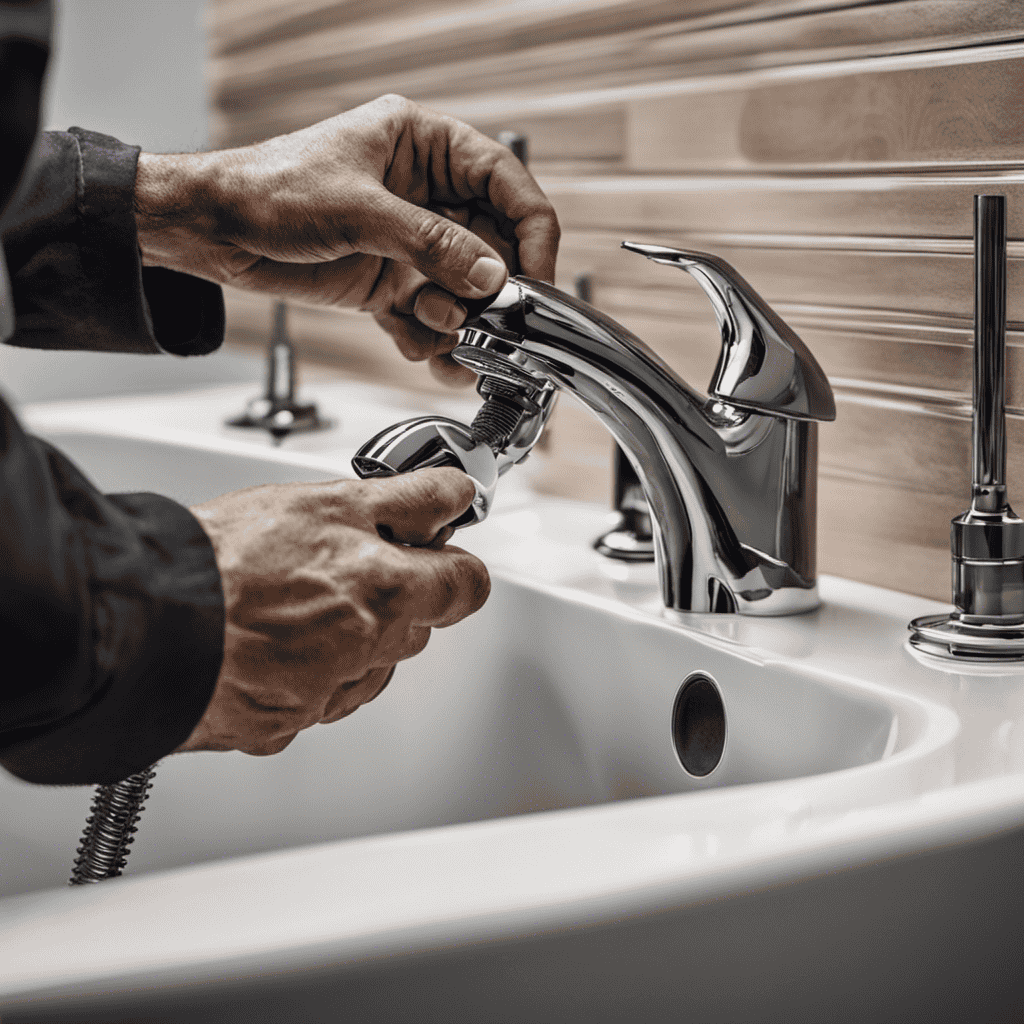
Gathering the Necessary Tools and Materials
Next, you’ll need to gather the necessary tools and materials for fixing the issue. Here’s what you’ll need:
- Adjustable wrench: This versatile tool will help you loosen and tighten various components of the faucet.
- Replacement parts: Depending on the specific issue, you may need to replace a worn-out washer, O-ring, or valve seat. Make sure to get the correct parts for your faucet model.
- Plumber’s tape: This thin, white tape is essential for creating a watertight seal on threaded connections.
Proper maintenance routines are crucial for preventing future leaks. Regularly inspect your bathtub faucet for any signs of wear or damage. Make sure to clean and lubricate the components, as dirt and debris can cause leaks over time.
Additionally, consider installing a water-saving aerator to reduce water pressure and strain on the faucet. By taking these preventive measures, you can prolong the lifespan of your faucet and avoid costly repairs in the future.
Shutting off the Water Supply
To prevent any water damage, you should begin by shutting off the main water supply to your home. This is an essential step in stopping the leaky bathtub faucet and preventing future leaks.
By turning off the water supply, you ensure that no water continues to flow into the faucet, allowing you to work on fixing the problem without any further damage.
It is important to locate the main water shut-off valve, usually found near the water meter or where the main water line enters your home.
If you are unsure about shutting off the water supply or if the leak seems complicated, it is advisable to hire a professional plumber who has the expertise to handle the issue effectively and efficiently.
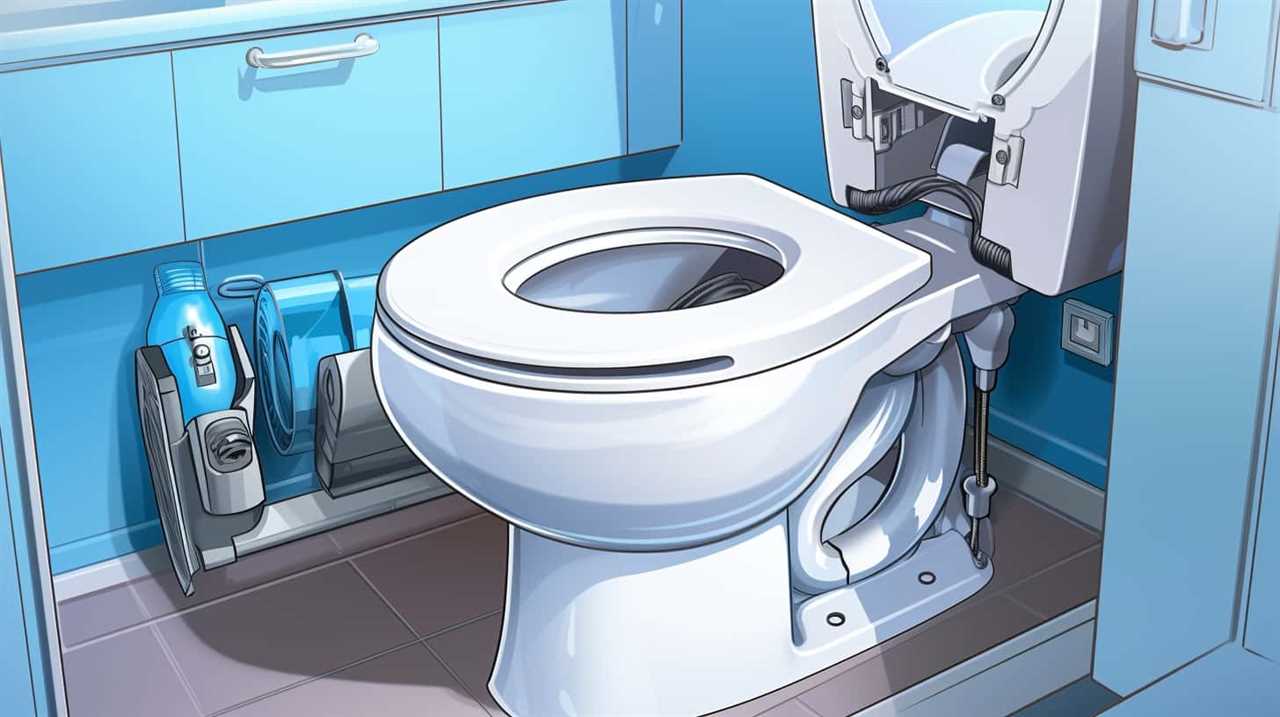
Disassembling the Faucet
Once you’ve shut off the water supply, you can begin disassembling the faucet to locate the source of the leak. Here’s how you can do it:
-
Remove the handle: Use a screwdriver or an Allen wrench to remove the handle by loosening the screw or set screw that holds it in place.
-
Take off the trim and escutcheon plate: These are usually held in place by screws. Remove them carefully to expose the valve.
-
Fix the valve and replace the washer: Inspect the valve for any signs of damage or corrosion. If necessary, replace the washer by unscrewing the valve stem and removing the old washer. Install a new one and reassemble the faucet.
Repairing or Replacing Faulty Components
Repairing or replacing faulty components can help restore the proper functioning of the faucet and prevent any future leaks. When troubleshooting common faucet issues, it’s important to identify the specific component causing the problem. Here is a table that outlines the most common components and their potential issues:
| Component | Potential Issues |
|---|---|
| Washers | Worn out, causing dripping or leaking |
| O-rings | Damaged, leading to leaks around the handle |
| Cartridge | Clogged or worn out, resulting in inconsistent water flow |
| Valve Seat | Corroded, causing leaks near the spout |
To choose the right replacement parts, it’s crucial to identify the brand and model of your faucet. This information can be found on the faucet itself or in the owner’s manual. Once you have the necessary information, you can easily find the appropriate replacement parts at a local hardware store or online. Remember to turn off the water supply before starting any repairs or replacements.
Frequently Asked Questions
How Long Does It Typically Take to Repair a Leaky Bathtub Faucet?
On average, it takes about an hour to repair a leaky bathtub faucet. The most common causes of these leaks are worn-out washers or O-rings. It’s important to fix them promptly to conserve water.
Are There Any Specific Safety Precautions to Keep in Mind While Disassembling the Faucet?
When disassembling a faucet, it’s crucial to prioritize safety precautions. Always remember to turn off the water supply, wear protective gloves, and use the appropriate tools to avoid any accidents or damage.
Can I Use Regular Household Tools Instead of Specialized Plumbing Tools?
Using regular household tools for a leaky bathtub faucet has its pros and cons. While it may save money, specialized plumbing tools ensure a more precise and efficient repair.
Is It Possible to Replace Just One Component of the Faucet Instead of the Entire Unit?
Yes, it is possible to replace just one component of a leaky bathtub faucet instead of replacing the entire unit. However, it is recommended to hire a professional plumber for this job to ensure proper installation.
What Should I Do if I Notice Additional Leaks or Issues After Repairing the Faucet?
If I notice additional leaks or issues after repairing the faucet, I should check for possible causes such as loose connections or damaged parts. Troubleshooting tips may include tightening connections or replacing faulty components.
Conclusion
So there you have it, folks! After carefully identifying the source of the leak in your bathtub faucet and gathering the necessary tools and materials, shutting off the water supply was a crucial step in ensuring a successful repair.
By disassembling the faucet and inspecting each component, you were able to pinpoint and fix the faulty parts.
Remember, a stitch in time saves nine, so don’t let that leaky faucet go unattended for too long.
Happy fixing!