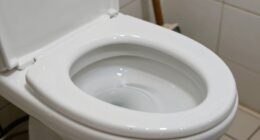
So, you’re tired of that old, grimy bathtub drain cover staring back at you every time you shower? Well, fear not, because I’ve got just the solution for you.
In this article, I’ll guide you through the step-by-step process of removing a bathtub drain cover like a pro.
With a few simple tools and a little know-how, you’ll have that drain cover off in no time, revealing a fresh, clean surface that will make your bathroom shine.
Let’s get started!
Key Takeaways
- Using the right tools and applying enough pressure is important for removing a bathtub drain cover
- Using lubricants like WD-40 and heating the drain cover with a hairdryer can make it easier to remove
- Gripping and twisting off the drain cover with pliers or using a rubber jar opener can help with removal
- Identifying the type of drain cover and preparing the bathtub drain area are crucial steps before removing the cover.

WOODBRIDGE 67" Acrylic Freestanding Bathtub Contemporary Soaking Tub, White Acrylic (Matte Black Drain/Overflow), B0013-MB-Drain &O
Dimensions and specifications: Exterior dimension 67'' long x 31 1/2'' wide x 22 4/5'' deep, effective tub capacity...
As an affiliate, we earn on qualifying purchases.
Tools and Materials Needed
You’ll need a flathead screwdriver and a pair of pliers to remove the bathtub drain cover.
When it comes to removing a bathtub drain cover, there are some common mistakes that you should avoid. One common mistake is using the wrong tools, such as using a regular screwdriver instead of a flathead screwdriver. This can damage the drain cover and make it even more difficult to remove.
Another mistake is not applying enough pressure when trying to loosen the drain cover. This can result in the drain cover getting stuck and becoming harder to remove.
To safely remove a stuck bathtub drain cover, here are some tips:
- First, try using a lubricant like WD-40 to loosen it up.
- If that doesn’t work, you can use a hairdryer to heat up the drain cover, which can expand the metal and make it easier to remove.
- Finally, if all else fails, you can use a pair of pliers to grip the drain cover and twist it off.

Freestanding Bathtub 67 inch Acrylic Soaking Bathtub with Chrome Drain & Overflow, Free Standing Bathtub for Spa-Inspired Bathroom, Deep Stand Alone Tub for Relaxation
【Deep Soaking Comfort – Melt Away Daily Fatigue】Immerse yourself in a full-body soak that wraps you in relaxation...
As an affiliate, we earn on qualifying purchases.
Step 1: Identifying the Type of Drain Cover
To begin, first identify the type of cover on your bathtub drain. There are different types of bathtub drain covers, each with its own unique design and function. Understanding the type of cover you have will help you determine the best approach to removing it. Here is a table that outlines the most common types of bathtub drain covers:
| Type of Drain Cover | Description |
|---|---|
| Lift and Turn | This type of cover can be lifted and turned to open or close the drain. |
| Push-Pull | These covers can be pushed down to close the drain or pulled up to open it. |
| Screw-In | Screw-in covers require unscrewing to remove them from the drain. |
Now that you know the different types of bathtub drain covers, let’s address some common problems you may encounter. These can include rusted or corroded covers, covers that are stuck or difficult to remove, or covers that have become dislodged and are no longer sealing the drain properly. By identifying the type of cover and understanding common problems, you’ll be better equipped to remove your bathtub drain cover successfully.
GarveeHome 67'' Freestanding Bathtub, Deep Soaking Tub, Non-Slip Base, Acrylic, cUPC Certified Free Standing Tub, Chrome Drain Bath Tub, Modern Tub for Bathrooms, White
【Premium Acrylic Construction】 Crafted with 4 mm thick high-gloss acrylic, this freestanding bathtub delivers superior heat retention with...
As an affiliate, we earn on qualifying purchases.
Step 2: Preparing the Bathtub Drain
Once you’ve identified the type of cover on your bathtub drain, it’s important to prepare the area around it before proceeding. This ensures a smooth and efficient removal process.
Here are some steps to follow when preparing the bathtub drain:
-
Clear the area: Remove any items or debris that may be obstructing the drain, such as shampoo bottles or hair.
-
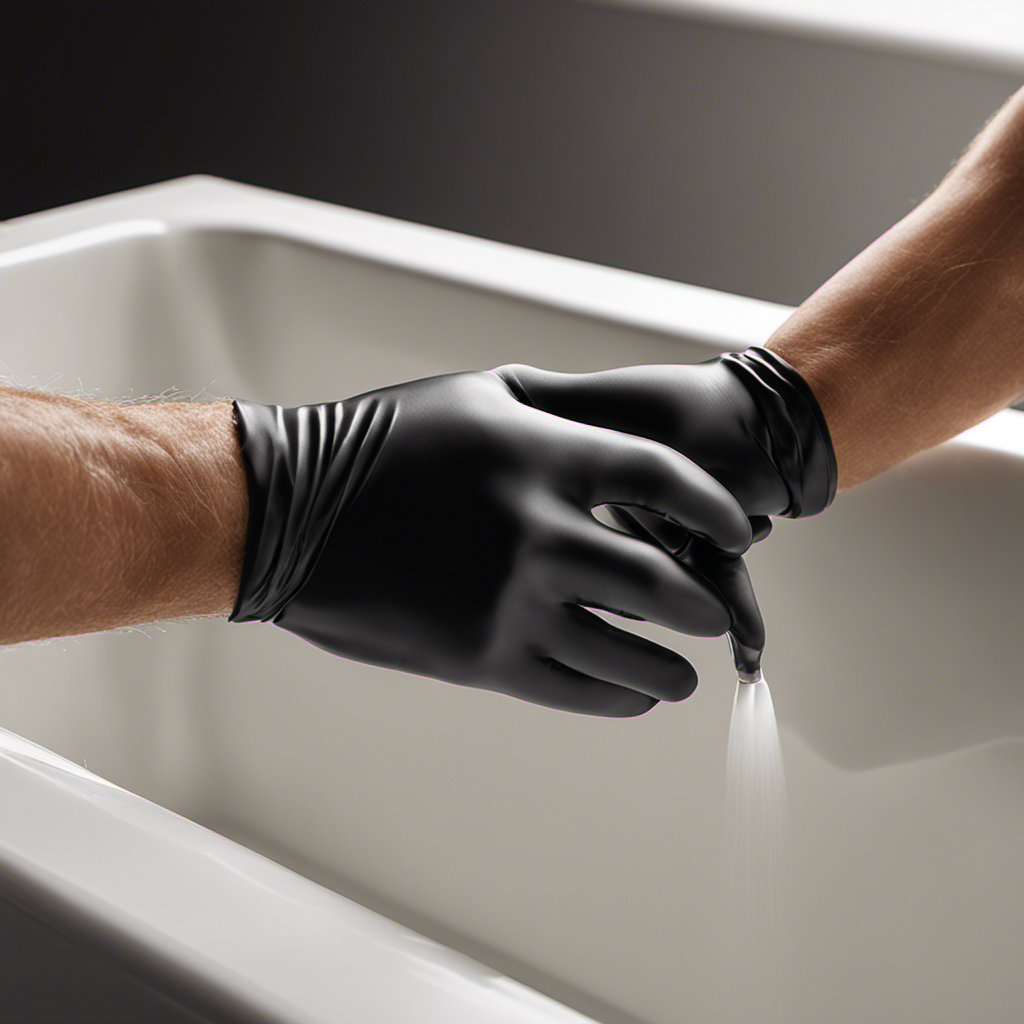
Protect the surrounding surfaces: Place a towel or old cloth around the drain to catch any water or debris that may fall during the removal process.
-
Clean the drain area: Use a mild cleaner or soap and water to thoroughly clean the drain and surrounding area. This will help prevent any dirt or grime from falling into the drain during removal.
-
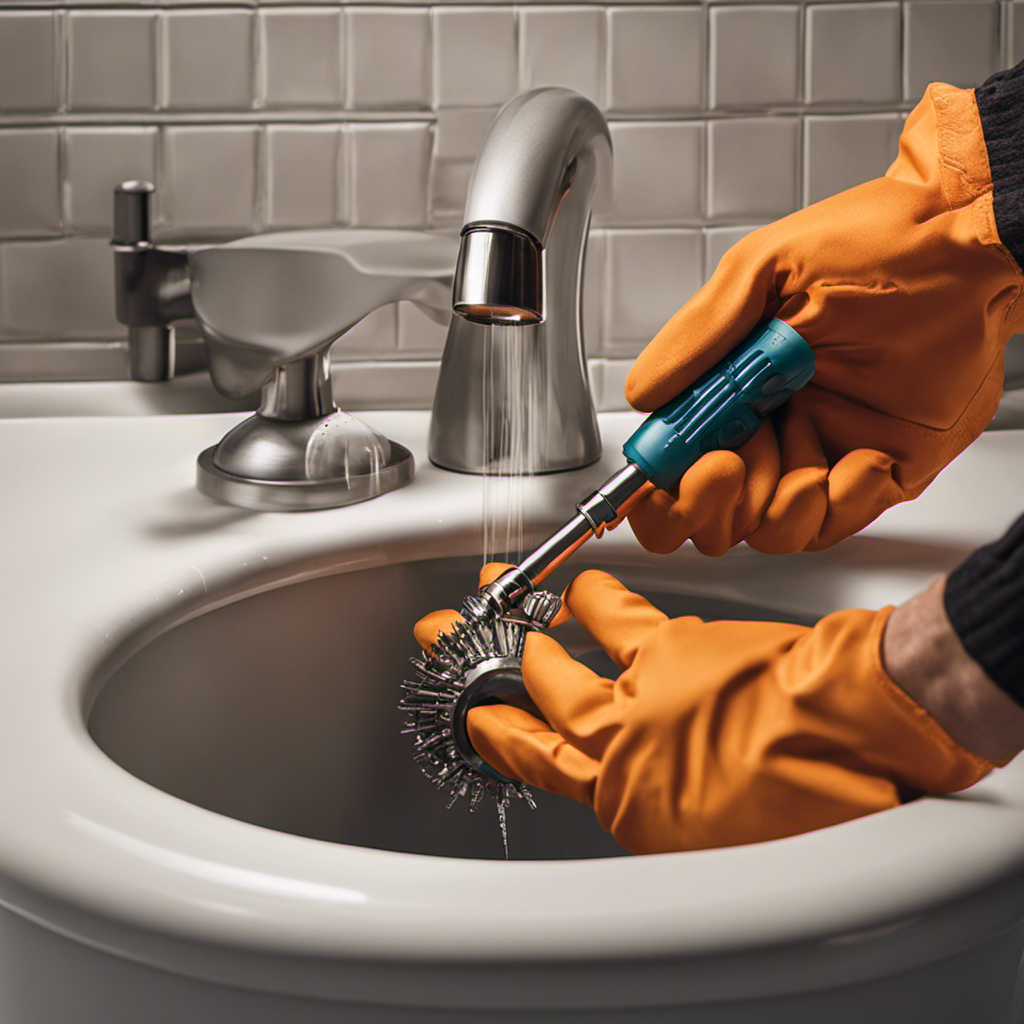
Check the drain pipe: Inspect the drain pipe for any clogs or blockages. If necessary, use a drain snake or plunger to clear any obstructions.

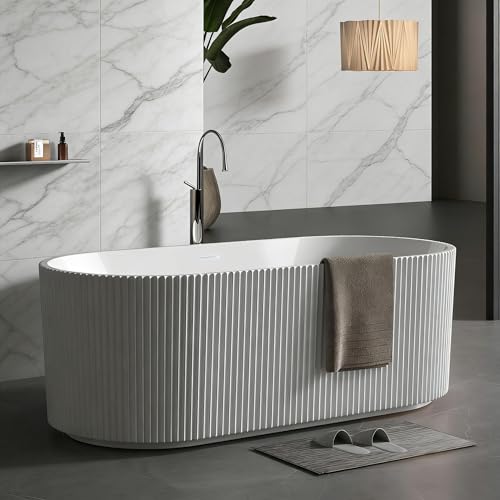
59" Acrylic Freestanding Soaking Bathtub, Free Standing Tub, Stylish Stand Alone Contemporary Soaking Tub with Integrated Overflow and Drain In Chrome, cUPC Certified
【RELAXATION-FOCUSED BATHING EXPERIENCE】:Measuring 59 inches long with a 17-18-inch soaking depth, this acrylic bathtub delivers a spacious, ergonomic...
As an affiliate, we earn on qualifying purchases.
Step 3: Removing the Screw or Stopper
First, check if there is a screw or stopper in the drain that needs to be removed. This is an important step in removing the bathtub drain cover. If there is a screw, use a screwdriver to loosen and remove it. Be careful not to drop the screw down the drain.
If there is a stopper, there are a few different types that you may encounter. Some stoppers can be unscrewed by twisting them counterclockwise. Others may have a lever or knob that needs to be pulled up or pushed down to release the stopper. If you’re having trouble removing the screw or stopper, try using a pair of pliers or a wrench to provide extra leverage.
Remember to always refer to your bathtub’s specific instructions or consult a professional if you’re unsure.
These bathtub drain cover removal tips should help troubleshoot common issues and make the process easier.
Step 4: Removing the Drain Cover
After you’ve dealt with the screw or stopper, it’s time to tackle the next step in removing the drain cover. This step is crucial to accessing the drain and resolving any issues you may have. Here’s what you need to know:
-
Plastic Drain Cover: These covers are lightweight and easy to remove. They are commonly found in newer bathtubs and are resistant to rust and corrosion.
-
Metal Drain Cover: These covers are durable and provide a classic look to your bathtub. However, they may require more effort to remove due to their weight.
-
Snap-On Drain Cover: These covers are convenient as they can be easily snapped on and off. They are ideal for quick cleaning and maintenance.
-
Screw-On Drain Cover: These covers are secured in place with screws. While they may take more time to remove, they provide a secure fit that prevents any leakage.
Common problems when removing a drain cover include rusted screws, stuck covers, or stripped screws. To solve these issues, try using WD-40 to loosen the screws, applying heat with a hairdryer to expand the metal, or using a rubber jar opener for a better grip.
Remember to be patient and gentle when removing the drain cover to avoid any damage.
Conclusion
In conclusion, removing a bathtub drain cover is a simple task that can be accomplished with just a few tools and a little know-how. By following the steps outlined above, you can easily identify the type of drain cover, prepare the bathtub drain, and successfully remove the screw or stopper.
With the drain cover removed, you can now clean or replace it as needed, ensuring a clean and functional bathtub. So grab your tools and get ready to tackle this DIY project with confidence and ease.