
Like a detective solving a mystery, I’ll guide you through the intricate process of removing a broken bathtub drain. With my expertise and a few essential tools, we’ll conquer this challenge together.
In this step-by-step guide, I’ll show you how to:
- Assess the damage
- Gather the necessary tools
- Remove the bathtub stopper
- Detach the drain flange
- Extract the broken drain assembly
Get ready to restore your bathtub to its former glory with ease and precision.
Key Takeaways
- Visually inspect the drain area for visible signs of damage, such as cracks or breaks.
- Use the necessary tools such as a wrench, screwdriver, plunger, drain snake, and silicone sealant.
- Remove the bathtub stopper by unscrewing the cover plate and lifting it off.
- Detach the drain flange by using a drain key or a drain removal tool.
Assessing the Damage
Before you start removing the broken bathtub drain, it’s important to assess the damage. Evaluating the extent of the damage will help determine the best course of action and potential repair options.
Start by visually inspecting the drain area for any visible signs of damage, such as cracks or breaks. Next, use a flashlight to look inside the drain and check for any obstructions or loose parts.
If the damage is minimal, you may be able to repair the drain by simply replacing the broken parts. However, if the damage is more severe, you may need to consider replacing the entire drain assembly.
Assessing the damage thoroughly will ensure that you have a clear understanding of the repairs needed before moving on to gathering the necessary tools.
Gathering the Necessary Tools
First, you’ll need to gather all the necessary tools for the job. It’s important to have everything you need to properly remove the broken bathtub drain. Here are the tools you’ll need:
- Wrench: A wrench is essential for loosening and removing the drain.
- Screwdriver: You may need a screwdriver to remove any screws holding the drain in place.
- Plunger: A plunger can be useful for troubleshooting common bathtub drain issues, such as clogs.
- Drain snake: This tool can help you remove any debris or obstructions that may be causing the drain problems.
- Silicone sealant: If you’re replacing the drain, you’ll need silicone sealant to create a watertight seal.
By having these tools ready, you’ll be well-prepared to tackle the broken bathtub drain.
Additionally, taking steps to prevent future bathtub drain damage, such as regularly cleaning and maintaining the drain, can help avoid further issues down the line.
Removing the Bathtub Stopper
To start, you’ll want to unscrew the cover plate to gain access to the stopper mechanism. This is a crucial step in replacing a bathtub stopper or addressing common bathtub drain issues.
To do this, locate the cover plate on the overflow opening of your bathtub, typically located below the faucet. Using a screwdriver, gently unscrew the screws securing the cover plate to the overflow opening. Once the screws are removed, carefully lift off the cover plate to reveal the stopper mechanism underneath. It’s important to be cautious during this process to avoid any damage.
With the cover plate removed, you can now proceed to the next step of detaching the drain flange.
Detaching the Drain Flange
Once you’ve successfully unscrewed the cover plate, you can now focus on detaching the drain flange. Removing the flange can be a bit tricky, but with the right tips and tricks, it can be done efficiently.
Here are some alternative methods for detaching the drain flange:
-
Method 1:
-
Insert a drain key into the flange and turn counterclockwise.
-
Apply steady pressure while turning the key to break the seal and loosen the flange.
-
Once loose, pull the flange out by hand or with pliers.
-
Method 2:
-
Use a drain removal tool with expanding arms.
-
Insert the tool into the flange and expand the arms until they grip the flange securely.
-
Rotate the tool counterclockwise to loosen and remove the flange.
Remember to be patient and take your time when removing the drain flange. Using these tips and alternative methods, you’ll be able to detach the flange successfully and proceed with your bathtub drain repair.
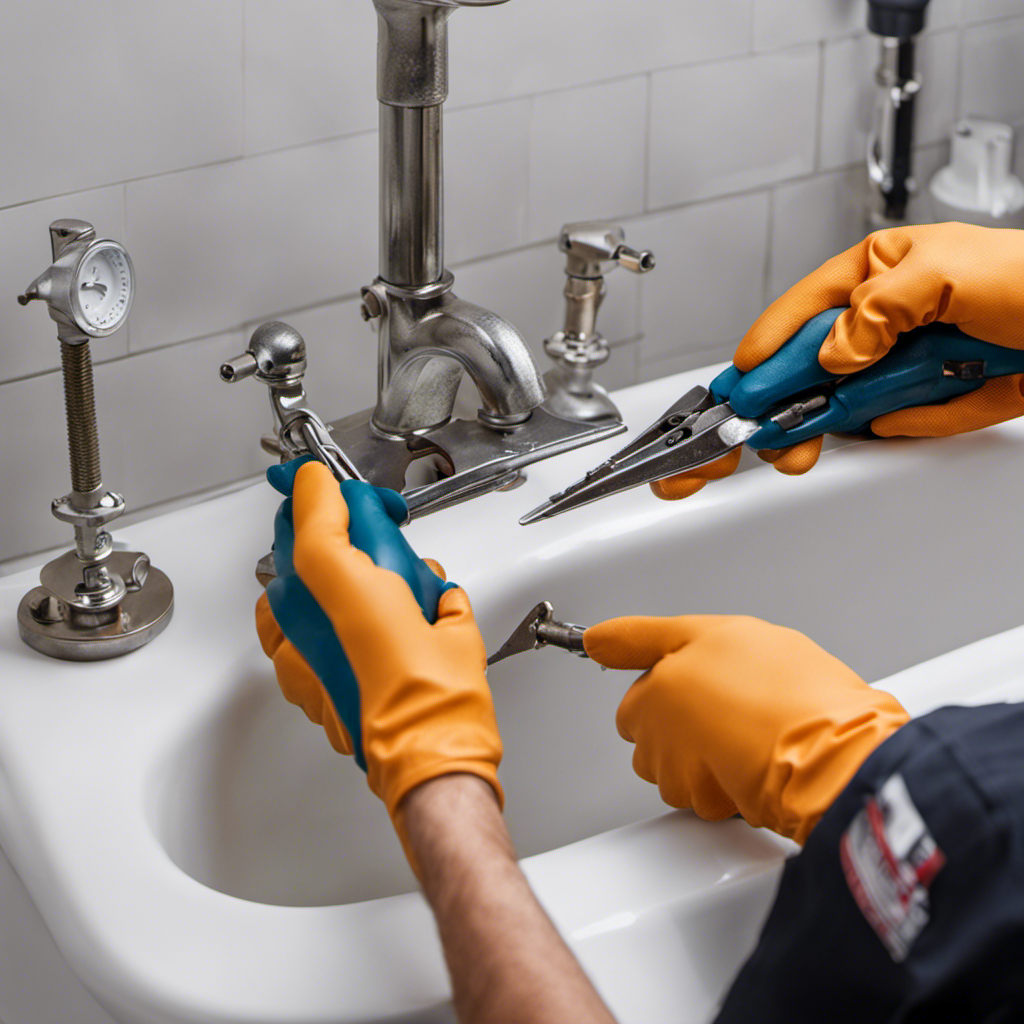
Extracting the Broken Drain Assembly
Carefully extract the damaged assembly from the pipe using a pair of pliers.
Begin by gripping the broken drain assembly firmly with the pliers, ensuring a strong hold.
Apply gentle, steady pressure while twisting counterclockwise to loosen the assembly from the drain pipe.
Be cautious not to exert too much force, as this could cause further damage to the pipe.
Once the assembly is detached, inspect the drain pipe for any signs of damage or corrosion.
If the pipe is in good condition, proceed with repairing the drain pipe.
However, if the pipe is damaged, it will need to be replaced before installing a new drain assembly.
Consult a professional if you are unsure about the extent of the damage or how to proceed with the repair.
Conclusion
After assessing the damage and gathering the necessary tools, I successfully removed the broken bathtub drain.
With steady hands and careful maneuvering, I was able to detach the drain flange and extract the broken drain assembly.
It was a challenging task, but I persevered and triumphed over the broken drain.
Just like fixing a broken drain, sometimes in life, we need to dig deep, face challenges head-on, and find the strength to overcome obstacles that come our way.

With an impeccable eye for detail and a passion for bathroom-related, Ava leads our editorial team gracefully and precisely.
Under her guidance, Best Modern Toilet has flourished as the go-to resource for modern bathroom enthusiasts. In her free time, you might find Ava exploring antique shops and looking for vintage bathroom fixtures to add to her collection.