Are you tired of looking at that grimy old caulk in your bathtub? Well, you’re not alone.
Did you know that over 80% of homeowners struggle with removing old caulk? But don’t worry, we’ve got you covered.
In this step-by-step guide, we’ll show you exactly how to remove old caulk from your bathtub using simple tools and materials.
Say goodbye to unsightly caulk and hello to a fresh, clean bathroom. Let’s get started!
Key Takeaways
- Assess the condition of the old caulk by checking for signs of water damage, cracks, peeling, softness, gaps, and elasticity.
- Gather the necessary tools and materials, such as a caulk removal tool, caulk softener or solvent, and alternative removal methods.
- Prepare the bathtub for caulk removal by cleaning the surface with mild detergent, using a heat gun to soften the caulk, and gently scraping it off with a removal tool or putty knife.
- Remove the old caulk using different methods like softening with a heat gun and scraping, using a caulk removal tool, or alternative methods like vinegar, baking soda paste, or lemon juice.

BIGCOW Ultra-Slim Bidet Attachment for Toilet - Dual Nozzle (Frontal & Rear Wash) with Adjustable Cold Water Pressure and Stainless Steel Inlet - Hygienic Solution for Fresh Cleanliness, Silver 1 Pcs
【Dual Spraying Modes】- This toilet bidet offers both rear wash for thorough cleaning and a specially designed frontal...
As an affiliate, we earn on qualifying purchases.
Assessing the Condition of the Old Caulk
Now that you’ve identified the location of the old caulk, take a close look at its condition. Evaluating caulk durability is crucial before removing it.
Start by checking for signs of water damage. Look for discoloration or mold growth around the caulked area. If the caulk is cracked, peeling, or crumbling, it is a clear sign that it needs to be replaced.
Another indicator of poor caulk condition is if it feels soft or spongy when touched. This suggests that it has lost its elasticity and is no longer providing an effective seal.
Remember to also inspect the caulk for any gaps or missing sections.

Brondell Bidet Toilet Seat Non-Electric Swash Ecoseat, Fits Elongated Toilets, White - Dual Nozzle System, Ambient Water Temperature - Bidet with Easy Installation
CLEAN AND REFRESHING: With Brondell’s Ecoseat 101 Bidet, you’ll experience a soothing, freshwater wash that leaves you feeling...
As an affiliate, we earn on qualifying purchases.
Gathering the Necessary Tools and Materials
To get started, you’ll need a few tools and materials for the job.
Removing old caulk from a bathtub can be a tedious task, but with the right tools, it can be done efficiently. One of the best caulk removal tools you can use is a caulk removal tool with a sharp blade or a utility knife. These tools are specifically designed to cut through caulk and make the removal process easier.
Additionally, you may also need a caulk softener or solvent to loosen the caulk and make it easier to remove.
It’s important to note that there are alternative removal methods available, such as using a hairdryer to heat the caulk or using a caulk softening gel. These methods can be effective, but may require additional tools or materials.

Shower Faucet Set, 12" Ceiling Mount Rainfall Shower System with 2 Rain Shower Head and Multi-function Handheld Head Push Button Diverter Shower Faucet Trim Kit (12", Matte Black)
COMPREHENSIVE SHOWER SYSTEM- This shower faucet set comes with two shower heads that can be used together or...
As an affiliate, we earn on qualifying purchases.
Preparing the Bathtub for Caulk Removal
Before starting, make sure you have all the necessary tools and materials for preparing the bathtub. Once you have everything ready, it’s time to prepare the surface. This step is crucial to ensure a clean and smooth removal of the old caulk.
To prepare the bathtub, follow these steps:
-
Start by cleaning the surface with a mild detergent and warm water. This will remove any dirt or grime that may interfere with the caulk removal process.
-
Next, use a heat gun to soften the old caulk. Hold the heat gun about 2 inches away from the caulk and move it back and forth for about 30 seconds. Be careful not to overheat the surface or damage the bathtub.
-
After heating the caulk, use a caulk removal tool or a putty knife to gently scrape off the softened caulk. Work slowly and steadily to avoid scratching the bathtub.

Bidet Attachment for Toilet Sprayer, Self-Cleaning Dual Retractable Nozzles Bidet Spray, Non-Electric Adjustable Water Pressure for Hygienic Rear & Feminine Wash, Easy Installation Ultra-Slim (Black)
【Dual Nozzles with Adjustable Water Pressure】Our non-electric bidet attachment for toilet offers a choice between two types of...
As an affiliate, we earn on qualifying purchases.
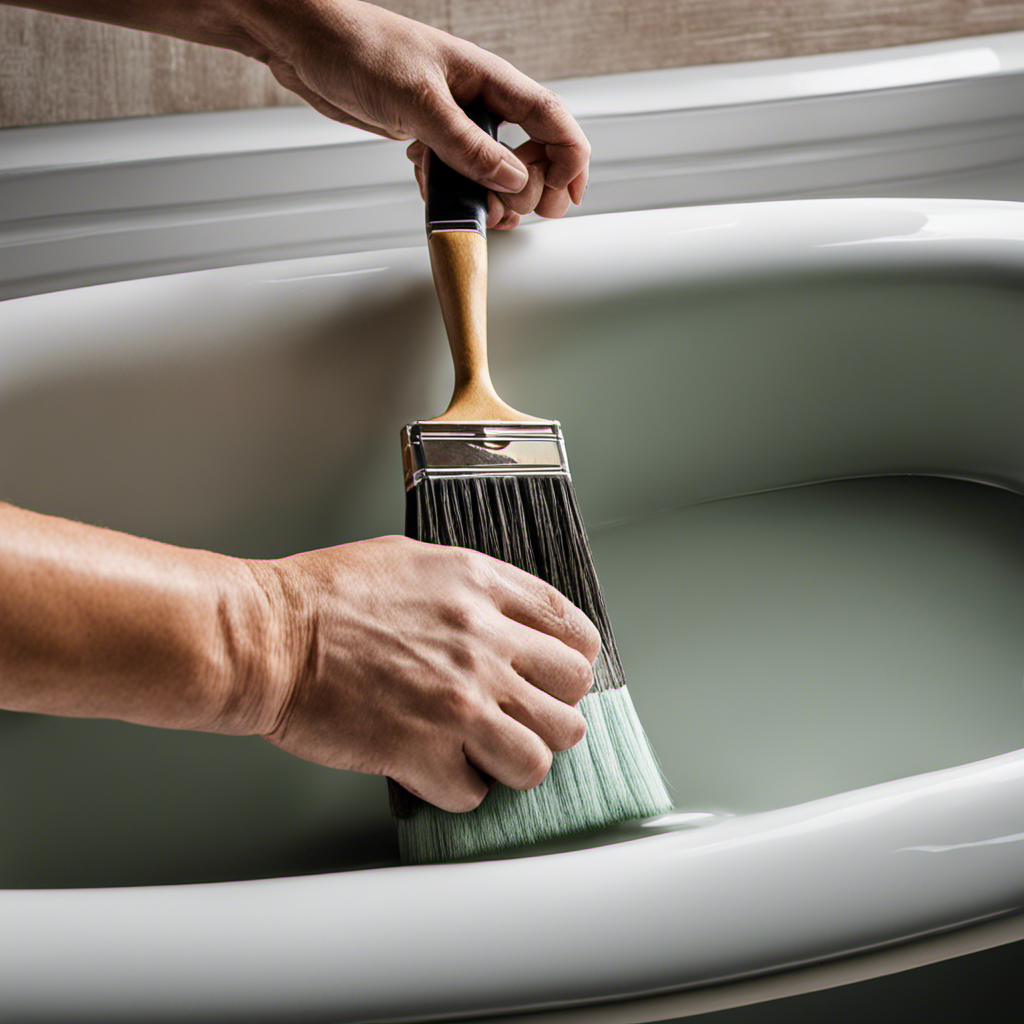
Softening the Old Caulk
Using a heat gun is an effective way to soften the caulk, especially if you don’t have a caulk removal tool at hand. This method is perfect for removing old caulk from your bathtub. Here’s how you can do it step-by-step:
-
Start by plugging in the heat gun and setting it to a low temperature. Safety first, so be sure to wear protective gloves and goggles.
-
Hold the heat gun about 2-3 inches away from the caulk and move it back and forth slowly. The heat will soften the caulk and make it easier to remove.
-
After a few minutes, use a putty knife or a utility knife to gently scrape away the softened caulk. Be careful not to scratch the surface of your bathtub.
-
Continue heating and scraping until all the old caulk is removed. You may need to repeat the process in stubborn areas.
Removing the Old Caulk Using a Caulk Removal Tool
When it comes to removing old caulk, there are alternative methods you can try if you don’t have a caulk removal tool on hand.
One option is to use a utility knife or a scraper to carefully cut or scrape away the caulk.
Another method is to use a heat gun or a hairdryer to soften the caulk, making it easier to remove.
However, it’s important to use caution with these methods to prevent damage to the surface or yourself.
Here are some tips to help you prevent any unwanted mishaps during the caulk removal process.
Alternative Caulk Removal Methods
There’s an alternative way to remove old caulk from your bathtub. If you prefer to use natural caulk removers or want to explore alternative removal techniques, here’s what you can try:
-
Vinegar: Soak a cloth or sponge in white vinegar and apply it to the caulk. Let it sit for a few hours to soften the caulk before scraping it off.
-
Baking Soda and Water Paste: Mix baking soda with water to create a thick paste. Apply the paste to the caulk and let it sit overnight. Use a scraper to remove the caulk in the morning.
-
Lemon Juice: Squeeze fresh lemon juice onto the caulk and let it sit for several hours. The acid in the lemon juice will help break down the caulk, making it easier to remove.
By using these alternative removal methods, you can effectively remove old caulk without the use of harsh chemicals.
Now let’s move on to some tips for preventing damage during the caulk removal process.
Tips for Preventing Damage
To prevent any damage, make sure to apply gentle pressure when scraping off the caulk. This will help protect the underlying surface from scratches or gouges. Additionally, choosing the right type of caulk is crucial in preventing water damage. Look for a caulk that is waterproof and specifically designed for use in wet areas, such as a bathroom or bathtub.
Here is a helpful table to guide you in choosing the right caulk for your needs:
| Type of Caulk | Description |
|---|---|
| Silicone Caulk | Highly flexible and durable, perfect for areas with high moisture levels |
| Acrylic Caulk | Easy to apply and paintable, ideal for non-wet areas |
| Latex Caulk | Fast-drying and easy cleanup, suitable for indoor use |
Scraping off Residual Caulk With a Putty Knife
Start by gently pressing the putty knife against the residual caulk to scrape it off the bathtub. Make sure to hold the putty knife at a slight angle to prevent scratching the surface. If you don’t have a putty knife on hand, don’t worry! There are a few alternatives you can use. A plastic spatula or an old credit card can work just as well. These tools are flexible enough to remove the caulk without damaging the bathtub.
To remove caulk from other surfaces, such as countertops or windows, you can use the same technique. Just be careful not to apply too much pressure, as it may cause scratches. Remember, the key is to be patient and gentle when scraping off the caulk.
Once you have removed the majority of the caulk, you can use a caulk remover or rubbing alcohol to clean off any remaining residue.
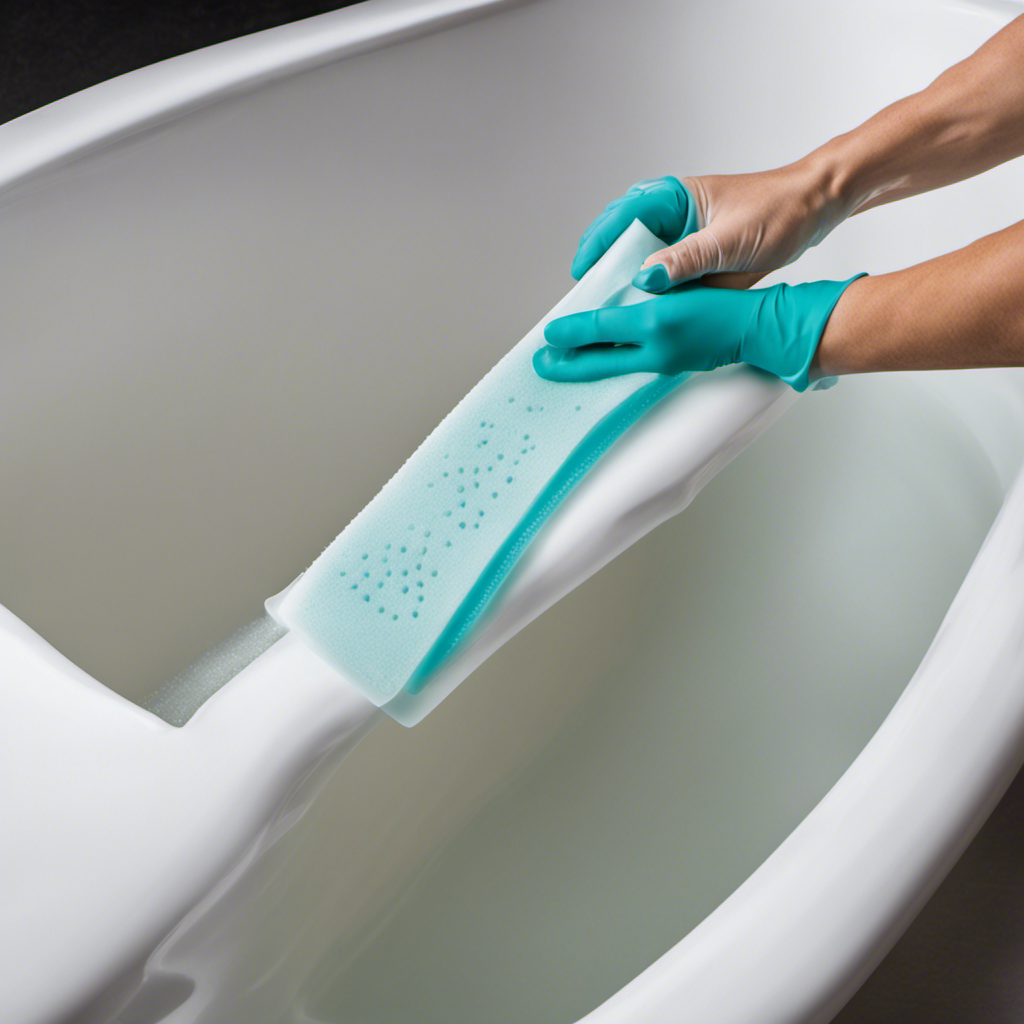
Cleaning the Surface of the Bathtub
Make sure you thoroughly rinse the surface of the bathtub to remove any residue from the cleaning solution.
Cleaning the surface of the bathtub is an essential step in preparing it for the removal of old caulk.
To effectively clean the bathtub, you will need to use appropriate cleaning techniques and recommended cleaning products.
Start by filling a bucket with warm water and adding a mild detergent or a bathtub cleaner.
Use a sponge or a soft cloth to scrub the entire surface of the bathtub, paying special attention to areas with built-up dirt or soap scum.
Rinse the bathtub thoroughly with clean water to remove any cleaning solution residue.
Once the surface is clean, you can move on to applying caulk remover to stubborn stains, ensuring a smooth and successful caulk removal process.
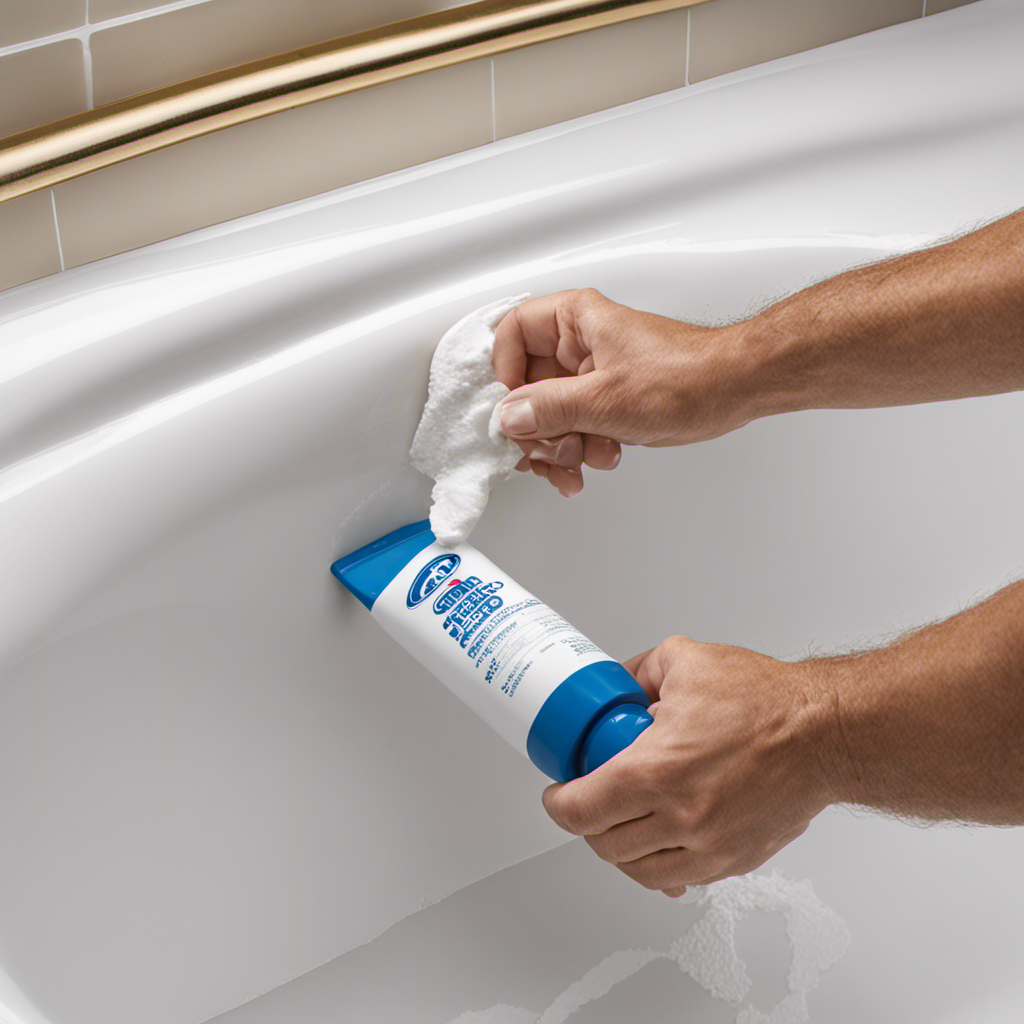
Applying Caulk Remover to Stubborn Stains
Once you’ve thoroughly cleaned the surface, you can begin applying caulk remover to stubborn stains using a soft cloth or sponge. This step is crucial in effectively removing old caulk from your bathtub. Here’s how you can do it:
- Start by pouring a small amount of caulk remover onto the cloth or sponge.
- Gently apply the caulk remover to the stained areas, making sure to cover the entire stain.
- Allow the caulk remover to sit on the stain for the recommended amount of time, usually indicated on the product packaging.
After the recommended time has passed, use a clean cloth or sponge to gently scrub the stained area in circular motions. Rinse the area thoroughly with water to remove any residue.
Drying and Sanding the Bathtub Surface
To prepare the surface for the next step, you’ll need to dry and sand it with a fine-grit sandpaper.
Drying the bathtub surface is crucial to ensure proper adhesion of the new caulk. Start by using a clean cloth or towel to remove any excess moisture. Make sure the surface is completely dry before proceeding.
Once dry, it’s time to sand the bathtub surface. Choose a fine-grit sandpaper, such as 220-grit, to gently sand the surface. Sanding helps to create a rough texture that allows the caulk to adhere better. Use light pressure and sand in a circular motion. Be sure to sand evenly and cover the entire surface.
Once you’ve finished sanding, wipe away any dust with a clean cloth.
Following these drying techniques and sanding tips will help you achieve a smooth and long-lasting caulk application.
Applying New Caulk to the Bathtub
When it comes to applying new caulk to your bathtub, it’s important to do it properly to ensure a long-lasting and watertight seal.
In this discussion, we will cover the key points of proper caulk application and highlight some common mistakes to avoid.
Proper Caulk Application
First, make sure you’ve cleaned the surface thoroughly before applying caulk. This will ensure proper adhesion and a longer-lasting seal. When choosing the caulk color, consider matching it to the color of your bathtub or tile for a seamless look.
Once you have the right color, follow these steps for a successful caulk application:
- Cut the tip of the caulk tube at a 45-degree angle.
- Apply a thin, even bead of caulk along the joint, using a caulking gun.
- Use a caulk smoothing tool or your finger to smooth out the caulk and remove any excess.
After applying the caulk, allow it to dry according to the manufacturer’s instructions. Typically, caulk will dry within 24 hours, but it’s best to wait at least 48 hours before exposing it to water to ensure proper curing.
Now that you know how to properly apply caulk, let’s explore some common caulk mistakes to avoid.
Common Caulk Mistakes
Now that you know how to properly apply caulk, let’s discuss some common caulk mistakes that people often make.
These mistakes can lead to various caulk problems, such as cracking, peeling, or mold growth. Luckily, there are effective caulk removal techniques that can help you fix these issues.
One common mistake is not properly preparing the surface before applying caulk. If the surface is dirty or damp, the caulk won’t adhere properly and may fail over time.
Another mistake is using the wrong type of caulk for the job. It’s important to choose a caulk that is suitable for your specific needs, such as a waterproof caulk for tubs and showers.
If you notice any caulk problems, the first step is to remove the old caulk. There are a few different techniques you can use for caulk removal, including scraping with a putty knife, using a caulk removal tool, or using a chemical caulk remover.
Each method has its own advantages and it’s important to choose the one that works best for your situation.
Frequently Asked Questions
Can I Use a Hairdryer to Soften the Old Caulk?
Yes, you can use a hairdryer to soften old caulk. It is effective in loosening the caulk, making it easier to remove. However, there are alternative methods like using a caulk softener or a heat gun.
Is It Necessary to Wear Protective Gloves While Removing Old Caulk?
It’s like playing with fire, removing old caulk without protective gloves. It’s crucial to shield your hands from harmful chemicals. Proper ventilation is also key to avoid inhaling potentially toxic fumes.
Can I Use Vinegar as a Natural Caulk Remover?
Yes, you can use vinegar as a natural caulk remover. Vinegar is an effective alternative to chemical cleaners. Simply soak a cloth in vinegar, place it over the old caulk, and let it sit for a few hours. Then, gently scrape away the softened caulk.
How Long Should I Let the Caulk Remover Sit on Stubborn Stains Before Scraping?
To effectively tackle stubborn stains, it’s important to let the caulk remover sit for a sufficient amount of time before scraping. Additionally, using a hairdryer can help soften the old caulk, making it easier to remove.
Should I Apply a Primer Before Applying New Caulk to the Bathtub?
Applying primer before new caulk is necessary for a long-lasting seal. It helps the caulk adhere better to the bathtub surface and prevents moisture from seeping in. Follow these steps to ensure a successful application.
Conclusion
Congratulations on successfully transforming your old, stubborn caulked bathtub into a pristine oasis of cleanliness.
By following these simple steps, you were able to assess the condition of the old caulk, gather the necessary tools and materials, and prepare the bathtub for caulk removal.
Softening the old caulk proved to be a breeze, and using a caulk removal tool, you skillfully eliminated every trace of the old caulk.
With a final touch of applying new caulk, your bathtub is now ready to shine.
Enjoy your newly restored bathtub bliss!