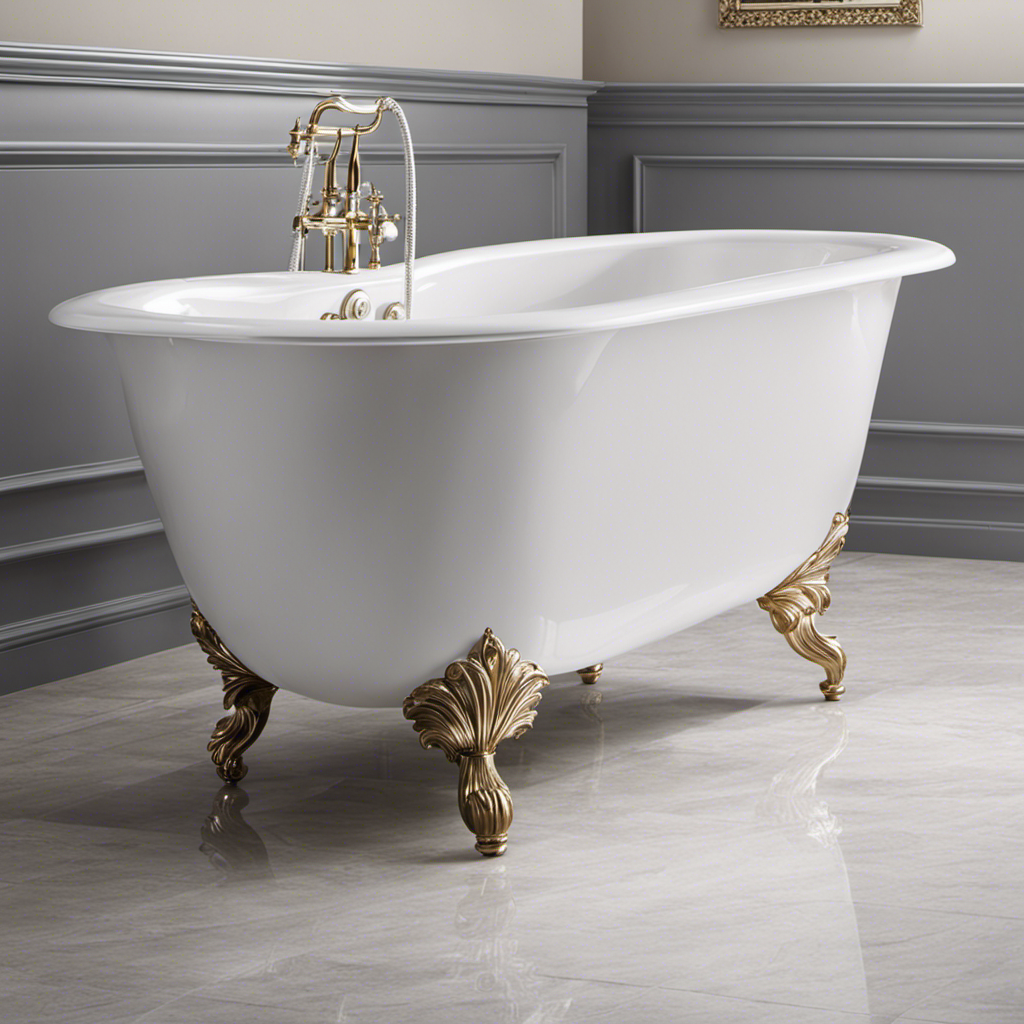
I’ve got a little secret to share with you: re-enameling your bathtub is easier than you might think. In just a few simple steps, you can transform your worn-out tub into a gleaming centerpiece of your bathroom.
Trust me, as a bathroom renovation specialist, I’ve seen it all and I’m here to guide you through the process. From assessing the condition of your bathtub to applying the enamel coating, I’ll provide you with all the detailed information and expert tips you need for a successful renovation.
Let’s get started!
Key Takeaways
- Examine the bathtub for chips, cracks, and stains
- Gather high-quality enamel paint, primer, and topcoat resistant to water and chemicals
- Clean the bathtub with a mild abrasive cleaner and lightly sand the surface before re-enameling
- Apply multiple thin coats of enamel, allowing each coat to dry completely before applying the next
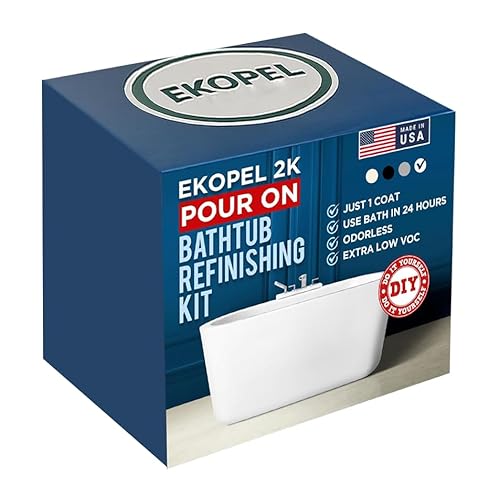
Ekopel 2K Bathtub Refinishing Kit – Pour On Bathtub Paint White Gloss Finish Kit, 1 Coat Odorless Sink and Bath Tub Paint – Long Lasting Never Peel DIY Glaze for Tub, Made in USA – Bright Gloss White
COMPLETE POUR-ON BATHTUB REFINISHING KIT: Ekopel Pour On Bathtub Refinishing Kit is designed to restore worn or discolored…
As an affiliate, we earn on qualifying purchases.
As an affiliate, we earn on qualifying purchases.
Assessing the Condition of Your Bathtub
You’ll want to start by carefully examining the condition of your bathtub. Evaluating the damage is crucial in determining the repair options for re-enameling.
Begin by checking for any chips, cracks, or stains on the surface. These imperfections can affect the final result and may require additional repair work before the re-enameling process can begin.
If the damage is minor, such as small chips or stains, you may be able to address them easily with a DIY repair kit. However, for more significant damage, it’s best to consult with a professional who can assess the extent of the repairs needed.
They can provide guidance on whether a complete re-enameling is necessary or if alternative solutions, like spot repairs or refinishing, are viable options.

Specialty Tub and Tile Paint, High-Gloss Bathtub Paint White, Quick-Dry Porcelain paint for Scratches & Chips on Fiberglass, Porcelain, Acrylic, Enamel, Cast Iron, Bathtubs, Tiles, Sinks and Toilets(White)
Quickly Restore Glossy Finish of Bathtub, Tubs, Tiles: Specifically designed touch up paint with excellent adhesion for precise…
As an affiliate, we earn on qualifying purchases.
As an affiliate, we earn on qualifying purchases.
Gathering the Necessary Tools and Materials
To get started, gather all the tools and materials needed for the project. Before beginning the re-enameling process, it’s crucial to choose the right enamel products. You’ll need high-quality enamel paint specifically designed for bathtubs, as well as a primer and a topcoat. Make sure to select products that are durable, resistant to water and chemicals, and provide a smooth finish. Here’s a table that outlines the essential tools and materials for re-enameling a bathtub:
| Tools | Materials |
|---|---|
| Paintbrush | Enamel paint |
| Roller | Primer |
| Sandpaper | Topcoat |
| Masking tape | Drop cloth |

BEKOMN Tub Paint,Tub and Tile Refinishing Kit 33oz with Tools,Bathtub Paint White Water-based Low Odor,Easy to Use for Sink Kitchen Bathroom,Semi-Gloss,50-55sq.ft
【Exceptional Durability】Our tub paint features an advanced water-based acrylic formula that combines robust characteristics with anti-flaking properties, engineered…
As an affiliate, we earn on qualifying purchases.
As an affiliate, we earn on qualifying purchases.
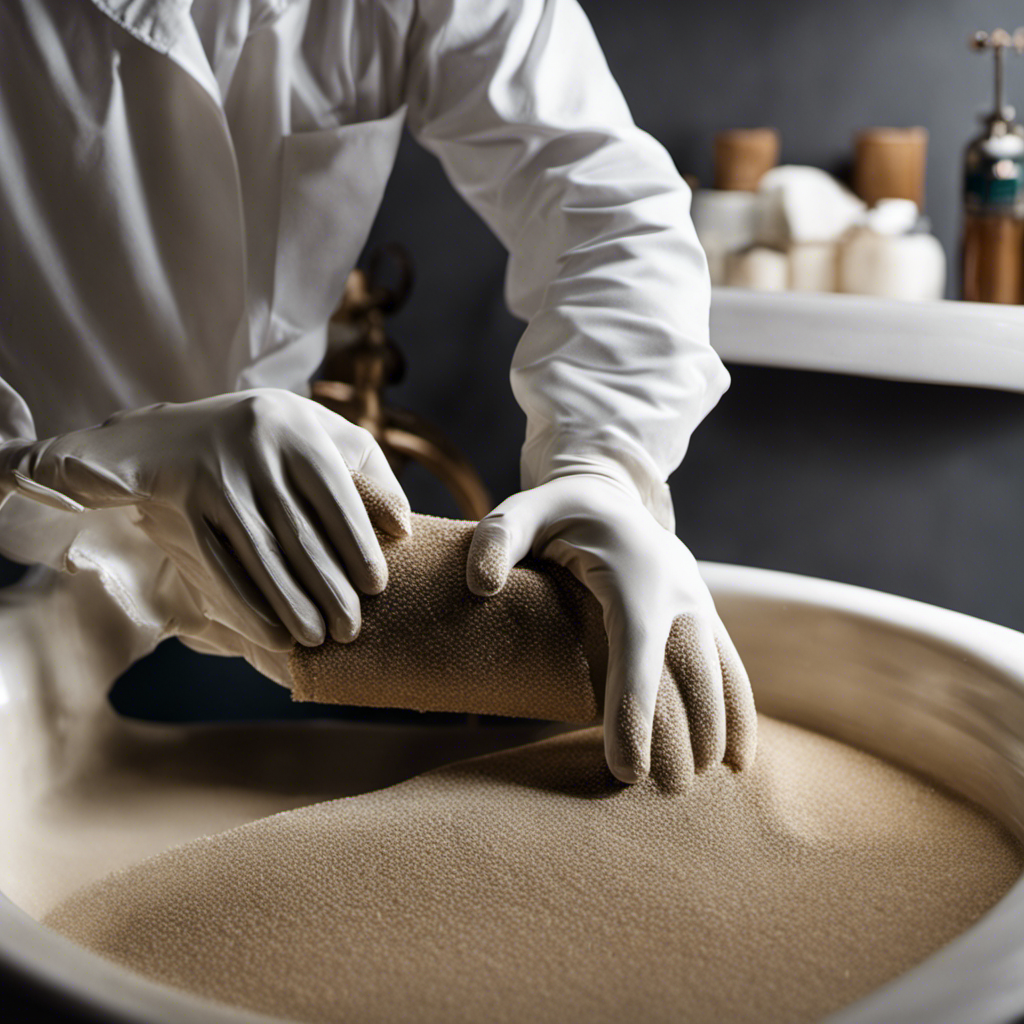
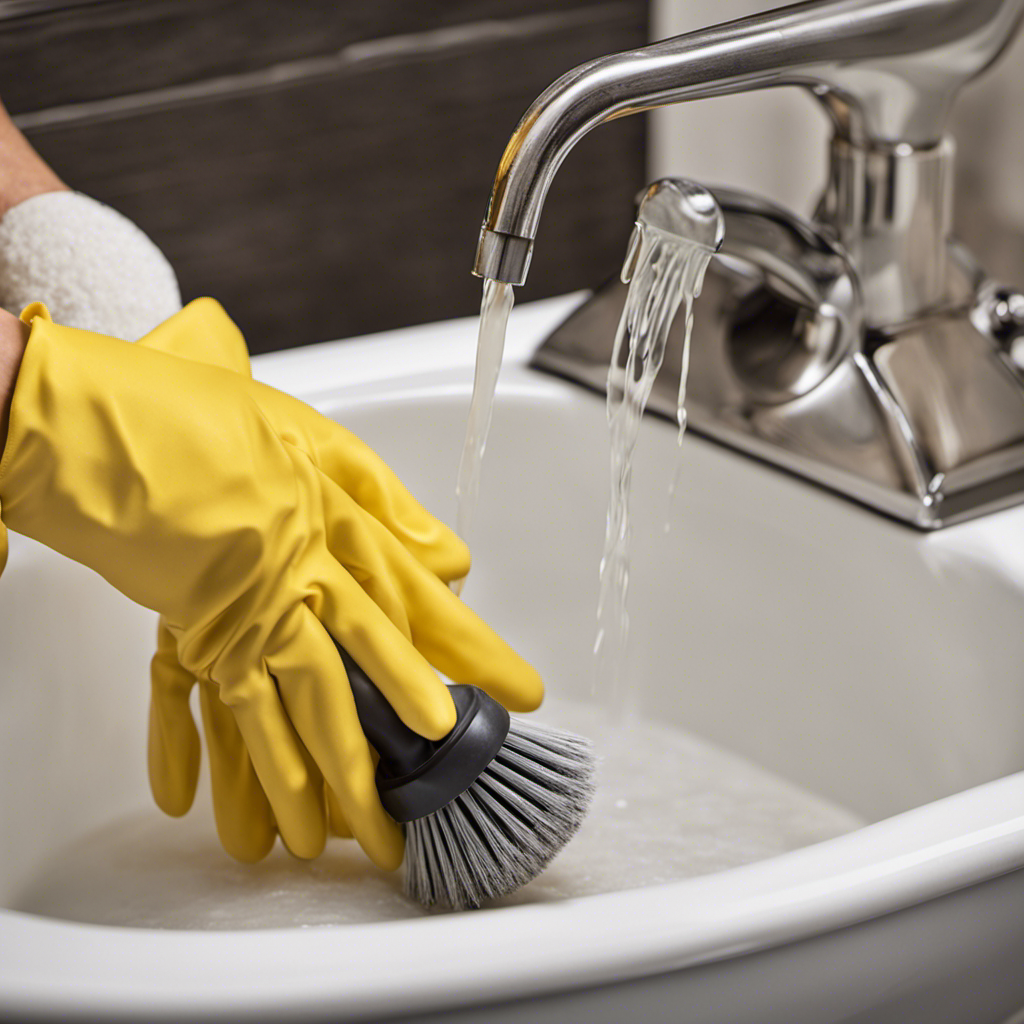
Preparing the Bathtub for Re-Enameling
Before starting the preparation process, make sure you have all the necessary cleaning supplies. Properly cleaning and preparing the bathtub surface is crucial for a successful re-enameling job. Here are some important steps to follow:
-
Begin by removing any dirt, grime, or soap scum from the bathtub surface using a mild abrasive cleaner or a mixture of baking soda and water.
-
Next, thoroughly rinse the bathtub to remove any residue from the cleaning solution.
-
To ensure a smooth and even surface, use a fine-grit sandpaper to lightly sand the bathtub. This will help the new enamel adhere properly.
By following these cleaning and surface preparation steps, you will create an optimal surface for the enamel coating to adhere to.
Now, let’s move on to the next step of the process: applying the enamel coating.

High-Gloss White Tub & Tile Paint, Waterproof Porcelain Paint for Tubs, Sinks, Toilets, Quick-Dry Bathtub paint for Scratches, Stains & Chips on Porcelain, Enamel, Acrylic and Cast Iron
Permanently Repair Chips, Spots, Scratches of Tubs, Sinks: High-gloss enamel glaze, quick-drying, water, heat, and scratch-resistant; super-strong coverage…
As an affiliate, we earn on qualifying purchases.
As an affiliate, we earn on qualifying purchases.
Applying the Enamel Coating
Now that the surface is properly prepared, it’s time to apply the enamel coating. Choosing the right enamel product is crucial for a successful re-enameling job. Look for an enamel that is specifically formulated for bathtubs and provides a durable and long-lasting finish. Before applying the enamel, make sure to thoroughly clean the bathtub and remove any dust or debris. Use a high-quality brush or roller to apply the enamel in smooth, even strokes. Start from the top and work your way down, ensuring that the entire surface is covered. Apply multiple thin coats rather than one thick coat to achieve a better result. Allow each coat to dry completely before applying the next. Following these tips will help you achieve a smooth and even application of the enamel coating.
| Step | Instructions |
|---|---|
| 1. | Clean the bathtub surface thoroughly. |
| 2. | Choose the right enamel product. |
| 3. | Use a high-quality brush or roller. |
| 4. | Apply multiple thin coats. |
Caring for Your Re-Enamelled Bathtub
Once the enamel coating is applied, you’ll need to regularly clean and avoid using abrasive cleaners to maintain the longevity of your re-enamelled bathtub. Here are some tips for long term maintenance:
- Use a non-abrasive cleaner specifically designed for bathtubs to avoid damaging the enamel.
- Avoid using harsh chemicals or abrasive scrub brushes, as they can scratch the surface of the enamel.
- Clean your bathtub regularly to prevent the buildup of dirt, soap scum, and stains.
- Rinse your bathtub thoroughly after each use to remove any residual soap or cleaning products.
- Consider using a soft cloth or sponge to gently clean the surface of your re-enamelled bathtub.
- To remove stubborn stains, you can try using a mixture of baking soda and water, but be gentle and avoid scrubbing too hard.
Recommended cleaning products for re-enamelled bathtubs include mild dish soap, vinegar, or specialized bathtub cleaners. By following these maintenance tips and using the right cleaning products, you can keep your re-enamelled bathtub looking pristine for years to come.
Conclusion
In conclusion, re-enameling your bathtub is a cost-effective way to give your bathroom a fresh and renewed look.
While some may argue that hiring a professional is the best option, with the right tools and materials, you can successfully complete this project on your own.
By following the steps outlined in this article and taking proper care of your re-enamelled bathtub, you can enjoy a beautiful and durable bathtub for years to come.
Don’t let doubts hold you back, unleash your DIY skills and transform your bathroom today!