As I stood in my bathroom, staring at the worn-out bathtub drain stopper, I knew it was time for a replacement. The constant leaks and sluggish drainage had become unbearable.
But fear not, I have discovered the perfect solution – a step-by-step guide on how to install a bathtub drain stopper. With the right tools and a little know-how, you’ll be able to transform your bath into a watertight sanctuary.
Let’s dive in and get started!
Key Takeaways
- Use the right tools for installation to ensure a smooth process and avoid common mistakes.
- Properly align and avoid overtightening screws or bolts to prevent damage.
- Choose the right bathtub drain stopper based on factors such as drain type and personal preferences to prevent leaks and water seepage.
- Clean the drain area and regularly maintain it to prevent clogs, using a drain strainer or hair catcher to prevent debris from causing issues.

ZeroWater Official Replacement Filter - 5-Stage 0 TDS Water Filter Replacement IAPMO Certified to Reduce Lead, Chromium, and PFOA/PFOS 4-Pack
- Filter Pack Includes 4 Filters: Each with 15-gallon lifespan
- Effective 5-Stage Filtration: Removes dissolved solids for pure water
- Certified for Safety and Purity: IAPMO certified, BPA-free, reduces contaminants
As an affiliate, we earn on qualifying purchases.
Tools Needed for Installation
To install the bathtub drain stopper, you’ll need a pair of pliers, a screwdriver, and a wrench. These tools are essential for a smooth installation process.
When it comes to installing a bathtub drain stopper, there are a few common mistakes to avoid. Firstly, make sure to properly align the stopper before tightening any screws or bolts. This will prevent any leaks or water seepage.
Additionally, be cautious not to overtighten the screws or bolts, as this can cause damage to the drain or stopper.
It is also important to choose the right bathtub drain stopper for your needs. Consider factors such as the type of drain and your personal preferences when selecting the stopper.
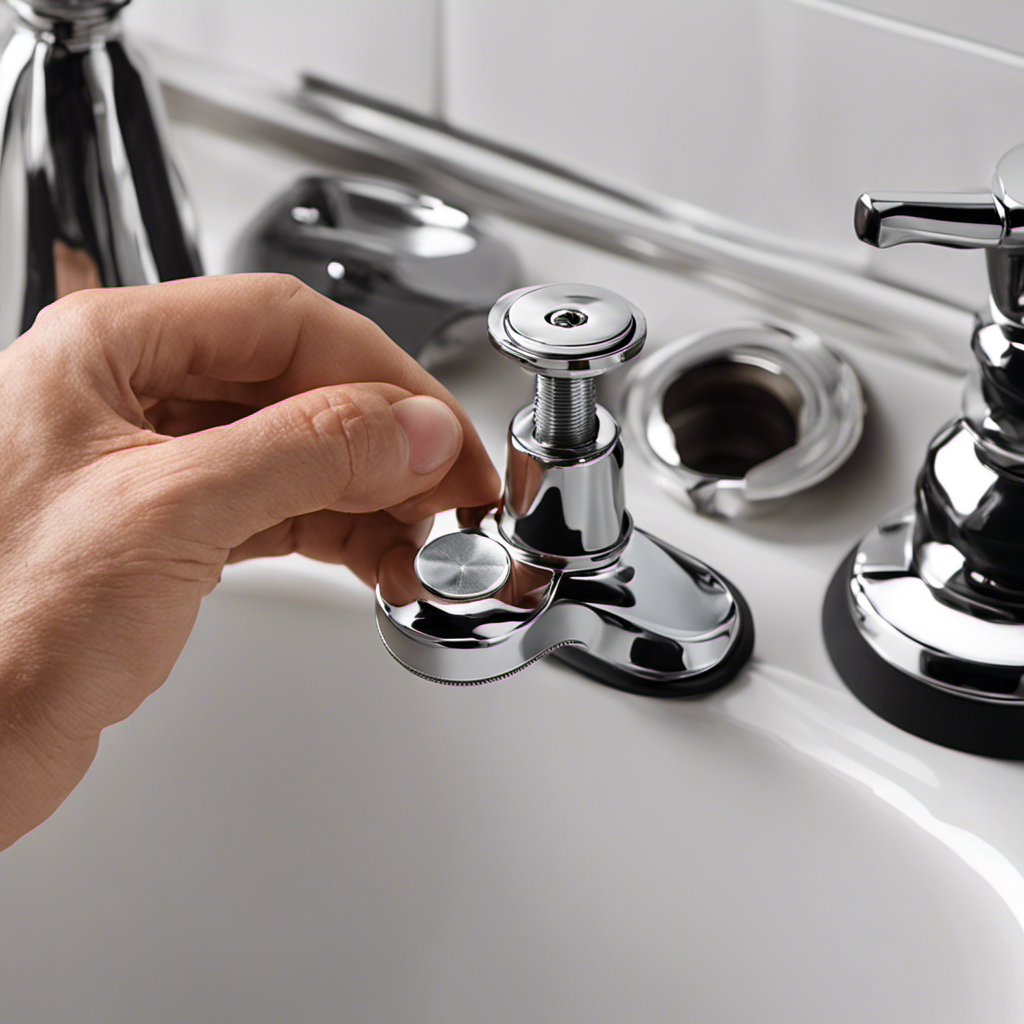
Removing the Old Drain Stopper
First, you’ll need to unscrew the metal cover from the drain. This is often done by using a screwdriver to turn the screws counterclockwise until they come loose. Once the metal cover is removed, you can access the drain stopper itself.
Common problems with old drain stoppers:
- Rust or corrosion: Over time, the metal parts of the drain stopper can rust or corrode, making it difficult to remove.
- Clogged or stuck mechanism: Accumulated debris or minerals can cause the drain stopper to become clogged or stuck in place.
- Worn or damaged parts: The rubber or silicone seals on the drain stopper can wear out or become damaged, affecting its functionality.
Tips for removing stubborn drain stoppers:
- Apply lubricant: Using a silicone-based lubricant can help loosen the drain stopper and make it easier to remove.
- Use pliers or a wrench: If the drain stopper is particularly stubborn, you can try using pliers or a wrench to grip and twist it out.
- Seek professional help: If all else fails, it may be best to consult a professional plumber to avoid causing further damage.
Preparing the Drain for Installation
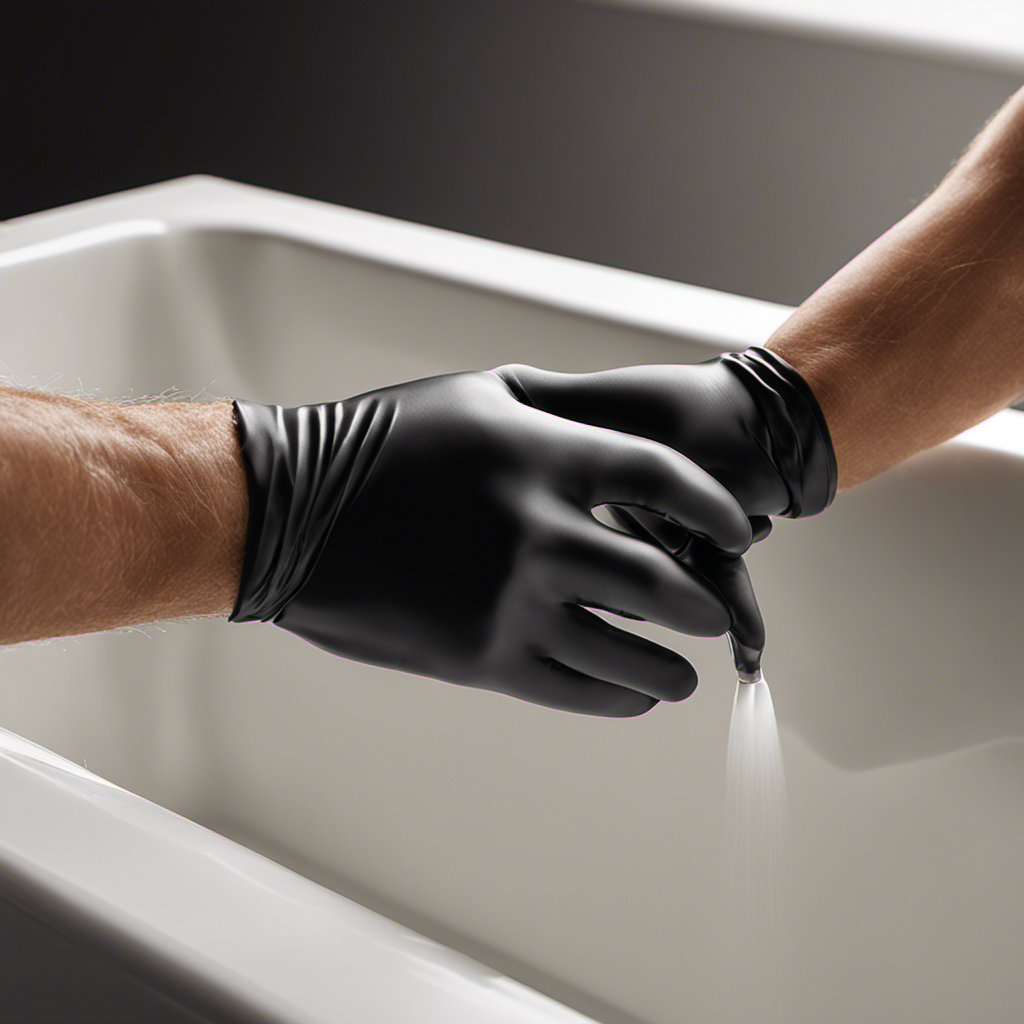
Next, make sure the drain area is clean and free of any debris before proceeding with the installation process. It’s important to have a clean and clear drain to ensure proper functioning of the new drain stopper.
To do this, I recommend using a drain cleaning solution or a mixture of baking soda and vinegar to remove any buildup or clogs in the drain. After applying the solution, let it sit for a few minutes before flushing it with hot water. This will help to break down any grease or grime that may be causing blockages.
Additionally, regular drain maintenance is essential to prevent future clogs. Using a drain strainer or hair catcher can help to prevent hair and other debris from going down the drain and causing issues.
Installing the New Drain Stopper
Before you begin the installation process, make sure you have all the necessary tools and materials on hand. Installing a new drain stopper in your bathtub can be a simple and rewarding task if done correctly.
To avoid common mistakes during installation, follow these steps:
-
Choose the right type of drain stopper for your bathtub. There are different types available, such as push-pull stoppers, lift-and-turn stoppers, and toe-touch stoppers. Consider the design and functionality that best suits your needs.
-
Take accurate measurements of your bathtub drain to ensure a proper fit for the new stopper. This will prevent any leaks or issues in the future.
-
Double-check the manufacturer’s instructions for any specific requirements or recommendations regarding the installation process.
Now that you have your tools and materials ready, and you know which type of drain stopper to choose, let’s move on to the next step: testing and adjusting the drain stopper to ensure proper functionality.
Testing and Adjusting the Drain Stopper
Now that you have everything ready, it’s time to test and adjust the new drain stopper to make sure it works properly.
Testing the drain stopper is an important step in the installation process, as it allows you to troubleshoot any common issues that may arise.
One common issue is a leaky stopper, which can be resolved by ensuring a tight seal between the stopper and the drain.
Another issue is a stopper that doesn’t open or close smoothly, which can be fixed by adjusting the linkage or replacing worn-out parts.
It’s also essential to consider the type of drain stopper you have installed, as different types have their own pros and cons.
For example, a lift-and-turn stopper is easy to use but can become stuck over time, while a push-pull stopper is more durable but may require more effort to operate.
Conclusion
In conclusion, installing a bathtub drain stopper is a straightforward process that anyone can do with the right tools and a little bit of know-how. By following these steps, you can transform your bath time experience into a relaxing oasis.
Imagine the feeling of stepping into a tub filled with warm water, knowing that your drain stopper is securely in place, allowing you to fully immerse yourself in pure relaxation.
With a few simple adjustments and a bit of testing, you can enjoy a perfectly functioning drain stopper that will enhance your bathing experience for years to come.