Hey there!
Ever had to deal with the annoying drip, drip, drip of a leaky faucet in your bathtub? Trust me, I’ve been there too. But fear not, because in this article, I’m going to show you exactly how to fix that pesky problem.
With just a few tools and some know-how, you’ll be able to put an end to that constant dripping and enjoy a peaceful bath once again.
So let’s get started, shall we?
Key Takeaways
- Worn-out rubber washers and old/damaged rubber washers are common causes of leaky faucets in bathtubs.
- Signs of a leaky faucet include constant dripping sound, water pooling around the base, and decreased water pressure.
- To fix a leaky faucet, you need tools like an adjustable wrench and screwdriver, as well as replacement parts like washers or O-rings.
- The step-by-step process involves disassembling the faucet, troubleshooting and identifying the leaky parts, repairing and reassembling the faucet, and regular maintenance techniques for prevention.

RP25513 faucet stem assembly Replacement Kit for two handle faucet repair kit with RP24096 Cartridge RP4993 Seats Springs RP24097 1/4 Turn stop, 2 Pack
Package included: Stem*2 , 1/4 Turn stop*2 , Rubber seat*2 , Spring*2 .
As an affiliate, we earn on qualifying purchases.
As an affiliate, we earn on qualifying purchases.
Common Causes of Leaky Faucets in Bathtubs
One of the most common causes of leaky faucets in bathtubs is worn-out rubber washers. You can easily replace them yourself. When the rubber washers become old and damaged, they fail to create a watertight seal. This results in water dripping from the faucet.
To identify if you have a leaky bathtub faucet, there are a few signs to look out for. One indicator is a constant dripping sound coming from the faucet, even when it is turned off. Additionally, you may notice water pooling around the base of the faucet or a decrease in water pressure.
These signs indicate that the rubber washers need to be replaced to stop the leak.

XBVV 106 PCS Faucet Washer Assortment Kit with Assorted Flat and Beveled Rubber Washers for Outdoor Garden Faucet Stem Leak Worn Replacement Repair
Multiple sizes: 106 Pcs faucet washer kit with assorted different flat beveled common sizes: 3/8, 1/4L, 1/4, 1/4M…
As an affiliate, we earn on qualifying purchases.
As an affiliate, we earn on qualifying purchases.
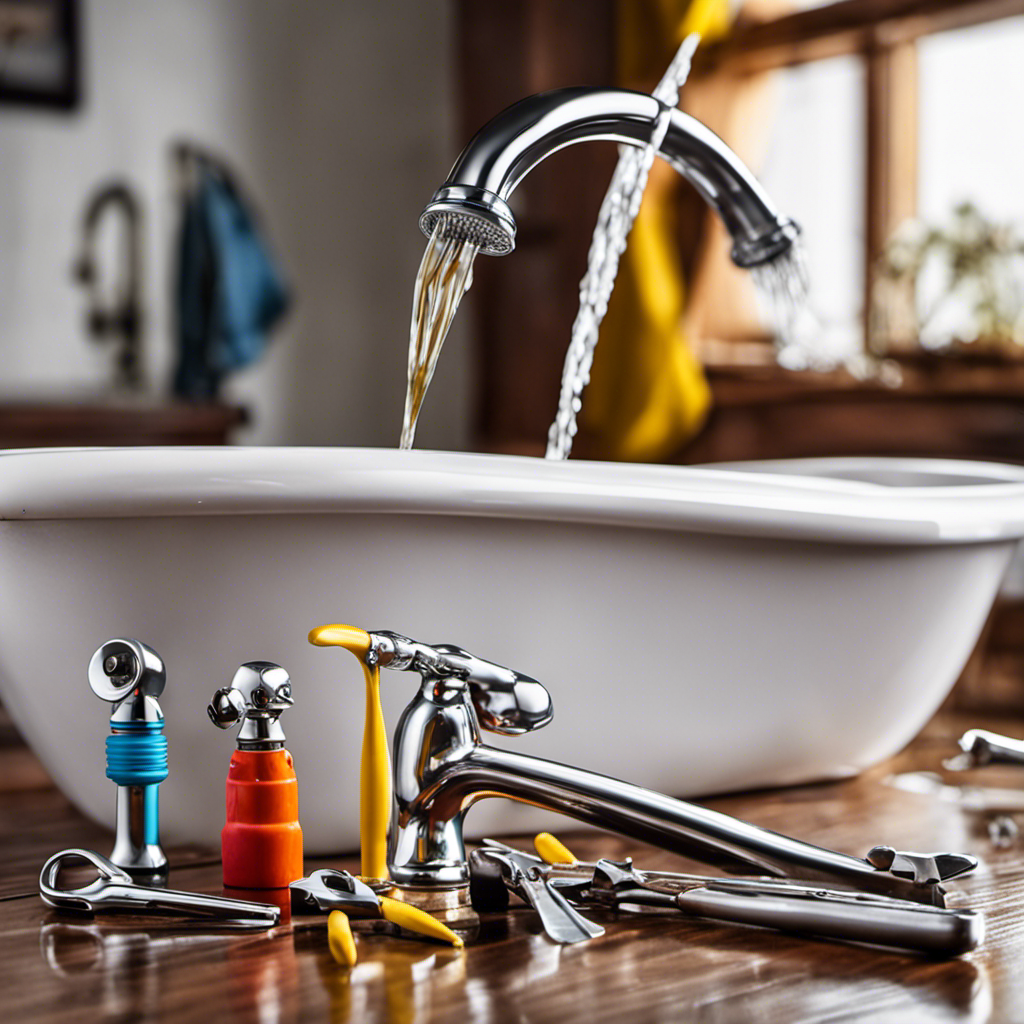
Tools and Materials Needed for Fixing a Leaky Faucet
To tackle the task of repairing a dripping tap, you’ll need a few tools and materials.
First and foremost, you’ll need an adjustable wrench to loosen and tighten the various components of the faucet. Additionally, a screwdriver will be necessary to remove any screws holding the faucet together.
It’s also important to have plumber’s tape on hand to ensure a secure and leak-free connection. In terms of materials, you may need replacement parts such as washers or O-rings, depending on the specific issue with your faucet.
Proper maintenance techniques for preventing faucet leaks include regularly checking for any signs of wear and tear, as well as promptly addressing any small leaks before they become bigger problems.
If you’re not confident in your plumbing skills, it’s always a good idea to seek the assistance of professional plumbers for faucet repairs.
Now that we have all the necessary tools and materials ready, let’s move on to the step-by-step guide to disassembling the faucet.

WORKPRO 2-Piece Adjustable Wrench Set, 6-Inch & 10-Inch Wide Jaw Black Oxide Wrench, Cr-V Steel, Metric & SAE Scales, Max Jaw Opening 15/16" & 1-5/16", for Home Repairs, Plumbing, Garage Work
DUAL-SIZE SET FOR VERSATILE USE: This 2-piece set includes 6-inch and 10-inch adjustable wrenches, designed for everyday household…
As an affiliate, we earn on qualifying purchases.
As an affiliate, we earn on qualifying purchases.
Step-by-Step Guide to Disassembling the Faucet
Grab your adjustable wrench and start by using it to remove the handle of the faucet. This is the first step in the disassembling process of fixing a leaky faucet in your bathtub. Once the handle is removed, you can access the inner workings of the faucet and identify the potential causes of the leak. To help you understand the different parts involved, here is a table depicting the components of a typical faucet:
| Component | Description | Function |
|---|---|---|
| Cartridge | Controls water flow | Regulates water pressure |
| O-rings | Seals moving parts | Prevents leaks |
| Valve seat | Connects faucet body | Controls water flow |
| Washers | Seals water supply | Prevents leaks |
Now that you know the basics, you can proceed to troubleshoot and identify the leaky parts, which we will discuss in the next section.

360 Pcs O Ring Assortment Kit,Rubber Washer Orings, Black 24 Sizes Pressure Washer O Ring Kit for Faucet, Hose, Automotive, Air Gas Plumbing Sealing Repair O Rings
Premium Material: These assorted o rings are made of outstanding rubber material with good air tightness and high…
As an affiliate, we earn on qualifying purchases.
As an affiliate, we earn on qualifying purchases.
Troubleshooting and Identifying the Leaky Parts
Once you have removed the handle, you can begin troubleshooting and identifying the parts causing the leak. To start, let’s look at the common signs of a leaky faucet in the bathtub.
These include dripping water, a constant stream of water even when the faucet is turned off, or water pooling around the base of the faucet.
Now, let’s get technical. The most common culprits behind a leaky faucet are worn-out O-rings, damaged cartridges, or a faulty valve seat. It’s important to inspect each of these components carefully to determine the source of the leak.
Once identified, you can replace the faulty part and fix the leak.
To prevent future leaks in bathtub faucets, regular maintenance is key. Ensure that all components are clean, lubricated, and in good condition. Additionally, avoid overtightening the faucet handle as it can damage the internal parts.
Repairing and Reassembling the Faucet
After identifying the faulty parts, it’s time to repair and reassemble the faucet.
To begin, I carefully remove the damaged components, such as the worn-out washers or O-rings.
I then clean the area thoroughly to remove any debris or mineral buildup that might affect the performance of the new parts.
Next, I install the new washers or O-rings, making sure they are properly aligned and seated.
I tighten all the connections securely, being careful not to over-tighten and cause damage.
Once everything is in place, I turn on the water supply and check for any leaks.
If everything looks good, I reassemble the faucet, ensuring all parts are properly aligned and tightened.
Lastly, I perform regular faucet maintenance to prevent future leaks, such as cleaning the aerator and checking for any loose connections.
Conclusion
Fixing a leaky faucet in your bathtub can be a simple DIY project that will save you money and frustration. By following the step-by-step guide and using the right tools and materials, you can successfully repair your faucet and prevent further water wastage.
Did you know that a leaky faucet can waste up to 3,000 gallons of water per year? That’s enough water to fill a swimming pool! Taking the time to fix your leaky faucet not only saves you money but also helps conserve our precious water resources.