I’ve got a leaky bathtub faucet that’s been driving me crazy. But don’t worry, I’ve got a step-by-step guide on how to fix it.
Imagine the satisfaction of finally stopping that annoying drip and saving money on your water bill.
In this article, I’ll show you how to:
- Identify the problem
- Gather the necessary tools
- Shut off the water supply
- Remove and replace the faucet cartridge or valve stem
- Reassemble the handle
- Test your repaired bathtub faucet.
Let’s get started!
Key Takeaways
- Accurate problem identification is crucial for successful repair
- Essential tools for repairing a bathtub faucet include adjustable wrench, screwdriver, needle-nose pliers, plumber’s tape, and flashlight
- Shutting off the water supply before starting the repair is important to prevent leaks and accidental water damage
- Reassembling the faucet handle properly and testing the repaired bathtub faucet thoroughly are necessary steps in the repair process.

GIOTOHUN Cat Water Fountain Filter Replacement: 12 Cat Fountain Filter - 12 Pet Fountain Filter - 6 Carbon Filters & 6 Foam Filters - Suitable for GIOTOHUN Stainless Steel Cat Fountain S11
- Compatible with GIOTOHUN Stainless Steel Fountain: Fits GIOTOHUN 2.2L cat water dispenser
- Set of 12 Filters: Includes 6 carbon and 6 sponge filters
- Long-lasting Filters: Suitable for 3-6 months of use
As an affiliate, we earn on qualifying purchases.
Identifying the Problem
Before you can repair a bathtub faucet, it’s important to identify the problem. Troubleshooting tips can help you pinpoint the issue and determine the appropriate repair steps.
One common bathtub faucet problem is a leaky faucet. To troubleshoot this, first, turn off the water supply to the faucet. Next, remove the handle and inspect the cartridge or valve. If it is damaged or worn, it may need to be replaced.
Another common problem is low water pressure. Check for any debris or mineral deposits clogging the aerator. Cleaning or replacing the aerator can often solve this issue.
Lastly, if the faucet is not producing hot water, check the water heater settings and ensure the hot water supply valve is fully open.
Identifying the problem accurately is crucial for successful bathtub faucet repair.
Gathering the Necessary Tools
Now that we’ve identified the problem with the bathtub faucet, it’s time to gather the necessary tools for the repair.
Having the right tools is essential to ensure a successful and efficient repair. In this discussion, I’ll provide a checklist of the essential repair tools and explain the importance of tool preparation.
Essential Repair Tools
To repair a bathtub faucet, you’ll need a few essential tools. These tools will help you with the repair techniques and troubleshooting tips.
First, you’ll need an adjustable wrench to remove the faucet handle and other components. This will allow you to access the inner parts of the faucet.
Next, a screwdriver is necessary to remove any screws holding the faucet together.
You may also need needle-nose pliers to grip and pull out small parts that may be stuck.
A plumber’s tape is essential for creating a tight seal when reassembling the faucet.
Lastly, a flashlight will help you see any hidden areas or potential issues within the faucet.
With these essential tools, you’ll be well-equipped to tackle any bathtub faucet repair.
Tool Preparation Checklist
Having the right tools is crucial for successfully fixing a bathtub faucet. As someone who has dealt with various faucet problems, I understand the importance of having a well-equipped toolbox. Here is a tool preparation checklist to ensure you have everything you need:
- Adjustable wrench: This versatile tool allows you to tighten or loosen nuts and bolts with ease.
- Screwdriver set: Different screwdrivers will be necessary for removing screws of various sizes.
- Pliers: These come in handy for gripping and turning small components.
- Pipe wrench: Essential for removing and installing pipes.
- Allen wrench set: Often used for removing faucet handles or other fixtures.
By maintaining and organizing these tools, you can be prepared to tackle common faucet problems such as leaks, drips, or worn-out components.
Shutting Off the Water Supply
First, you’ll need to locate the water shut-off valve for the bathtub faucet. The water shut-off valve is typically located near the bathtub, either under the sink or behind an access panel. Look for a lever or a wheel-shaped valve with a handle.
Once you’ve located the valve, turn it clockwise to shut off the water supply to the bathtub faucet. This will prevent any water from flowing while you work on repairing the faucet. It’s important to shut off the water supply to avoid any potential leaks or accidental water damage.
Make sure to test the faucet after the repair to ensure it’s working properly before turning the water supply back on.
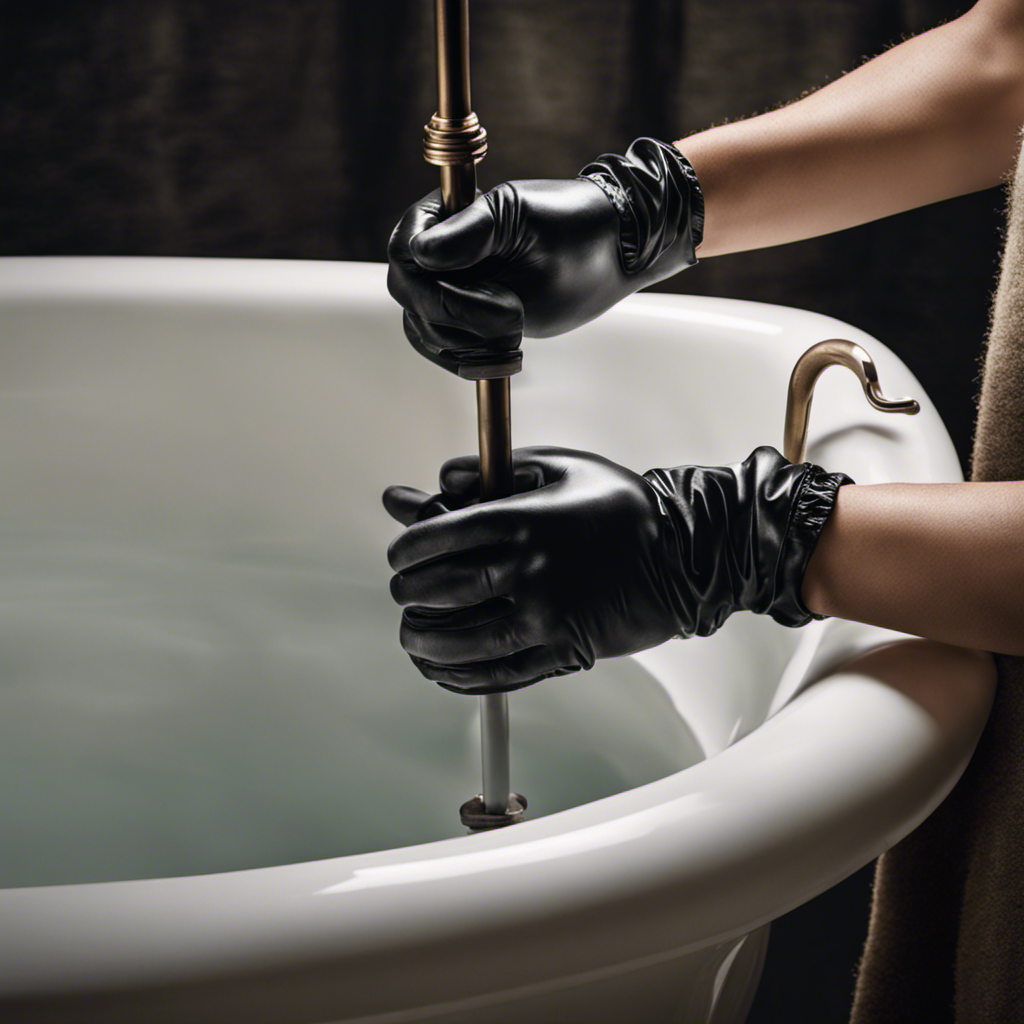
Removing the Faucet Handle
Now that the water supply is shut off, it’s time to tackle the next step in repairing your bathtub faucet: removing the faucet handle. This is an essential part of the process as it allows access to the inner workings of the faucet, making it easier to adjust the temperature and fix any leaks.
To remove the faucet handle, follow these steps:
- Locate the small screw on the base of the handle and use a screwdriver to remove it.
- Once the screw is removed, gently lift the handle off the faucet.
- If the handle feels stuck, you can use a handle puller tool to help loosen it.
- Set the handle aside in a safe place.
With the handle removed, you now have access to the cartridge or valve stem inside the faucet, which is where the temperature adjustments and potential leaks can be addressed.
Now that the faucet handle is removed, we can move on to the next step in repairing your bathtub faucet.
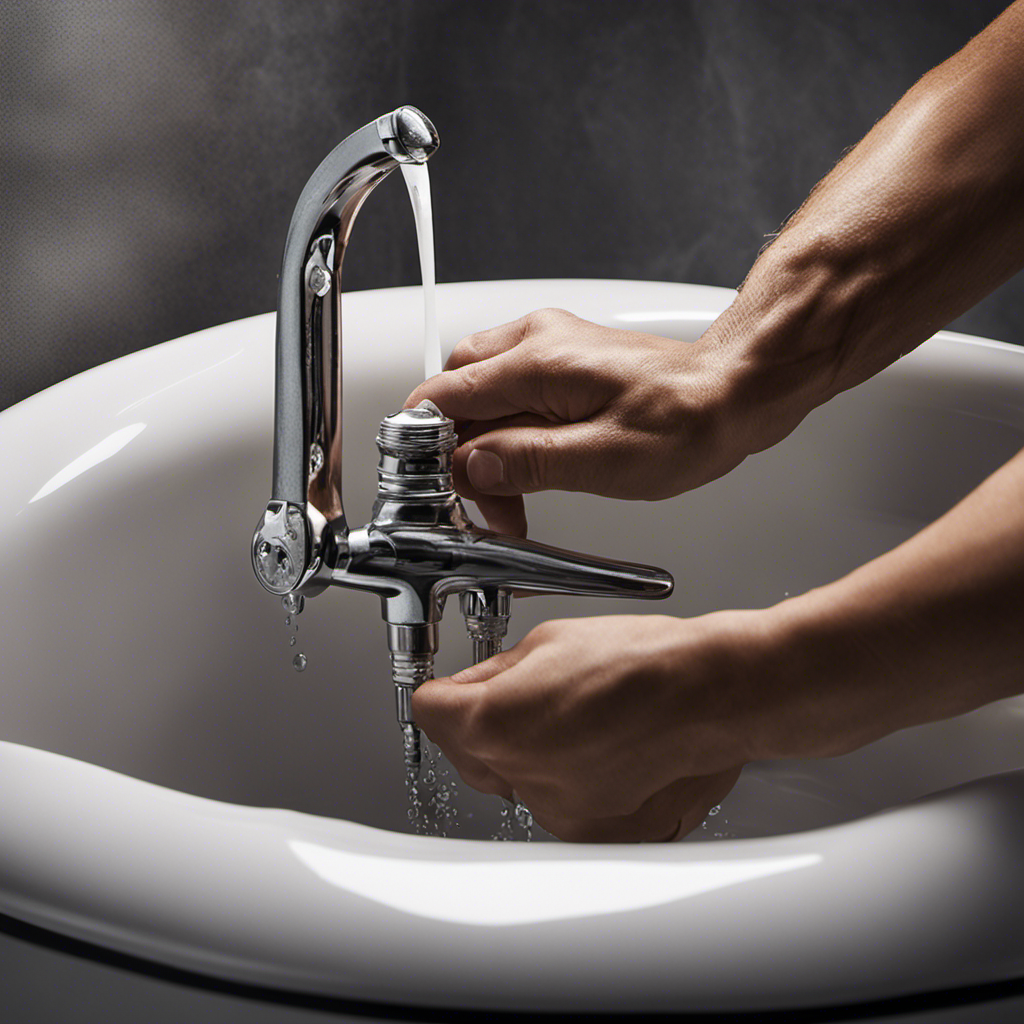
Replacing the Faucet Cartridge or Valve Stem
To replace the faucet cartridge or valve stem, follow these steps:
-
Turn off the water supply to the faucet by closing the main water valve.
-
Remove the handle and trim sleeve to expose the cartridge or valve stem.
-
Use a wrench to unscrew and remove the old cartridge or valve stem. Inspect it for any damage or wear.
-
If necessary, clean the inside of the faucet body and remove any debris or mineral buildup.
-
Install the new cartridge or valve stem, ensuring it aligns properly with the faucet body. Tighten it securely with the wrench.
-
Finally, reassemble the faucet handle, making sure all parts are in the correct order and tight.
With these troubleshooting techniques and faucet maintenance, you can easily replace the cartridge or valve stem to fix a faulty bathtub faucet.
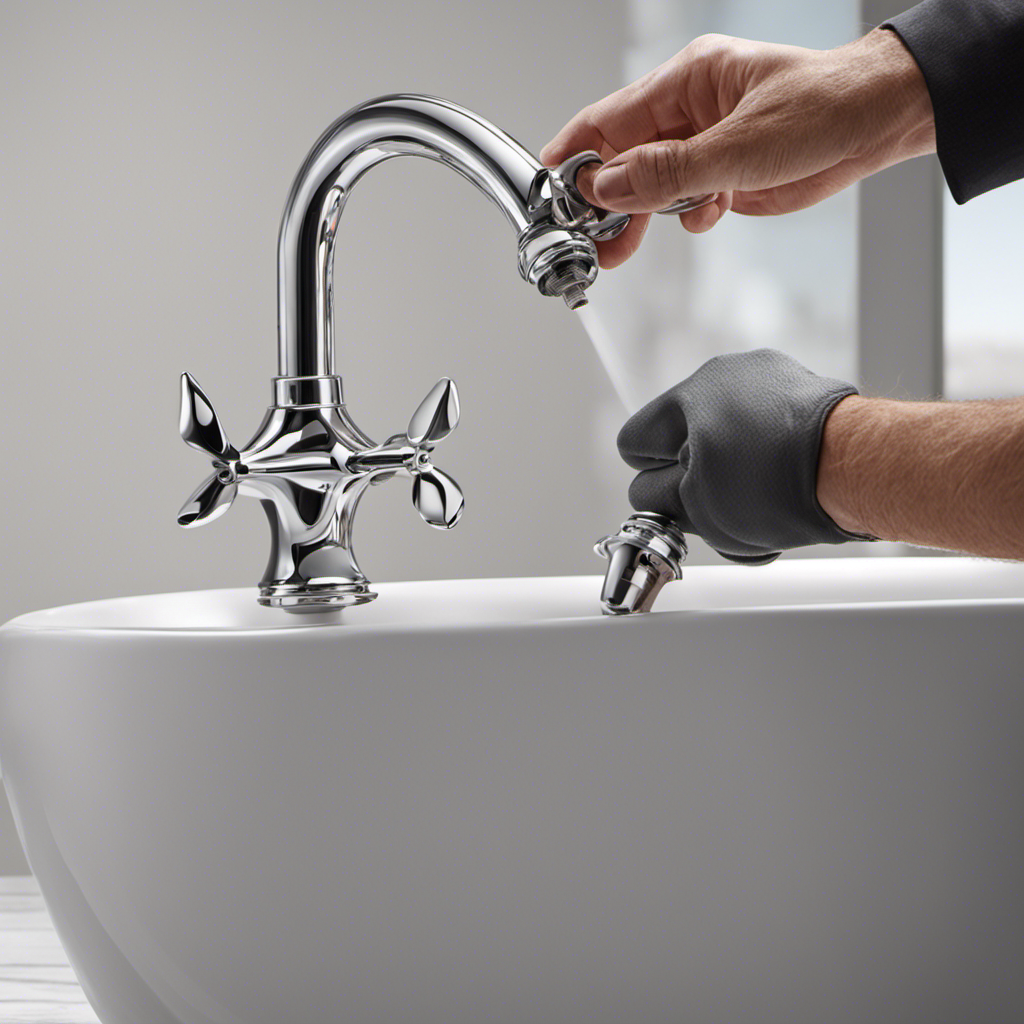
Reassembling the Faucet Handle
After aligning the new cartridge or valve stem properly, you’ll want to securely tighten it with a wrench before reassembling the faucet handle. Here are the steps to reassemble the faucet handle and complete the repair process for your bathtub faucet:
-
Slide the handle back onto the stem or cartridge, making sure it fits snugly.
-
Use a screwdriver or Allen wrench to secure the handle by tightening the screws or set screws.
-
Turn on the water supply valves to allow water to flow back into the faucet.
-
Slowly turn on the faucet handle to check for any leaks or irregularities.
-
If there are no leaks and the water flows smoothly, congratulations! Your bathtub faucet is now repaired.
Now that you have successfully reassembled the faucet handle, it’s time to move on to testing the repaired bathtub faucet.
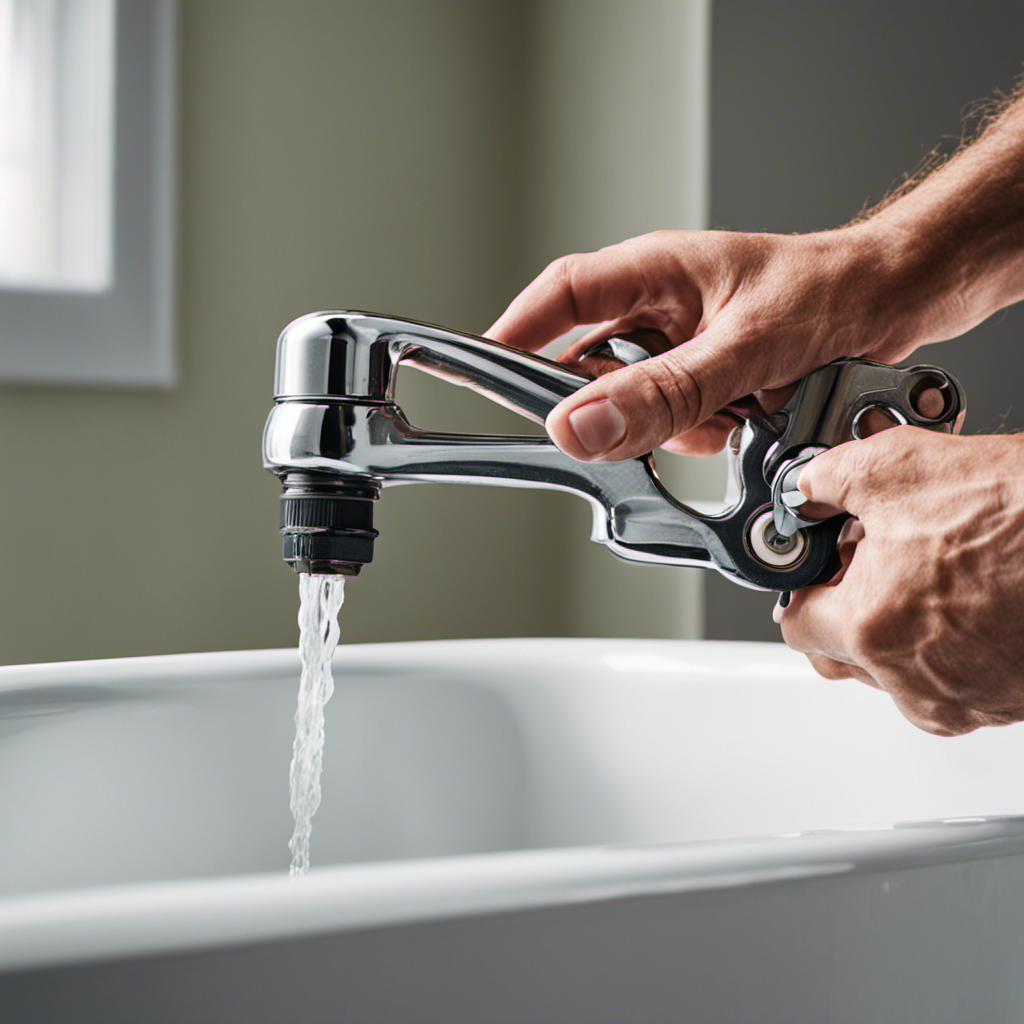
Testing the Repaired Bathtub Faucet
Once the water supply valves are turned on, you can test the repaired bathtub faucet for any leaks or irregularities. Testing procedures are crucial to ensure that the repair has been successful and that the faucet is functioning properly.
To begin, turn the faucet handles to the ‘off’ position and slowly turn on the water supply valves. Observe the faucet closely for any signs of leaks or drips.
It is also important to check the water pressure and temperature. If the water pressure is too low, it could indicate a blockage or an issue with the plumbing system. Similarly, if the water temperature is inconsistent, it may be a sign of a faulty mixing valve. These are common issues that can be identified during testing.
If any problems are detected, further repairs may be required.
Conclusion
In conclusion, repairing a bathtub faucet is a straightforward process that can be done with a few simple steps.
By identifying the problem, gathering the necessary tools, and shutting off the water supply, you can easily remove and replace the faucet cartridge or valve stem.
After reassembling the faucet handle, it’s important to test the repaired bathtub faucet to ensure it is working properly.
With a little patience and attention to detail, you can have your bathtub faucet back in working order in no time.