I’ve got a secret to share with you – transforming your plastic bathtub in a mobile home is easier than you think.
With just a few simple steps, some elbow grease, and the right supplies, you can give your bathroom a fresh new look.
In this article, I’ll walk you through the process of prepping the surface, choosing the perfect paint, and applying it like a pro.
Get ready to take your bathroom from drab to fab in no time!
Key Takeaways
- Thoroughly clean and dry the bathtub surface before painting.
- Use epoxy paint designed for plastic surfaces for durability.
- Sand the surface with sandpaper or a sanding block to roughen it.
- Apply a layer of primer to the entire bathtub surface.
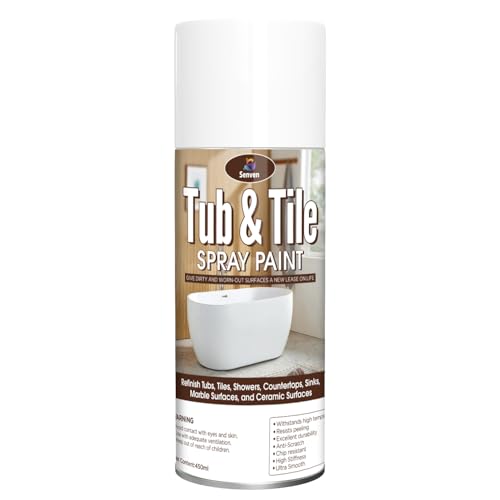
Tile Paint, White Tub and Tile Refinishing Spray Paint Waterproof White Spray Tile Paint Bathtub Refinishing Kit for Tiles Ceramic Porcelain Fiberglass Bathroom Walls Bathtubs Sinks Countertop Toilets
SENVEN TUB & TILE REFINISHING SPRAY PAINT: Apply this Tile Spray Paint to ceramic, porcelain, or fiberglass surfaces,…
As an affiliate, we earn on qualifying purchases.
As an affiliate, we earn on qualifying purchases.
Preparing the Bathtub Surface
Before you start painting, make sure you’ve thoroughly cleaned and dried the bathtub surface. This step is crucial for achieving a smooth and long-lasting finish.
Begin by removing any dirt, grime, or soap scum using a gentle cleaner and a non-abrasive sponge or cloth. Pay extra attention to any stained or discolored areas and consider using a bathtub surface repair product to address minor imperfections.
Once the surface is clean, rinse it thoroughly and let it dry completely. It’s essential to ensure there is no moisture remaining on the surface before applying any paint or refinishing product.
While there are alternative bathtub refinishing methods available, such as epoxy coatings or bathtub liners, painting can be a cost-effective and straightforward solution for refreshing the appearance of your plastic bathtub.

Rust-Oleum 384165 Tub And Tile Refinishing 2-Part Kit, 32 oz, Gloss White
Prepare and paint surface the same day with a tough, with tub and tile’s 2-part epoxy acrylic formula…
As an affiliate, we earn on qualifying purchases.
As an affiliate, we earn on qualifying purchases.
Choosing the Right Paint and Supplies
When selecting the appropriate materials, it’s crucial to consider the type of surface you’ll be painting.
When it comes to painting a plastic bathtub in a mobile home, it’s important to choose durable options that can withstand the wear and tear of daily use. Traditional paint may not adhere properly to the smooth surface of a plastic bathtub, so it’s best to explore alternatives.
One option is to use epoxy paint specifically designed for plastic surfaces. Epoxy paint provides a strong and durable finish that can withstand water and cleaning chemicals.
Another alternative is to use a bathtub refinishing kit, which typically includes a bonding agent and a topcoat that can be applied directly to the bathtub surface.
These options ensure a long-lasting and professional-looking result.
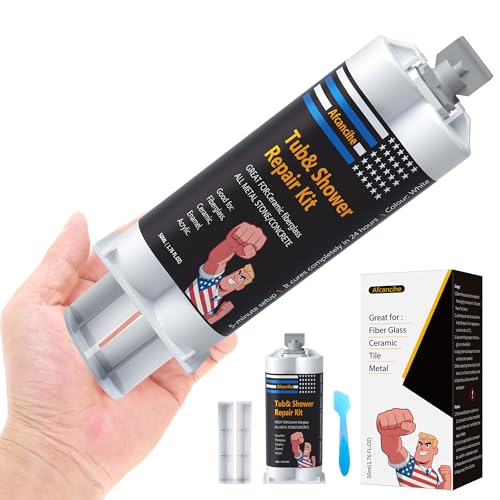
Professional White Bathtub Repair Kit – Permanent Fix for Chips, Cracks & Holes in Fiberglass, Porcelain, Ceramic, Acrylic Sink, Tile & Toilet (High-Strength)(1pcs
Permanent Repair for Chips & Cracks: This professional-grade kit permanently fixes holes, chips, and cracks in bathtubs, sinks,…
As an affiliate, we earn on qualifying purchases.
As an affiliate, we earn on qualifying purchases.
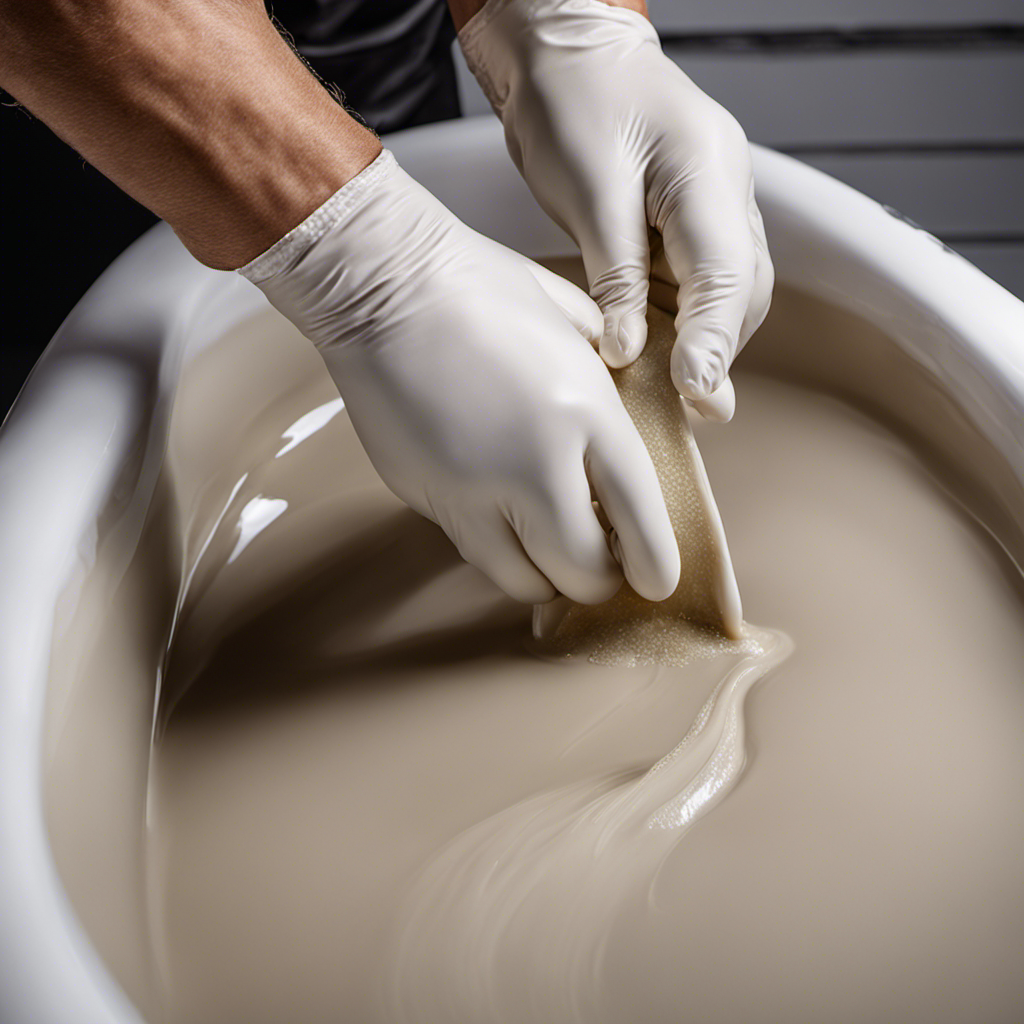
Cleaning and Sanding the Bathtub
To properly prepare the tub, it’s essential to thoroughly clean and sand the surface. Cleaning techniques are crucial for removing dirt, grime, and any residue that may prevent the paint from adhering properly. I recommend using a mild detergent or a mixture of vinegar and water to clean the bathtub. Scrub the surface with a soft brush or sponge, ensuring that you reach all the nooks and crannies. Once the tub is clean, it’s time to sand it. Sanding tools such as sandpaper or a sanding block can be used to roughen the surface, allowing the paint to bond effectively. Start with a coarse grit sandpaper and gradually move to a finer grit for a smooth finish. Remember to wipe away any dust before proceeding to the next step.
| Cleaning Techniques | Sanding Tools |
|---|---|
| Mild detergent | Sandpaper |
| Vinegar and water | Sanding block |
| Soft brush or sponge | |

Tub and Tile Refinishing Kit – High Adhesion Bathtub Paint for Bathroom & Kitchen – Low VOC DIY Ceramic Resurfacing – Fast Drying Semi-Gloss Finish (16 oz)
ONE STEP TILE REFINISHING KIT – Skip messy 2-part epoxy mixing. Our single-component formula applies directly to bathtubs…
As an affiliate, we earn on qualifying purchases.
As an affiliate, we earn on qualifying purchases.
Applying Primer and Base Coat
Once you’ve finished cleaning and sanding, it’s time to apply the primer and base coat to the bathtub. Before starting, it’s important to choose the right color for your bathtub. Consider the overall aesthetic of your bathroom and select a color that complements it.
Now, let’s get to the application process. Begin by applying a layer of primer to the entire bathtub surface. Make sure to follow the manufacturer’s instructions on drying time.
Once the primer is dry, you can proceed with applying the base coat. Use smooth, even strokes to ensure a uniform finish. Again, check the drying time specified by the manufacturer.
It’s crucial to allow adequate drying time for both the primer and base coat to ensure a durable and long-lasting finish.
Finishing Touches and Maintenance Tips
Now that you’ve completed the primer and base coat application, it’s time to add the finishing touches and learn some maintenance tips. Here are some important things to consider:
-
Color options and design ideas:
-
Choose a color that complements your bathroom decor and personal style.
-
Consider using stencils or decals to add a unique design or pattern to your bathtub.
-
Long term durability and protection:
-
Apply a clear topcoat to protect the painted surface and enhance its longevity.
-
Avoid using abrasive cleaners or scrub brushes that can damage the paint.
By carefully selecting the right color and design, you can transform your plastic bathtub into a stylish focal point of your bathroom.
Additionally, taking proper care and maintenance will ensure that your newly painted bathtub stays beautiful for years to come.
Conclusion
In conclusion, painting a plastic bathtub in a mobile home can be a cost-effective way to update your bathroom without breaking the bank. By following the steps outlined in this article, you can achieve a professional-looking finish that will last for years to come.
Remember to choose the right paint and supplies, properly prepare the surface, and apply the primer and base coat for best results. With a little patience and attention to detail, your bathtub will look brand new, and you’ll be basking in the glory of your DIY skills.
Trust me, it’s a game-changer!