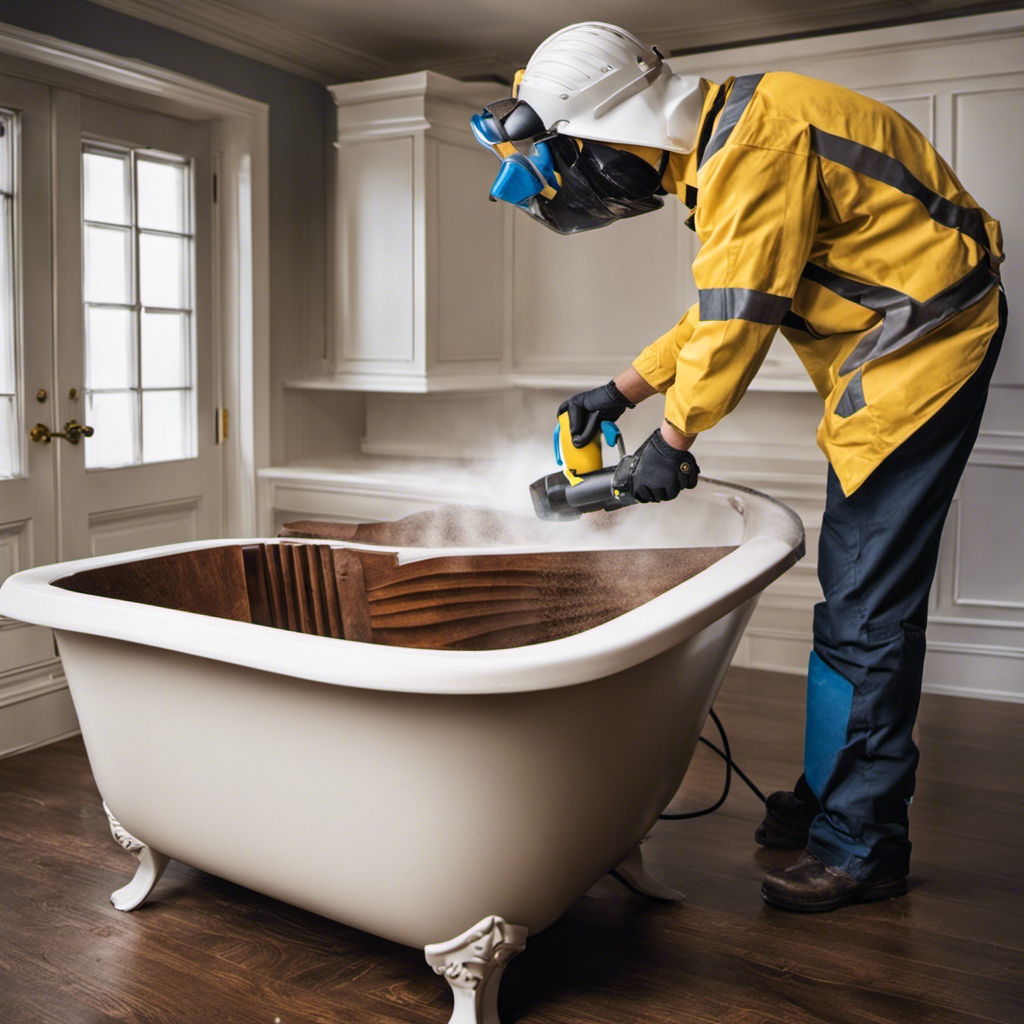
I know what you’re thinking – sanding a bathtub sounds like a daunting task. But let me assure you, with the right tools and techniques, it’s a job that can be tackled with confidence.
In this article, I will guide you through the process of sanding your bathtub, from choosing the right materials to dealing with stubborn stains and rust.
With a little patience and know-how, you’ll have a beautifully smooth bathtub surface in no time. Let’s get started!
Key Takeaways
- Use coarse grit sandpaper for initial sanding and fine grit sandpaper for a smoother finish.
- Wear safety goggles, a dust mask, and gloves to protect yourself while sanding.
- Clean the bathtub surface thoroughly before sanding to remove soap scum buildup.
- Use wet sanding with water or lubricant for deeper scratches and imperfections, and dry sanding with a sanding block or sponge for lighter scratches and a smooth texture.
Choosing the Right Tools and Materials
To make sure you have everything you need, gather the right tools and materials for sanding your bathtub.
Choosing the right sandpaper grit is crucial for achieving a smooth and even finish. For initial sanding, I recommend starting with a coarse grit sandpaper, such as 80 or 100. This will help remove any old finish, stains, or imperfections on the surface.
Once the surface is smooth, switch to a finer grit sandpaper, like 220 or 240, to create a smoother finish.
It’s important to wear proper safety precautions during this process. Be sure to wear safety goggles to protect your eyes from any debris, and a dust mask to prevent inhaling any harmful particles. Additionally, consider using gloves to protect your hands from any sharp edges.
Preparing the Bathtub Surface
First, make sure you thoroughly clean the surface of the bathtub before starting the preparation process. This step is crucial to ensure that all dirt, grime, and soap scum are removed, allowing for a smooth and even sanding process.
Here’s a step-by-step guide on how to prepare your bathtub surface for sanding:
-
Gather the necessary cleaning supplies, such as a mild detergent, scrub brush, and a non-abrasive sponge.
-
Fill the bathtub with warm water and add the detergent.
-
Use the scrub brush to scrub the entire surface of the bathtub, paying special attention to areas with soap scum buildup.
-
Rinse the bathtub thoroughly with clean water, using the non-abrasive sponge to remove any remaining residue.
Sanding Techniques for a Smooth Finish
Once the surface is clean, you can begin sanding with a fine-grit sandpaper for a smooth finish. Sanding is an essential step in preparing a bathtub for refinishing.
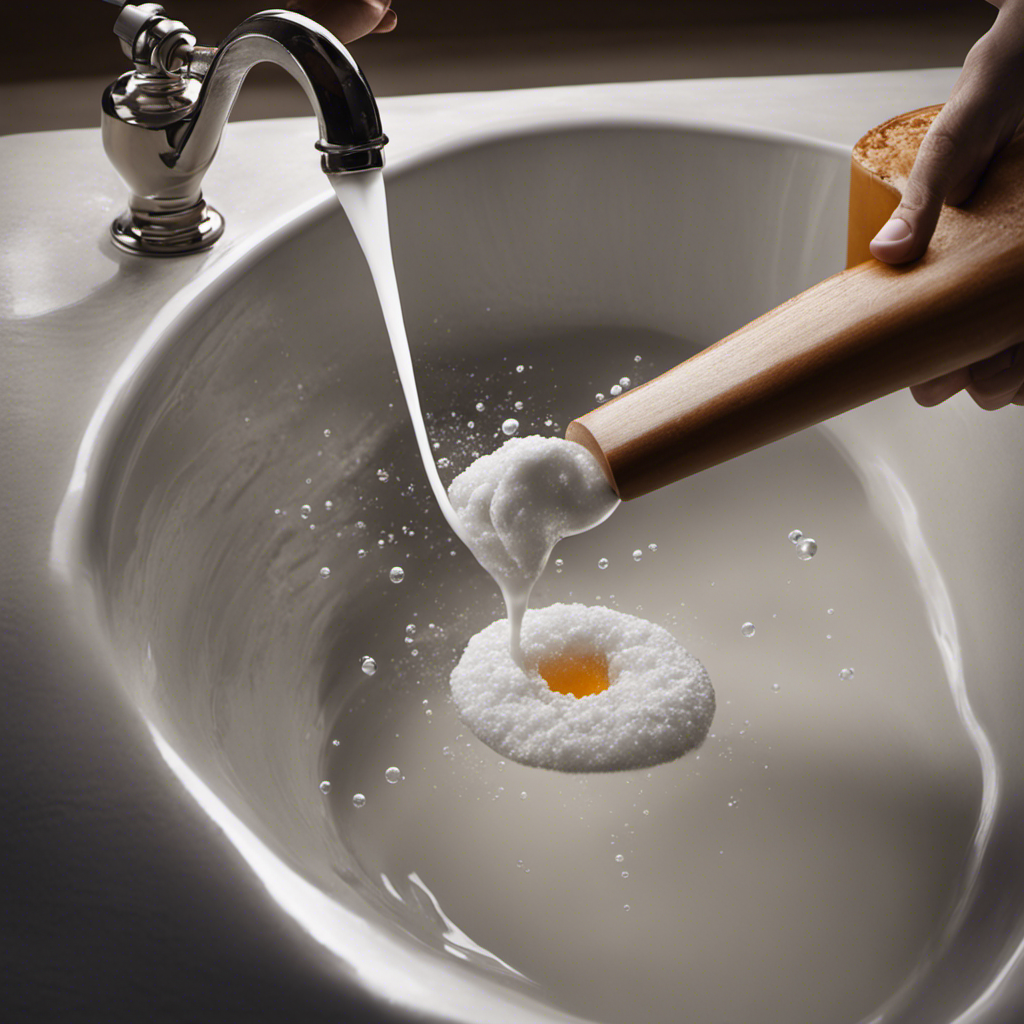
There are two main techniques for sanding: wet sanding and dry sanding. Wet sanding involves using water or a lubricant to minimize dust and create a smoother surface. This technique is especially useful for removing deeper scratches and imperfections. To wet sand, simply soak the sandpaper in water or lubricant and gently sand the bathtub surface in a circular motion.
On the other hand, dry sanding is done without any liquid and is effective for removing lighter scratches and creating a smooth texture. When dry sanding, it is important to use a sanding block or a sanding sponge to apply even pressure and avoid uneven surfaces. Remember to change the sandpaper regularly to maintain its effectiveness.
Dealing With Stubborn Stains and Rust
If you’re dealing with stubborn stains and rust, try using a mixture of vinegar and baking soda for effective removal. Here’s how I tackle these pesky problems using natural cleaning solutions:
-
Start by mixing equal parts vinegar and baking soda in a small bowl. The combination of these two ingredients creates a powerful cleaning agent.
-
Apply the mixture directly onto the stains and rust using a cloth or sponge. Make sure to cover the entire affected area.
-
Let the solution sit for about 15 minutes to allow it to penetrate and break down the stains and rust.
-
Finally, scrub the area gently with a scrub brush or sponge and rinse thoroughly with water. You’ll be amazed at how well this natural solution removes hard water stains and rust, leaving your bathtub looking clean and shiny.
Using this method not only effectively removes stubborn stains and rust, but it also eliminates the need for harsh chemicals, making it a safe and eco-friendly cleaning option.
Finishing Touches and Maintenance Tips
To keep your bathtub looking clean and shiny, regularly wipe it down with a soft cloth and mild cleaning solution. This simple maintenance schedule can go a long way in preventing future damage and preserving the beauty of your bathtub.
In addition to regular cleaning, it is important to address any minor issues promptly to avoid them turning into major problems. For instance, if you notice any chips or scratches, it is advisable to repair them immediately using a bathtub repair kit. This will help prevent further damage and ensure your bathtub stays in top condition.
Furthermore, consider using a protective coating or sealant to provide an extra layer of defense against stains and discoloration.
Conclusion
In conclusion, sanding a bathtub can be a time-consuming but rewarding project. By choosing the right tools and materials, preparing the surface properly, and using effective sanding techniques, you can achieve a smooth and flawless finish.
Remember, ‘practice makes perfect.’ So, don’t be discouraged if you encounter stubborn stains or rust, just keep working at it and you’ll see great results.
And don’t forget to apply a protective finish and follow proper maintenance tips to ensure your bathtub stays beautiful for years to come.
Happy sanding!


