Are you tired of the constant annoyance of a dripping bathtub faucet? Well, you’re in luck! This article will guide you through the step-by-step process of putting an end to that frustrating drip.
By identifying the cause, gathering the necessary tools, and following a few simple instructions, you’ll be able to fix your faucet in no time.
So, grab your wrench and get ready to tackle this common household problem head-on. Let’s stop that drip once and for all!
Key Takeaways
- Common causes of a dripping faucet in a bathtub include worn-out washers, damaged O-rings, and corroded valve seats.
- Shut off the water supply to the bathtub before attempting any repairs or replacements.
- Gather the necessary tools such as a wrench, pliers, and screwdriver before starting the repair process.
- To stop a dripping faucet in a bathtub, inspect and replace any loose or damaged washers, O-rings, or cartridges.

XBVV 106 PCS Faucet Washer Assortment Kit with Assorted Flat and Beveled Rubber Washers for Outdoor Garden Faucet Stem Leak Worn Replacement Repair
Multiple sizes: 106 Pcs faucet washer kit with assorted different flat beveled common sizes: 3/8, 1/4L, 1/4, 1/4M…
As an affiliate, we earn on qualifying purchases.
As an affiliate, we earn on qualifying purchases.
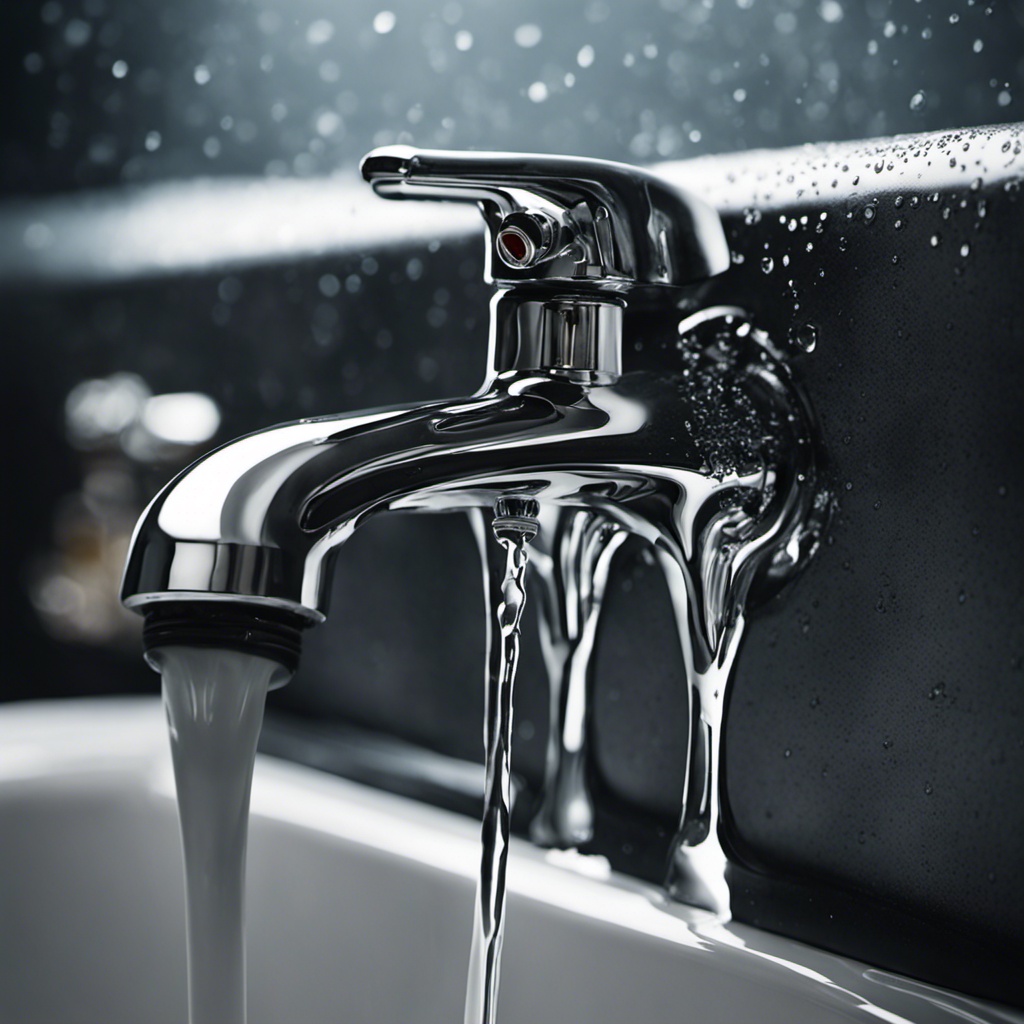
Identifying the Cause of the Dripping Faucet
The first step in stopping a dripping faucet is identifying the cause of the leak. Common causes of dripping faucets include worn-out washers, damaged O-rings, and corroded valve seats.
To troubleshoot and fix a dripping faucet, start by turning off the water supply to the faucet. Next, inspect the handle and spout for any visible signs of damage or wear. If you notice a loose or damaged washer, it may need to be replaced. Similarly, if the O-ring is cracked or worn, it should be replaced as well. Corroded valve seats can be cleaned with vinegar or replaced if necessary.
Once you have identified the cause of the leak, you can move on to gathering the necessary tools and materials to fix the dripping faucet efficiently.

360 Pcs O Ring Assortment Kit,Rubber Washer Orings, Black 24 Sizes Pressure Washer O Ring Kit for Faucet, Hose, Automotive, Air Gas Plumbing Sealing Repair O Rings
Premium Material: These assorted o rings are made of outstanding rubber material with good air tightness and high…
As an affiliate, we earn on qualifying purchases.
As an affiliate, we earn on qualifying purchases.
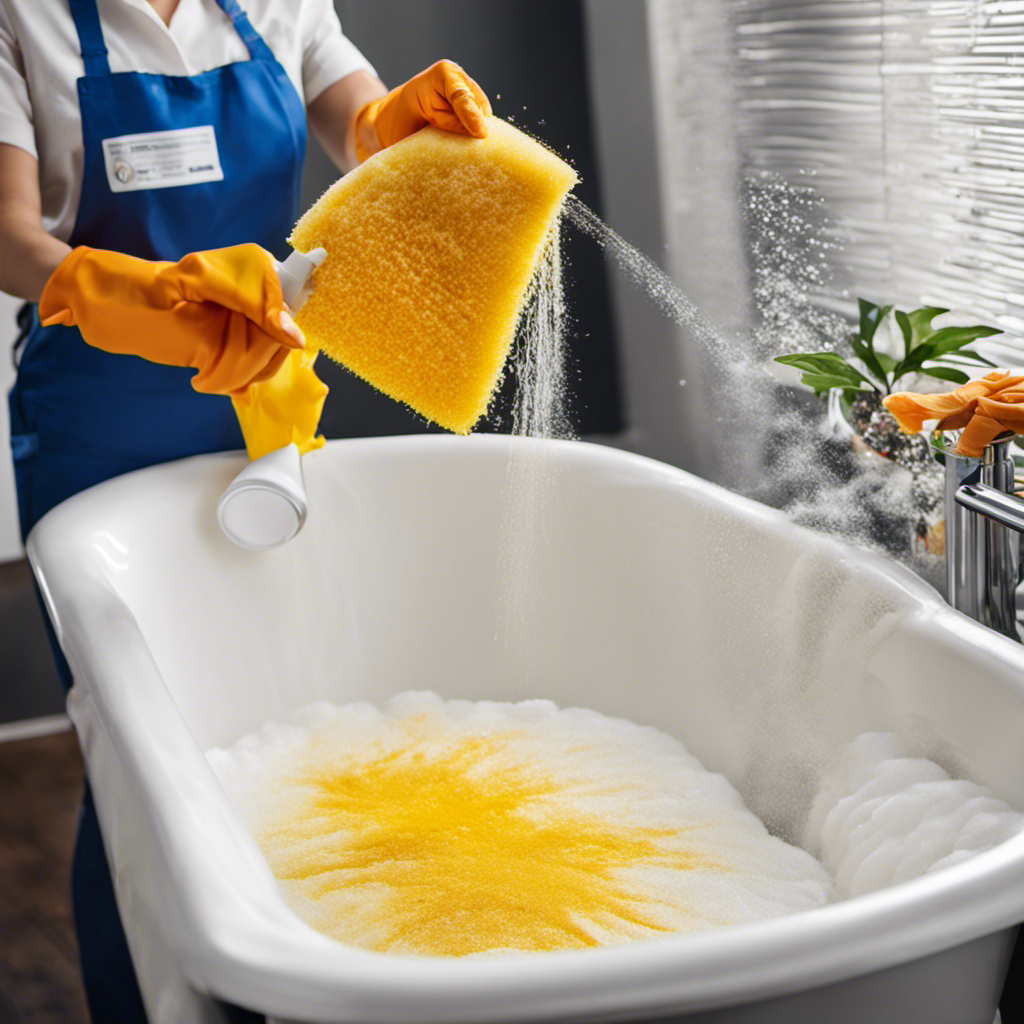
Gathering the Necessary Tools and Materials
To gather the necessary tools and materials for fixing a dripping bathtub faucet, you’ll need to start by shutting off the water supply. This is important to prevent any water from leaking out while you work on the faucet.
Once the water supply is shut off, you can begin gathering the tools and materials you’ll need. First, you’ll need to choose the right replacement parts for the faucet. This might include washers, O-rings, or even a new cartridge, depending on the type of faucet you have. Additionally, it’s important to have a wrench, pliers, and a screwdriver on hand to remove the faucet components.
Proper maintenance techniques, such as regular cleaning and lubrication, can also help prevent future leaks. Now that you have your tools and materials ready, let’s move on to shutting off the water supply to the bathtub.

RP25513 faucet stem assembly Replacement Kit for two handle faucet repair kit with RP24096 Cartridge RP4993 Seats Springs RP24097 1/4 Turn stop, 2 Pack
Package included: Stem*2 , 1/4 Turn stop*2 , Rubber seat*2 , Spring*2 .
As an affiliate, we earn on qualifying purchases.
As an affiliate, we earn on qualifying purchases.
Shutting Off the Water Supply to the Bathtub
Once you’ve located the main water valve, you can use a wrench to shut it off.
Shutting off the water supply to the bathtub is an essential step in fixing a dripping faucet. By doing this, you prevent any further water from flowing through the pipes and causing potential leaks.
It is important to take this precautionary measure to avoid any damage or flooding in your home. If you’re unsure about how to shut off the water supply, it is recommended to hire a professional plumber who can assist you. They have the expertise and knowledge to handle the task effectively and safely.
Once the water supply is turned off, you can proceed to the next step of disassembling and inspecting the faucet.

TIANMENSHAN 8 in 1 Faucet Wrench Tool, Water Pipe Wrench with Comfortable Grip, Tap Spanner for Tight Space, Multi-Functional Tap Spanner Set for Sink, Bathroom and Kitchen Plumbing Repair
【Durable Material】Made of durable ABS engineering plastic, ensuring sturdiness and durability for long-term use
As an affiliate, we earn on qualifying purchases.
As an affiliate, we earn on qualifying purchases.
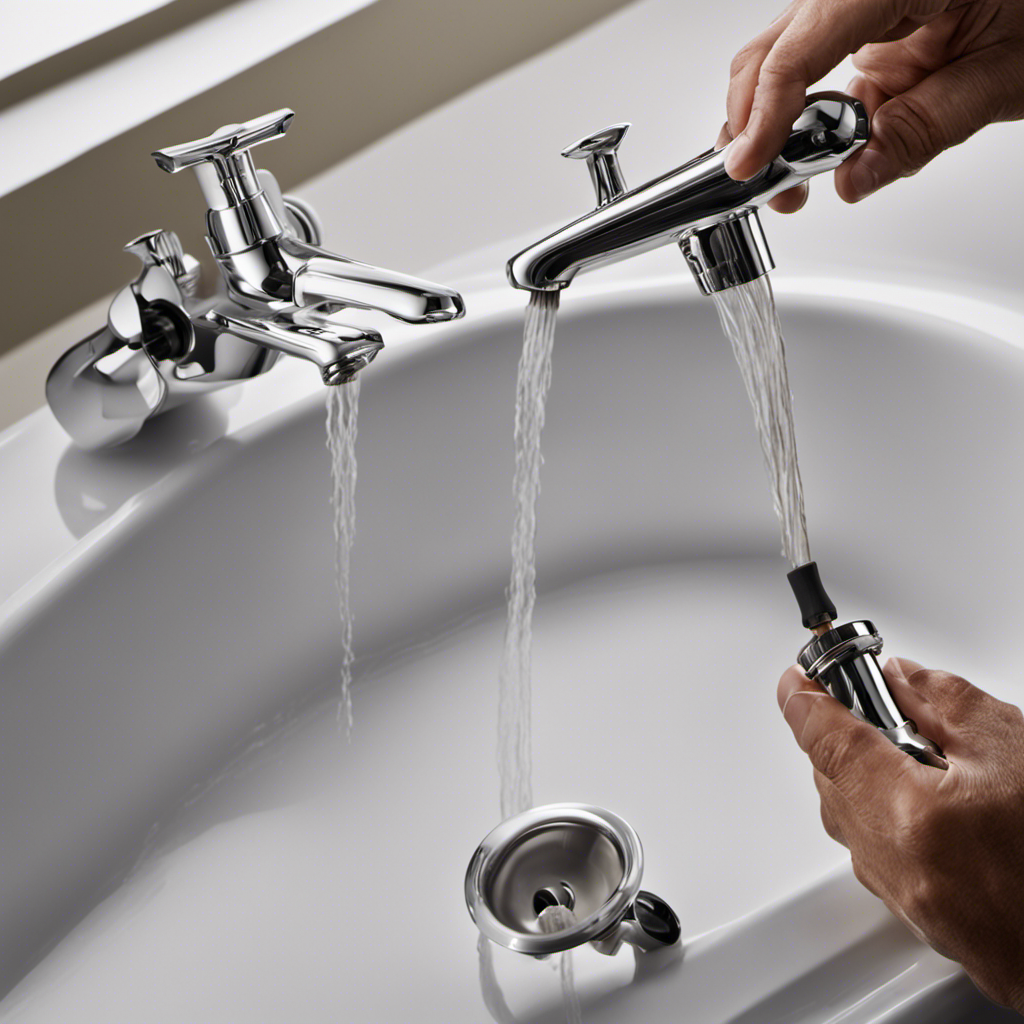
Disassembling and Inspecting the Faucet
First, you’ll need to gather a set of basic tools such as a screwdriver and pliers before inspecting and disassembling the faucet. Faucet maintenance is crucial to prevent common problems with bathtub faucets, such as leaks and drips. By following these simple steps, you can easily identify and fix any issues with your faucet.
To begin, turn off the water supply to the bathtub. Then, remove the decorative cap or handle to access the screw that holds the handle in place. Use a screwdriver to remove the screw and lift off the handle. Next, use pliers to remove the collar and expose the cartridge or valve stem. Inspect these components for any signs of wear or damage, such as corrosion or mineral buildup. Clean or replace any faulty parts accordingly. Finally, reassemble the faucet in the reverse order and turn on the water supply to test for leaks.
| Tools Needed | Steps |
|---|---|
| Screwdriver | 1. Turn off water supply. |
| Pliers | 2. Remove decorative cap or handle. |
| 3. Use screwdriver to remove screw. | |
| 4. Lift off the handle. | |
| 5. Use pliers to remove the collar. | |
| 6. Inspect cartridge or valve stem. | |
| 7. Clean or replace faulty parts. | |
| 8. Reassemble the faucet. | |
| 9. Turn on water supply and test for leaks. |
Repairing or Replacing Faulty Components
You can easily repair or replace any faulty components by following these simple steps:
-
Identify the problem: The most common bathtub faucet problems include leaks, drips, and poor water flow. Determine the specific issue you are facing before proceeding with the repair.
-
Fixing leaky pipes: If you notice a leak around the pipes, start by tightening any loose connections. If that doesn’t solve the problem, you may need to replace the pipe or use plumber’s tape to seal the leak.
-
Repairing the faucet: To fix a dripping faucet, you’ll need to disassemble the faucet and inspect the components. Replace any worn-out or damaged parts such as washers, O-rings, or cartridges. Reassemble the faucet and check for leaks.
Frequently Asked Questions
How Do I Know if the Dripping Faucet in My Bathtub Is Causing Any Water Damage?
If your bathtub faucet is dripping, it could potentially cause water damage. Look for signs such as moisture or discoloration around the faucet, peeling paint or wallpaper, or a musty smell.
Can I Use Any Type of Wrench to Disassemble the Faucet?
To disassemble the faucet, you need the correct type of wrench. Using the wrong wrench can cause damage and make the problem worse. Common problems when using the wrong wrench include stripped screws and broken parts.
Is It Necessary to Shut off the Water Supply to the Entire House to Fix a Dripping Faucet?
To fix a dripping faucet, you need to shut off the water supply. It is not necessary to shut off the water supply to the entire house. Locate the shut-off valve near the faucet and turn it off.
How Long Does It Typically Take to Repair or Replace Faulty Components in a Dripping Faucet?
To repair a dripping faucet quickly, first identify common causes. Faulty washers, worn-out O-rings, or damaged valves are often to blame. The time it takes to repair or replace these components depends on the severity of the damage.
Are There Any Specific Safety Precautions I Should Follow While Disassembling and Inspecting the Faucet?
When disassembling and inspecting your faucet, follow these safety precautions to avoid injury: turn off the water supply, wear protective gloves and goggles, and use caution when handling sharp tools.
Conclusion
In conclusion, by taking the time to identify the cause of the dripping faucet in your bathtub and gathering the necessary tools and materials, you have embarked on a journey to fix the underlying issue.
By shutting off the water supply and disassembling the faucet, you have delved into the inner workings of this mechanical marvel.
And finally, by repairing or replacing faulty components, you have not only fixed a simple household problem, but you have also symbolically demonstrated your ability to overcome challenges and restore harmony.
Congratulations on your successful quest to stop the dripping faucet!