As a homeowner, I understand the frustration that comes with a scratched toilet bowl. It’s not only unsightly, but it can also harbor bacteria and make cleaning a nightmare.
But fear not, because I have a solution that will have your toilet looking brand new in no time. In this article, I will share with you my step-by-step guide on how to fix those pesky scratches, using simple materials and techniques that anyone can do.
Say goodbye to scratched toilets and hello to a sparkling clean bathroom.
Key Takeaways
- Assess the damage to determine if the scratches are superficial or deep and understand the severity of the scratches.
- Gather the necessary materials such as fine-grit sandpaper, mild cleaning solution, microfiber cloth, and clear epoxy resin for the repair process.
- Apply the repair solution by cleaning the scratched area and applying a thin layer of epoxy resin, avoiding common mistakes and allowing it to dry properly.
- Buff and polish the surface using a soft cloth or buffing pad, applying polishing compound and rinsing thoroughly, and considering applying a protective sealant for a professional-looking finish.

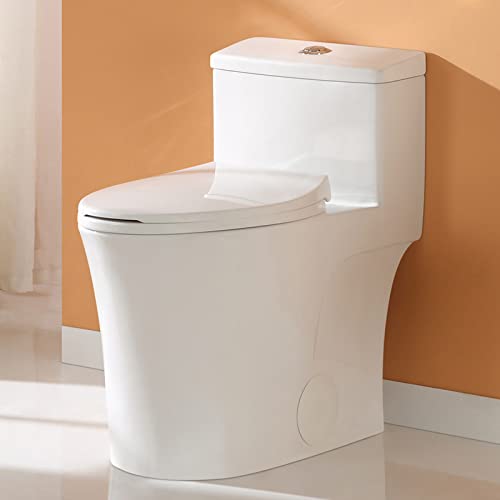
Elongated One Piece Toilet with Comfort Chair Seat ADA Height 17.33", Powerful Dual Flush 0.8/1.28 GPF Compact Toilet, MAP 1000g, Standard White Toilet Bowl, 12'' Rough-in
[Modern Toilets for Bathrooms]: Full skirt design elongated one-piece toilet, not only is it beautiful and elegant, it's...
As an affiliate, we earn on qualifying purchases.
Assessing the Damage
Now, you’ll need to take a closer look at the scratches and assess the damage to determine the best course of action.
Start by examining the severity of the scratches. Are they superficial or deep? Superficial scratches can often be buffed out easily, while deep scratches may require more extensive repairs.
Next, try to determine the causes of the scratches. Were they caused by cleaning tools or abrasive chemicals? Or perhaps by a hard object accidentally dropped into the toilet bowl? Understanding the causes will help you prevent future damage.
Once you have assessed the severity and determined the causes of the scratches, you can move on to gathering the necessary materials for the next steps in fixing your scratched toilet bowl.
HOROW T0338W Compact One Piece Toilet, ADA Chair Height 17.3", Elongated Bowl, Dual Flush 0.8/1.28 GPF, White, 12 Inch Rough-In
Compact One Piece Design: Measuring 26.6"D x 15"W x 26"H, this compact elongated toilet fits small bathrooms while...
As an affiliate, we earn on qualifying purchases.
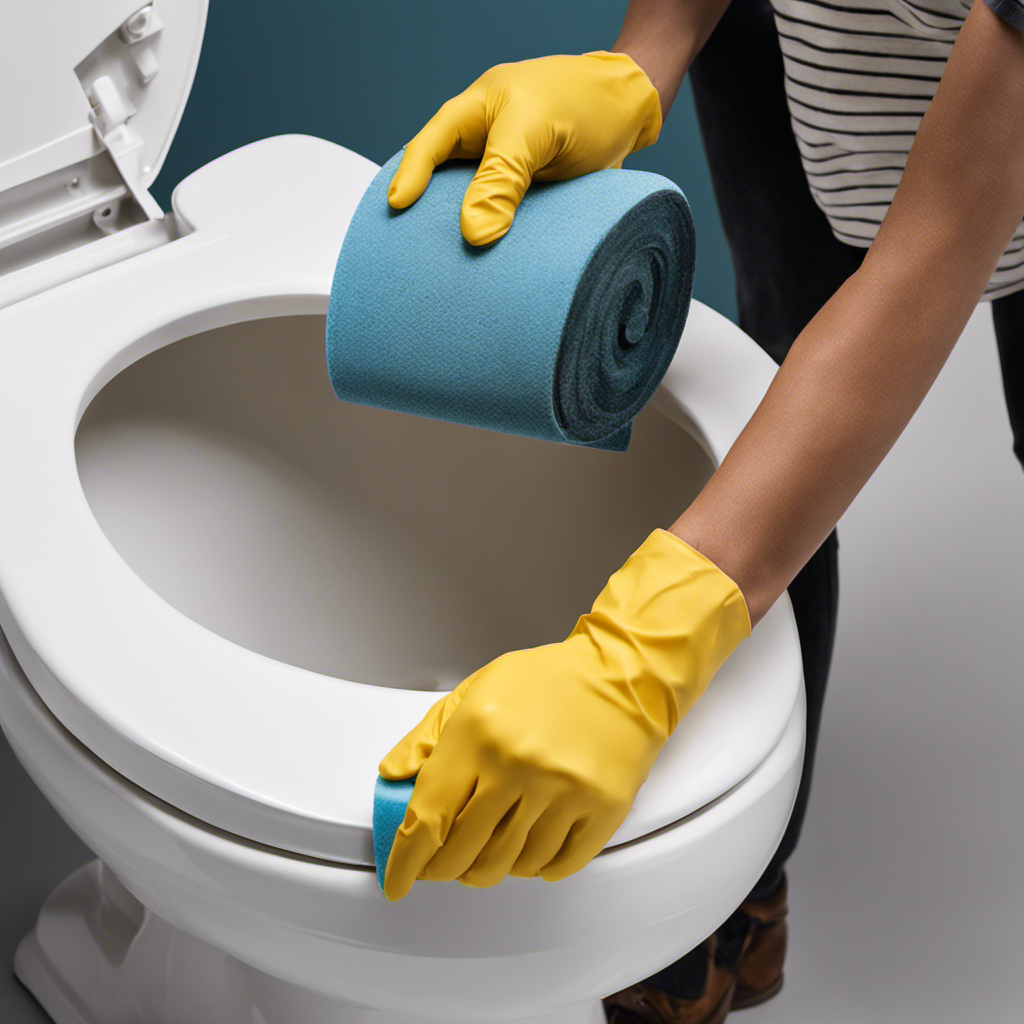
Gathering the Necessary Materials
First, you’ll need to gather the materials necessary for the task at hand. Toilet bowl maintenance is an important aspect of home repair, and with the right DIY techniques, you can easily fix any scratches on your toilet bowl. Here are the materials you’ll need:
| Materials | Description |
|---|---|
| Sandpaper | Fine-grit sandpaper to smooth out the scratches |
| Cleaning solution | Mild cleaning solution to remove any dirt or stains on the bowl |
| Microfiber cloth | Soft cloth to dry the bowl after cleaning and sanding |
| Epoxy resin | Clear epoxy resin to fill in the scratches and restore the bowl’s smooth surface |
| Paintbrush | Small paintbrush to apply the epoxy resin accurately and evenly |

Casta Diva Elongated One Piece Toilet with 17" ADA Comfort Chair Height Seat Compact Toilet for Bathroom Dual Flush 1.1/1.6GPF, 12'' Rough-in, High Efficiency Flush, Standard White Bowl
Luxurious Modern Toilet for Bathrooms: skirted 1-piece toilet integrates the tank and bowl into a seamless, easy-to-clean design,...
As an affiliate, we earn on qualifying purchases.
Applying the Repair Solution
To apply the repair solution, you’ll need to mix the epoxy resin according to the instructions on the packaging.
Once you have the resin ready, start by cleaning the scratched area of the toilet bowl with a mild detergent and a soft cloth. Make sure to remove any dirt or debris that could interfere with the repair process.
Next, apply a thin layer of the epoxy resin onto the scratched surface using a small brush or a cotton swab. Smooth out the resin and let it dry according to the manufacturer’s instructions.
It’s important to note that there are alternative repair methods available, such as using a porcelain repair kit or hiring a professional. However, if you decide to go the DIY route, be sure to avoid common mistakes like applying too much resin, rushing the drying process, or using abrasive materials that could further damage the toilet bowl.

HOROW 17 Inch Compact Tall Toilet for Seniors, Two Piece Toilet for Small Bathroom with Powerful 1.28 GPF Single Flush, MAP 1000g, ADA Chair Height, Soft-Close Seat, and Round Bowl, HR-R17S
A Compact Design That Respects Your Space: This round toilet takes up noticeably less room than standard models,...
As an affiliate, we earn on qualifying purchases.
Buffing and Polishing the Surface
After the resin has dried, you can buff and polish the surface to restore its smoothness and shine. Buffing and polishing are important steps in the toilet bowl repair process, as they help to remove any imperfections left behind by the repair solution.
Here are some tips to help you achieve a professional-looking finish:
-
Use a soft cloth or buffing pad. This will prevent any further scratching or damage to the surface of the toilet bowl.
-
Apply a small amount of polishing compound. Work in small, circular motions to gently buff away any remaining scratches or blemishes.
-
Rinse and dry the surface. Once you are satisfied with the results, rinse the toilet bowl thoroughly with water and dry it with a clean cloth.
-
Apply a protective sealant. To maintain the newly restored surface, consider applying a sealant specifically designed for toilet bowls. This will help to prevent future scratches and maintain the shine.
With these simple steps, you can achieve a smooth and glossy finish, restoring your toilet bowl to its former glory.
Preventing Future Scratches
It’s important to regularly clean and maintain your toilet bowl to minimize the risk of future scratches. To ensure proper cleaning techniques, start by using a toilet bowl cleaner that is specifically designed for removing stains and buildup without causing damage.
Avoid using abrasive cleaners or scrub brushes, as they can scratch the surface of the bowl. Instead, opt for a soft-bristle toilet bowl brush that is gentle yet effective. Look for one with a long handle to reach all areas of the bowl easily.
When cleaning, apply the cleaner to the brush and scrub the bowl in a circular motion, paying extra attention to any stained areas. Rinse the brush thoroughly after each use to prevent the buildup of bacteria.
Frequently Asked Questions
How Do I Know if the Scratches on My Toilet Bowl Are Beyond Repair?
If the scratches on my toilet bowl are beyond repair, I can research how to remove scratches from a toilet bowl. To prevent future scratches, I should be cautious when cleaning and avoid using abrasive materials.
Can I Use Regular Household Cleaning Products to Fix the Scratches on My Toilet Bowl?
Yes, you can use regular household cleaning products to fix the scratches on your toilet bowl. However, it’s important to note that there are alternative cleaning solutions specifically designed for toilet bowl scratch repair.
Will the Repair Solution Used to Fix the Scratches Affect the Color or Finish of My Toilet Bowl?
The repair solution used to fix scratches on a toilet bowl may potentially have side effects on its color or finish. It’s important to consider alternative repair methods to avoid any unwanted changes.
Is It Necessary to Empty the Toilet Bowl Before Applying the Repair Solution?
Emptying the toilet bowl before applying the repair solution is not necessary. The effectiveness of the repair solution is not affected by whether the bowl is empty or not.
Can I Use the Same Repair Solution and Process to Fix Scratches on Other Bathroom Fixtures, Such as Sinks or Bathtubs?
Yes, you can use the same repair solution and process to fix scratches on other bathroom fixtures like sinks or bathtubs. It’s important to consider alternative repair methods for bathroom fixtures and common causes of scratches on them.
Conclusion
In conclusion, fixing a scratched toilet bowl is a simple task that can be accomplished with a few basic steps.
By assessing the damage, gathering the necessary materials, applying the repair solution, and buffing and polishing the surface, you can restore your toilet bowl to its former glory.
Remember, an ounce of prevention is worth a pound of cure, so take the necessary precautions to avoid future scratches.
As they say, ‘an apple a day keeps the doctor away,’ and in this case, regular maintenance will keep your toilet bowl scratch-free for years to come.
Happy repairing!