As I stood in my bathroom, facing the daunting task of replacing my old toilet, I couldn’t help but feel a mix of excitement and apprehension.
It was time to install a new American Standard toilet, and I knew that with the right steps, I could transform my bathroom into a more modern and efficient space.
In this article, I will guide you through the process, step by step, ensuring that you have all the information you need to successfully install your own American Standard toilet.
Key Takeaways
- Assess the condition of the bathroom flooring and repair or replace if necessary.
- Properly disassemble the old toilet and remove the tank, bowl, and seat.
- Use a putty knife to remove the old wax seal and clean the area thoroughly for a proper seal with the new wax ring.
- Align and secure the new toilet bowl with the floor flange, attach the tank and seat, and connect the water supply.

RAINGOWN Tank to Bowl Gasket Kit for Champion 4, AS738756-0070A
- Leak-Preventing Design: Secure seal with sponge rubber washers
- Rust-Resistant Materials: Brass bolts resist corrosion and rust
- Complete Replacement Kit: Includes gasket, bolts, washers, and nuts
As an affiliate, we earn on qualifying purchases.
As an affiliate, we earn on qualifying purchases.
Preparing the Bathroom
Before you can install the American Standard toilet, you’ll need to prepare the bathroom.
Start by assessing the condition of your bathroom flooring. Ensure that it is level and stable, as an uneven surface can lead to toilet wobbling. If necessary, repair or replace the flooring to create a solid foundation for your toilet installation.
Next, consider painting the walls. Choose a paint color that complements your bathroom’s aesthetic and apply it evenly to create a fresh and clean look. Make sure to allow sufficient time for the paint to dry before proceeding with the toilet installation.
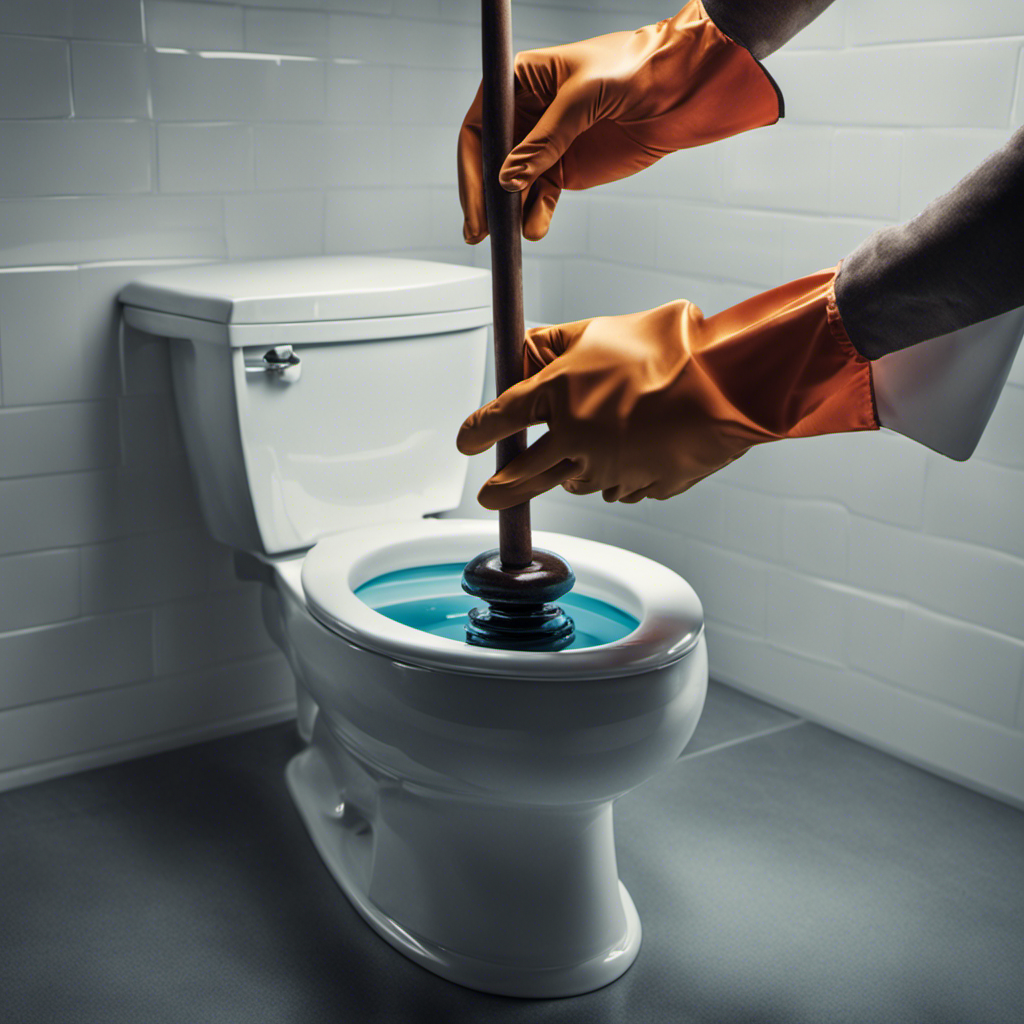
Removing the Old Toilet
Before installing the new toilet, it’s crucial to properly disassemble the old one. This involves removing the tank, bowl, and seat.
Once the toilet is disassembled, the next step is to remove the old wax seal. This can be done using a putty knife and some elbow grease.
Proper Toilet Disassembly
To properly disassemble the American Standard toilet, start by turning off the water supply and disconnecting the water hose. This is an important step in toilet repair and maintenance.
Once the water supply is turned off, locate the two bolts at the base of the toilet. Using a wrench, carefully loosen and remove these bolts.
Next, gently rock the toilet back and forth to break the seal between the toilet and the floor. Once the seal is broken, carefully lift the toilet off the floor and set it aside. Be cautious as the toilet can be heavy.
With the toilet removed, you can now proceed to the next step of removing the old wax seal.
Removing Old Wax Seal
After you have removed the toilet, you can now proceed to the next step of removing the old wax seal.
To do this, you will need a putty knife or a scraper tool. Start by gently inserting the putty knife or scraper tool under the edge of the wax seal. Carefully scrape off the wax, taking care not to damage the toilet flange.
Once the majority of the wax is removed, you can use a rag or paper towel to wipe away any remaining residue. It is important to thoroughly clean the area to ensure a proper seal with the new wax ring.
Alternatively, if you prefer not to use a wax seal, there are alternative options available such as rubber gaskets or foam seals. These can provide a reliable and long-lasting seal.
Now that the old wax seal has been removed, we can move on to securing the water supply.
Securing Water Supply
Now that the old wax seal has been removed, it’s time to ensure the water supply is secure. Here’s how to do it:
-
Shut off the water supply: Locate the shut-off valve near the toilet and turn it clockwise to shut off the water flow. This will prevent any leaks or accidents while working on the water line.
-
Inspect the water line: Check the water line for any signs of damage or wear. Replace it if necessary to avoid future leaks or water pressure issues.
-
Adjust the water pressure: Use a wrench to adjust the water pressure valve on the toilet. Turn it clockwise to decrease the pressure or counterclockwise to increase it. Find the ideal pressure that suits your needs.
By securing the water line and adjusting the water pressure, you’ll ensure a smooth and efficient flow of water to your new toilet bowl.
Now, let’s move on to installing the new toilet bowl.
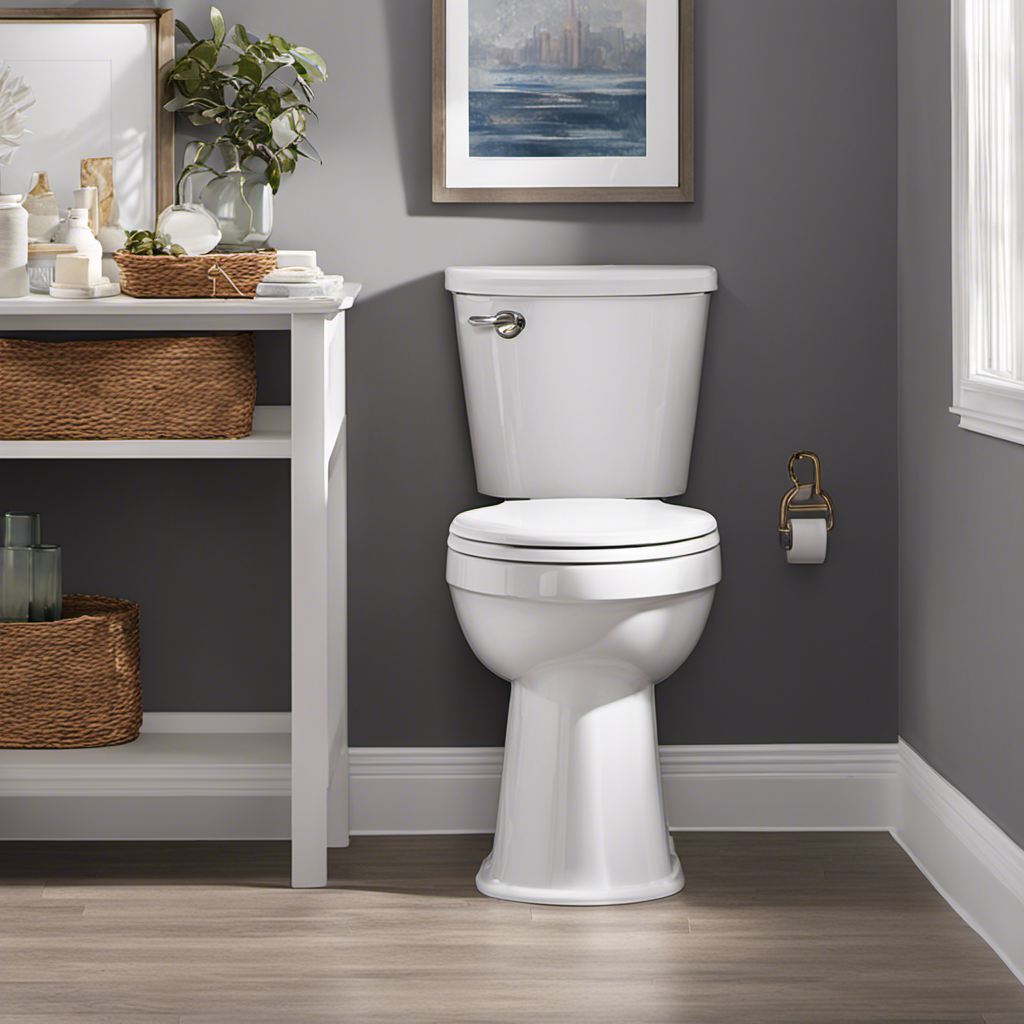
Installing the New Toilet Bowl
First, make sure you have properly aligned the new toilet bowl with the floor flange. Start by placing the wax ring on the flange, ensuring it is centered and snugly fitted.
Next, carefully lower the toilet bowl onto the wax ring, making sure the bolt holes on the base of the toilet align with the holes on the flange. Once aligned, press the toilet bowl firmly onto the wax ring, ensuring a tight seal.
Now, insert the bolts into the holes on the flange and through the base of the toilet bowl. Tighten the nuts onto the bolts, securing the toilet bowl in place.
Attaching the Tank and Seat
Once the tank is securely fastened to the bowl, you can attach the seat by aligning the hinges with the mounting holes and tightening the screws.
To ensure a proper installation, follow these steps:
- Place the toilet seat on the bowl, aligning the hinges with the mounting holes.
- Insert the screws through the holes in the hinges and into the mounting holes.
- Use a screwdriver to tighten the screws, making sure they are secure but not overly tightened.
If you encounter any issues during the toilet seat installation or tank attachment, consider the following troubleshooting tips:
- Check that the seat is properly aligned with the bowl and the hinges are securely inserted into the mounting holes.
- Verify that the screws are tightened evenly on both sides to avoid any wobbling or instability.
Remember to consult the manufacturer’s instructions for any specific troubleshooting steps or recommendations.
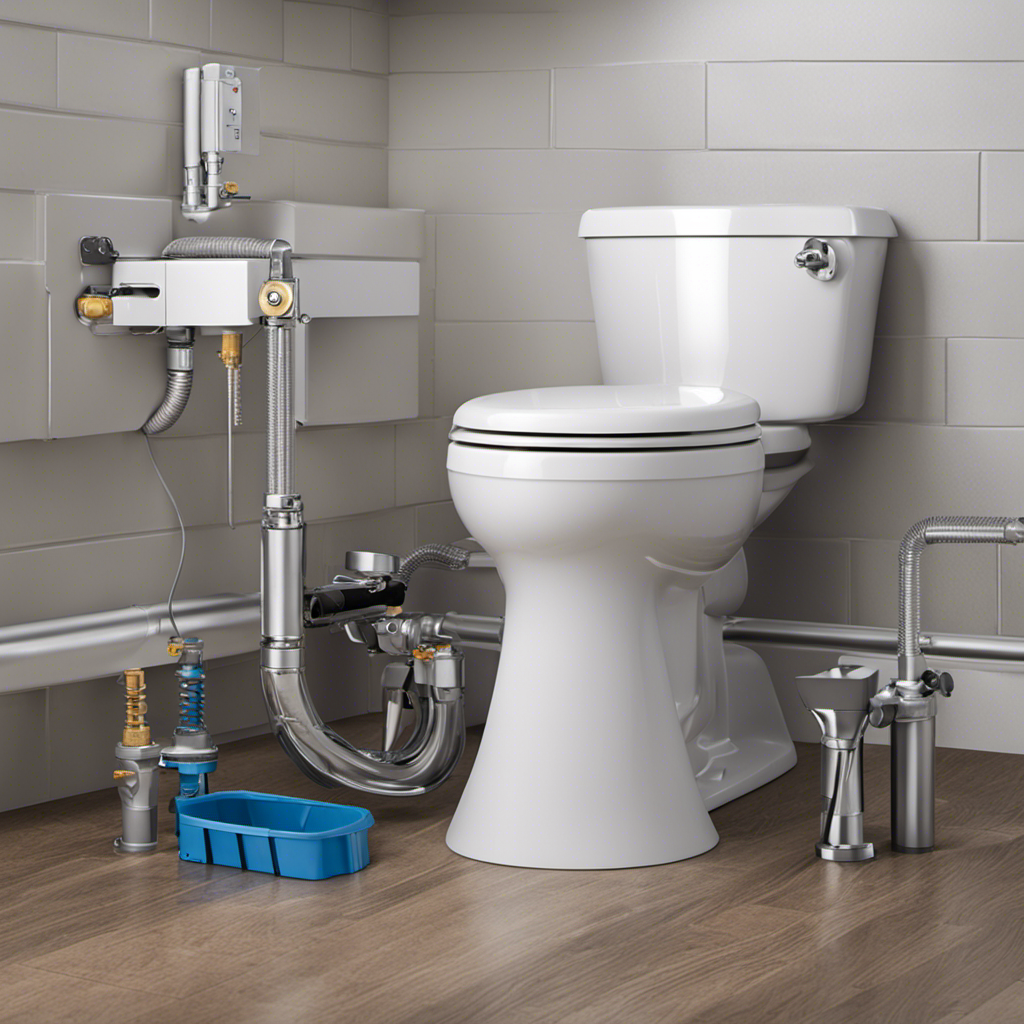
Connecting the Water Supply
To properly connect the water supply for your American Standard toilet, it’s essential to ensure a proper pipe connection and water supply compatibility.
Firstly, make sure to use the appropriate size and type of pipe for the connection, such as a 3/8-inch compression fitting.
Secondly, check that the water supply is compatible with the toilet’s specifications, considering factors like water pressure and flow rate.
Lastly, securely fasten the connection using a wrench or pliers to prevent any leaks or water damage.
Proper Pipe Connection
Make sure you’ve securely fastened the pipes before proceeding with the installation. Proper pipe insulation is essential to prevent heat loss and condensation buildup.
Here are some common pipe issues to keep in mind:
-
Leaks: Inspect the pipes for any signs of leaks before installation. Use a pipe wrench to tighten any loose connections.
-
Corrosion: Check for any corrosion on the pipes. If you notice any, replace the affected sections to prevent further damage.
-
Blockages: Ensure that the pipes are clear of any blockages. Use a pipe snake or auger to remove any obstructions.
Water Supply Compatibility
Ensure that the water supply is compatible with the pipes before proceeding with the installation. This step is crucial to avoid any issues with water pressure and pipe size. To determine compatibility, you need to consider the water pressure requirements of the toilet and the size of the existing pipes.
Here is a table to help you understand the necessary specifications:
| Water Pressure | Pipe Size |
|---|---|
| 20-80 psi | 1/2 inch |
| 25-80 psi | 3/4 inch |
| 30-80 psi | 1 inch |
Before starting the installation, check the water pressure in your home using a pressure gauge. Then, measure the size of the existing pipes that connect to the toilet. If the water pressure falls within the recommended range and the pipe size matches, you can proceed with the installation confidently.
Now that you have ensured the water supply compatibility, let’s move on to testing and troubleshooting.
Testing and Troubleshooting
Check if the water level in the toilet bowl is too high or too low. This is an important step in troubleshooting toilet flushing issues and toilet leakage problems.
Here’s how you can do it:
-
Stand in front of the toilet and observe the water level in the bowl.
-
If the water level is too high, it might indicate a clog in the drain or a problem with the fill valve.
-
If the water level is too low, it could be a sign of a faulty flapper or a problem with the flush valve.
By checking the water level, you can determine the cause of the issue and take appropriate action.
Whether it’s unclogging the drain, adjusting the fill valve, replacing the flapper, or fixing the flush valve, addressing the water level problem will help resolve the toilet flushing and leakage problems.
Frequently Asked Questions
Are There Any Specific Tools or Equipment Required for Installing an American Standard Toilet?
Yes, there are specific tools and equipment required for installing an American Standard toilet. Some of these include a wrench, screwdriver, plunger, wax ring, bolts, and a level for ensuring proper alignment.
How Long Does It Typically Take to Install a New Toilet?
It typically takes about 2-3 hours to install a new toilet. First, choose the right size toilet for your bathroom. Then, avoid common mistakes like improper sealing or over-tightening bolts during installation.
Can I Install the Toilet Myself, or Should I Hire a Professional for the Job?
I can install the toilet myself, but hiring a professional may be a better option. DIY installation saves money, but professional installation ensures proper setup. Consider your skill level, time, and cost comparison before making a decision.
Are There Any Precautions I Need to Take When Removing the Old Toilet to Avoid Damaging the Bathroom Floor?
To avoid damaging the bathroom floor when removing the old toilet, I take precautions by placing a protective barrier such as cardboard or a drop cloth. This ensures that any potential leaks or spills are contained and don’t cause any harm.
Is It Necessary to Use a Wax Ring When Installing the New Toilet Bowl, or Are There Alternative Options Available?
Yes, it is necessary to use a wax ring when installing a new toilet bowl. While there are alternative options available, the wax ring provides a reliable seal and has numerous benefits such as preventing leaks and odors.
Conclusion
And just like that, the final piece of the puzzle falls into place. With the installation of your new American Standard toilet, your bathroom transformation is complete.
The process may have been meticulous and precise, but the end result is truly a masterpiece. As you sit back and admire your handiwork, you can’t help but feel a sense of satisfaction and accomplishment.
Your new toilet stands tall, ready to provide comfort and functionality for years to come. So go ahead, take a seat and revel in the success of a job well done.