I’m here to guide you through the process of installing a toilet drain, ensuring a seamless and leak-free connection.
Picture this: you’re standing in your freshly renovated bathroom, admiring the gleaming tiles and pristine fixtures. Now, it’s time to complete the final step – installing the toilet drain.
With the right tools and materials, a bit of preparation, and careful attention to detail, you’ll have a functional and reliable toilet drain in no time.
Let’s get started!
Key Takeaways
- Accurate measurements of the bathroom floor and determining the type of toilet drain are important for proper installation.
- Careful removal of existing flooring and inspection of the subfloor for water damage are necessary steps.
- Creating a downward slope and securely attaching the drain pipe to the floor using a flange are crucial for proper drainage.
- Aligning and securely attaching the wax ring, toilet bowl, and water supply line are essential for a watertight and functional toilet installation.
Required Tools and Materials
You’ll need a few tools and materials to install the toilet drain. First, make sure you have a wrench, plunger, pipe cutter, and a hacksaw. These tools will help you properly install the drain and ensure a tight fit.
Additionally, gather the required materials such as a wax ring, PVC pipes, and a flange.
Now, let’s move on to some toilet drain installation tips. One common mistake to avoid is not properly aligning the drain flange with the wax ring. This can lead to leaks and unpleasant odors. Another mistake is overtightening the bolts, which can crack the toilet base. Remember to only hand-tighten them.
Now that we’ve covered the tools and materials, let’s move on to preparing the bathroom floor.
Preparing the Bathroom Floor
Before beginning, it’s important to properly prepare the bathroom floor for the installation. Here are some key points to consider:
- Take accurate measurements of the bathroom floor to ensure that the toilet will fit properly and align with the existing plumbing.
- Determine the type of toilet drain you have, whether it’s a standard floor-mounted drain or a wall-mounted drain. This will affect the installation process.
- If you have existing flooring, remove it carefully to create a clean and even surface for the new installation.
- Inspect the subfloor for any signs of water damage, such as soft spots or discoloration. Repair any issues before proceeding.
- Use a leveling compound to ensure the floor is perfectly level, which is crucial for proper toilet installation.
Now that the bathroom floor is prepared, let’s move on to installing the drain pipe.
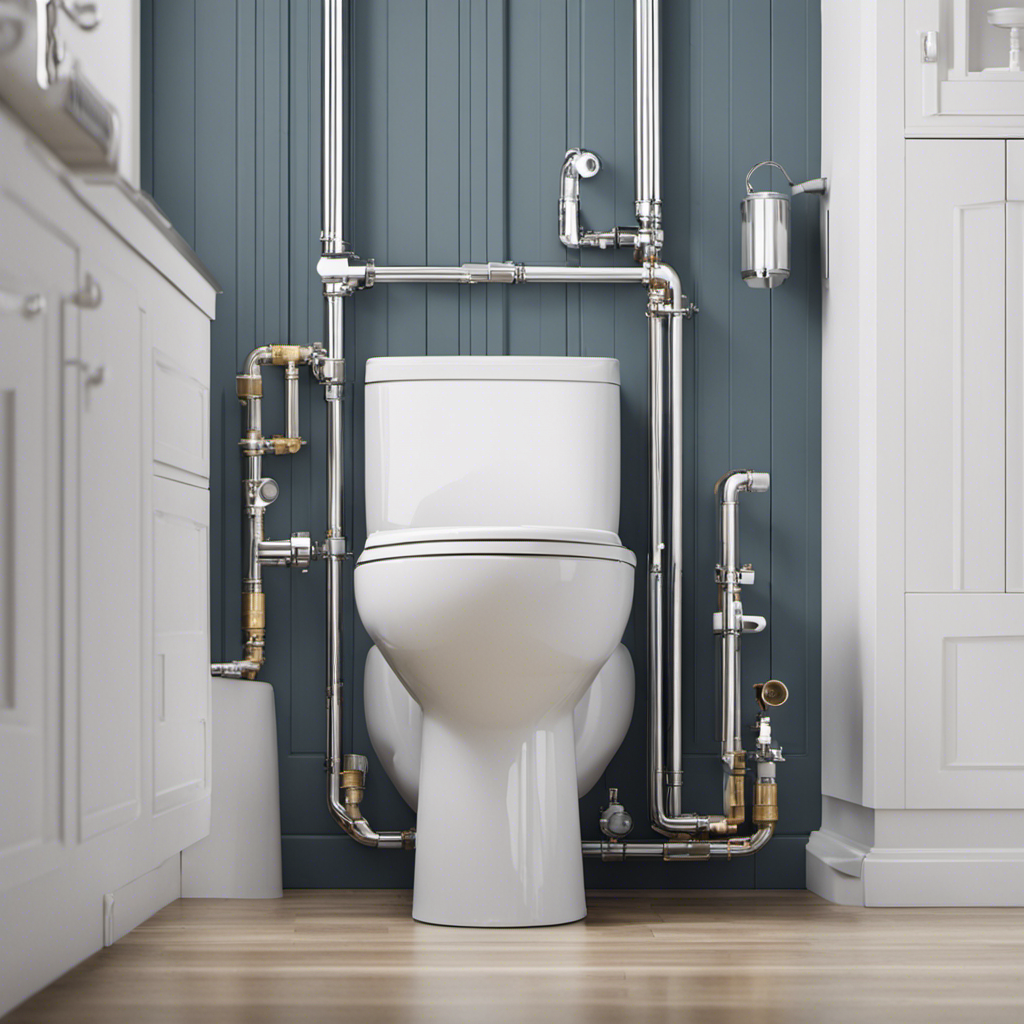
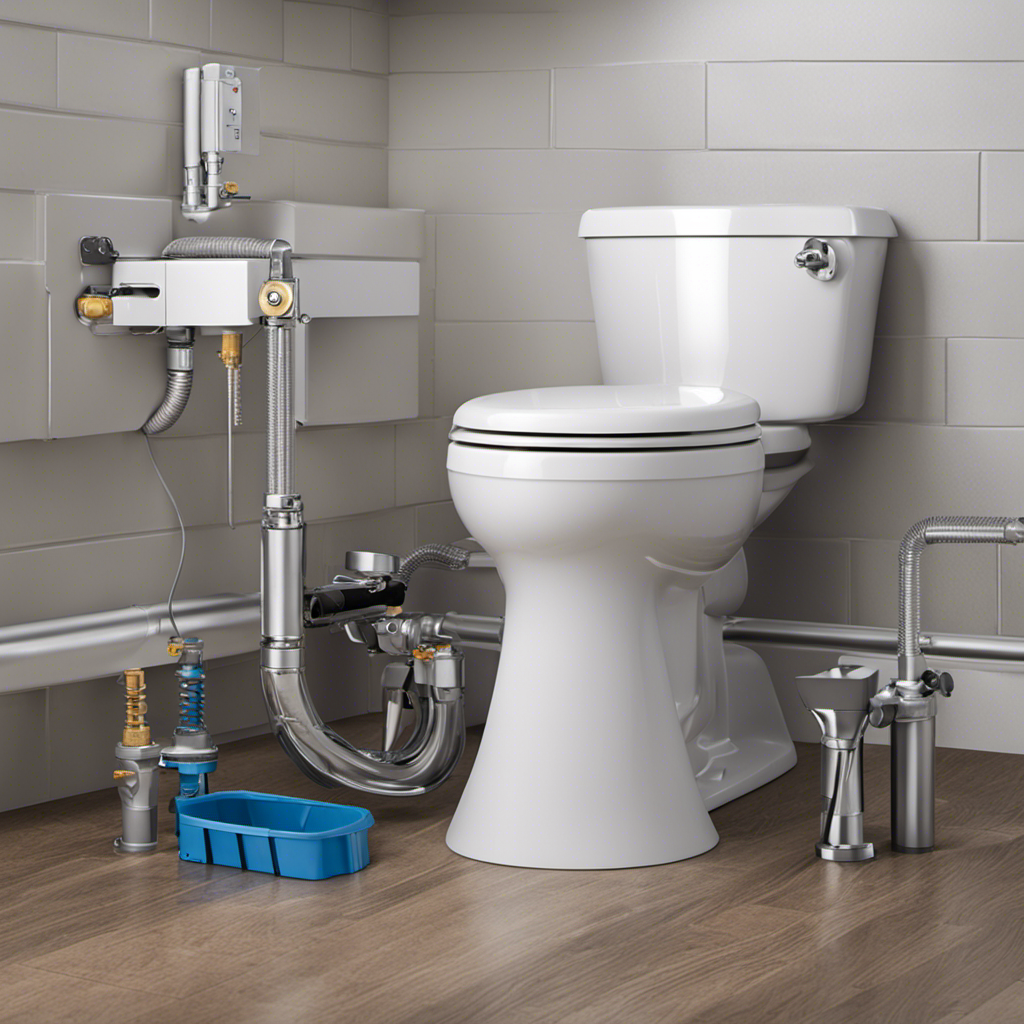
Installing the Drain Pipe
Now that the bathroom floor is ready, it’s time to connect the pipe for proper drainage. Proper slope is crucial for ensuring that water flows smoothly and efficiently towards the drainage system. To achieve this, a slight downward angle should be created when installing the drain pipe. This will allow gravity to do its job and prevent any standing water or blockages.
Securing the drain pipe is equally important. It needs to be firmly attached to the floor to prevent any movement or leaks. One way to do this is by using a flange, which is a metal or plastic ring that connects the pipe to the floor. The flange should be screwed into the floor securely, providing a stable base for the drain pipe. Additionally, a layer of plumber’s putty can be applied around the flange to create a watertight seal.
Here is a table summarizing the steps for installing the drain pipe:
| Step | Description |
|---|---|
| 1 | Ensure proper slope for drainage |
| 2 | Connect the drain pipe to the flange |
| 3 | Secure the flange to the floor |
| 4 | Apply plumber’s putty for a watertight seal |
| 5 | Test for any leaks or issues |
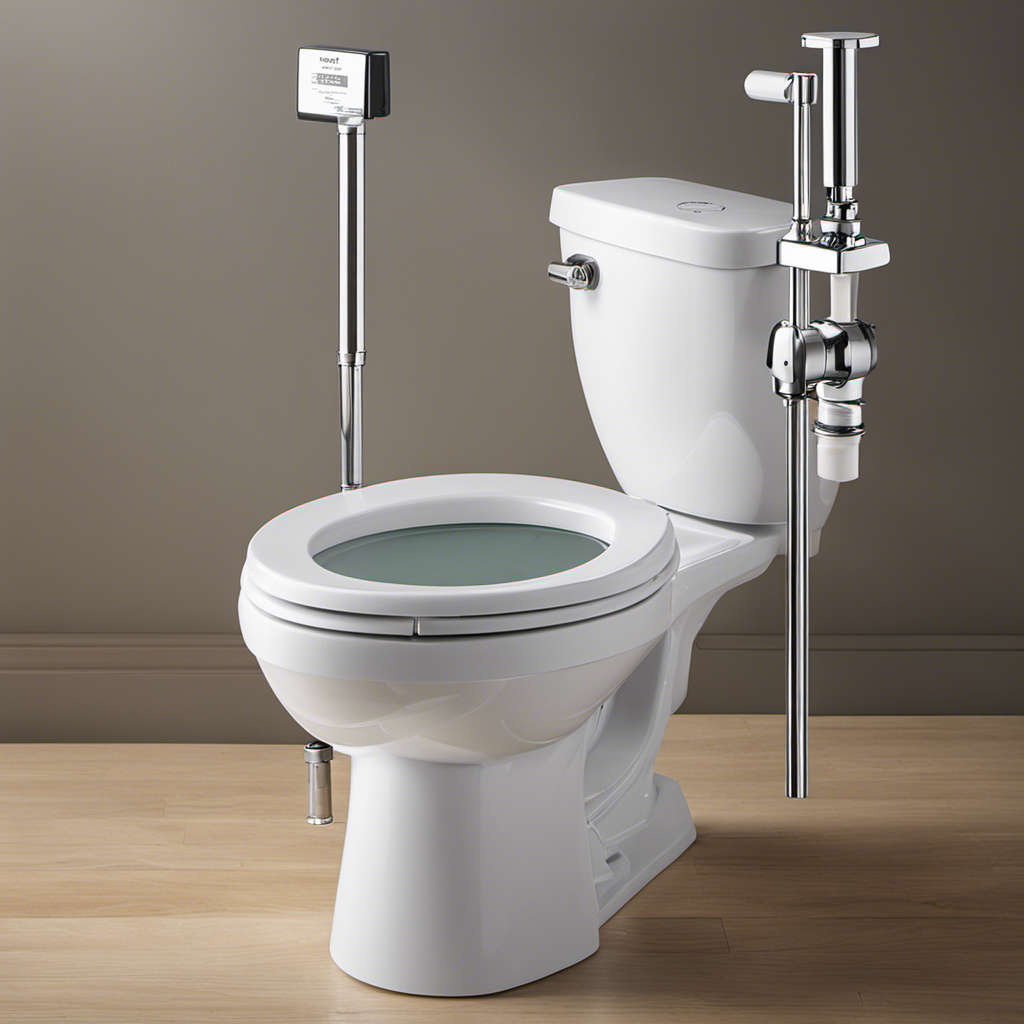
Connecting the Toilet to the Drain
To connect the toilet to the drain, simply align the wax ring with the flange and press it down firmly. This step is crucial for proper alignment and ensuring a secure installation.
Here are five important tips for connecting your toilet to the drain:
- Make sure the wax ring is centered on the flange to create a watertight seal.
- Gently lower the toilet bowl onto the wax ring, making sure it sits evenly on the floor.
- Secure the toilet to the floor by tightening the bolts on each side of the base. Use a wrench to ensure they are snug but not overtightened.
- Attach the water supply line to the fill valve on the bottom of the toilet tank.
- Finally, test the toilet by flushing and checking for any leaks around the base or at the water supply connection.
Checking for Leaks and Testing the Toilet
Make sure you firmly press down on the toilet bowl to ensure a watertight seal and prevent any leaks.
Once you have connected the toilet to the drain, it is important to check for any leaks and ensure that everything is working properly.
One common issue that can occur with toilet drain installation is a leaking toilet drain. If you notice any water leaking from the base of the toilet or around the drain pipe, it is essential to fix it promptly to avoid further damage.
To fix a leaking toilet drain, start by tightening the bolts that secure the toilet to the floor. If that doesn’t solve the issue, you may need to replace the wax ring or the gasket between the toilet and the drain pipe.
In some cases, the drain pipe itself may be damaged or improperly installed, requiring professional assistance.
Frequently Asked Questions
How Do I Choose the Right Toilet Drain Size for My Bathroom?
When choosing the right toilet drain size for your bathroom, consider the materials used for the drain and the installation steps. It’s important to ensure the drain is compatible with your toilet and plumbing system.
What Is the Ideal Slope for a Toilet Drain Pipe?
The ideal slope for a toilet drain pipe depends on the specific situation and local building codes. Determining the slope requirements is crucial for proper drainage. Following best practices for toilet drain installation ensures efficient and effective plumbing.
Can I Install a Toilet Drain Without Professional Help?
Yes, you can install a toilet drain without professional help. It’s important to follow the correct steps and avoid common mistakes in toilet drain installation. I can provide detailed instructions on how to do it properly.
What Should I Do if I Encounter an Existing Problem With the Toilet Drain During Installation?
If I encounter an existing problem with the toilet drain during installation, I would first check for common problems like clogs or leaks. Then, I would follow troubleshooting steps such as using a plunger or snake to resolve the issue.
Are There Any Specific Building Codes or Regulations I Need to Follow While Installing a Toilet Drain?
When installing a toilet drain, it’s important to follow building code requirements and toilet drain regulations. These regulations ensure proper installation and prevent any potential issues in the future.
Conclusion
In conclusion, installing a toilet drain may seem like a daunting task, but with the right tools and materials, it can be a breeze. By following the steps outlined in this article, you’ll be able to transform your bathroom into a functional and efficient space in no time.
Don’t let the thought of a toilet drain installation scare you away from tackling this project. With a little bit of knowledge and patience, you can become a master plumber in no time.
So go ahead, take the plunge and install that toilet drain with confidence!

Liam’s journey with us started as a consumer. Having faced challenges while setting up his own modern bathroom, he delved deep into research.
Recognizing his knack for simplifying complex information and his authentic writing style, we were thrilled to welcome him aboard. Liam’s articles often merge practicality with style, ensuring readers find the perfect fit for their homes. Liam is an avid hiker off-duty and often jokes about finding the best “natural toilets” Mother Earth has to offer.