We’ve all been there – struggling to figure out how to flush our Ove toilets. But fear not, because we’ve got the solution for you.
In this article, we’ll guide you through the process step by step. From understanding your Ove toilet to troubleshooting common flushing issues, we’ll help you become a master of toilet flushing.
So let’s dive in and discover the secrets to a clean and efficient flush.
Key Takeaways
- Easy installation process and clear instructions
- Efficient water usage with dual flush options available
- Checking and adjusting the water level in the toilet tank
- Troubleshooting common flushing issues and maintaining a clean and efficient toilet
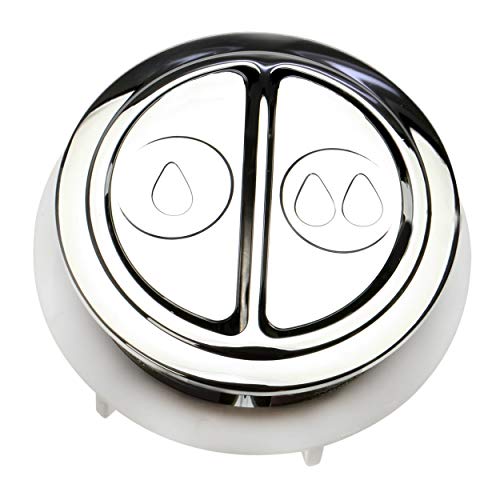
Dual Flush Valve Replacement Button
Genuine replacement buttons for Glacier Bay and other Dual Flush Toilets
As an affiliate, we earn on qualifying purchases.
As an affiliate, we earn on qualifying purchases.
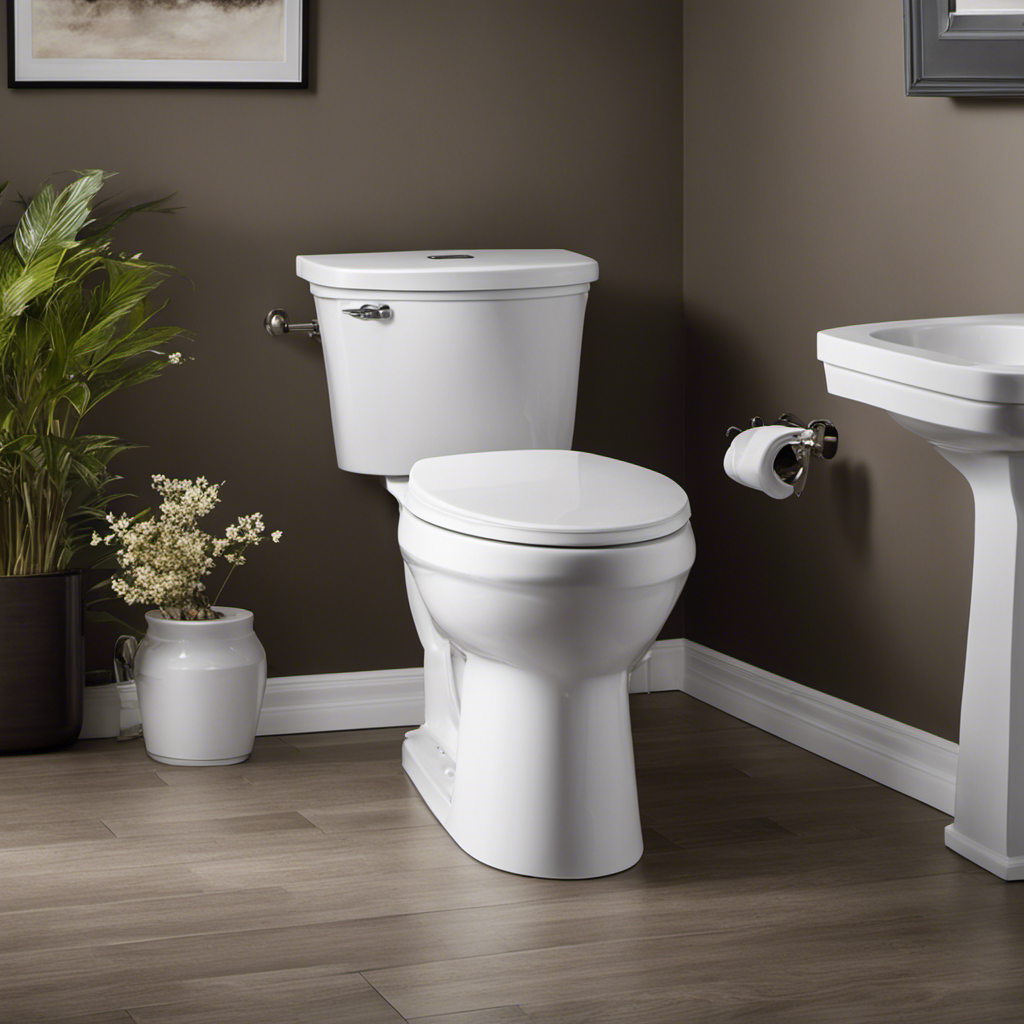
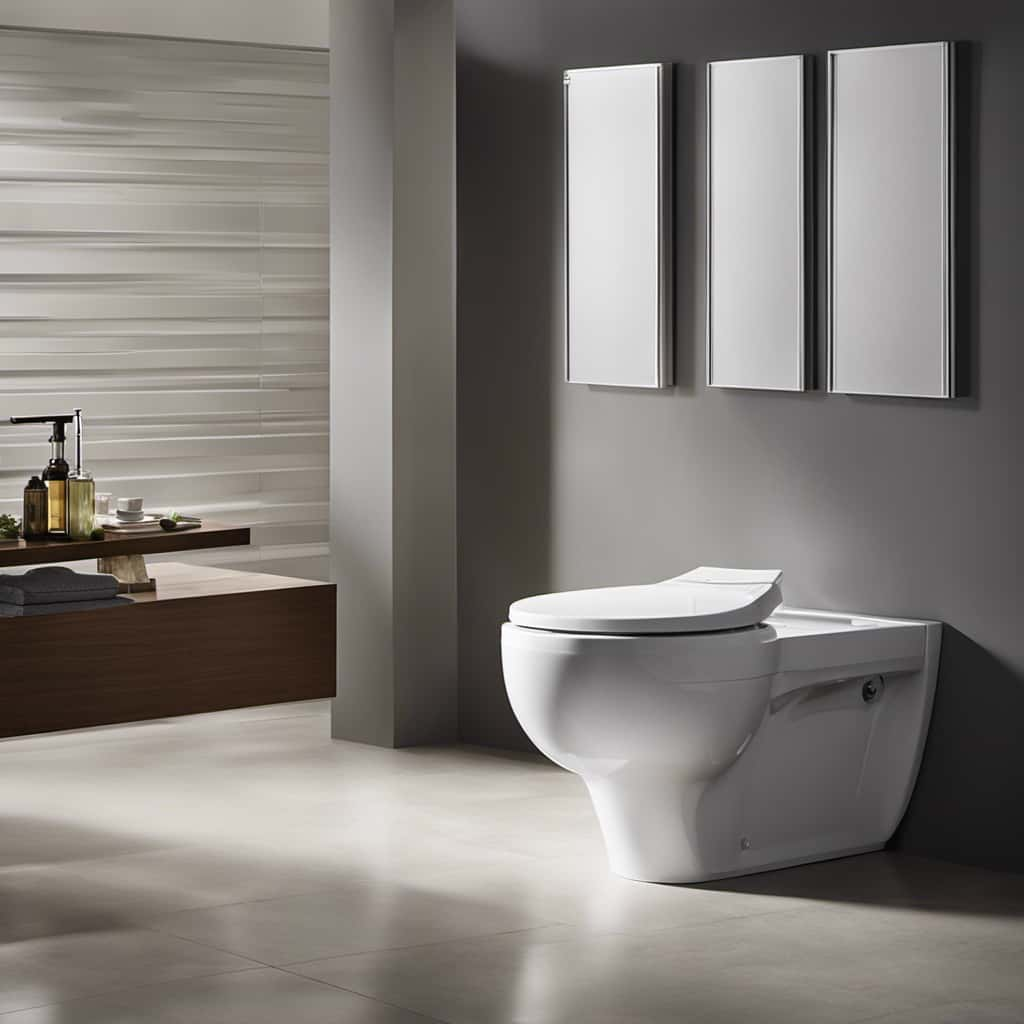
Understanding Your Ove Toilet
To understand your Ove Toilet, we’ll explore its key features and functions.

Ove toilets are known for their easy installation process, making them a popular choice among homeowners. With clear instructions and minimal tools required, installing Ove toilets can be a hassle-free experience.
One of the benefits of using Ove toilets is their efficient water usage. These toilets are designed to maximize flushing power while minimizing water consumption, helping you save on your water bills. Additionally, Ove toilets often come with dual flush options, allowing you to choose between a full flush or a partial flush, further reducing water usage.
Now that we understand the advantages of Ove toilets, let’s move on to the next step – checking for proper water level.
Fluidmaster 3-Inch Dual Flush Valve Replacement for 2-Piece Toilets including Glacier Bay, Aquasource and more
Restore original factory performance to your Glacier Bay or other Dual Flush Toilets
As an affiliate, we earn on qualifying purchases.
As an affiliate, we earn on qualifying purchases.
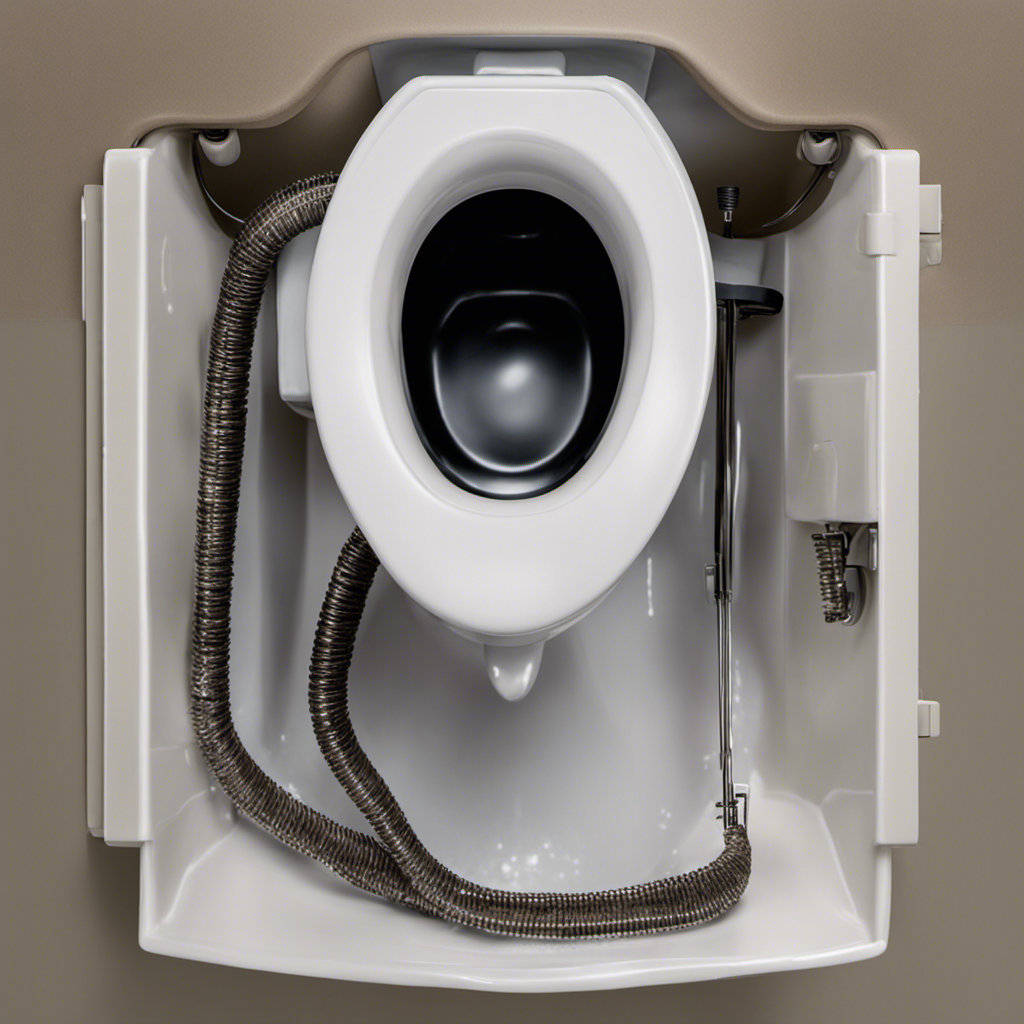
Checking for Proper Water Level
Now, let’s regularly check the water level in our Ove Toilet to ensure proper functioning. To adjust the water level, follow these steps:

- Lift the lid of the toilet tank.
- Locate the float valve mechanism, usually a ball or cylinder attached to a rod.
- If the water level is too high:
- Turn the adjustment screw clockwise to lower the float.
- Flush the toilet and observe if the water level has decreased.
- Repeat the process until the water level is at the desired height.
- If the water level is too low:
- Turn the adjustment screw counterclockwise to raise the float.
- Flush the toilet and check if the water level has increased.
- Repeat the process until the water level reaches the desired level.
Regularly checking and adjusting the water level ensures optimal performance and prevents any potential issues.

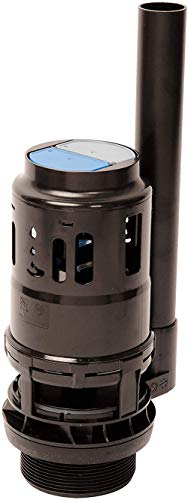
Fluidmaster 400H-002 Performax Universal Toilet Fill Valve High Performance Tank and Bowl Water Control, 1-Pack, Multicolor
Fix noisy, or slow filling fill valves with the quietest, most powerful toilet fill valve available
As an affiliate, we earn on qualifying purchases.
As an affiliate, we earn on qualifying purchases.
Using the Flush Button or Lever
After adjusting the water level, we can now proceed to using the flush button or lever on the Ove Toilet.
To flush the toilet, simply press the flush button or push down on the lever firmly and quickly. This will activate the flushing mechanism and initiate the flushing process.
If you encounter any issues with the flush button or lever, there are troubleshooting steps you can take.
Firstly, ensure that the button or lever isn’t stuck or obstructed. Clean it if necessary.
If the problem persists, consult the Ove Toilet manual or contact customer support for further assistance.
Alternatively, you may consider upgrading to a touchless flush system, which eliminates the need for physical contact with the flush button or lever, providing a more hygienic and convenient flushing experience.

Techo Touchless Toilet Flush Kit, Adjustable Sensor, 1256315 Adapt k1954, Automatic Toilet Flusher – Easy to Install
Quick & Easy Upgrade – Install in about 10 minutes to convert your manual toilet into a convenient,…
As an affiliate, we earn on qualifying purchases.
As an affiliate, we earn on qualifying purchases.
Troubleshooting Common Flushing Issues
If you encounter any issues with the flush button or lever on the Ove Toilet, troubleshooting common flushing problems can help resolve the situation. Here are some steps to consider:
- Fixing clogged pipes:
- Check for any visible obstructions in the toilet bowl or trap.
- Use a plunger to try and dislodge any blockages. Apply firm, downward pressure and create a vacuum-like effect to clear the clog.
- Adjusting the flush valve:
- Remove the toilet tank lid and locate the flush valve.
- Check if the flush valve is properly aligned and securely in place.
- If necessary, adjust the flush valve by loosening the retaining nut and repositioning it to allow for a complete flush cycle.
Maintaining a Clean and Efficient Toilet
To properly maintain a clean and efficient toilet, we can start by regularly cleaning the toilet bowl and tank. This helps prevent the build-up of dirt, stains, and bacteria that can cause odors and affect the toilet’s performance. Use a toilet cleaner specifically designed for removing tough stains and mineral deposits. Apply the cleaner to the inside of the bowl and let it sit for a few minutes before scrubbing with a toilet brush. Don’t forget to clean the tank as well, including the flush valve and flapper. Additionally, to prevent clogs, avoid flushing items such as paper towels, sanitary products, or excessive amounts of toilet paper. A good rule of thumb is to only flush human waste and toilet paper. Regular maintenance and proper usage will keep your toilet clean and efficient.
| Cleaning Tips | Preventing Clogs |
|---|---|
| Use a toilet cleaner designed for tough stains | Avoid flushing non-flushable items |
| Scrub the bowl with a toilet brush | Only flush human waste and toilet paper |
| Clean the tank, including the flush valve and flapper | Be mindful of excessive toilet paper usage |
| Regularly sanitize the toilet seat and handle | Consider using a plunger for minor clogs |
Frequently Asked Questions
How Do I Install an Ove Toilet?
To install an Ove toilet, follow these steps: 1) Assemble the toilet according to the manufacturer’s instructions. 2) Connect the water supply and ensure proper seal. 3) Troubleshoot any issues that arise during installation.
Can I Use Any Type of Toilet Paper With an Ove Toilet?
Yes, you can use any type of toilet paper with an Ove toilet. However, it’s important to note that using excessive amounts of toilet paper may require alternative flush options to prevent clogging.
Is It Normal for My Ove Toilet to Make a Loud Noise When Flushing?
When troubleshooting a noisy toilet, it’s important to understand that loud noises during flushing can be normal. However, if the noise is excessive or accompanied by other issues, it may indicate a problem that needs fixing.

What Should I Do if My Ove Toilet Is Constantly Running?
If your Ove toilet is constantly running, there are troubleshooting tips you can try. Common causes include a faulty flapper or a stuck fill valve. Check these components and replace if necessary to resolve the issue.
How Often Should I Clean the Exterior of My Ove Toilet?
When it comes to cleaning the exterior of our Ove toilet, we follow a recommended cleaning frequency of once a week. We use mild cleaning products specifically designed for toilets to ensure thorough and effective cleaning.
Conclusion
In conclusion, understanding how to properly flush your Ove toilet is essential for maintaining its efficiency and cleanliness. By regularly checking the water level and using the flush button or lever correctly, you can prevent common flushing issues and ensure a smooth operation.
For example, a case study showed that a toilet with a consistently low water level resulted in incomplete flushing, leading to frequent clogs. Therefore, it’s important to maintain a clean and efficient toilet by following these guidelines.