As I stood in the bathroom, a small puddle forming at the base of the toilet, I knew it was time to take action. Leaky toilets can be a real headache, but fear not, for I have the solution.
In this article, I will guide you through the steps to stop your toilet from leaking at the base. By identifying the cause, checking and tightening the bolts, replacing the wax ring, adjusting the flange, and sealing with silicone caulk, you’ll have a leak-free throne in no time.
Let’s get started!
Key Takeaways
- Check for water pooling around the base of the toilet
- Inspect the wax ring seal between the toilet base and the flange
- Regularly check and tighten the toilet bolts
- Replace the wax ring or adjust the toilet flange if necessary

Hibbent Extra Thick Toilet Wax Ring Replacement Kit, Universal Toilet Seal Ring with Brass Toilet Floor Bolts and Retainer Washers, PE Flange Fits 3 Inch and 4 Inch Drain Pipes
Universal Toilet Wax Ring: The Hibbent toilet flange is compatible with 3-inch and 4-inch waste lines, suitable for…
As an affiliate, we earn on qualifying purchases.
As an affiliate, we earn on qualifying purchases.
Identifying the Cause of the Leak
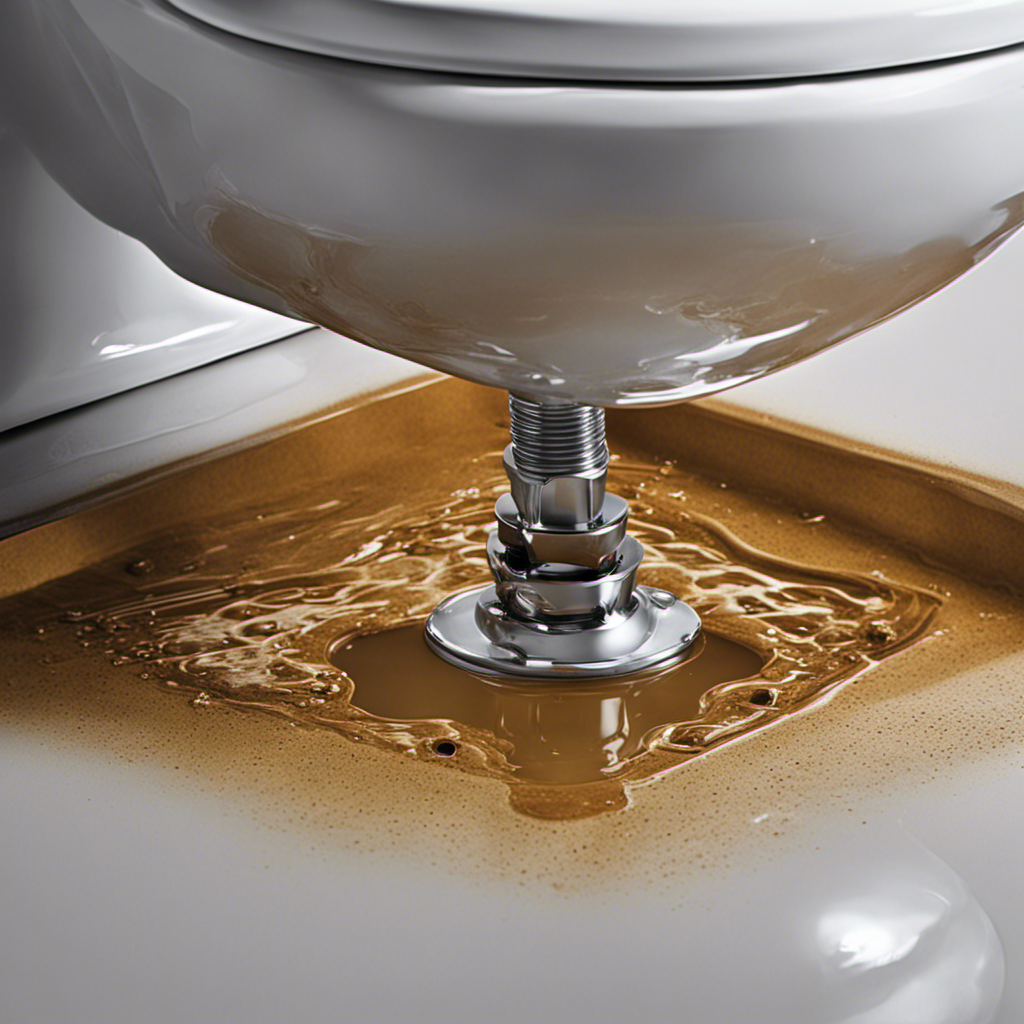
First, you’ll want to check if the leak is coming from the base of the toilet. There are some common signs that indicate a leak at the base. Look for water pooling around the bottom of the toilet or a dampness on the floor.
To troubleshoot this issue, start by inspecting the wax ring seal between the toilet base and the flange. If it is worn out or damaged, it may be causing the leak.
Another possible cause could be loose or worn-out toilet bolts. These bolts secure the toilet to the floor, and if they are loose, water can seep through the gaps.
In the next section, I will explain how to check and tighten the toilet bolts to stop the leak at the base.

LemonBest Toilet Seat Fitting Tool – Universal Toilet seat Installation Key, Toilet Seat Repair Wrench, 10/13/17mm Professional Universal Plastic High-Strength Installation Key (1 Pack)
【Universal Rotation Design】This wrench adopts a universal rotation design, which is convenient and labor-saving to use in hard-to-reach…
As an affiliate, we earn on qualifying purchases.
As an affiliate, we earn on qualifying purchases.
Checking and Tightening the Toilet Bolts
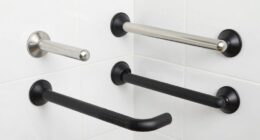
To prevent further issues, it’s important to regularly check and tighten the bolts securing the toilet in place. Loose bolts can cause the toilet to shift, resulting in a leaking toilet at the base. This can lead to water damage and potential structural issues if left untreated.
To check the bolts, first, locate the caps covering the bolts at the base of the toilet. Use a flathead screwdriver to gently pry off the caps. Then, using a wrench or adjustable pliers, tighten the bolts by turning them clockwise. Be careful not to overtighten, as this can damage the toilet.
Once the bolts are tightened, replace the caps and test the toilet for any signs of a leak. Regularly checking and tightening the bolts will help prevent water damage and ensure a properly functioning toilet.

Leak Stopper Rubber Flexx – Waterproof Repair & Sealant Spray – Point & Spray to Seal Cracks, Holes, Leaks, Corrosion & More | Black – 1 Bottle 18oz
✔ SEAL LEAKS ANYWHERE! Seal even the toughest leaks. Deeps into cracks and holes. Dries to a watertight,…
As an affiliate, we earn on qualifying purchases.
As an affiliate, we earn on qualifying purchases.
Replacing the Wax Ring
Replacing the wax ring is an essential step in maintaining a properly functioning toilet. Proper installation of the wax ring is crucial to prevent leaks and ensure a watertight seal between the toilet and the floor. Here are some common mistakes to avoid and tips for a successful wax ring replacement:
-
Remove the old wax ring: Before installing a new wax ring, carefully remove the old one. Use a putty knife or scraper to scrape off any remnants and clean the flange thoroughly.
-
Position the new wax ring: Place the new wax ring onto the flange, ensuring that it is centered and aligned with the waste pipe. Press it down gently to create a secure seal.
-
Tighten the toilet bolts: After positioning the wax ring, carefully lower the toilet onto the flange. Make sure the toilet is centered and level. Tighten the toilet bolts gradually and evenly to avoid cracking the toilet base.

One N Done Toilet Flange Repair Kit – Toilet Kit For Low or Broken Flange. Toilet Wax Ring Replacement Kit W/Toilet Flange Extender Kit, Easy Toilet Bolts, & Toilet Caps For Bottom of Toilet. (1 Ea.)
Save Time & Money | No wax ring for toilet required. The One N Done toilet flange repair…
As an affiliate, we earn on qualifying purchases.
As an affiliate, we earn on qualifying purchases.
Adjusting the Toilet Flange
Adjusting the toilet flange is an important step in ensuring a proper seal between the toilet and the floor. If you are experiencing a leak at the base of your toilet, it may be necessary to replace the flange.
To do this, you can use a repair kit specifically designed for flange replacement. Start by removing the toilet and inspecting the old flange. If it is damaged or cracked, it will need to be replaced.
Next, clean the area around the flange and prepare the new flange for installation. Make sure to align the new flange properly with the existing drain pipe. Once the new flange is in place, secure it tightly to the floor using the provided screws.
Sealing the Base With Silicone Caulk
Make sure you apply a thin bead of silicone caulk around the base of the toilet to create a water-tight seal. This is an important step in preventing leaks and maintaining the integrity of your bathroom floor.
To ensure a proper application technique for silicone caulk, follow these steps:
-
Clean the area: Before applying the caulk, make sure the surface is clean and dry. Use a mild detergent to remove any dirt or debris.
-
Cut the tip: Cut the tip of the caulk tube at a 45-degree angle. This will allow for a smooth and controlled application.
-
Apply the caulk: Squeeze a thin, even bead of caulk around the base of the toilet. Start at one side and work your way around, making sure to fill any gaps or cracks.
Common mistakes to avoid when sealing the toilet base with silicone caulk include applying too much caulk, which can cause it to squeeze out and create a messy appearance, and not allowing enough time for the caulk to dry before using the toilet.
Remember to follow these steps and take your time for a successful seal.
Frequently Asked Questions
How Often Should I Replace the Wax Ring on My Toilet?
I replace the wax ring on my toilet every 5-7 years. Signs of a worn out wax ring include water leaking at the base of the toilet and a foul odor. Regular maintenance helps prevent leaks.
Can a Leaking Toilet Base Cause Water Damage to the Floor?
Leaking toilet base can cause severe water damage to the floor. Identifying common causes, such as a faulty wax ring or loose bolts, is crucial. Regular maintenance and prompt repairs are essential to prevent costly damage.
What Should I Do if I Notice a Crack in the Toilet Base?
If I notice a crack in the toilet base, I should immediately address it to prevent further damage. DIY toilet base leak fixes may include using epoxy or replacing the entire toilet.
Is It Necessary to Hire a Professional Plumber to Fix a Leaking Toilet Base?
Hiring a professional plumber for a leaking toilet base depends on the severity of the issue. DIY repairs can save money, but may lack expertise. Signs of a leak include water pooling around the base.
Can a Loose Toilet Bolt Cause a Toilet Base Leak?
Yes, a loose toilet bolt can cause a toilet base leak. If the bolts are not securely fastened, water can seep out at the base. To fix this, you may need to replace the bolts and repair the toilet base.
Conclusion
After following these steps to stop a toilet from leaking at the base, I finally achieved success.
The cause of the leak was identified, the toilet bolts were tightened, and the wax ring was replaced.
The toilet flange was adjusted to ensure a proper fit, and the base was sealed with silicone caulk.
Now, my toilet stands strong like a fortified castle, guarding against any leaks.
The battle against the leak has been won, and my bathroom is once again a peaceful haven of dry floors and clean surroundings.