Are you prepared to begin the process of installing a bathroom in your home? We are here to help you every step of the way!
In this step-by-step guide, we will walk you through each stage of the installation process.
From planning and gathering the necessary tools, to removing old fixtures and preparing the space, to installing plumbing and electrical systems, and finally adding those finishing touches, we’ll help you achieve bathroom mastery.
So, let’s roll up our sleeves and get started!

Key Takeaways
- Establish a budget and carefully select bathroom fixtures that align with your budget and design preferences.
- Take into account the size and layout of your bathroom, ensuring that the fixtures fit seamlessly and accurately measuring the available space.
- Research and select suitable fixtures and materials, considering factors such as durability, functionality, and style.
- Follow proper procedures for demolition and removal of existing fixtures, including turning off water and electricity supply, wearing protective gear, and disposing of debris and old materials properly.

WITMYA Smart Toilet with Bidet Built In, One Piece Bidet Toilet with Auto Dual Flush, Foam Shield, Modern Elongated Tankless Toilet with Foot Sensor, Heated Bidet Seat, Warm Water & Dryer,LED Display
【Efficient Flush & Energy-Saving Design】There smart toilets feature a highly efficient 1.28 GPF water-saving dual flush system with...
As an affiliate, we earn on qualifying purchases.
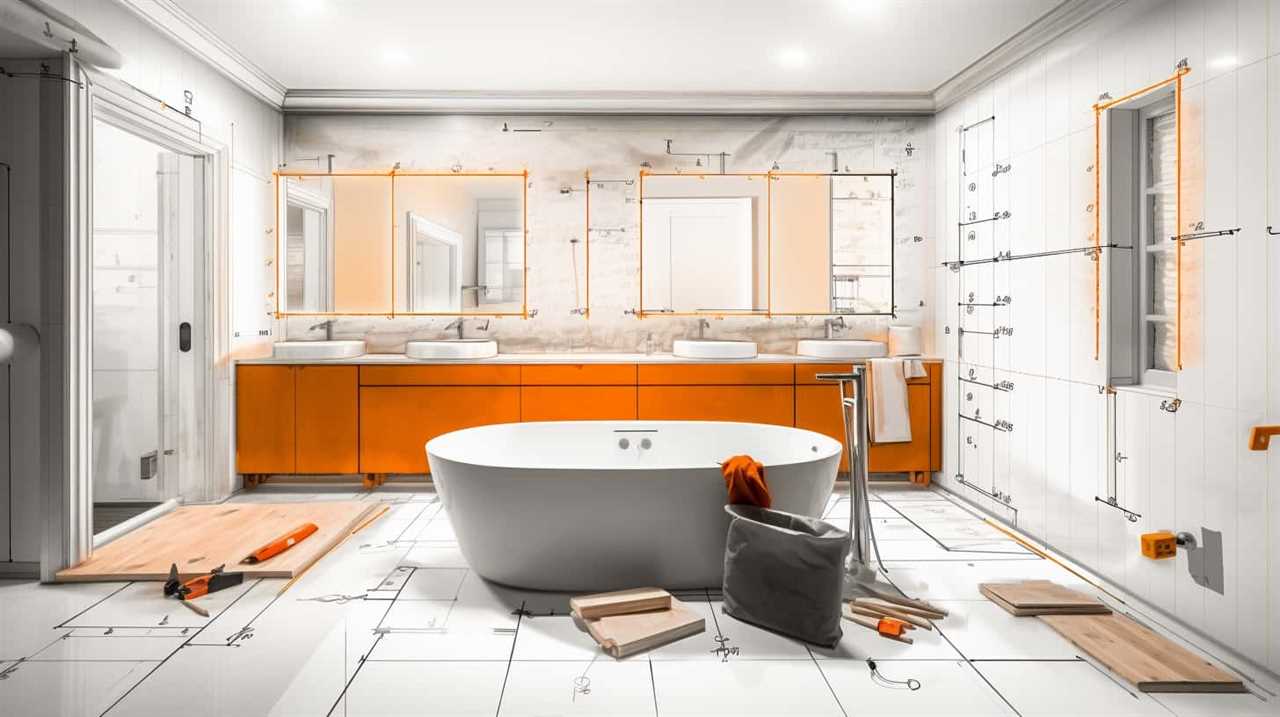
Planning Your Bathroom Installation
To begin our bathroom installation, we must first plan out the layout and design. This step is crucial as it sets the foundation for a successful project. When planning, it’s important to consider budgeting considerations and choosing the right bathroom fixtures.
First, establish a budget that includes all necessary expenses such as materials, labor, and permits. This will help you stay on track and avoid unexpected costs.
Next, carefully select bathroom fixtures that align with your budget and design preferences. Consider factors such as durability, functionality, and style. Additionally, take into account the size and layout of your bathroom to ensure the fixtures fit seamlessly.

Smart Toilet with Bidet Built In, Heated Seat, Warm Water Wash & Dryer, Tankless Bidet Toilet with Foot Sensor & Night Light, Auto Open/Close Lid & Flush, Wireless Remote, 1.26GPF Water-Saving Design
🛠️ Easy Installation & Reliable Support: This smart toilet with bidet built in includes all accessories, flange kit,...
As an affiliate, we earn on qualifying purchases.
Gathering Necessary Tools and Materials
Now that we’ve planned out the layout and design of our bathroom, let’s move on to gathering the necessary tools and materials for the installation.
When it comes to choosing the right bathroom fixtures, it’s important to consider both functionality and aesthetic appeal. Look for fixtures that are durable and easy to clean, while also fitting in with the overall design theme of your bathroom.
As for tile and flooring, selecting the appropriate materials is crucial for both durability and style. Ceramic or porcelain tiles are popular choices for bathroom floors, while natural stone tiles can add a touch of elegance.
When gathering tools, make sure to have a tape measure, level, drill, wrench, and pliers on hand.
Now that we’ve everything we need, let’s move on to removing old fixtures and preparing the space for our new bathroom installation.


HOROW T38 Artistic Smart Toilet, Bidet Toilet with Powerful Flush, Auto Open/Close Lid, Instant Warm Water, Elongated Heated Seat, Dryer, Night Light, Deodorization
For Low Water Pressure: Smart toilet built-in water tank and pump bring efficient and powerful flushing performance. The...
As an affiliate, we earn on qualifying purchases.
Removing Old Fixtures and Preparing the Space
After gathering the necessary tools and materials, we can begin by removing old fixtures and preparing the space for our new bathroom installation. Here are the steps to follow:
- Turn off the water supply: Locate the main water valve and shut it off to avoid any leaks or accidents during the process.
- Demolishing process: Carefully remove the old fixtures, such as the sink, toilet, and bathtub, using appropriate tools. Dispose of them properly.
- Inspect the plumbing: Check the condition of the existing plumbing system. Replace any damaged or outdated pipes and fittings.
- Waterproofing methods: To prevent water damage, apply a waterproof membrane on the walls and floor. Seal any gaps or cracks with caulk.

Loniko Smart Toilet with Bidet Built In, Heated Seat & Dual Auto Flush, Foot Sensor, Tankless Modern Elongated Electric Toilet with Warm Water Wash, Air Dryer, LED Display & 1000g MaP Flush, 1.28 GPF
🧻 [Powerful & Water-Saving Dual Flush System] This one piece smart toilet with bidet built in uses an...
As an affiliate, we earn on qualifying purchases.
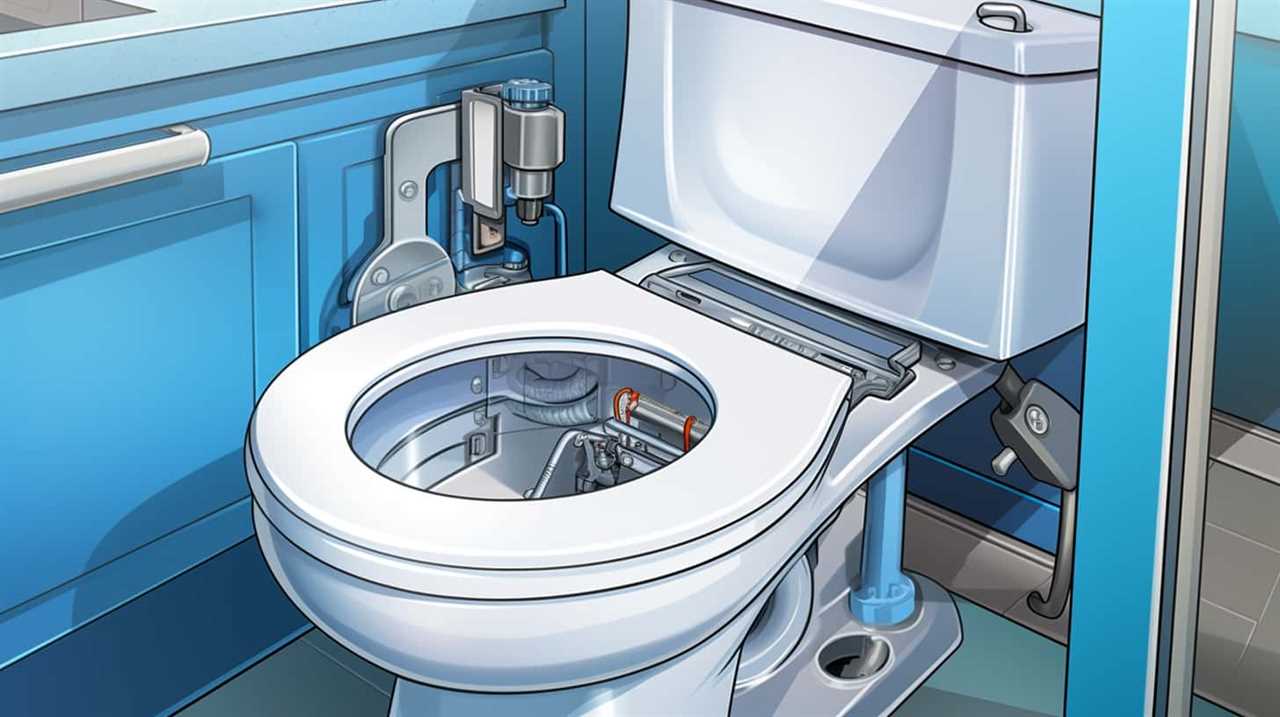
Installing Plumbing and Electrical Systems
Once we have removed the old fixtures and prepared the space, we can now move on to installing the plumbing and electrical systems. This step is crucial in ensuring that your bathroom functions properly and safely. When it comes to plumbing, it is important to troubleshoot common issues such as leaks, clogs, and low water pressure. To avoid these problems, consider upgrading to energy efficient plumbing fixtures that not only conserve water but also save you money in the long run. Similarly, with electrical systems, it is essential to address any wiring issues or faulty connections. Upgrading to energy efficient electrical fixtures can help reduce energy consumption and promote sustainability. By following these steps and paying attention to detail, you can install a bathroom that is both functional and eco-friendly.
| Plumbing | Electrical | Energy Efficiency |
|---|---|---|
| – Check for leaks and clogs | – Inspect wiring for any issues | – Upgrade to energy efficient plumbing fixtures |
| – Ensure proper water pressure | – Address faulty connections | – Install energy efficient electrical fixtures |
| – Troubleshoot low water pressure | – Test circuits for functionality | – Conserve water and energy |
| – Replace old pipes if necessary | – Install GFCI outlets for safety | – Save money in the long run |
| – Consider water-saving features | – Opt for LED lighting | – Promote sustainability |
Finishing Touches and Finalizing the Installation
Before we can consider the installation complete, we need to add the finishing touches and finalize the bathroom. This step is crucial to ensure the functionality and aesthetics of the space.
Here are some important considerations:

- Safety precautions: Install grab bars in the shower and near the toilet to prevent accidents. Make sure all electrical outlets are properly grounded and protected with a GFCI. Apply non-slip coatings to the bathroom floor for added safety.
- Choosing bathroom accessories: Select accessories that complement your bathroom design and meet your needs. Consider items such as towel bars, toilet paper holders, and shower curtains. Opt for high-quality materials that are resistant to water damage and easy to clean.
- Final inspections: Conduct a thorough inspection of all plumbing and electrical connections. Test the functionality of fixtures and ensure proper water flow. Check for any leaks or abnormalities.
- Cleaning and maintenance: Clean the entire bathroom thoroughly, removing any debris or construction residue. Create a maintenance schedule to keep your bathroom in top condition.
Frequently Asked Questions
How Do I Choose the Best Layout for My New Bathroom?
When choosing a bathroom layout, we consider various factors such as the available space, plumbing connections, and desired functionality. By designing a functional bathroom, we can optimize the use of space and create a comfortable and efficient environment.
What Are the Common Mistakes to Avoid During a Bathroom Installation?
Common mistakes during a bathroom installation can be costly and time-consuming. But don’t worry, we’ve got you covered with our expert tips and tricks to help you avoid these pitfalls. Let’s get started!
How Do I Ensure Proper Ventilation in My Bathroom?
Proper ventilation is crucial in a bathroom. It helps remove moisture, prevents mold and mildew, and improves air quality. We ensure proper ventilation by installing an exhaust fan or a window that can be opened.
Can I Install a Bidet in My Bathroom During the Installation Process?
Yes, we can install a bidet in our bathroom during the installation process. Bidet installation offers numerous benefits, such as improved hygiene and reduced toilet paper usage. Here’s a step-by-step guide on how to install a bidet.
What Should I Do if I Encounter Unexpected Issues, Such as Plumbing Leaks, During the Installation?
If unexpected issues, like plumbing leaks, arise during the installation, we should immediately stop work and assess the situation. Follow a step-by-step troubleshooting process to identify the cause and resolve the issue before proceeding with the installation.
Conclusion
In conclusion, installing a bathroom may seem like a daunting task, but with careful planning, the right tools, and a little patience, it can be a rewarding endeavor.
Remember to take your time and follow each step carefully to ensure a successful installation.
And don’t forget, if all else fails, there’s always the option of calling a professional.

Happy bathroom installation!