
Have you ever wondered how you can transform your worn-out bathtub into a fresh, new focal point in your bathroom? Well, look no further!
In this article, I’ll guide you through the step-by-step process of painting your bathtub. From preparing the surface to choosing the right paint, I’ll provide you with all the information you need to achieve a professional-looking finish.
So, let’s dive in and discover how you can give your bathtub a stunning makeover!
Key Takeaways
- Thoroughly clean and sand the bathtub surface before painting to ensure proper adhesion.
- Choose a high-quality, waterproof paint labeled as ‘tub and tile’ or ‘bath enamel’ for durability.
- Follow manufacturer’s instructions for application and curing to achieve a long-lasting finish.
- Apply multiple coats of paint, allowing each coat to dry completely, for a solid and even result.

Paint & Mortar Mixer| 16" L,3" Dia Compound,Sealer,Grout,Thinset,Plaster,Mud,Cement Mixer Stirring Paddle -Professional Paint Mixer Attachment-Zinc Plated Steel (Style# 03)
【Measurements】- Length 16" (40cm) top to bottom. No need to worry about not getting to the bottom of...
As an affiliate, we earn on qualifying purchases.
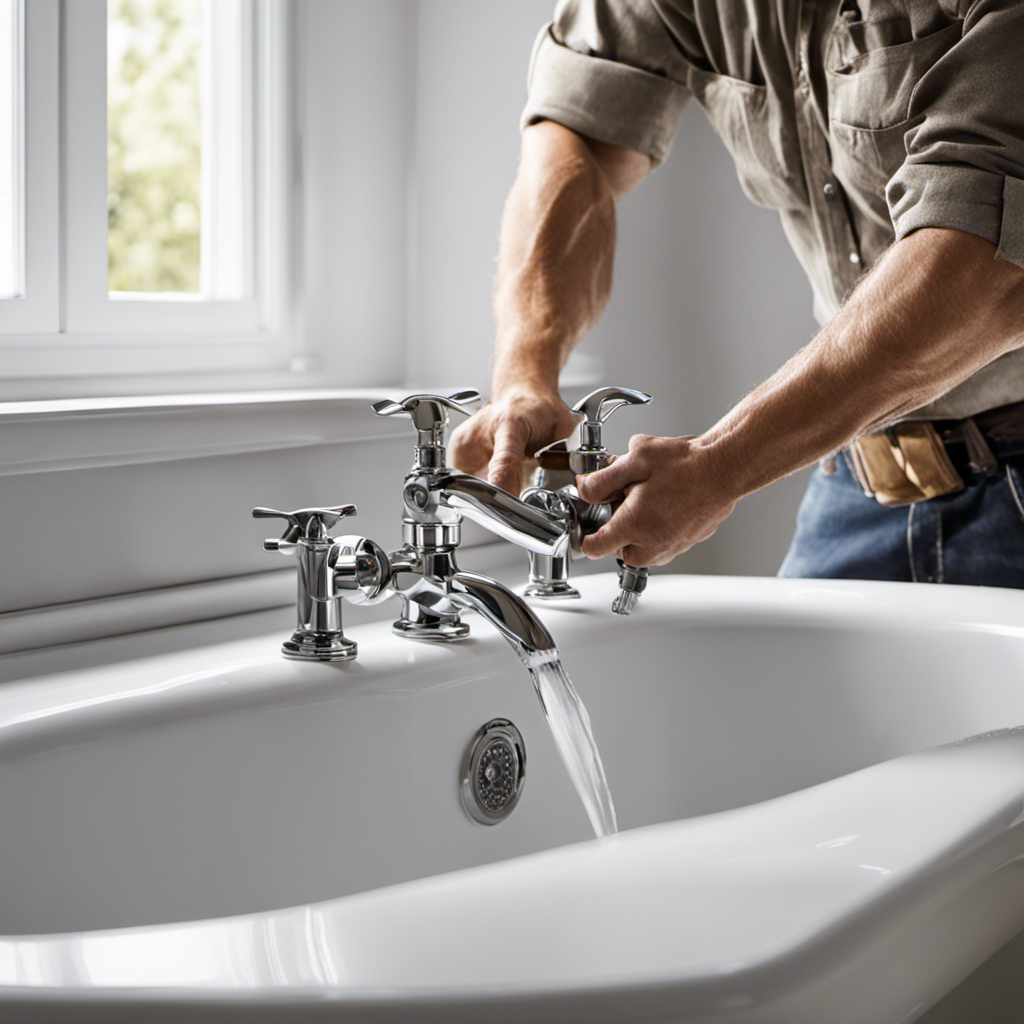
Preparing the Bathtub Surface
Before you begin painting your bathtub, make sure you’ve thoroughly cleaned and sanded the surface. Properly preparing the bathtub surface is essential for a successful bathtub refinishing project.
First, clean the bathtub using a mild abrasive cleaner and a scrub brush. Remove any soap scum, dirt, or oils that may be present on the surface. Rinse the bathtub thoroughly and allow it to dry completely.
Next, sand the surface using a fine-grit sandpaper to create a rough texture that will help the paint adhere better. Make sure to remove any glossy finish or previous coatings.
After sanding, wipe away any dust or debris with a damp cloth. By following these steps, you will ensure that your DIY bathtub renovation will have a clean and properly prepped surface for painting.

QEP 61210 16 in. Steel Universal Thinset and Grout Mixing Paddle for Cordless and Corded Drills
For mixing up to 5 lbs. of grout, thinset and other setting materials
As an affiliate, we earn on qualifying purchases.
Choosing the Right Paint
When choosing the right paint for your bathtub, make sure to consider factors such as durability and compatibility with the surface. It is important to choose a paint that is specifically designed for use on bathtubs and can withstand the constant exposure to water and chemicals.
Look for paints that are labeled as ‘tub and tile’ or ‘bath enamel’ paints. These paints are formulated to adhere well to the surface of the bathtub and provide a long-lasting finish.
Additionally, when choosing the color, opt for a shade that will complement your bathroom decor and personal style. To ensure that the paint does not peel or chip over time, make sure to follow the manufacturer’s instructions for proper application and curing. This will help to avoid any issues with paint peeling in the future.
Once you have chosen the right paint, the next step is to clean and sand the bathtub surface.

Edward Tools Paddle Mixer 27” for 1/2” Power Drill - Industrial Paddle Mixer for Paint, Concrete, Drywall Compound and More - Speed Mixer Concrete Tool is Ideal Mixing Tool for 5 Gallon Bucket
Heavy Duty Mixer Paddle Drill Bit Allows for Quicker and More Consistent Mixing
As an affiliate, we earn on qualifying purchases.
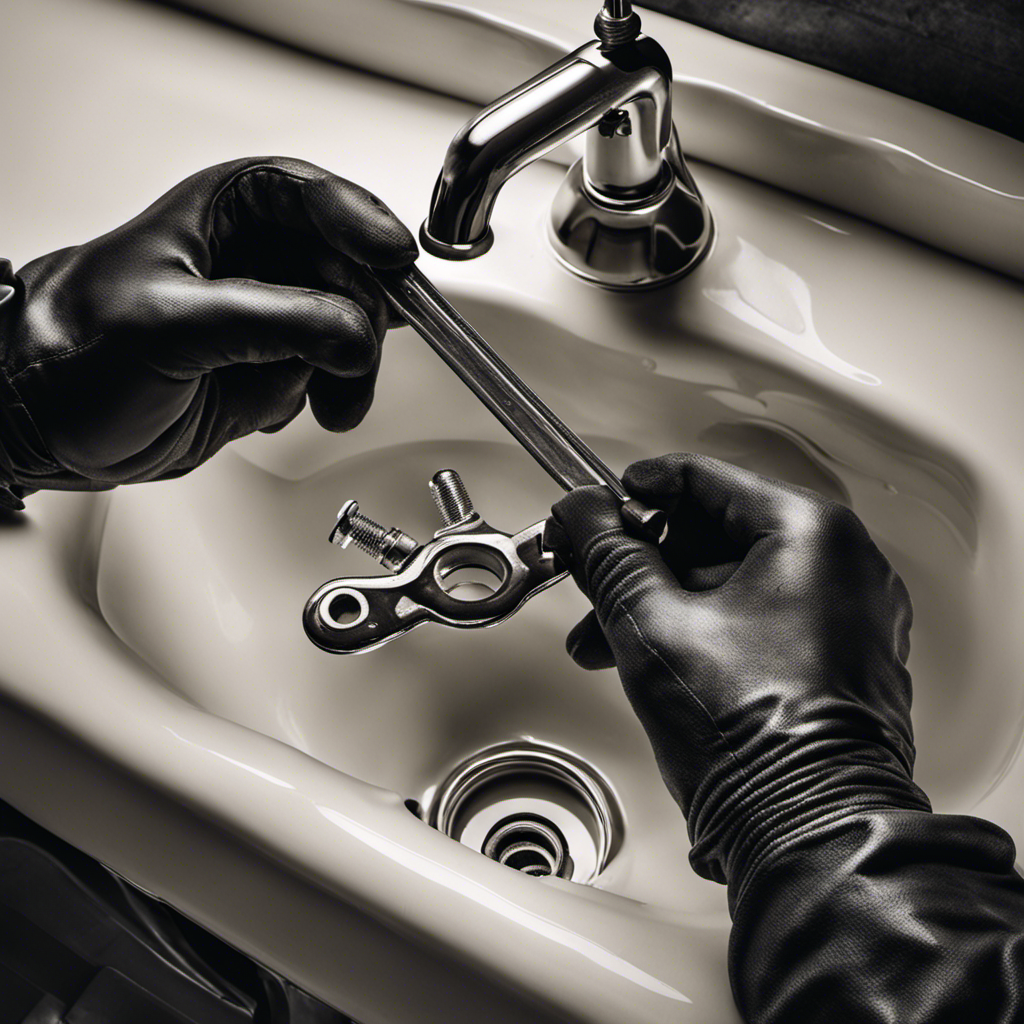
Cleaning and Sanding the Bathtub
To properly clean and prepare the surface, start by scrubbing the bathtub with a mild cleaner and sponge. This will help remove any dirt, grime, or soap scum that may be present.
Here are some safety precautions to keep in mind while cleaning and sanding your bathtub:
- Wear protective gloves and goggles to protect your skin and eyes from any chemicals or debris.
- Ensure proper ventilation in the bathroom by opening windows or using a fan to avoid inhaling any fumes.
- Follow the manufacturer’s instructions for any cleaning products or sanding materials you use.
After cleaning and sanding, it’s important to allow the bathtub to fully dry before moving on to the next step. This will ensure that the paint adheres properly and lasts longer.
Once the surface is dry, you can proceed to applying the primer.
Now that the bathtub is clean and dry, it’s time to move on to applying the primer.

Bates- Paint Mixer, 1 to 3 Gallon Buckets, Mud Mixer, Paint Stirrer for Drill, Paint Mixer for Drill, Drill Mixer Attachment, Paint Mixer Drill Attachment, Drill Paint Mixer, Paint Stirrers
Bates paint mixer is made to be strong, durable, and efficient - constructed from metal that won't bend...
As an affiliate, we earn on qualifying purchases.
Applying the Primer
Now that the surface is prepped, it’s time to start applying the primer. Choosing the right primer is crucial for a successful bathtub painting project.
Look for a primer specifically designed for use on bathtubs and tiles, as it will adhere well to the surface and provide a durable finish. Before applying the primer, make sure to thoroughly mix it according to the manufacturer’s instructions.
Using a brush or roller, start applying the primer in smooth, even strokes, working in small sections at a time. It’s important to apply multiple coats of the primer, allowing each coat to dry completely before applying the next one.
This will ensure proper coverage and adhesion, resulting in a long-lasting and beautiful finish.
Painting the Bathtub
Once the primer has dried, it’s crucial to apply multiple coats of paint for a smooth and durable finish. As a professional painter, I can attest to the importance of this step in bathtub refinishing.
Here are some key considerations when painting your bathtub:
-
Choose the right paint: Opt for a high-quality, waterproof paint specifically designed for bathroom surfaces. This will ensure long-lasting results.
-
Prep the surface: Thoroughly clean the bathtub and remove any old paint or residue. Sanding the surface will help the new paint adhere better.
-
Apply multiple coats: Start with a thin, even coat and allow it to dry completely. Repeat this process at least two more times to achieve a solid, even finish.
Conclusion
In conclusion, painting your bathtub can be a great way to give it a fresh new look. By following the steps outlined in this article, you can transform your bathtub into a beautiful centerpiece in your bathroom.
Just like a skilled artist applies paint to a canvas, you too can create a masterpiece in your own home. Remember to properly prepare the surface, choose the right paint, clean and sand the bathtub, apply the primer, and finally, paint away.
Happy painting!