Oh boy, installing a bathtub. It’s a task that may sound daunting at first, but fear not! With the right guidance and a little elbow grease, you’ll have that luxurious tub in no time.
In this step-by-step guide, I’ll walk you through the process of:
- Selecting the perfect bathtub
- Preparing your bathroom for installation
- Removing the old tub
- Installing the new one
- Finishing it off with those all-important finishing touches.
Get ready to soak in satisfaction as you conquer the art of bathtub installation.
Key Takeaways
- Consider factors like size, style, and material when selecting a bathtub
- Measure the available space in your bathroom to determine the maximum size of the tub that will fit comfortably
- Prepare the bathroom for installation by checking plumbing connections, clearing the area, and turning off the water supply
- When installing the new bathtub, ensure it is level, connect the drain and overflow assembly properly, and apply silicone sealant for a watertight seal

Brondell Bidet Toilet Seat Non-Electric Swash Ecoseat, Fits Elongated Toilets, White - Dual Nozzle System, Ambient Water Temperature - Bidet with Easy Installation
CLEAN AND REFRESHING: With Brondell’s Ecoseat 101 Bidet, you’ll experience a soothing, freshwater wash that leaves you feeling...
As an affiliate, we earn on qualifying purchases.
Selecting the Right Bathtub
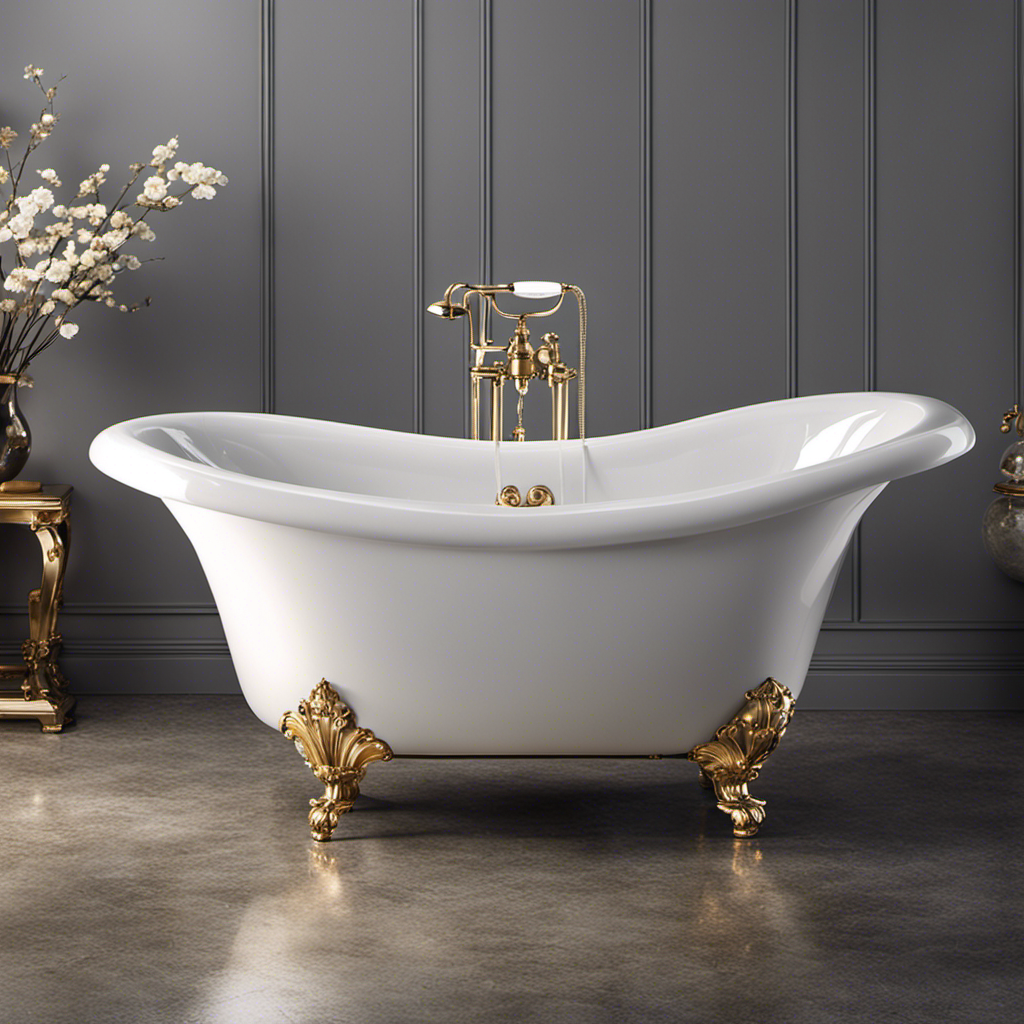
To find the perfect bathtub for your bathroom, you’ll need to consider factors like size, style, and material.
When it comes to bathtub materials, there are a few options to choose from. The most common materials include acrylic, fiberglass, cast iron, and porcelain. Acrylic and fiberglass tubs are lightweight and easy to maintain, while cast iron and porcelain tubs are more durable and provide a classic look.
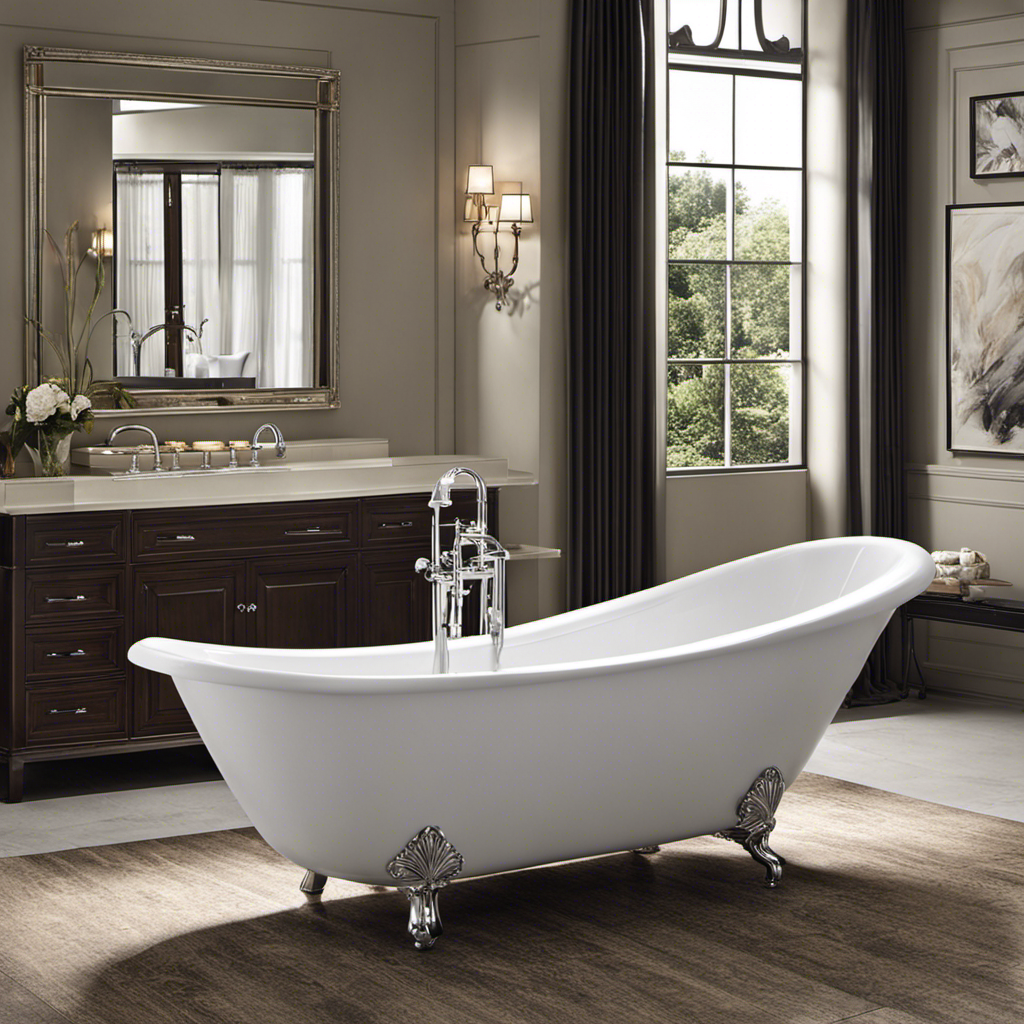
Next, you’ll want to consider the dimensions of the bathtub. Measure the available space in your bathroom to determine the maximum size of the tub that will fit comfortably. Keep in mind that the standard bathtub size is around 60 inches long and 30 inches wide. However, you can find smaller or larger options to suit your specific needs.

BIGCOW Ultra-Slim Bidet Attachment for Toilet - Dual Nozzle (Frontal & Rear Wash) with Adjustable Cold Water Pressure and Stainless Steel Inlet - Hygienic Solution for Fresh Cleanliness, Silver 1 Pcs
【Dual Spraying Modes】- This toilet bidet offers both rear wash for thorough cleaning and a specially designed frontal...
As an affiliate, we earn on qualifying purchases.
Preparing the Bathroom for Installation
Before starting, make sure the bathroom is cleared of any obstacles that may hinder the installation process. Here’s a step-by-step guide on how to prepare the bathroom for installing a new bathtub:
-
Measure for the bathtub: Use a tape measure to determine the dimensions of the space where the bathtub will be installed. This will help you choose the right size bathtub.
-
Check plumbing connections: Ensure that the plumbing connections are in good condition and compatible with the new bathtub. Inspect the existing pipes and fittings for leaks or damage.
-
Clear the area: Remove any furniture, fixtures, or accessories from the bathroom that may obstruct the installation process. This includes towel racks, toilet paper holders, and shower curtains.
-
Turn off the water supply: Locate the main water shut-off valve and turn off the water supply to the bathroom. This will prevent any accidental leaks or water damage during the installation process.
By properly measuring for the bathtub and ensuring proper plumbing connections, you can ensure a smooth installation process.
Now that the bathroom is prepared, let’s move on to removing the old bathtub.
Amazon Product B0GMY4B6YR
As an affiliate, we earn on qualifying purchases.
Removing the Old Bathtub
Now that you’ve prepared the bathroom, it’s time to tackle the task of removing the old bathtub. The demolition process is a crucial step in this bathroom renovation project. Here’s a step-by-step guide on how to do it:
-
Start by turning off the water supply to the bathtub. Locate the shut-off valves and close them to prevent any water leakage during the removal.
-
Next, remove the fixtures and fittings attached to the bathtub, such as the faucet, handles, and drain.
-
Using a utility knife, cut along the caulk lines surrounding the bathtub. This will help loosen the bathtub from the walls.
-
Now, it’s time to remove the bathtub itself. Start by disconnecting the drain pipes and any other plumbing connections.
-
With the help of a pry bar and a hammer, carefully separate the bathtub from the walls and the floor. Take your time to avoid damaging the surrounding area.
-
Finally, dispose of the old bathtub responsibly. Consider recycling if possible or contact your local waste management facility for proper disposal options.

LUXE Bidet NEO 120 - Single Nozzle, Self-Cleaning, Non-Electric Bidet Attachment for Toilet Seat, Adjustable Water Pressure, Rear Wash (White)
THE ULTIMATE VALUE – With a sleek design and high-quality parts, Our Bidet Attachment will give your bathroom...
As an affiliate, we earn on qualifying purchases.
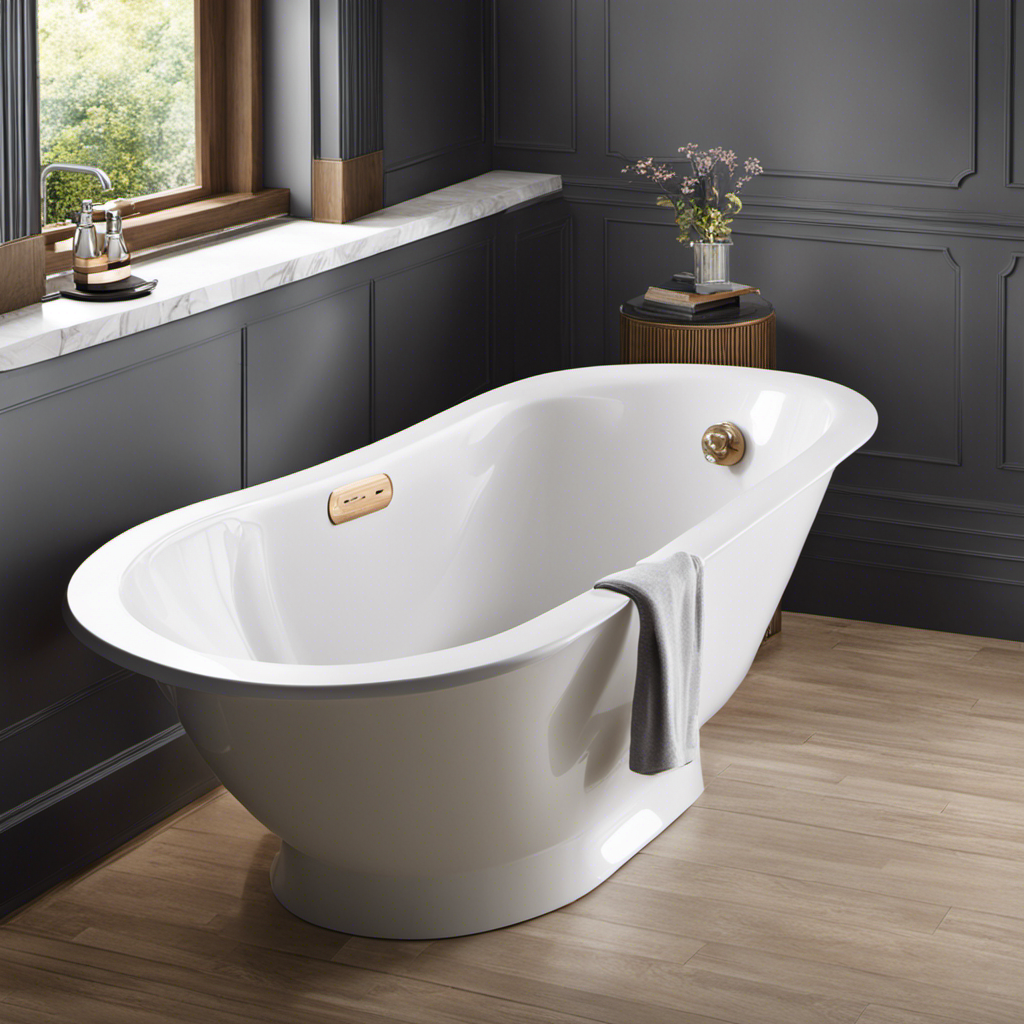
Installing the New Bathtub
After removing the old bathtub, it’s important to carefully measure the space to ensure the new one will fit properly. Once you have the correct measurements, you can proceed with installing the new bathtub. Here are the steps and tools you will need for a successful installation:
-
Gather the necessary tools: tape measure, level, adjustable wrench, screwdriver, and silicone sealant.
-
Position the new bathtub in the designated area and make sure it is level using a level tool.
-
Connect the drain and overflow assembly by following the manufacturer’s instructions.
-
Apply silicone sealant around the edges of the bathtub to create a watertight seal.
Common mistakes to avoid during bathtub installation:
-
Failing to properly measure the space before purchasing the new bathtub.
-
Not leveling the new bathtub, which can lead to drainage issues.
-
Forgetting to connect the drain and overflow assembly correctly.
-
Neglecting to apply silicone sealant, resulting in leaks and water damage.
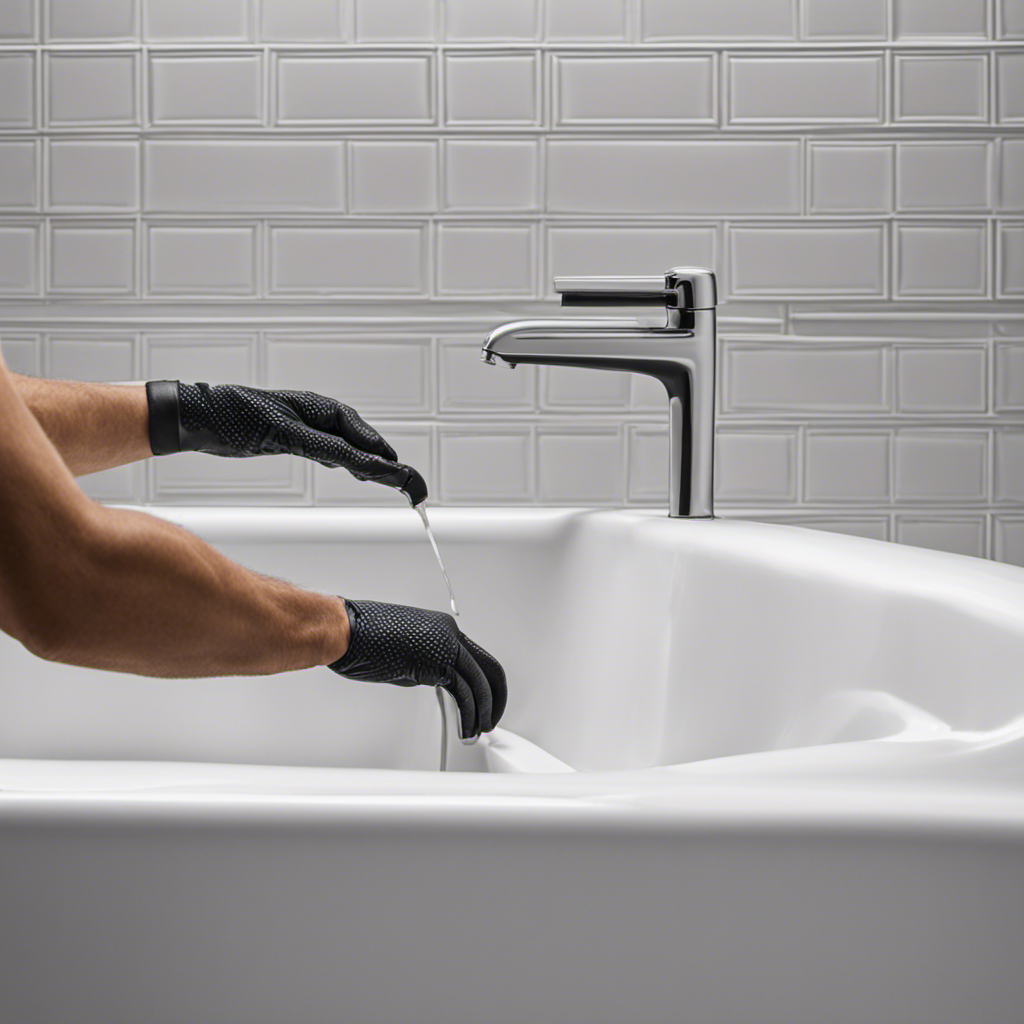
Finishing Touches and Clean-Up
To complete the installation, make sure to wipe down the new bathtub and remove any excess silicone sealant for a clean and polished finish. Once the bathtub is securely in place, it’s time to add the finishing touches and clean up any mess. Here are the final steps:
-
Touch up paint: Inspect the bathtub for any scratches or chips. If you notice any imperfections, use touch-up paint to cover them up and ensure a seamless look.
-
Sealing caulk: Check the caulk around the edges of the bathtub. If there are any gaps or areas where the caulk has come loose, remove the old caulk and reapply a fresh bead of silicone sealant. Smooth it out with your finger or a caulk finishing tool for a professional finish.
-
Clean up: Wipe down the bathtub and surrounding area with a damp cloth to remove any dust or debris. Use a mild cleaner to remove any smudges or marks. Finally, polish the bathtub with a dry cloth to give it a shiny, clean appearance.
Conclusion
And there you have it! Installing a bathtub may seem like a daunting task, but with the right tools and a little know-how, it can be a rewarding experience.
From selecting the perfect bathtub to putting the finishing touches on the installation, we’ve covered each step in detail.
So go ahead and transform your bathroom into a luxurious oasis, where you can relax and unwind after a long day. With just a little effort, you’ll be enjoying your new bathtub in no time!