So, you’re tired of that grimy, cracked caulk around your bathtub, huh? Well, lucky for you, I’ve got just the solution!
In this article, I’m going to show you exactly how to recaulk your bathtub like a pro. With a few tools and some elbow grease, you’ll have a beautifully sealed and pristine bathtub in no time.
Say goodbye to those unsightly gaps and hello to a bathroom that’s as good as new!
Let’s get started, shall we?
Key Takeaways
- Choose a caulk specifically designed for bathroom use, such as silicone or acrylic for durability and flexibility.
- Properly prepare the bathtub surface by sanding, priming, and cleaning it to ensure a smooth and long-lasting caulk application.
- Remove old caulk using a caulk removal tool or razor blade, and clean the area with mild detergent and warm water before applying new caulk.
- Apply new caulk using a caulking gun to create a thin and even bead along the joint, and smooth it with a caulk smoothing tool or finger for a watertight seal.
Top picks for "recaulk bathtub"
Open Amazon search results for this keyword.
As an affiliate, we earn on qualifying purchases.
Tools and Materials Needed
To recaulk your bathtub, you’ll need a few tools and materials.
Choosing the right caulk is crucial for a successful recaulking job. Look for a caulk specifically designed for bathroom use, as it will be resistant to moisture and mildew. Silicone or acrylic caulk are popular choices due to their durability and flexibility.
You’ll also need a caulk gun for precise application. Proper application techniques are essential for a neat and long-lasting result.
Begin by thoroughly cleaning the old caulk and removing any debris. Apply the new caulk in a continuous bead, using steady pressure on the caulk gun. Smooth the caulk with a caulk smoothing tool or your finger, ensuring a watertight seal.
Allow the caulk to cure according to the manufacturer’s instructions before using the bathtub again.
Preparing the Bathtub Surface
Before starting, make sure the surface of your bathtub is clean and free of any old caulk residue. This is crucial for creating a smooth and long-lasting caulk application.
To prepare the bathtub surface properly, follow these steps:
-
Sanding and smoothing: Use a fine-grit sandpaper to gently sand the surface of the bathtub. This helps to remove any rough or uneven areas, ensuring a better adhesion for the new caulk.
-
Priming the surface: After sanding, it’s important to prime the bathtub surface before applying the caulk. Choose a primer specifically designed for use on bathtubs and apply it evenly. This will provide a strong base for the caulk to adhere to and enhance its durability.
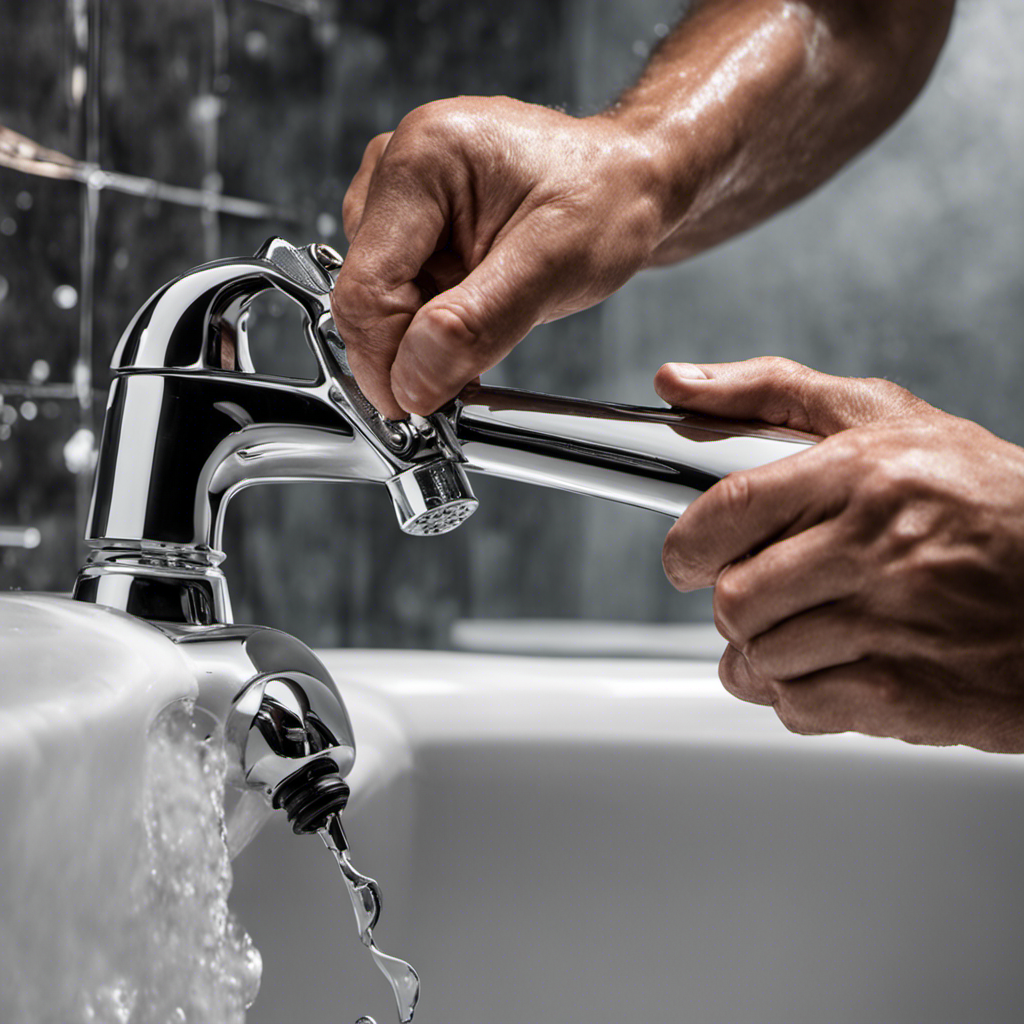
Removing Old Caulk
Once the old caulk has been removed, it’s important to clean the surface thoroughly to ensure a smooth application of the new caulk. To remove the old caulk, there are a few techniques you can use.
One option is to use a caulk removal tool or a razor blade to carefully scrape away the old caulk. Another method is to apply a caulk remover product, such as a caulk softener or a gel, which helps to loosen and dissolve the old caulk. These products can be found at most hardware stores and are effective in simplifying the caulk removal process.
After the old caulk has been successfully removed, it’s crucial to clean the area with a mild detergent and warm water to remove any residue. This step ensures that the new caulk adheres properly to the surface.
Now that the surface is clean and ready, it’s time to apply the new caulk and create a watertight seal.
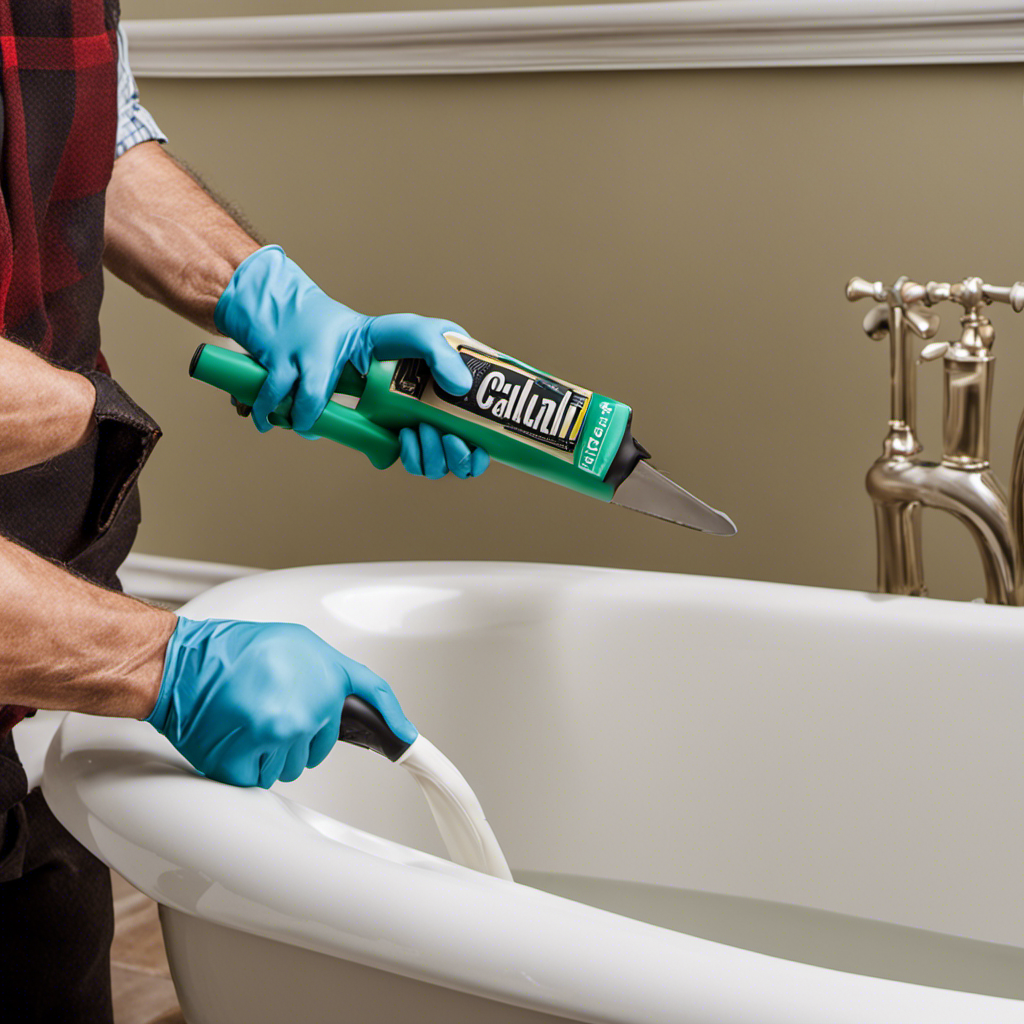
Applying New Caulk
Now that the old caulk has been removed and the surface is clean, you can begin applying the new caulk to create a watertight seal. Recaulking a bathtub is an important maintenance task that helps prevent water damage and keeps your bathroom looking fresh.
Here are some recaulking techniques and tips to ensure a successful application:
-
Choose the right caulk: Select a silicone-based caulk specifically designed for bathroom use. This type of caulk is waterproof and flexible, making it ideal for sealing joints and gaps in wet areas.
-
Prepare the area: Before applying the new caulk, make sure the surface is completely dry and free of any old caulk residue. Use a caulking gun to apply a thin and even bead of caulk along the joint, starting from one end and moving to the other.
-
Smooth and clean up: Use a caulk smoothing tool or your finger to smooth out the caulk and create a neat finish. Wipe off any excess caulk with a damp cloth before it dries.
Finishing and Cleaning Up
To achieve a smooth finish, gently run your finger along the caulked joint to ensure it is even and free of any excess caulk.
Once this is done, it is important to allow the caulk to dry thoroughly before using the bathtub again. The drying time for recaulking a bathtub can vary depending on factors such as humidity and temperature. Generally, it is recommended to wait at least 24 hours before exposing the caulk to water.
During this drying period, it is crucial to ensure proper ventilation in the bathroom. Opening windows or using fans can help circulate the air and speed up the drying process. Proper ventilation not only helps the caulk dry faster but also prevents the buildup of moisture, reducing the chances of mold or mildew growth.
Conclusion
So there you have it, folks! Recaulking your bathtub may seem like a daunting task, but it can be done with the right tools and materials, a little preparation, and some patience.
By following the steps outlined in this article, you can ensure that your bathtub stays leak-free and looking great for years to come.
Don’t be afraid to tackle this DIY project – with a little bit of effort, you’ll be enjoying a beautifully recaulked bathtub in no time.
Happy caulking!