
I’ve been there before, standing in a puddle of water as my bathtub drain refuses to do its job. But fear not, because I’ve got the solution for you.
In this article, I’ll walk you through the step-by-step process of replacing a bathtub drain. With just a few tools and materials, you’ll be able to say goodbye to that pesky clog and hello to a smoothly flowing drain.
So let’s roll up our sleeves and get to work!
Key Takeaways
- Use the appropriate tools and materials, such as a drain wrench and plumber’s putty, when replacing a bathtub drain.
- When removing the old drain, unscrew the drain cover, locate the drain flange, and use pliers or a drain key to loosen and remove the drain flange.
- When installing the new drain, ensure proper alignment with the bathtub’s drain pipe and choose the correct type of drain for the bathtub.
- Test the drain by filling the bathtub with water, checking for leaks, inspecting the drain cover, and listening for any unusual noises during drainage.

Tub Drain Linkage Assembly with Trip Lever and Strainer Done Cove, Fit for Trip Lever Bath Tub Waste and Overflow Drain by Artiwell
TUB DRAIN ASSEMBLY LINKAGE: Designed to repair and replace a worn-out Trip-lever drain assembly linkage that operates the…
As an affiliate, we earn on qualifying purchases.
As an affiliate, we earn on qualifying purchases.
Tools and Materials Needed
You’ll need a few tools and materials to replace a bathtub drain.
First, gather your plumbing supplies, including a new bathtub drain assembly, a drain wrench, and plumber’s putty.
You’ll also need a pair of pliers, a screwdriver, and a bucket to catch any water that may spill during the repair process.
Start by removing the old drain cover with a screwdriver, then use the drain wrench to loosen and remove the old drain assembly.
Clean the area around the drain hole and apply a thin layer of plumber’s putty to the underside of the new drain assembly.
Insert the new drain into the hole and tighten it with the drain wrench.
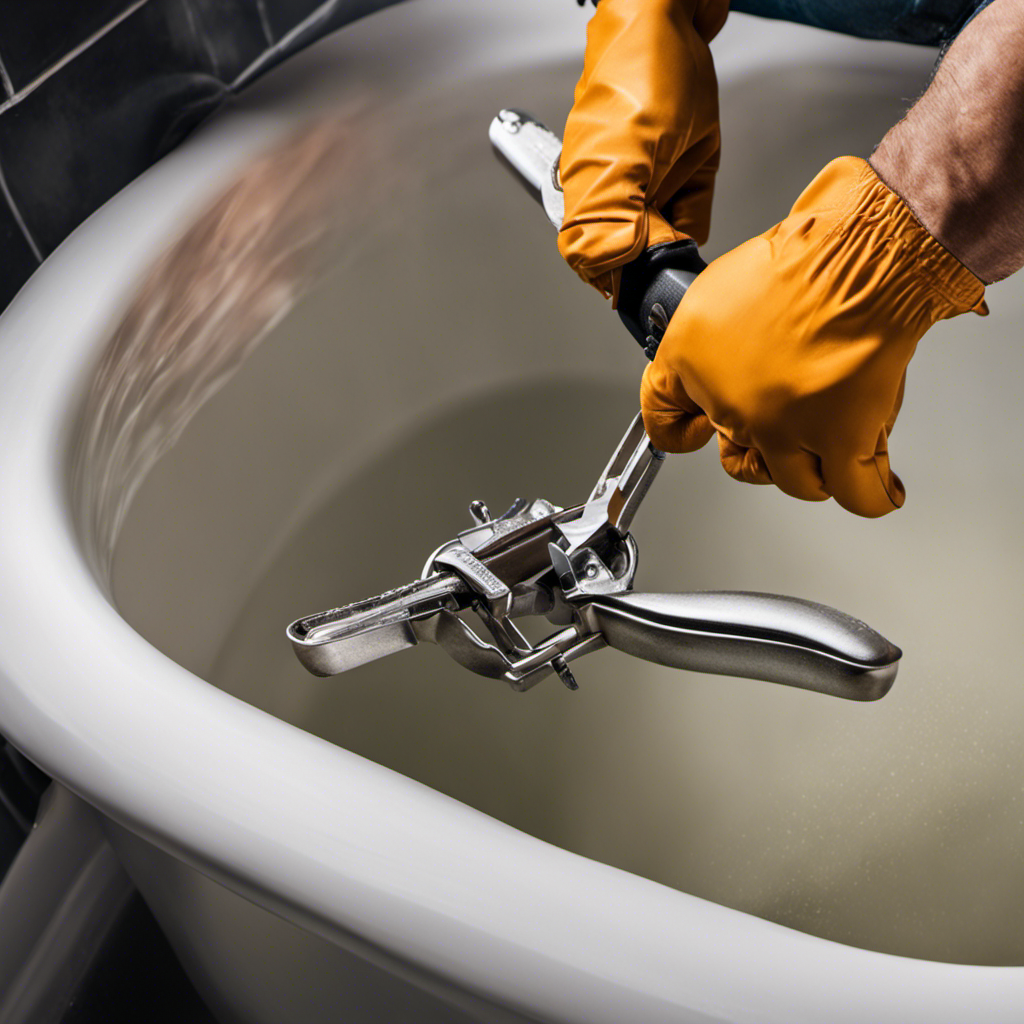
bathtub drain wrench
As an affiliate, we earn on qualifying purchases.
As an affiliate, we earn on qualifying purchases.
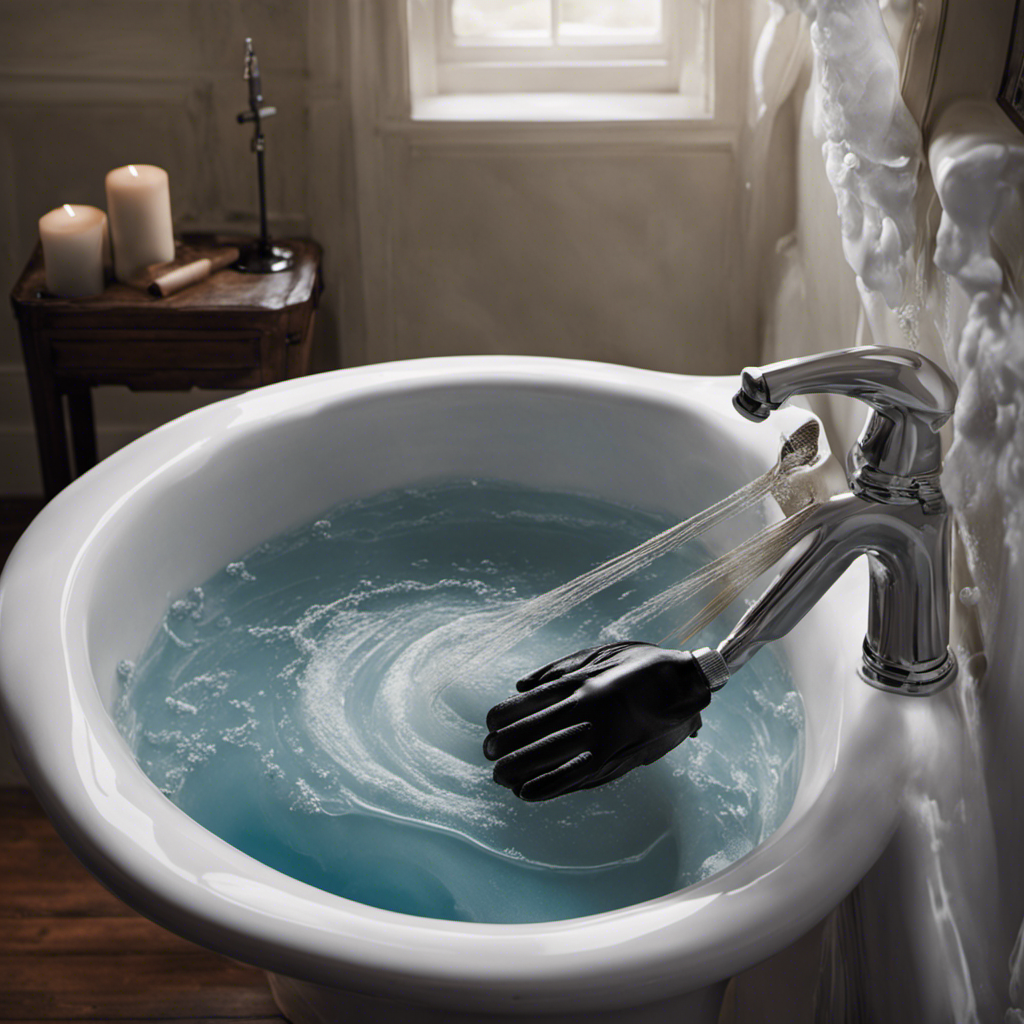
Removing the Old Drain
To remove the old drain, start by unscrewing the drain cover using a screwdriver. Once the drain cover is removed, you will need to follow these steps:
- Locate the drain flange, which is the round metal ring around the drain opening.
- Use a pliers or a drain key to loosen and remove the drain flange by turning it counterclockwise.
- Pull out the drain flange and set it aside.
Inspect the drain pipe for any debris or buildup that may be causing common drain problems. Use a drain snake or a wire brush to clean out any clogs or obstructions in the drain pipe.
plumber's putty for drains
As an affiliate, we earn on qualifying purchases.
As an affiliate, we earn on qualifying purchases.
Installing the New Drain
Once the drain cover is removed, it’s time to install the new drain. Before starting the installation process, it’s important to be aware of common installation mistakes to avoid any future issues.
One common mistake is not properly aligning the drain with the bathtub’s drain pipe. This can lead to leaks and water damage.
Another mistake is not using the correct type of drain for your bathtub. There are different types of bathtub drains, such as toe-touch, trip lever, and lift and turn drains. It’s crucial to choose the right type of drain that matches your bathtub’s design and functionality.
Additionally, make sure to properly tighten all connections and seals to prevent any water leakage.
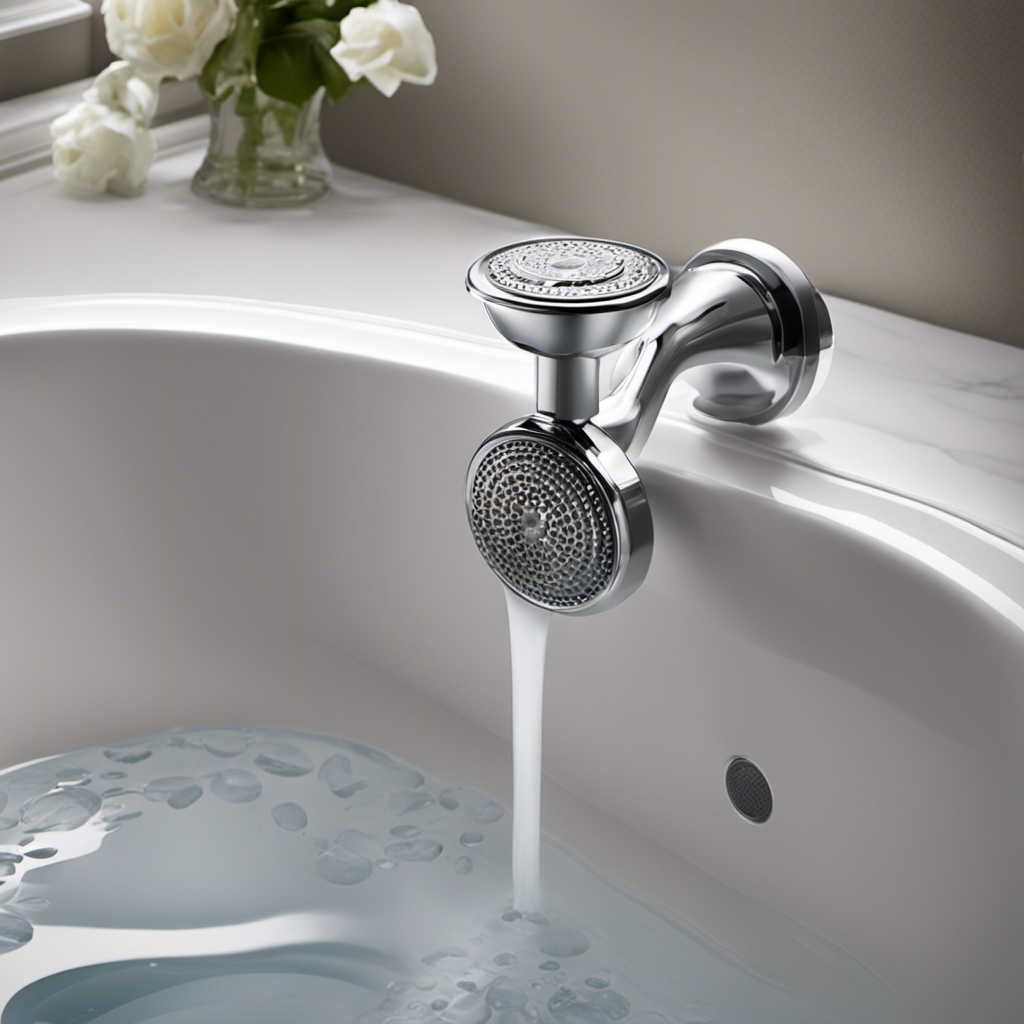
bathtub drain cover screwdriver
As an affiliate, we earn on qualifying purchases.
As an affiliate, we earn on qualifying purchases.
Testing the Drain
After installing the new drain, it’s important to test it for any potential leaks or issues. Proper testing ensures that the drain is functioning correctly and prevents any future problems. Here are some steps to follow when testing your bathtub drain:
- Fill the bathtub with water and let it sit for a few minutes.
- Check for any water leakage around the drain area.
- Inspect the drain cover for any signs of damage or loose screws.
- Test the drain’s ability to hold water by slowly releasing the water and observing if it drains properly.
- Listen for any unusual gurgling or sucking noises during the drainage process.
By conducting these tests, you can identify and address any common bathtub drain problems, such as leaks or clogs, before they become major issues.
Now, let’s move on to some helpful tips and troubleshooting techniques for maintaining your bathtub drain.
Tips and Troubleshooting
Now let’s explore some useful tips and troubleshooting techniques to keep your bathtub drain in good condition.
One of the most common problems with bathtub drains is clogging. To prevent this, it’s important to regularly clean the drain by removing any hair or debris that may have accumulated.
Another common issue is potential leaks, which can cause water damage if not addressed promptly. To check for leaks, fill the tub with water and see if there are any visible signs of water escaping. If you notice any leaks, it’s important to repair them as soon as possible to prevent further damage.
Additionally, using a drain cover can help prevent larger debris from entering the drain and causing clogs.
Conclusion
In conclusion, replacing a bathtub drain may seem daunting, but it can be easily accomplished with the right tools and know-how. By following the outlined steps and using proper techniques, you can successfully remove the old drain and install a new one.
Don’t let this project drain your enthusiasm. Take it step by step, and soon you’ll be enjoying a fully functional bathtub once again.
Remember, a stitch in time saves nine. So, don’t put off fixing that faulty drain any longer!