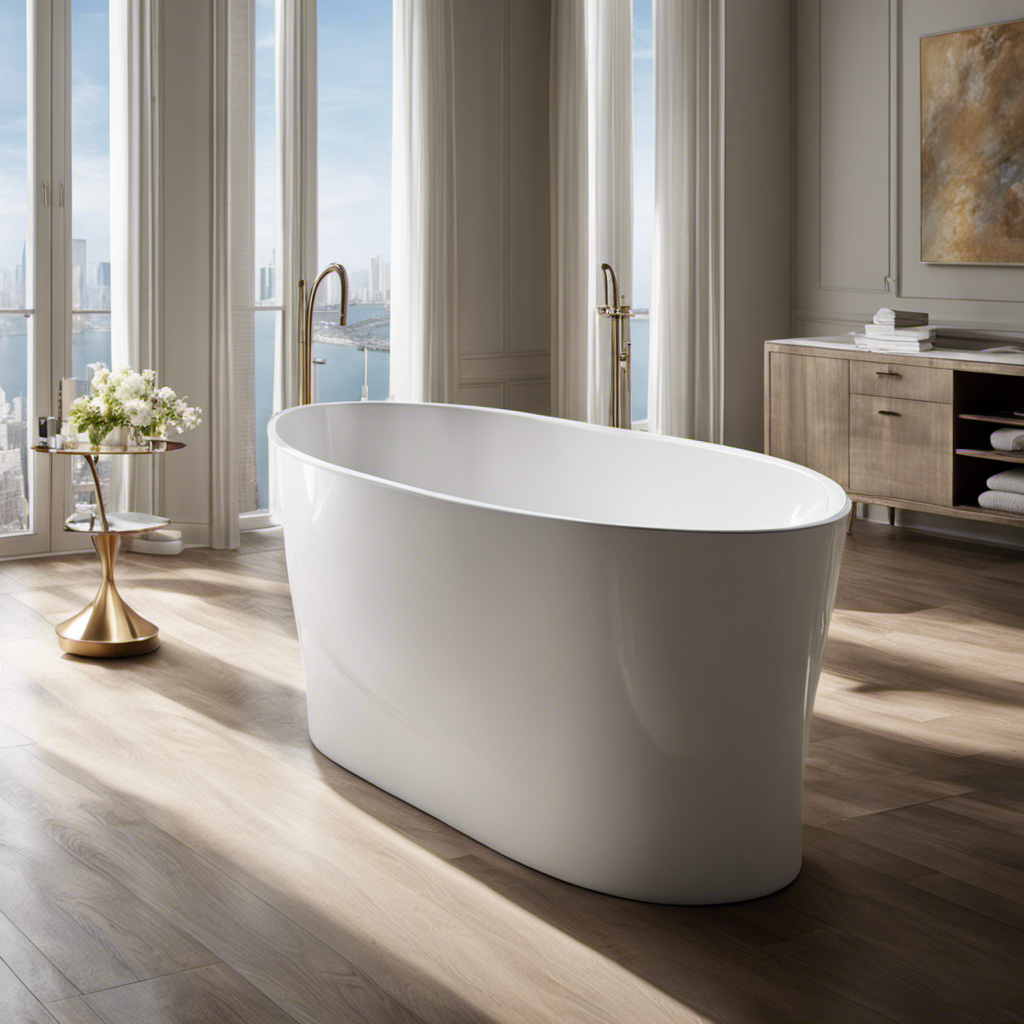

Do you dream of luxuriating in a brand new bathtub, soaking away the stress of the day? Well, you’re in luck! In this article, we’ll dive into the nitty-gritty of bathtub installation.
From factors that affect installation time to the final touches and clean-up, we’ll guide you through the process step by step.
So, grab your tool belt and get ready to transform your bathroom into the ultimate relaxation oasis.
Let’s get started!
Key Takeaways
- The installation time of a bathtub can be influenced by factors such as the cost of professional installation, the time required for DIY installation, researching necessary techniques, the level of expertise, and the availability of tools.
- Preparing the bathroom for installation involves clearing out space for the bathtub, removing obstructing fixtures, assessing plumbing and electrical systems, taking accurate measurements, and preparing the flooring for the new fixture.
- Removing the old bathtub requires disconnecting the plumbing, removing screws or nails securing the tub, lifting and removing the old tub, and properly disposing of it using appropriate tools and safety precautions.
- Installing the new bathtub involves accurate measurement of dimensions, choosing the right bathtub material, preparing the installation area, following the manufacturer’s instructions, and considering professional installation for complex work.

WOODBRIDGE 67" Acrylic Freestanding Bathtub Contemporary Soaking Tub, White Acrylic (Matte Black Drain/Overflow), B0013-MB-Drain &O
Dimensions and specifications: Exterior dimension 67'' long x 31 1/2'' wide x 22 4/5'' deep, effective tub capacity...
As an affiliate, we earn on qualifying purchases.
Factors That Affect Installation Time
When you’re installing a bathtub, there are several factors that can affect how long it takes.
One of the main considerations is the cost. Hiring a professional to install your bathtub can be more expensive than doing it yourself, but it may save you time and effort in the long run. Professionals have the necessary skills and experience to complete the installation efficiently and effectively.
On the other hand, if you choose to do it yourself, you need to factor in the time it will take to research and learn the necessary techniques. Additionally, your level of expertise and the tools you have available can also impact the installation time.
Once you have considered these cost considerations and decided whether to hire a professional or go the DIY route, you can move on to preparing the bathroom for installation.

Freestanding Bathtub 67 inch Acrylic Soaking Bathtub with Chrome Drain & Overflow, Free Standing Bathtub for Spa-Inspired Bathroom, Deep Stand Alone Tub for Relaxation
【Deep Soaking Comfort – Melt Away Daily Fatigue】Immerse yourself in a full-body soak that wraps you in relaxation...
As an affiliate, we earn on qualifying purchases.
Preparing the Bathroom for Installation
To prepare your bathroom for installation, make sure you’ve cleared out enough space for the bathtub. Here are four important steps to follow during the bathroom renovation and bathtub installation process:
-
Remove any existing fixtures or items that may obstruct the installation area. This includes removing cabinets, toilets, and sinks if necessary. Clearing out the space will ensure easy access for the installation process.
-
Assess the plumbing and electrical systems in your bathroom. It’s crucial to ensure that everything is in good working condition and meets the requirements for the new bathtub installation. This may involve hiring a professional plumber or electrician for inspection and any necessary adjustments.
-
Measure the space accurately. Take precise measurements of the installation area, including the length, width, and height. This will help you choose the right-sized bathtub and ensure a proper fit in your bathroom.
-
Prepare the flooring. If you’re installing a new bathtub, you may need to make adjustments to the flooring to accommodate the weight and size of the new fixture. This could involve reinforcing the subfloor or installing additional support structures.
HOROW T0338W Compact One Piece Toilet, ADA Chair Height 17.3", Elongated Bowl, Dual Flush 0.8/1.28 GPF, White, 12 Inch Rough-In
Compact One Piece Design: Measuring 26.6"D x 15"W x 26"H, this compact elongated toilet fits small bathrooms while...
As an affiliate, we earn on qualifying purchases.
Steps for Removing the Old Bathtub
Clear out any fixtures or items that obstruct the installation area when preparing to remove the old bathtub. This will ensure a smooth and efficient process. Before removing the old tub, it is important to disconnect the plumbing. Turn off the water supply and drain the bathtub completely. Use a wrench to disconnect the pipes and carefully remove them. Once the plumbing is disconnected, you can start removing the old tub. Start by removing any screws or nails that secure the tub to the wall or floor. Then, gently lift the tub and carefully maneuver it out of the bathroom. Dispose of the old tub properly, following local regulations for waste disposal. Remember to take safety precautions and use appropriate tools when removing the old tub to avoid any injuries.
| Step | Description |
|---|---|
| 1 | Disconnect the plumbing |
| 2 | Remove screws or nails securing the tub |
| 3 | Lift and remove the old tub |

Casta Diva Elongated One Piece Toilet with 17" ADA Comfort Chair Height Seat Compact Toilet for Bathroom Dual Flush 1.1/1.6GPF, 12'' Rough-in, High Efficiency Flush, Standard White Bowl
Luxurious Modern Toilet for Bathrooms: skirted 1-piece toilet integrates the tank and bowl into a seamless, easy-to-clean design,...
As an affiliate, we earn on qualifying purchases.
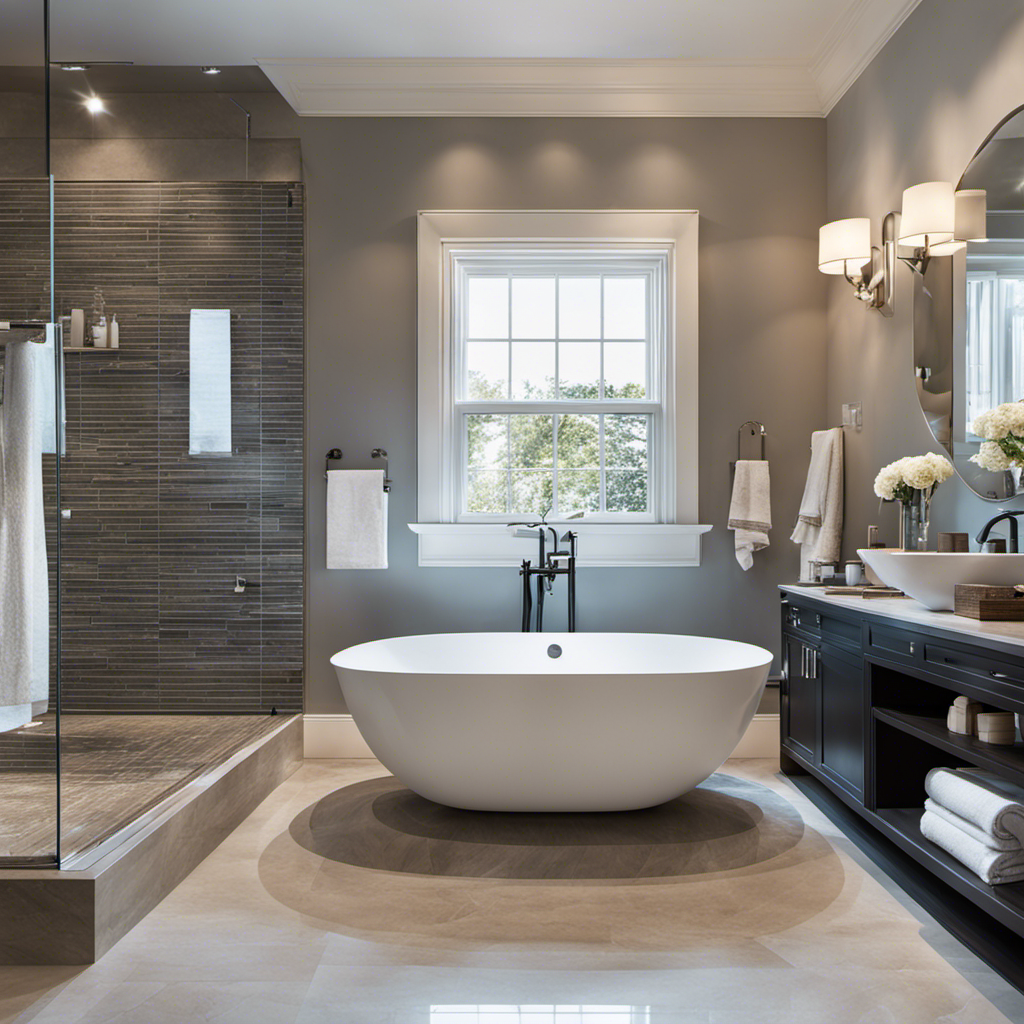
Installing the New Bathtub
Make sure you measure the dimensions of the new bathtub accurately before purchasing it. This is crucial to ensure a proper fit and avoid any installation issues. Once you have the correct measurements, you can move forward with installing the new bathtub.
Here are four important steps to consider:
-
Choose the right bathtub material option: There are various materials available, such as acrylic, fiberglass, cast iron, and porcelain. Each has its own advantages and disadvantages, so research and select the one that best suits your needs and preferences.
-
Prepare the installation area: Clear out the old bathtub and ensure the plumbing and drainage are in good condition. Make any necessary repairs or modifications before proceeding.
-
Follow the manufacturer’s instructions: Read the installation manual carefully and follow the recommended steps. This will help ensure a safe and proper installation.
-
Consider hiring a professional: If you are not confident in your DIY skills or if the installation requires complex plumbing work, it is advisable to hire a professional. They have the expertise and experience to complete the installation correctly and efficiently.
Final Touches and Clean-up
After installing the new bathtub, it’s important to give the area a thorough clean-up to remove any debris or dust. This final step ensures that your installation is clean and ready for use. Here are some common mistakes to avoid during bathtub installation and some tips for maintaining a clean installation:
| Common Mistakes | Tips for Maintaining a Clean Installation |
|---|---|
| Not sealing the edges properly | Use a high-quality caulk to seal all edges |
| Forgetting to level the bathtub | Use a spirit level to ensure a level surface |
| Ignoring proper drainage | Check that the drain is securely connected |
Frequently Asked Questions
What Are the Different Types of Bathtubs Available for Installation?
When considering bathtub installation, it’s important to know the different types available. Some common options include acrylic, cast iron, and fiberglass. Each has its own pros and cons in terms of durability, cost, and maintenance.
Can I Install a Bathtub on My Own or Do I Need to Hire a Professional?
You can install a bathtub on your own, but it can be challenging. DIY bathtub installation requires plumbing and carpentry skills, as well as knowledge of local building codes. Hiring a professional ensures a proper and efficient installation.
How Much Does It Typically Cost to Install a Bathtub?
On average, the cost of bathtub installation can range from $1,000 to $4,000, depending on factors such as the type of bathtub, materials, labor, and any additional plumbing or electrical work needed.
Are There Any Special Considerations or Requirements for Installing a Bathtub in a Small Bathroom?
When installing a bathtub in a small bathroom, there are some special considerations. Space-saving bathtubs can be a great option, but you should weigh the pros and cons before making a decision.
Is It Necessary to Remove the Bathroom Tiles or Walls During the Bathtub Installation Process?
When installing a bathtub, you may wonder if removing bathroom tiles or demolishing walls is necessary. It depends on the specific installation requirements and the condition of your current bathroom.
Conclusion
So there you have it, installing a bathtub is no small feat! With the right tools, preparation, and know-how, you can transform your bathroom in no time.
Remember, though, Rome wasn’t built in a day, and neither is a bathtub installation. But hey, good things come to those who wait, right? So roll up your sleeves, grab your toolbox, and get ready to dive into this project.
Before you know it, you’ll be soaking in your new tub, and all your hard work will be worth it. Happy installing!