I’ve always loved taking long, relaxing showers. There’s just something about the warm water cascading over me that washes away the stress of the day.
So, when I moved into a new apartment with only a bathtub, I knew I had to find a way to add a shower head. Luckily, with a few simple steps and the right tools, I was able to transform my bathtub into a haven of relaxation.
In this article, I’ll guide you through the process of adding a shower head to your own bathtub, so you can enjoy the same rejuvenating experience.
Key Takeaways
- Assess the bathtub setup and gather the necessary tools and materials
- Prepare the bathtub surface by cleaning it thoroughly
- Install the shower arm properly for the shower head attachment
- Check for leaks, adjust the shower head, and adjust water pressure as needed
Assessing Your Bathtub Setup
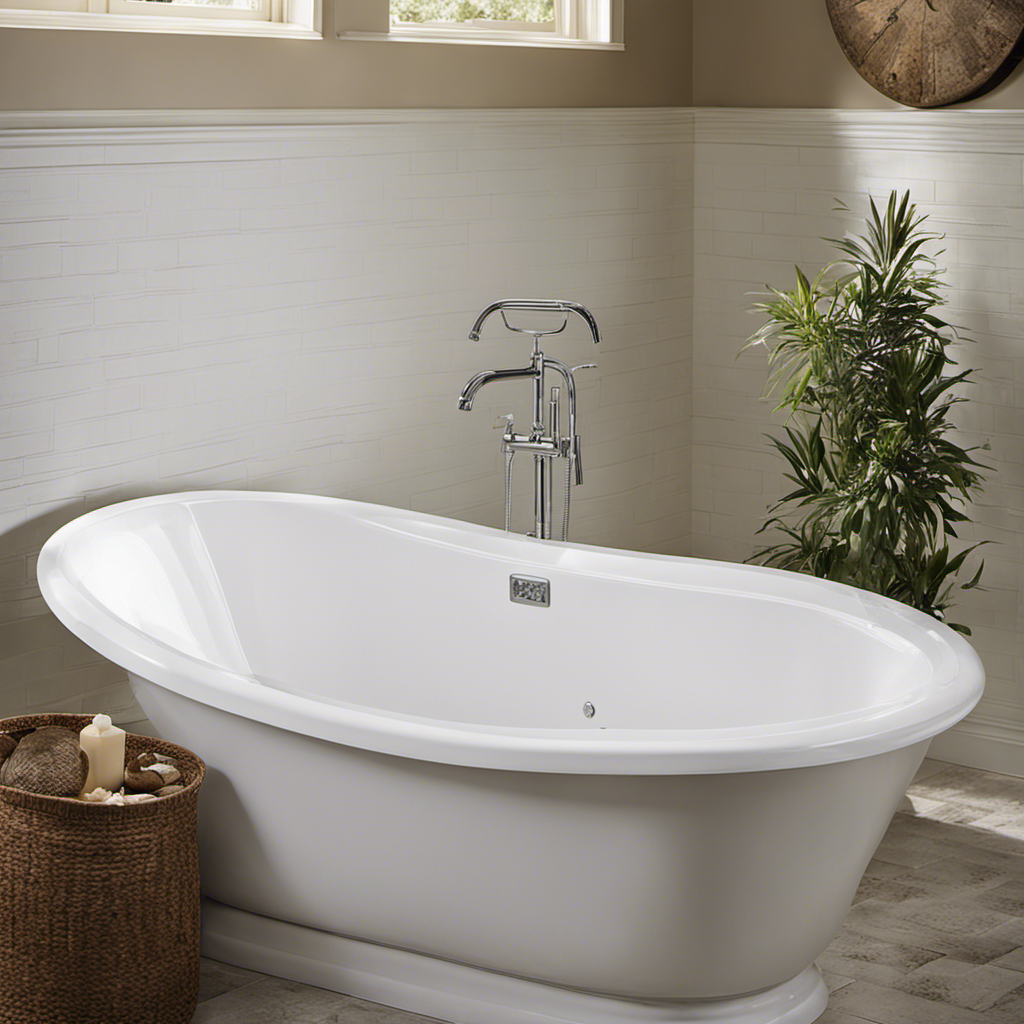
You’ll need to take a look at your current bathtub setup to determine if it’s suitable for adding a shower head. Evaluating bathtub compatibility is an important step in this process.
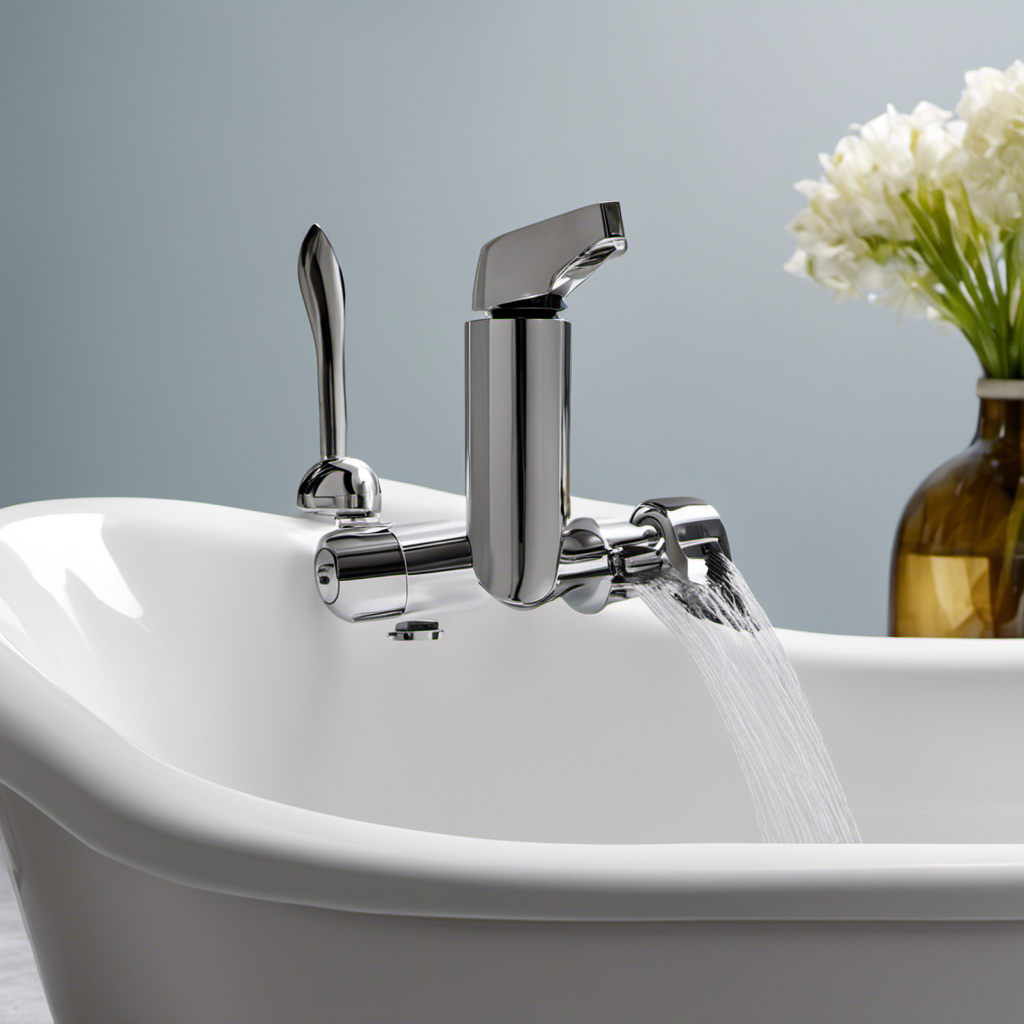
First, check if your bathtub has a pre-existing shower head connection. This can usually be found on the wall or the faucet. If your bathtub doesn’t have this connection, you’ll need to consider other options, such as installing a shower converter or a handheld shower head.
Additionally, assess the water pressure in your bathroom to ensure it’s adequate for a shower head.
Once you have evaluated the compatibility of your bathtub, you can move on to selecting the right shower head. Consider factors such as water flow, spray patterns, and durability.
With these considerations in mind, you can confidently move forward to the next step of gathering the necessary tools and materials for the installation process.
Gathering the Necessary Tools and Materials
Before we dive into the process of adding a shower head to your bathtub, it’s important to gather all the necessary tools and materials.
In this discussion, I will explain the required tools in detail, providing you with a comprehensive understanding of each one.
Additionally, I will provide you with an essential materials checklist to ensure you have everything you need on hand before beginning the project.
Required Tools Explained
To install a shower head in a bathtub, you’ll need a few tools. Here are the required tools explained:
- Adjustable wrench: This tool is essential for securing the shower head tightly onto the pipe.
- Screwdriver: You’ll need this to remove the existing shower head or to attach any necessary mounting brackets.
- Pipe tape: Also known as Teflon tape, this helps create a watertight seal between the shower head and the pipe.
- Plumber’s putty: This is used to seal any gaps between the shower arm and the wall, preventing leaks.
Now that you have an understanding of the tools needed, let’s move on to the next section where we will discuss the essential materials checklist. This checklist will ensure that you have everything you need before starting the installation process.
Essential Materials Checklist
Make sure you have all the necessary materials on hand to successfully install the shower head in your bathtub. Before starting the installation process, it is important to prepare the surface and ensure that the shower arm is properly installed. Here is a checklist of essential materials you will need:
| Materials | Quantity | Purpose |
|---|---|---|
| Adjustable wrench | 1 | Tighten and loosen nuts and bolts |
| Pipe tape | 1 roll | Seal connections to prevent leaks |
| Shower head | 1 | Provides water flow for showering |
| Shower arm | 1 | Connects the shower head to the water supply |
| Teflon tape | 1 roll | Seals threaded connections to prevent leaks |
Surface preparation involves cleaning the bathtub and removing any existing shower head. Once the surface is ready, the shower arm installation can begin. Remember to use a wrench to securely tighten the shower arm and apply pipe tape or Teflon tape to ensure a watertight seal. With the necessary materials and proper installation techniques, you can enjoy a refreshing shower in your bathtub.
Gathering Everything You’ll Need
Once you have all the necessary materials on hand, you can start gathering everything you’ll need to install the shower arm. Here’s what you’ll need:
- Adjustable wrench: This will be used to tighten the shower arm onto the water pipe.
- Teflon tape: Apply this tape to the threads of the shower arm to create a watertight seal.
- Pipe compound: This compound will also help create a secure connection between the shower arm and water pipe.
- Shower head: Choose a shower head that suits your preferences and bathroom decor. There are various options available, such as rain shower heads, handheld shower heads, and massaging shower heads.
Before you begin the installation process, make sure you have these items ready. It’s essential to have the right tools and materials to ensure a successful bathtub installation and to explore the various shower head options available.
Preparing the Bathtub Surface
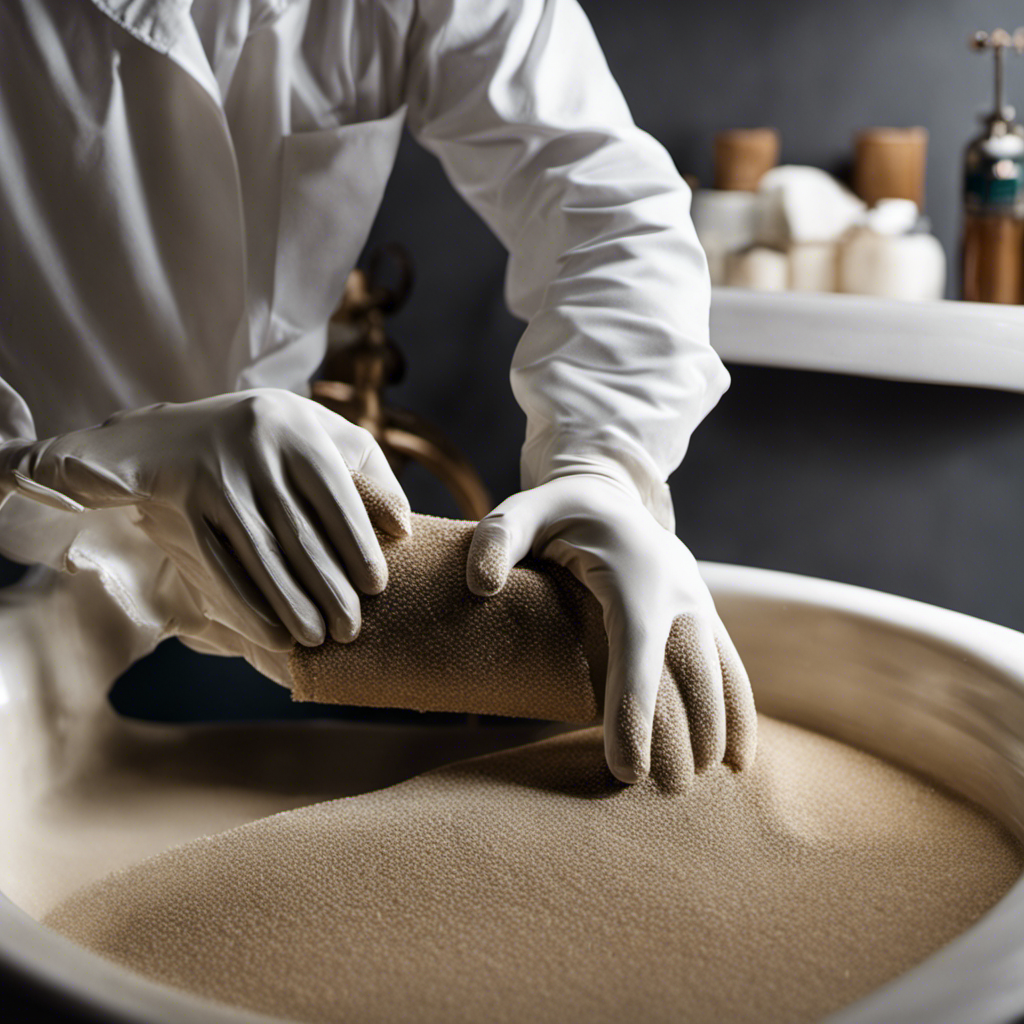
When preparing the bathtub surface, there are specific surface cleaning methods that should be followed.
Firstly, it’s important to gather the necessary materials and tools needed for this task. These include a mild detergent, a scrub brush, a sponge, and a clean cloth.
Surface Cleaning Methods
To effectively clean the surface of your bathtub, use a sponge and a mild bathroom cleaner. This will help remove dirt, grime, and soap scum that can accumulate over time.
Here are some deep cleaning techniques and natural cleaning solutions to consider:
-
Baking soda and vinegar: Mix equal parts of baking soda and vinegar to create a paste. Apply it to the surface of your bathtub and let it sit for a few minutes before scrubbing with a sponge. Rinse thoroughly.
-
Lemon juice: Squeeze fresh lemon juice onto the surface of your bathtub and let it sit for a few minutes. The acidity of the lemon juice helps dissolve stains and leaves a fresh scent. Scrub with a sponge and rinse well.
-
Hydrogen peroxide: Apply hydrogen peroxide to the surface of your bathtub and let it sit for a few minutes before scrubbing. This natural cleaner is effective at removing stubborn stains.
-
Castile soap: Mix a small amount of castile soap with warm water and use a sponge to clean the surface of your bathtub. This gentle soap is non-toxic and safe to use.
Necessary Materials/Tools Needed
Now that we have discussed surface cleaning methods, let’s move on to the necessary materials and tools needed for adding a shower head to a bathtub.
The first step in this process is assessing the water pressure in your bathroom. This is important because it will determine the type of shower head that is suitable for your needs. If you have low water pressure, you will want to choose a shower head that is specifically designed for low-pressure systems. On the other hand, if you have high water pressure, you may need a shower head that has adjustable settings to control the flow.
It is also important to consider the type of mounting bracket or arm that will be required to attach the shower head securely to the wall. Taking these factors into consideration will ensure that you choose the right shower head for your bathtub.
Installing the Shower Arm
First, you’ll need to screw the shower arm onto the threaded pipe in the wall. This step is crucial for installing the shower head properly. Here’s what you need to do:
-
Start by applying plumber’s tape to the threaded end of the shower arm. This helps create a watertight seal.
-
Align the shower arm with the threaded pipe, making sure it’s straight and level.
-
Begin turning the shower arm clockwise to secure it onto the pipe. Use a wrench to tighten it further, ensuring it’s firmly in place.
-
Check for any leaks by turning on the water supply. If you notice any leaks, tighten the shower arm further until they stop.
Attaching the Shower Head
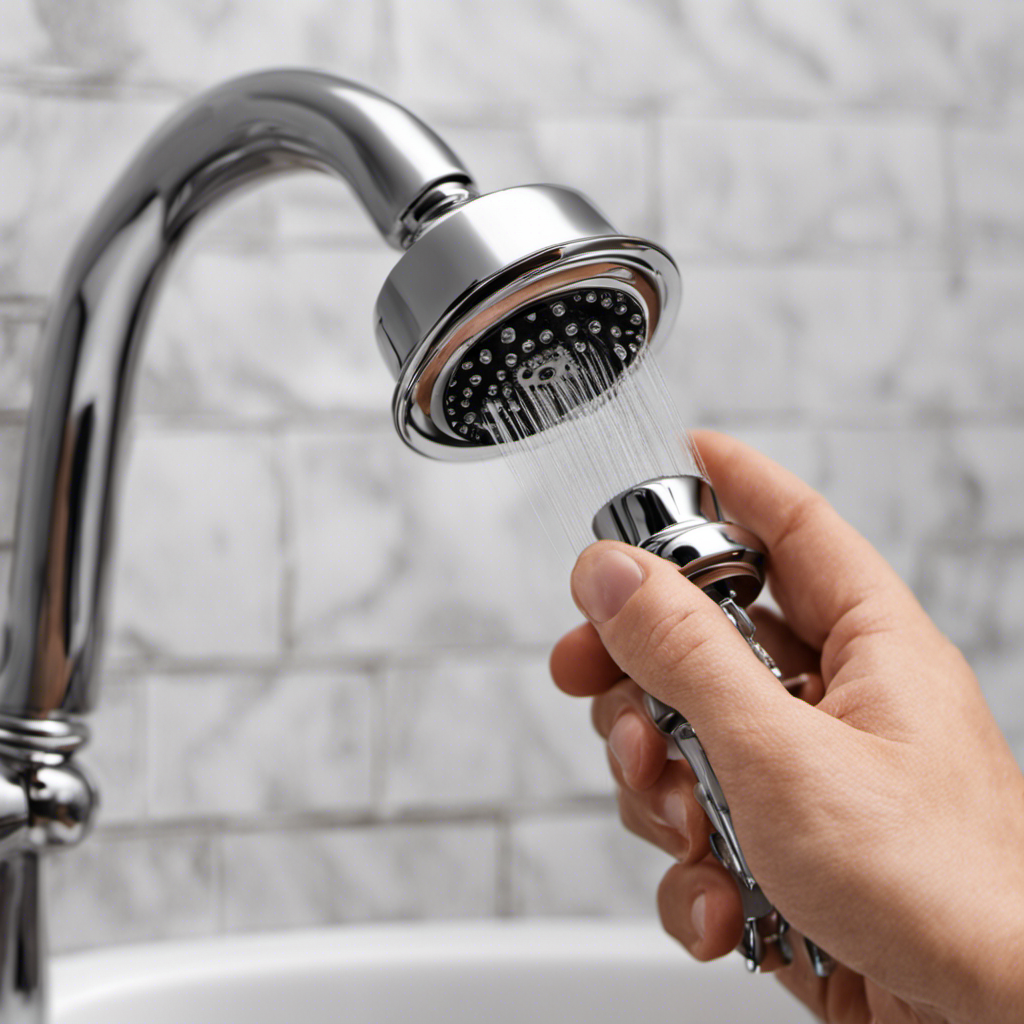
Align the shower head with the threaded end of the shower arm, ensuring it is straight and level.
Begin by wrapping plumber’s tape around the threads of the shower arm to create a watertight seal.
Next, screw the shower head onto the arm, turning it clockwise until it is snug.
Use a wrench to tighten it just a little bit more, being careful not to overtighten and risk damaging the threads.
Once the shower head is securely attached, you can adjust the angle and height to your preference.
To maintain your shower head, periodically remove it and soak it in a vinegar and water solution to remove any mineral deposits.
Now that the shower head is installed, it’s time to move on to testing for leaks and adjusting the water pressure.
Testing for Leaks and Adjusting Water Pressure
After attaching the shower head, it’s important to test for leaks and adjust the water pressure. This ensures that the installation is secure and functioning properly. Here are some steps to follow in order to maintain the water pressure and troubleshoot any leaks:
-
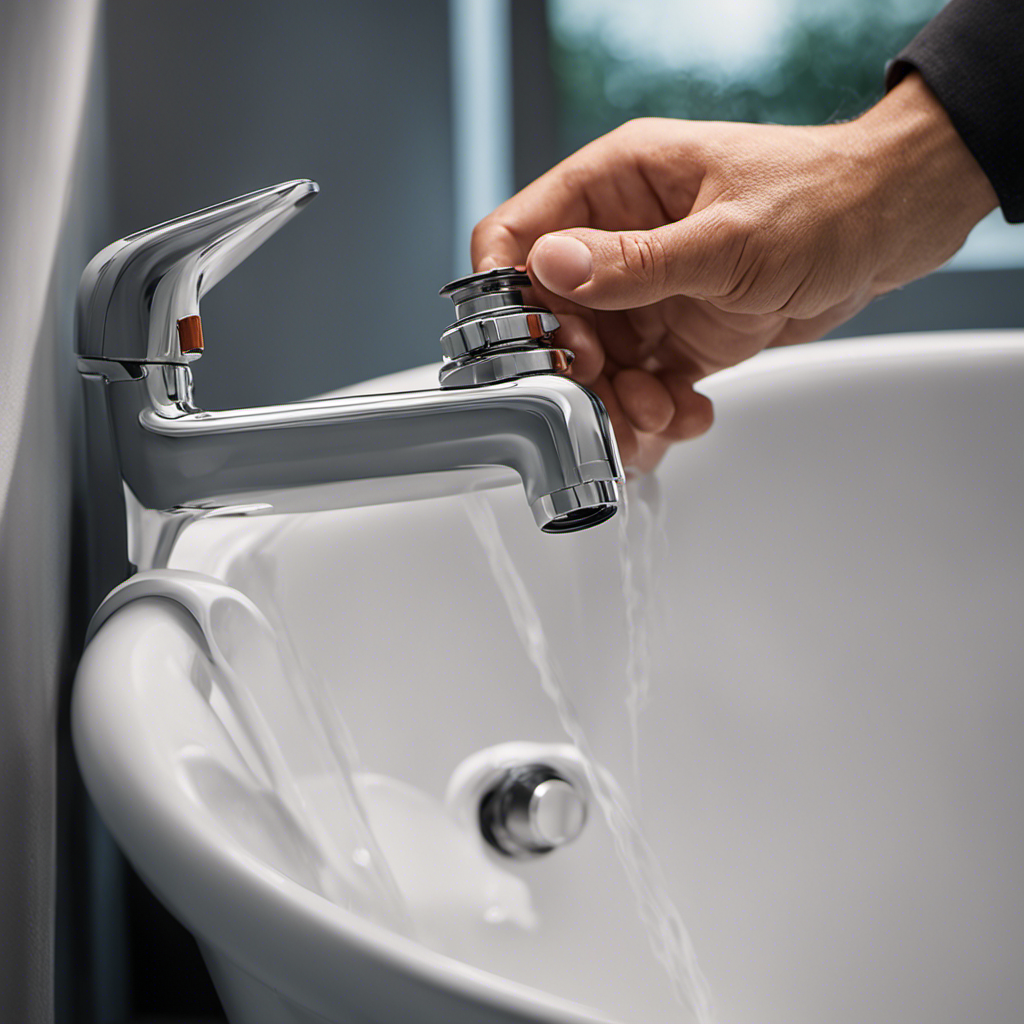
Check for leaks: Turn on the water and inspect the connections between the shower head and the water supply pipe. Look for any signs of water leakage such as dripping or spraying. If there are leaks, tighten the connections or replace the faulty parts.
-
Adjust the water pressure: If the water pressure is too low, you can increase it by adjusting the pressure regulator valve. Locate the valve and rotate it clockwise to increase the pressure. If the pressure is too high, turn the valve counterclockwise to decrease it.
-
Test the shower head: Ensure that the water is flowing smoothly and evenly from the shower head. If there are any blockages or uneven spray patterns, remove the shower head and clean it thoroughly.
-
Monitor for leaks: Once you have adjusted the water pressure, observe the connections and the shower head for any new leaks. If you notice any, repeat the steps above to fix them.
Enjoying Your New Shower Experience
To fully enjoy your new shower experience, make sure to adjust the water pressure and clean the shower head regularly. By doing so, you’ll ensure that you receive the maximum benefits from your shower head.
One popular option to consider is a rainfall shower head. This type of shower head provides a luxurious and soothing experience, mimicking the sensation of standing in the rain. The gentle flow of water from above can help relax your body and wash away stress.
Additionally, there are different types of shower heads available that allow for a customized experience. Some options include handheld shower heads, massaging shower heads, and dual shower heads. These choices allow you to tailor your shower experience to your preferences and needs, enhancing your overall enjoyment.
Conclusion
In conclusion, adding a shower head to your bathtub can be a simple and rewarding project.
By assessing your bathtub setup, gathering the necessary tools and materials, and preparing the bathtub surface, you can ensure a smooth installation process.
Installing the shower arm and attaching the shower head are the next steps in transforming your bathtub into a versatile shower space.
After completing the installation, it’s important to test for leaks and adjust the water pressure to ensure everything is working properly.
So go ahead and enjoy the convenience and relaxation of a new shower experience. It’s like opening a door to a world of refreshing possibilities.
