
I’ve got a tub that’s seen better days. The caulk is cracked and peeling, leaving a gap between the tub and the tile that’s begging for water damage.
But fear not, because I’m about to share with you the steps to apply bathtub caulk like a pro. From choosing the right caulk to smoothing it out for a seamless finish, I’ll guide you through the process of rejuvenating your tub.
Get ready to say goodbye to leaks and hello to a beautifully sealed bathtub.
Key Takeaways
- Consider the type of material and specific needs of your bathroom
- Silicone and acrylic latex are common caulk options
- Clean the surface and remove old caulk or residue
- Use a caulk gun for precision and a steady hand

ALLWAY CT31 3-in-1 Caulk Tool for Removal and Application
Multifunction 3-in-1 Caulk Tool: Comfortable soft-grip and made from strong engineering plastic
As an affiliate, we earn on qualifying purchases.
As an affiliate, we earn on qualifying purchases.
Choosing the Right Caulk
To choose the right caulk for your bathtub, you should consider factors such as the type of material you are working with and the specific needs of your bathroom.
When it comes to caulk types, silicone and acrylic latex are the most common options. Silicone caulk is known for its durability and flexibility, making it perfect for areas with frequent moisture exposure, like the bathroom.
On the other hand, acrylic latex caulk is easier to apply and clean up, making it a popular choice for DIY projects.
As for caulk color, it’s important to choose a shade that matches your bathtub or tiles to achieve a seamless look. White is a versatile option that works well with most bathroom designs, but there are also a variety of other colors available to suit your personal preference.

GE Advanced Silicone Caulk for Kitchen & Bathroom, White, 2.8 fl oz Tube, 1 Pack – 100% Waterproof Silicone Sealant, 5X Stronger Adhesion, Shrink & Crack Proof
100% Silicone Caulk Protection: This silicone caulk white provides ultimate waterproof protection, ensuring a reliable seal against water…
As an affiliate, we earn on qualifying purchases.
As an affiliate, we earn on qualifying purchases.
Preparing the Surface
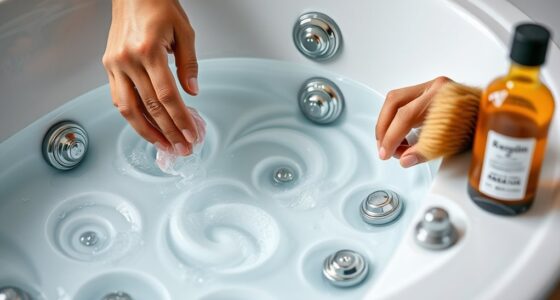
Before you start, make sure the surface is clean and free from any old caulk or residue. Cleaning the bathtub surface is crucial to ensure proper adhesion of the new caulk.
Start by removing any loose or peeling caulk using a caulk remover tool or a razor blade.
Next, use a mild detergent or a bathtub cleaner to scrub the surface thoroughly. Pay special attention to any areas with soap scum or mildew.
Rinse the surface with water and wipe it dry with a clean towel. It’s important to dry the surface properly to prevent moisture from interfering with the caulk’s effectiveness.
Allow the surface to air dry completely or use a hairdryer on a low heat setting to speed up the drying process.

Outus 2 Pieces Caulking Tool Set Silicone Sealant Grout Tool for Kitchen Bathroom Floor Sealant Sealing(Orange)
Material: this item includes 2 orange sealant tools in different shapes; They are made of flexible plastic with…
As an affiliate, we earn on qualifying purchases.
As an affiliate, we earn on qualifying purchases.
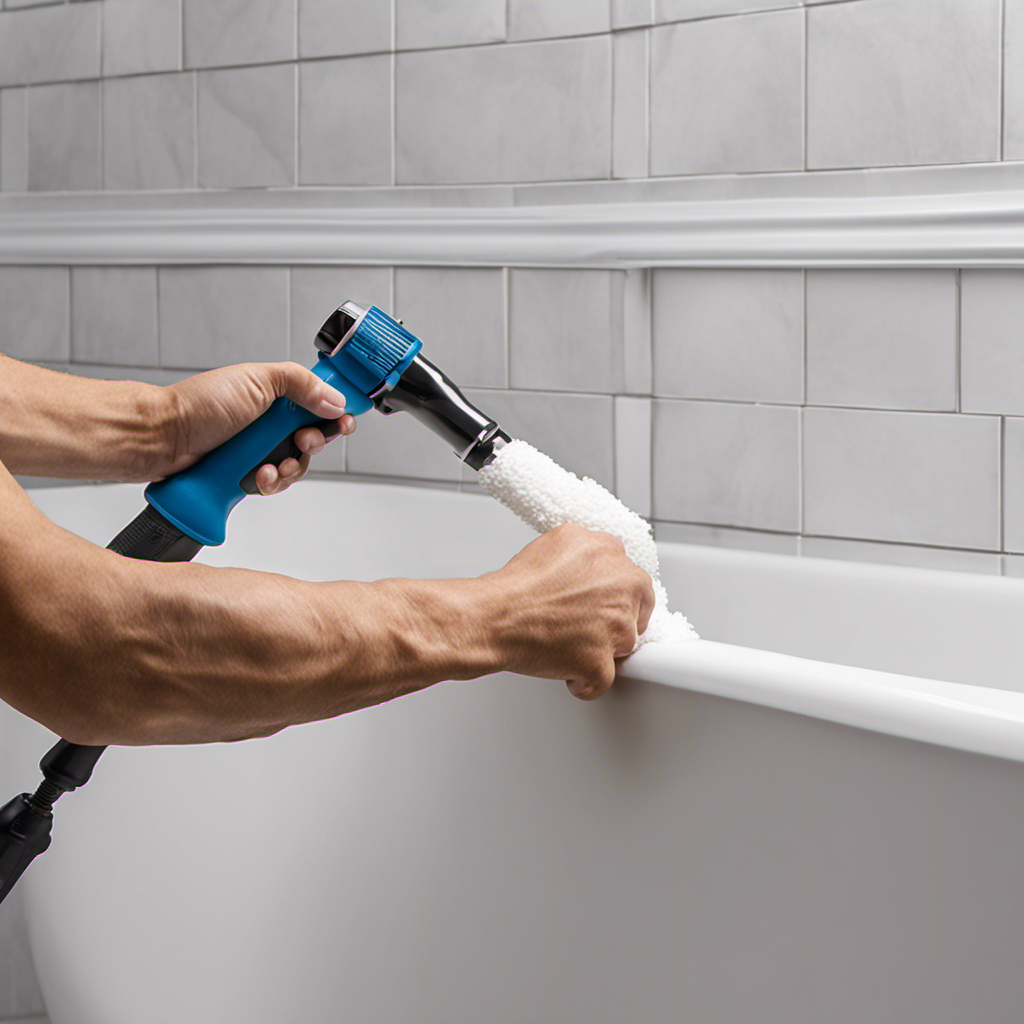
Removing Old Caulk
Start by using a caulk remover tool or a razor blade to remove any loose or peeling caulk. This step is crucial in preparing the surface for reapplication.
Caulk removal tools, such as a caulk remover tool or a razor blade, can effectively remove old caulk residue without damaging the surrounding surfaces. Carefully slide the caulk remover tool or razor blade along the caulk line, applying gentle pressure to scrape away any remaining caulk.
Be sure to remove all traces of old caulk, as any leftover residue can prevent the new caulk from adhering properly. Once you have removed all the old caulk, clean the area thoroughly with a mild detergent and water to ensure a clean and smooth surface for recaulking.

GE Advanced Silicone Caulk for Kitchen & Bathroom, Clear, 2.8 fl oz Tube, 1 Pack – 100% Waterproof Silicone Sealant, 5X Stronger Adhesion, Shrink & Crack Proof
100% Silicone Caulk Protection: This silicone caulk clear provides ultimate waterproof protection, ensuring a reliable seal against water…
As an affiliate, we earn on qualifying purchases.
As an affiliate, we earn on qualifying purchases.
Applying the Caulk
When it comes to applying caulk, it’s important to use the best technique to ensure a clean and professional-looking finish.
One of the key points to remember is to apply the caulk in a steady, continuous motion, using a caulk gun for precision.
It’s also crucial to avoid common caulking mistakes, such as applying too much caulk or not smoothing it out properly, which can result in a messy and ineffective seal.
Best Caulking Technique
To achieve the best caulk application, make sure you are using a caulk gun with a smooth, steady hand. When it comes to choosing the best caulk brands, I highly recommend looking for ones that are specifically designed for bathroom use and are mold and mildew resistant. These brands typically have a longer lifespan and provide better adhesion to surfaces.
Now, let’s talk about some caulking tips and tricks that will help you achieve a professional-looking finish. Before applying the caulk, make sure to clean the area thoroughly and remove any old caulk or debris. Use masking tape to create clean, straight lines. Apply the caulk in a continuous motion, keeping the gun at a 45-degree angle. Smooth the caulk with a caulk smoothing tool or your finger dipped in water. Finally, remove the masking tape immediately after smoothing the caulk to create a clean edge.
Follow these tips and tricks, and you’ll have a perfectly caulked bathtub in no time!
Common Caulking Mistakes
One common mistake people make when caulking is not properly cleaning the area beforehand, which can result in poor adhesion and an uneven finish. To avoid water damage and troubleshoot common caulk problems, it is crucial to ensure a clean surface.
Here are some key steps to follow:
- Start by removing any old caulk or residue using a caulk remover tool or scraper.
- Thoroughly clean the area with a mild detergent and water solution, making sure to remove any dirt, grime, or soap scum.
- Use a scrub brush or sponge to scrub the surface and rinse it well.
- Dry the area completely before applying the caulk.
By meticulously cleaning the area beforehand, you will enhance the caulk’s ability to adhere properly, preventing water damage and achieving a seamless finish.
Now, let’s move on to the next step: smoothing the caulk.
Smoothing the Caulk
When it comes to achieving a professional-looking finish on caulk, proper tool selection is crucial. Using the right tool not only ensures precision but also helps in achieving a smooth and even application.
Additionally, mastering the technique for evenness is equally important. By applying consistent pressure and using steady strokes, you can achieve a seamless finish that will enhance the overall appearance of your caulked surface.
Proper Tool Selection
Make sure you’ve got the right tools for the job, like a caulk gun and a scraper. Having the proper tools is essential for a successful caulk application or removal.
Here are the tools you’ll need:
-
Caulk gun: This tool allows for precise and controlled application of caulk. It ensures a smooth, even bead along the edges of your bathtub.
-
Scraper: A scraper is crucial for removing old, cracked caulk. It helps to loosen and lift the caulk from the surface, making it easier to clean and prepare for reapplication.
When applying caulk, imagine the smooth, clean lines that will seal your bathtub and prevent water damage. When removing caulk, visualize the old, worn-out caulk being scraped away, leaving a clean and fresh surface.
With the right tools, your caulk application or removal will be a breeze.
Technique for Evenness
Now that we have selected the proper tools for applying bathtub caulk, let’s discuss the technique for achieving evenness in your caulk application. This step is crucial to ensure a smooth finish and a professional-looking result.
To start, it’s important to apply even pressure on the caulk gun trigger as you move along the joint. This will ensure a consistent flow of caulk and prevent any gaps or inconsistencies. Hold the caulk gun at a slight angle, approximately 45 degrees, and steadily squeeze the trigger as you move along the joint.
As you apply the caulk, use a smooth and continuous motion. Avoid stopping and starting, as this can create uneven lines and visible gaps. The goal is to create a seamless and uniform line of caulk that blends seamlessly with the bathtub and surrounding tiles.
Allowing the Caulk to Cure
Once you’ve finished applying the caulk, you should let it cure for at least 24 hours. This drying time is crucial for the caulk to properly set and create a watertight seal in your bathtub. During this curing period, it’s important to avoid any contact or disturbance to the caulk.
Here’s what you can expect during the drying process:
- The caulk will gradually change from a wet and pliable consistency to a firm and solid state.
- As the caulk dries, it will shrink slightly, ensuring a tight bond with the surfaces it’s applied to.
This curing process is essential for the longevity and effectiveness of the caulk. Once the caulk is fully cured, you can move on to the next step of cleaning and maintaining it to ensure its durability and appearance.
Cleaning and Maintaining the Caulk
To keep the caulk in good condition, you should regularly clean and maintain it using a mild soap and water solution.
Cleaning the caulk is essential to prevent discoloration and maintain its effectiveness in preventing water damage. Start by wiping down the caulk with a damp cloth to remove any surface dirt or grime.
Then, mix a solution of mild soap and water and apply it to the caulk using a soft brush or sponge. Gently scrub the caulk, focusing on any areas that may be discolored or stained. Rinse thoroughly with clean water and pat dry.
Regularly cleaning and maintaining the caulk will help prolong its lifespan and ensure its effectiveness in keeping water out and preventing any potential damage.
Conclusion
After following these steps, your bathtub will be sealed with caulk as secure as a fortress.
The chosen caulk, carefully applied and smoothed, will provide a watertight barrier that will withstand the test of time.
Remember to allow the caulk to cure and maintain its cleanliness for a pristine finish that will leave you feeling like you’re bathing in a luxurious spa.
With these expert techniques, you can confidently tackle any caulking project and enjoy a beautifully sealed bathtub for years to come.