Did you know that a faulty bathtub drain assembly can lead to leaks and water damage?
Well, fear not! In this article, I will guide you through the step-by-step process of replacing your bathtub drain assembly.
With just a few tools and materials, you’ll be able to tackle this DIY project with confidence.
So, let’s get started and ensure that your bathtub is leak-free and functioning properly in no time.
Key Takeaways
- The bathtub drain assembly consists of several components, including the drain flange, strainer, stopper, overflow plate, and linkage.
- When replacing the bathtub drain assembly, it is important to gather the necessary tools and materials, such as an adjustable wrench, screwdriver, plunger, pipe wrench, plumber’s putty, new drain assembly, plumber’s tape, silicone caulk, and cleaning solution.
- To remove the old bathtub drain assembly, the drain cover needs to be removed using a screwdriver or pliers, and the drain body should be unscrewed counterclockwise. If the drain is stuck, a drain removal tool or pliers may be needed.
- When installing the new bathtub drain assembly, it is essential to clean the drain hole, apply plumber’s putty around the flange, and securely tighten the new drain assembly. Regular cleaning and maintenance of the new drain assembly are also important to prevent issues in the future.
LANMU Crevice Tool Vacuum Attachments Compatible with Dyson V15 V12 V11 V10 V9 V8 V7 Gen5 Outsize Vacuum Cleaner, Narrow Nozzel Replacement Parts for Hard-to-Reach Space
Wide Compatibility: This crevice tool attachment is compatible with V15 V12 V11 V10 V9 V8 V7 Gen5 G5...
As an affiliate, we earn on qualifying purchases.
Understanding the Bathtub Drain Assembly
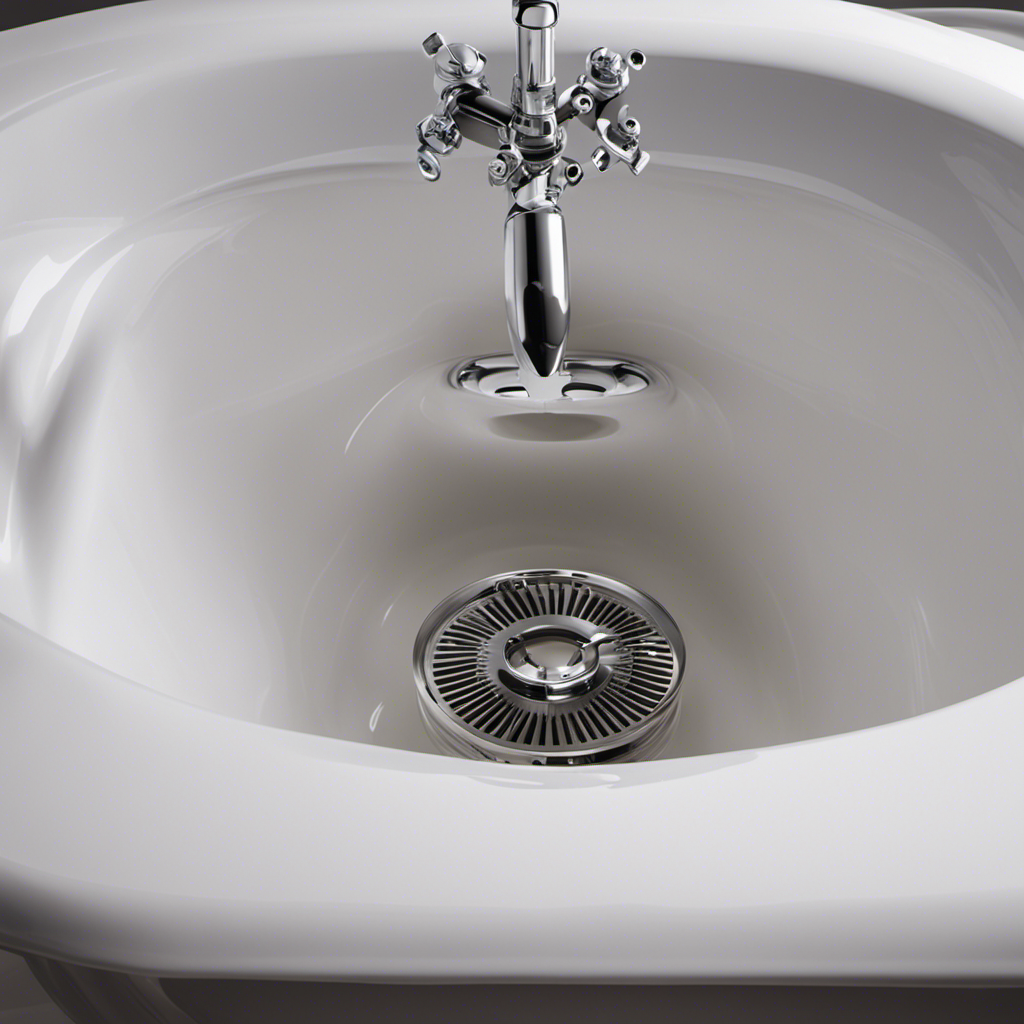
To understand the bathtub drain assembly, you’ll need to know the different components involved. There are various types of bathtub drains, but they all consist of similar elements.
The main components include the drain flange, strainer, stopper, overflow plate, and linkage. The drain flange is the visible part of the drain that is attached to the tub. It connects to the strainer, which catches debris to prevent clogs.
The stopper is used to block the drain and hold water in the tub. The overflow plate allows excess water to drain out. Common bathtub drain problems include clogs, leaks, and broken stoppers.
Understanding these components is essential when it comes to replacing or repairing the bathtub drain assembly.

JORAIR Brush Replacement Compatible with Bissell CrossWave, 3 Multi-Surface Brush Roll 1868 + 3 Vacuum Filter 1866 Vacuum Filter, Compare to Part 1608683, 160-8683, 1608684
【Compatibility】The filter and brush replacement compatible with Bissell CrossWave 1785G,1785B,1785F,2328,2305,2305K,1785,17853,17854,17855,17856,1785Q,1785A,17852,17858,17859,1785P,1785R,1785T,1785V,1785W,2303,2306A,2306,23062,23068,2551,3888A (Please note:this kit is only compatible with Bissell...
As an affiliate, we earn on qualifying purchases.
Gathering the Necessary Tools and Materials
Start by gathering all the tools and materials you’ll need for the project. This is an essential step to ensure a successful bathtub drain assembly replacement. Here are some tips to help you choose the right bathtub drain assembly and make the process easier:
-
Tools:
-
Adjustable wrench
-
Screwdriver
-
Plunger
-
Pipe wrench
-
Plumber’s putty
-
Materials:
-
New bathtub drain assembly
-
Plumber’s tape
-
Silicone caulk
-
Cleaning solution
Choosing the right bathtub drain assembly is crucial. Make sure to measure the diameter of your current drain to select a compatible replacement. Additionally, consider the type of drain assembly you prefer, such as a pop-up or a lift-and-turn drain. Lastly, follow these tips for a successful replacement:
- Turn off the water supply before starting the project.
- Clean the area around the drain thoroughly.
- Apply plumber’s tape to the threads of the new drain assembly.
- Use plumber’s putty or silicone caulk to create a watertight seal.

4 Pack Washable Filter For Roborock Q5 Pro/Pro+(Plus)/ Max+(Plus)/ DuoRoller+, Q7/ Q7+, Q7 Max/Max+, Q8 Max/Max+ Robot Vacuum Cleaner Accessories Replacement Part True HEPA Filter For Robotic
Compatible Models: The True HEPA washable filter replacement parts are compatible with Roborock Q7, Q7+(Plus), Q7 Max, Q7...
As an affiliate, we earn on qualifying purchases.
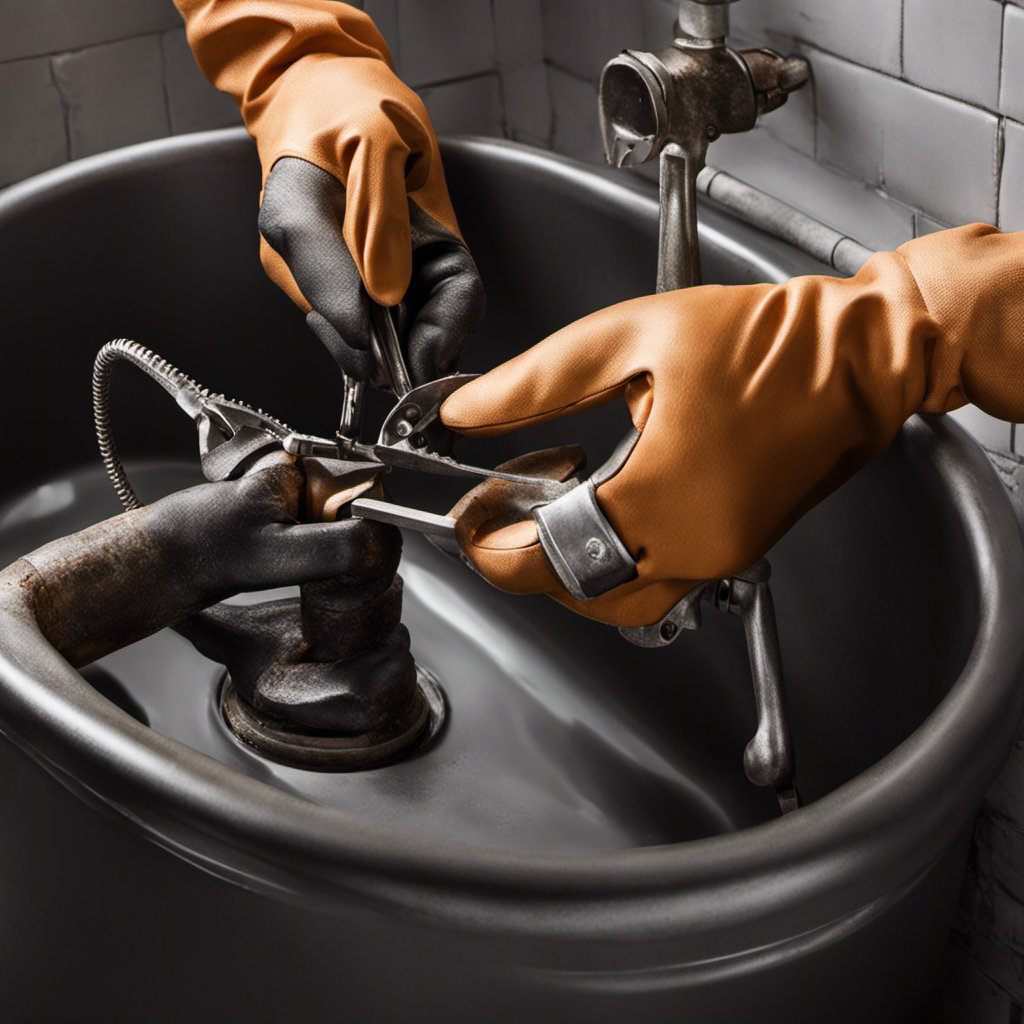
Removing the Old Bathtub Drain Assembly
Once you’ve gathered all the necessary tools and materials, it’s time to remove the old bathtub drain assembly. This step is crucial in the process of replacing the drain assembly.
There are common challenges that you may encounter during this task, but with the right knowledge and guidance, it can be done smoothly. Here is a step-by-step guide for removing the bathtub drain assembly:
- Start by removing the drain cover using a screwdriver or pliers.
- Locate the drain body underneath and unscrew it counterclockwise.
- If the drain is stuck, you can use a drain removal tool or a pair of pliers to loosen it.
- Once the drain body is removed, inspect the drain flange for any damage or corrosion.
- Finally, clean the area around the drain hole to prepare for the installation of the new drain assembly.
Amazon Product B0DR38NW5J
As an affiliate, we earn on qualifying purchases.
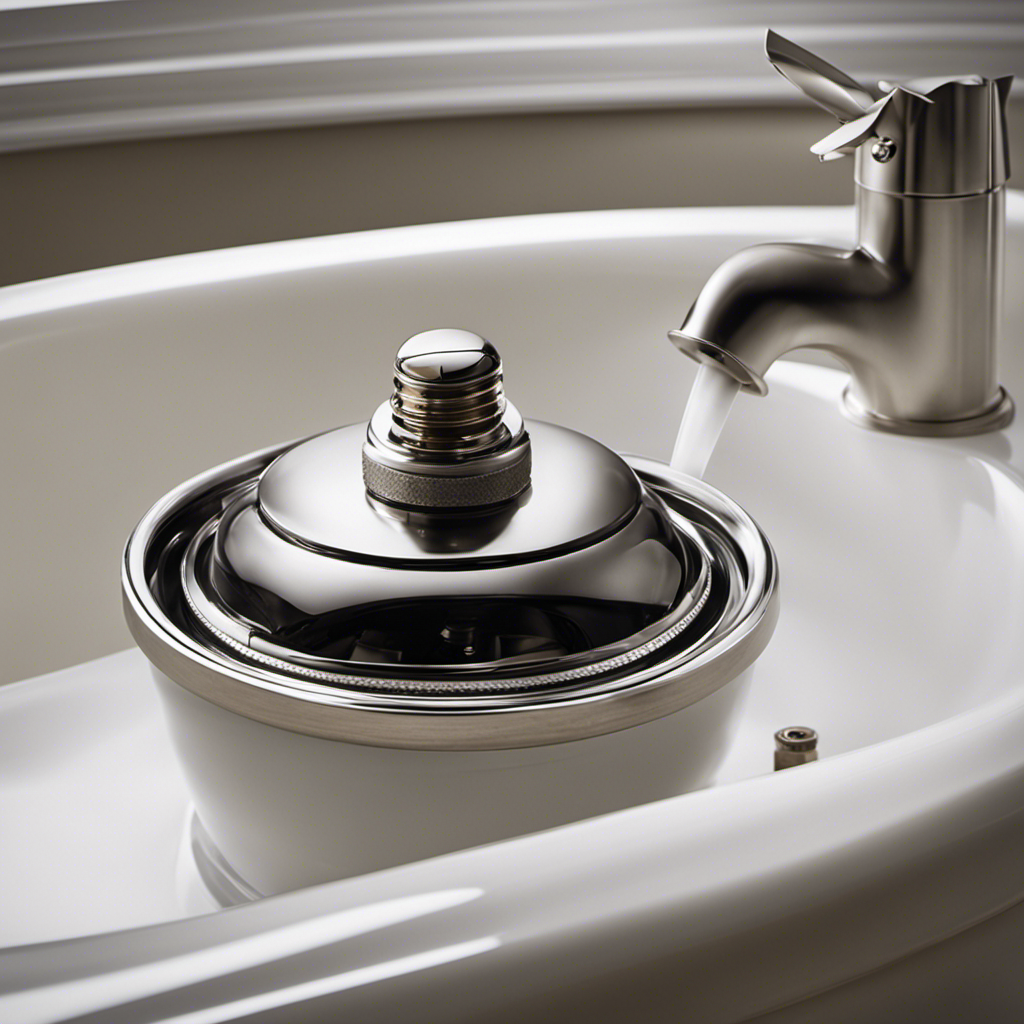
Installing the New Bathtub Drain Assembly
After removing the old drain assembly, it’s time to install the new one. Begin by cleaning the drain hole and applying plumber’s putty around the flange. Insert the new drain assembly into the hole and tighten it securely.
Here are some troubleshooting tips for common issues during bathtub drain assembly installation:
- If the drain leaks, check if the rubber gasket is properly seated and tightened.
- If the drain is slow, ensure that there are no clogs in the pipes and the drain is properly aligned.
- If the drain is not sealing, adjust the position of the drain assembly and tighten it further.
To maintain the new bathtub drain assembly for longevity, follow these tips:
- Clean the drain regularly to prevent buildup and clogs.
- Avoid using harsh chemicals that can damage the assembly.
- Inspect the drain periodically for any signs of wear or damage and repair or replace as necessary.
Testing and Finishing the Replacement Process
To ensure everything is working properly, test the new installation by running water through the drain and checking for any leaks or issues. This step is crucial to avoid common mistakes during bathtub drain assembly replacement and to prevent leaks in the new bathtub drain assembly. Here are some tips to help you with this process:
-
Make sure all connections are tight: Check that the drain flange is securely attached to the bathtub and that the drain pipe is properly connected.
-
Inspect the seal: The rubber gasket or plumber’s putty used to create a watertight seal should be in good condition and properly installed.
-
Test for leaks: Fill the bathtub with water and let it drain completely. Look for any signs of leakage around the drain area.
-
Repeat the process: If you notice any leaks or issues, disassemble the drain assembly and recheck all connections and seals before testing again.
By following these tips and thoroughly testing the new bathtub drain assembly, you can ensure a successful replacement process and prevent any future leaks or problems.
| Common Mistakes | Tips for Prevention |
|---|---|
| Loose connections | Tighten all connections properly |
| Damaged gasket or putty | Use a new, high-quality gasket or putty |
| Inadequate testing | Fill the bathtub with water and thoroughly check for leaks |
| Neglecting to recheck after adjustments | Double-check all connections and seals after making any adjustments |
Conclusion
In conclusion, replacing a bathtub drain assembly is a straightforward process that can be done with the right tools and materials. By understanding the components of the assembly and following the steps outlined in this article, you can successfully remove the old drain assembly and install a new one.
It is important to test the new assembly to ensure proper functioning before finishing the replacement process. With a little knowledge and some patience, you can easily tackle this home improvement project.