I’ve always wanted to transform my bathtub into a luxurious shower oasis, and I finally decided to take matters into my own hands. In this step-by-step guide, I’ll show you how to install a shower head in your bathtub.
With just a few tools and materials, you’ll be able to enjoy the convenience and relaxation of a shower in no time. So, let’s dive in and get started on this exciting home improvement project!
Key Takeaways
- Choose a shower head that suits your preferences and needs, considering factors like water pressure, spray patterns, and style.
- Regularly clean and maintain the shower head to remove mineral deposits and debris.
- Use the necessary tools like wrench, pliers, and Teflon tape for installation.
- Address leaks or drips promptly and troubleshoot them by checking the tightness of the shower head and applying plumber’s tape if necessary.

KERDE Electric Bidet Toilet Seat,Bidets For Existing Toilets,Rlongated,One-click Intelligent Operation, Warm Water Cleaning,Slow Close,Seat Cushion Keep Constant Temperature In Winter (Armrest)
𝐋𝐮𝐱𝐮𝐫𝐲 𝐅𝐞𝐚𝐭𝐮𝐫𝐞𝐬 - The smart toilet seat cover offers cold water heating, warm water cleansing, seat heating, warm...
As an affiliate, we earn on qualifying purchases.
Gathering the Necessary Tools and Materials
Before you can start installing the shower head in your bathtub, you’ll need to gather a few tools and materials. First, ensure you have a wrench, pliers, and Teflon tape. These will help you with the installation process.
Next, choose the right shower head for your needs. Consider factors like water pressure, spray patterns, and style. Look for a shower head that is easy to clean and maintain. Proper maintenance of shower heads is essential to ensure optimal performance.
Regularly clean the shower head to remove any mineral deposits or debris that may affect water flow. Additionally, check for any leaks or drips and address them promptly.

SmartBidet® SB-1000 Smart Bidet Electric Bidet Toilet Seat with Heated Seat, Warm Water, Air Dryer – Remote Control, Elongated
SMART & EASY: Upgrade now to a hands-free wash with our Smart Bidet toilet seat. Our Smart Bidet...
As an affiliate, we earn on qualifying purchases.
Removing the Existing Shower Head
To begin, simply unscrew the current shower head from its connection point. This step is essential in preparing for the installation of a new shower head.
Here are some common problems you may encounter during the removal process:
- Stuck shower head: If the shower head is difficult to unscrew, try using a pair of pliers or a wrench to provide additional leverage.
- Mineral buildup: Over time, mineral deposits can accumulate and cause the shower head to become clogged. Soaking the shower head in vinegar can help dissolve the buildup and make it easier to remove.
- Rusty connections: If the shower head is rusty, applying a lubricant like WD-40 can help loosen the connections.
When choosing a new shower head, consider the following tips:
- Water pressure: Determine your desired water pressure before selecting a shower head. Different models offer different pressure levels.
- Spray pattern: Decide on the type of spray pattern you prefer, such as rainfall, massage, or mist.
- Material: Look for a shower head made of durable materials like stainless steel or brass for longevity.
- Installation method: Consider whether you want a fixed or handheld shower head, as well as the ease of installation.

Bio Bidet BB2000 Bliss Electric Bidet Toilet Seat, Warm Water with Air Dryer, Heated Seat with Sensor and Slow Close Lid, Night Light, Remote Control, Elongated, White
LUXURY SPA COMFORT AT HOME - Indulge in a heated seat, warm water wash, soothing night light, and...
As an affiliate, we earn on qualifying purchases.
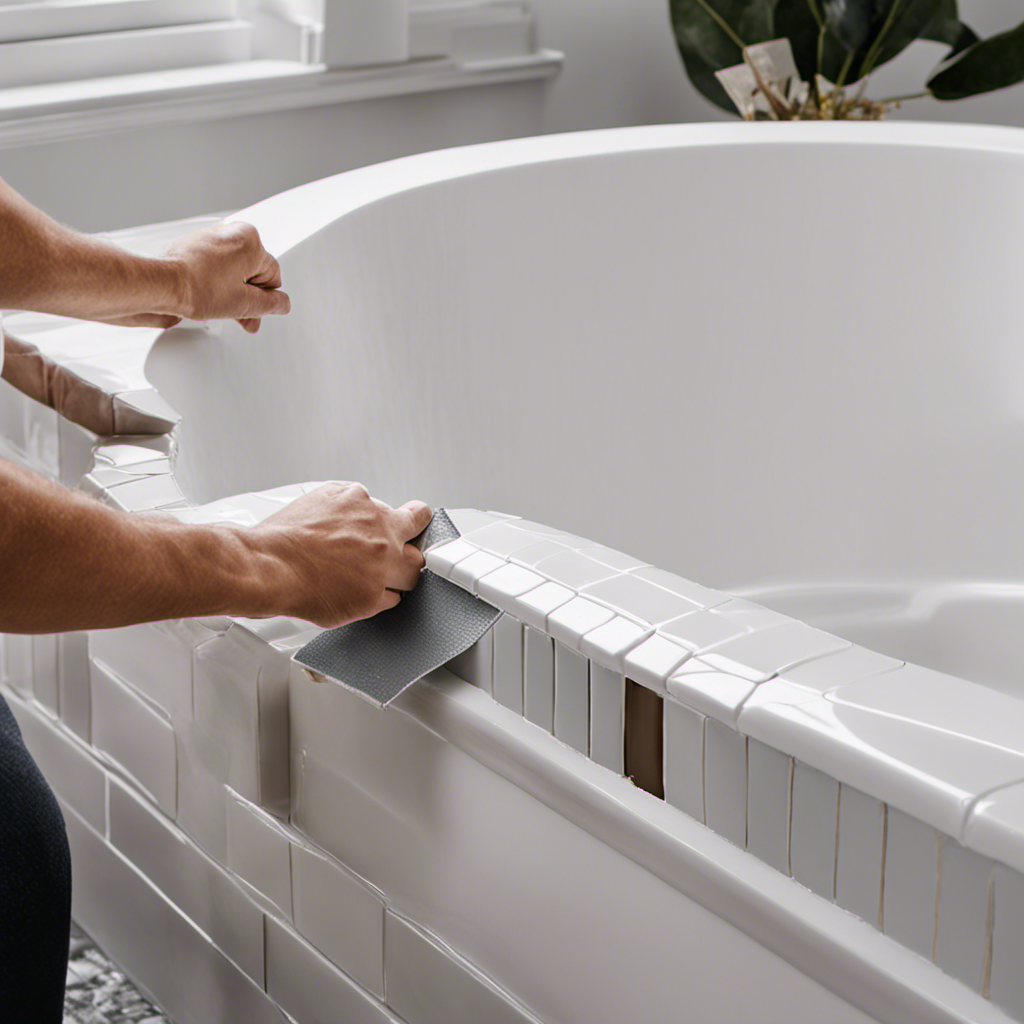
Preparing the Bathtub for Installation
Before beginning the installation process, make sure the area around the bathtub is clean and free of any debris. Start by cleaning the bathtub surface with a mild cleaner and a sponge. This will ensure that the surface is free from any dirt or grime that may interfere with the installation.
Once the surface is clean, check the water pressure in your bathroom. If the water pressure is too high, you may need to adjust it to prevent any damage to the new shower head. You can do this by adjusting the water pressure valve located near the main water supply.
Once the area is clean and the water pressure is adjusted, you are ready to move on to installing the new shower head.
Now, let’s move on to installing the new shower head.

Round Bidet Toilet Seat, Smart Heated Toilet Seat with Warm Water and Dryer, Soft Close Bidet Seat with Adjustable Temperature, Stainless Steel Nozzle
Measuring Before Ordering:Please measure and confirm clearly that [ROUND] toilet seat match your toilet or not. The distance...
As an affiliate, we earn on qualifying purchases.
Installing the New Shower Head
Now that the area is clean and the water pressure is adjusted, it’s time to start putting in the new shower head. Here’s a step-by-step guide on how to install it properly:
-
Remove the old shower head by twisting it counterclockwise.
-
Clean the threads of the shower arm using a brush and some vinegar to remove any debris or residue.
-
Apply plumber’s tape to the threads of the shower arm to ensure a tight seal.
-
Carefully screw on the new shower head, making sure it is positioned straight and secure.
-
Hand tighten the shower head until it is snug, then use a wrench to give it an extra quarter turn.
With the new shower head installed, it’s time to move on to testing and troubleshooting any potential issues.
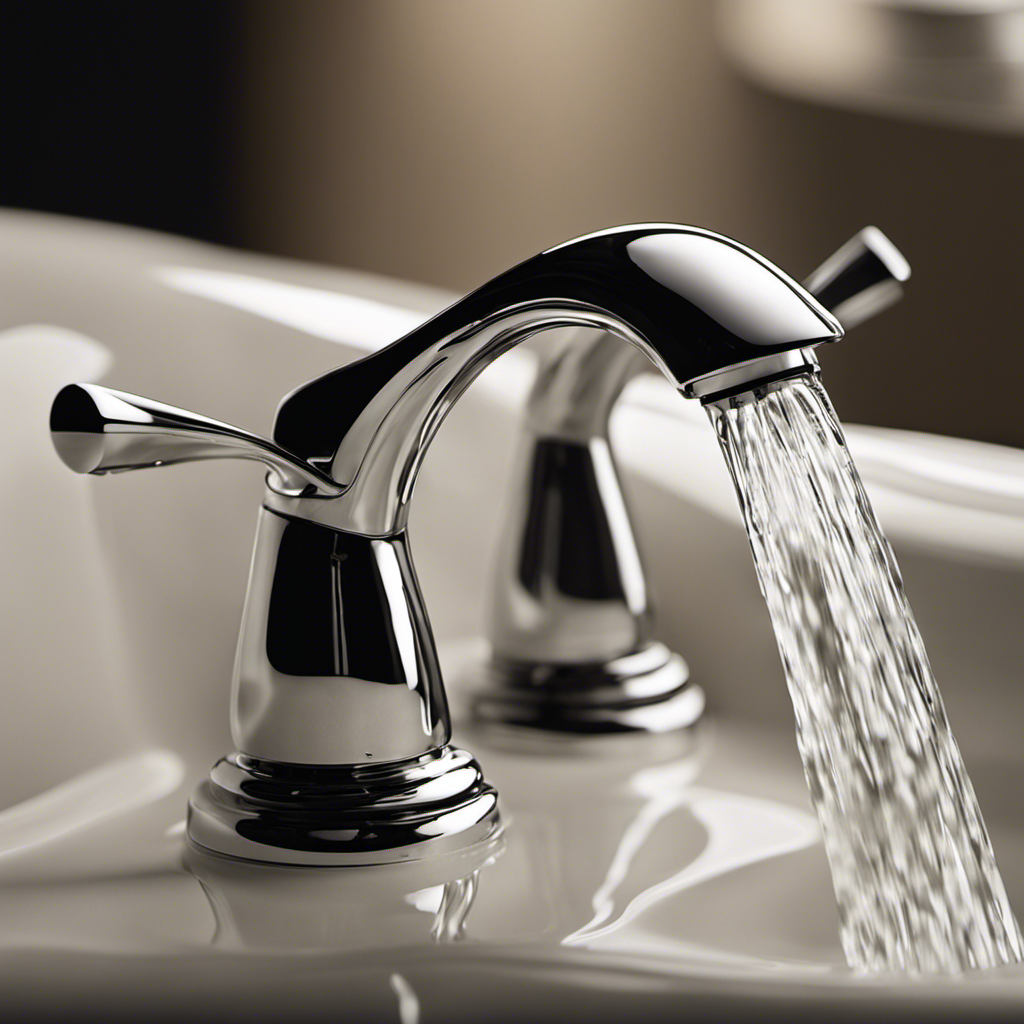
Testing and Troubleshooting the Shower Head Installation
After securing the new shower head, you can turn on the water to test for any leaks or issues. This step is crucial to ensure the installation was done correctly. If you notice any leaks, don’t panic. Troubleshooting leaks is a common part of the installation process. Start by checking if the shower head is tightly screwed onto the shower arm. If it’s loose, use a wrench to tighten it. If the leaks persist, you might need to replace the rubber gasket inside the shower head or apply plumber’s tape to the threads. Another important aspect to consider is adjusting the water pressure. If the water is flowing too weakly or too strongly, you can adjust it by turning the water pressure regulator clockwise or counterclockwise. Use the table below to troubleshoot any leaks or water pressure issues you may encounter during the testing process.
| Issue | Solution |
|---|---|
| Leaks | – Check if the shower head is tightly screwed onto the shower arm. – Replace the rubber gasket inside the shower head if necessary. – Apply plumber’s tape to the threads. |
| Water Pressure | – Adjust the water pressure regulator clockwise to increase pressure. – Adjust the water pressure regulator counterclockwise to decrease pressure. |
Conclusion
Well, congratulations! You’ve successfully installed a shower head in your bathtub.
Now, you can enjoy the thrill of standing under a nice, warm stream of water instead of taking a relaxing bath.
Who needs all that relaxation anyway? It’s much more exciting to rush through a quick shower and feel the water pelting against your skin.
So, go ahead and revel in the joy of your new shower head while the bathtub sits there, lonely and unused.