Ever dreamed of having a luxurious bathtub that you built with your own two hands? Well, now you can make that dream a reality!
In this article, I’ll guide you through the step-by-step process of constructing your very own bathtub. From planning and designing to installing the plumbing, I’ll provide you with all the knowledge and practical tips you need to create a masterpiece.
So, roll up your sleeves and get ready to dive into this exciting DIY project!
Key Takeaways
- Choose appropriate materials and size for your bathtub based on available space and number of occupants.
- Ensure proper plumbing infrastructure and installation to prevent leaks and ensure efficient water flow.
- Insulate the bathtub and apply a waterproof sealant to prevent water leakage.
- Regularly clean and maintain the bathtub to ensure longevity and avoid damages.
DIY bathtub kit
As an affiliate, we earn on qualifying purchases.
As an affiliate, we earn on qualifying purchases.
Required Materials and Tools
You’ll need a few essential materials and tools to build your own bathtub.
When considering the cost, keep in mind that building a bathtub can be more cost-effective compared to buying a pre-made one.
One alternative option is to use a galvanized metal stock tank, which is durable and easy to install.
Another option is a wooden bathtub, which can be constructed using waterproof materials such as cedar or teak.
For the tools, you’ll need a measuring tape, a saw, a drill, a sander, and a waterproof sealant.
These tools will help you ensure precise measurements, cut the materials to the desired shape, and secure the bathtub for long-lasting use.
Now that you have your materials and tools, let’s move on to the next step of planning and designing your bathtub.

GE Advanced Silicone Caulk for Kitchen & Bathroom, Clear, 2.8 fl oz Tube, 1 Pack – 100% Waterproof Silicone Sealant, 5X Stronger Adhesion, Shrink & Crack Proof
100% Silicone Caulk Protection: This silicone caulk clear provides ultimate waterproof protection, ensuring a reliable seal against water…
As an affiliate, we earn on qualifying purchases.
As an affiliate, we earn on qualifying purchases.
Planning and Designing Your Bathtub
When planning and designing your bathtub, it’s important to consider the dimensions and layout of your bathroom. Here are some important factors to keep in mind:
-
Bathtub size considerations:
Measure the available space in your bathroom to determine the appropriate size for your bathtub. Consider factors such as the number of occupants, comfort, and functionality. -
Choosing the right bathtub materials:
Selecting the right materials is crucial for the durability and longevity of your bathtub. Consider materials such as acrylic, fiberglass, cast iron, or porcelain enamel, based on your preferences and budget. -
Plumbing requirements:
Ensure that your bathroom has the necessary plumbing infrastructure to accommodate your bathtub. Consider the location of existing pipes and drains to ensure proper installation. -
Accessibility and safety:
If you have mobility issues or plan to age in place, consider factors such as grab bars, non-slip surfaces, and a low threshold for easy access and safety.
Considering these factors will help you make informed decisions when planning and designing your bathtub. Now, let’s move on to the next step, which is constructing the bathtub frame.
galvanized metal stock tank bathtub
As an affiliate, we earn on qualifying purchases.
As an affiliate, we earn on qualifying purchases.
Constructing the Bathtub Frame
To construct the bathtub frame, start by measuring and cutting the wooden boards according to the dimensions of your bathtub. Once you have all the necessary pieces, it’s time to assemble the frame.
Begin by attaching the side and end boards together using screws or nails. Ensure that the corners are square and the frame is sturdy. Next, you can add additional support by installing cross beams along the length of the frame. This will help distribute the weight evenly and prevent any sagging.
Now, let’s talk about bathtub insulation and waterproofing methods. It’s essential to insulate the bathtub to maintain water temperature and prevent heat loss. Consider using insulation foam or waterproof insulation boards.
For waterproofing, you can apply a waterproof membrane or sealant to the inside of the frame to prevent any water leakage. It’s important to follow the manufacturer’s instructions for the best results.
wooden bathtub construction kit
As an affiliate, we earn on qualifying purchases.
As an affiliate, we earn on qualifying purchases.
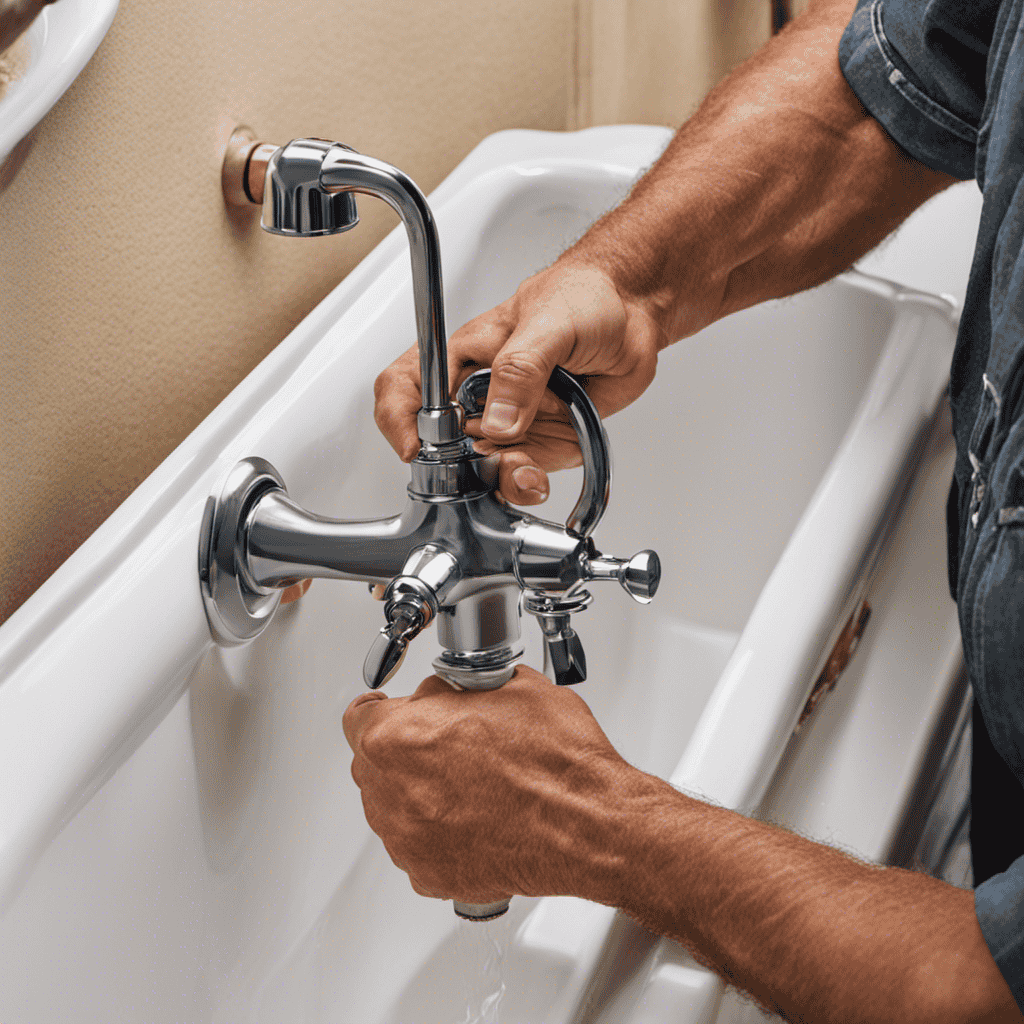
Installing the Plumbing and Drainage System
For proper installation of the plumbing and drainage system, it’s important to ensure that the pipes are securely connected and free from any leaks. Here are some key points to consider when installing your plumbing and drainage system:
-
Troubleshooting common plumbing issues: Be prepared for potential problems such as clogged drains or leaky pipes. Have the necessary tools and knowledge to address these issues promptly.
-
Choosing the right materials for plumbing and drainage system: Use high-quality pipes and fittings that are suitable for the specific needs of your bathtub. Consider factors such as durability, resistance to corrosion, and compatibility with your chosen fixtures.
-
Properly aligning and connecting the pipes: Ensure that the pipes are aligned correctly and securely connected using appropriate fittings and sealants. This will prevent leaks and ensure efficient water flow.
-
Testing for leaks: After installation, thoroughly test the system for any leaks. This can be done by running water through the pipes and checking for any signs of water leakage.
By following these guidelines, you can ensure a reliable and efficient plumbing and drainage system for your bathtub.
Now, let’s move on to the next section to discuss the finishing touches and maintenance tips for your DIY bathtub.
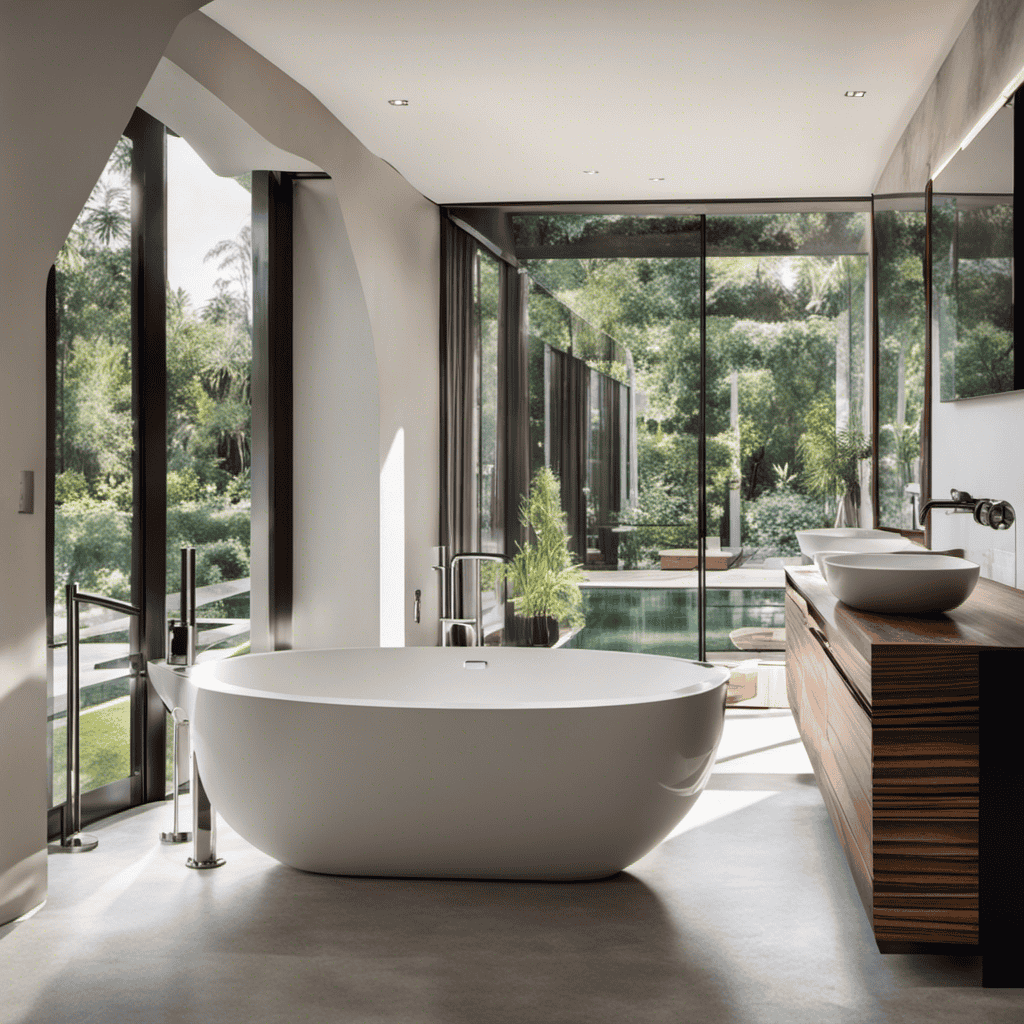
Finishing Touches and Maintenance Tips
Now that you’ve completed the installation of the plumbing and drainage system, it’s time to focus on the finishing touches and maintenance tips for your DIY bathtub. When it comes to decorating ideas, you can personalize your bathtub by adding a decorative tile surround or a built-in shelf for bath essentials. Another option is to paint the exterior of the tub to match your bathroom decor. For cleaning techniques, it’s important to regularly clean your bathtub to prevent build-up and maintain its appearance. A simple mixture of baking soda and vinegar can be used to remove stains and keep your bathtub clean. Additionally, using a non-abrasive cleaner and a soft cloth is recommended to avoid scratching the surface. Remember to regularly check for any leaks or damages to ensure the longevity of your DIY bathtub.
| Decorating Ideas | Cleaning Techniques |
|---|---|
| Tile Surround | Baking Soda & Vinegar |
| Built-in Shelf | Non-Abrasive Cleaner |
| Painted Exterior | Soft Cloth |
Conclusion
So there you have it, your very own bathtub, built from scratch. With some planning, hard work, and the right materials, you can create a beautiful and functional addition to your bathroom.
And here’s an interesting statistic for you: did you know that the average person spends around 8 minutes in the shower each day? That’s a lot of time spent in the bathroom, so why not make it an enjoyable experience with a custom-built bathtub that suits your needs and style?
So go ahead, get started on your bathtub project and enjoy the satisfaction of creating something with your own two hands.