
I’ve got a foolproof technique for you to make your bathtub look as good as new.
Are you tired of that unsightly gap between your bathtub and the tiles? Well, worry no more!
In this article, I’ll show you exactly how to caulk around your bathtub to achieve a seamless and professional finish.
With just a few simple steps, some caulk, and a little bit of elbow grease, you’ll have a perfectly sealed and pristine bathtub in no time.
Let’s get started!
Key Takeaways
- Inspect the entire surface of the bathtub for cracks, chips, or gaps
- Use a caulk specifically designed for bathroom use that is mold and mildew resistant
- Remove old caulk using a caulk removal tool or putty knife and a solvent-based caulk remover
- Apply the new caulk evenly with steady pressure, working from one end of the bathtub to the other

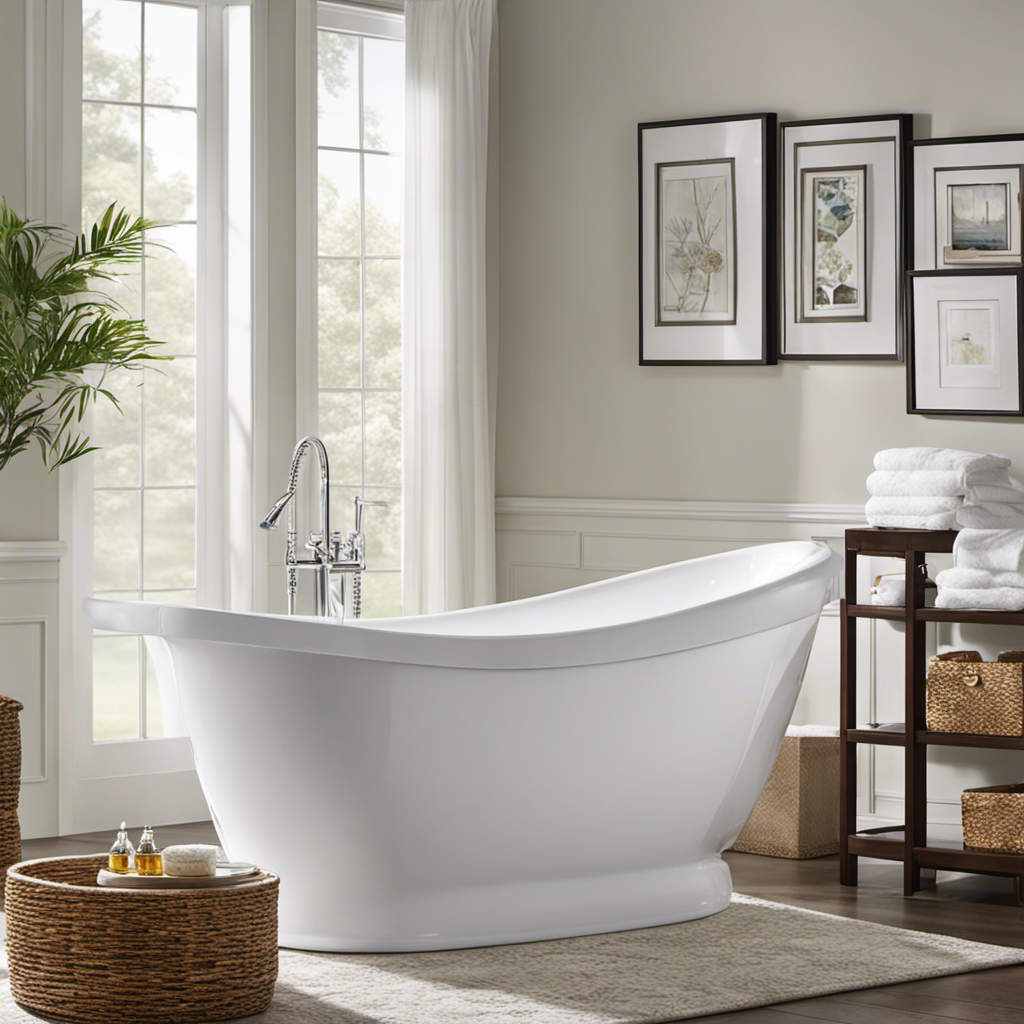
WOODBRIDGE 59" Freestanding White Acylic Soaking Bathtub with Brushed Gold Drain and Overflow, BTA1514-BG
✅ [DIMENSIONS AND SPECIFICATIONS]: Exterior dimensions: 59" Length x 29-1/2" Width x 22-4/5" Height; Internal dimensions: 43-1/4"Length x...
As an affiliate, we earn on qualifying purchases.
Assessing the Bathtub Surface
Before you start caulking, make sure you’re assessing the bathtub surface for any cracks or gaps. Evaluating the damage is crucial to ensure a successful caulking job.
Begin by thoroughly inspecting the entire surface of the bathtub, focusing on areas where water could potentially leak through. Look for any visible cracks, chips, or gaps in the caulking or the bathtub itself. Pay close attention to the corners and edges where the tub meets the wall or floor.
If you notice any damage, it’s essential to address it before applying new caulk. Once you’ve assessed the condition of the surface, you can move on to selecting the caulk color that matches your bathroom decor.
Take into consideration the color scheme and style of your bathroom to choose a caulk color that blends seamlessly with your existing design.
Amazon Product B0CSFZW85K
As an affiliate, we earn on qualifying purchases.
Preparing the Caulk and Tools
Make sure you’ve gathered all the necessary tools and materials for prepping the area.
When it comes to choosing the right caulk for your bathtub, you need to consider a few factors. Look for a caulk that is specifically designed for bathroom use and is mold and mildew resistant. Silicone caulk is a popular choice due to its durability and flexibility.
Now, let’s talk about the essential tools for caulk application. You will need a caulk gun to dispense the caulk, a utility knife to cut the tip of the caulk tube, and a caulk smoothing tool to create a neat finish. Additionally, have a damp cloth or sponge handy to clean up any excess caulk.
With the right caulk and tools, you’ll be ready to prep your bathtub for caulking.

WOODBRIDGE 59"Freestanding White Acylic Soaking Bathtub with Brushed Nickel Drain and Overflow,BTA1518 -B/N-Drain &O
✅ [DIMENSIONS AND SPECIFICATIONS]: Exterior Dimension: 59" Long x 31 1/2" Wide x 22 7/8" Deep – Effective...
As an affiliate, we earn on qualifying purchases.
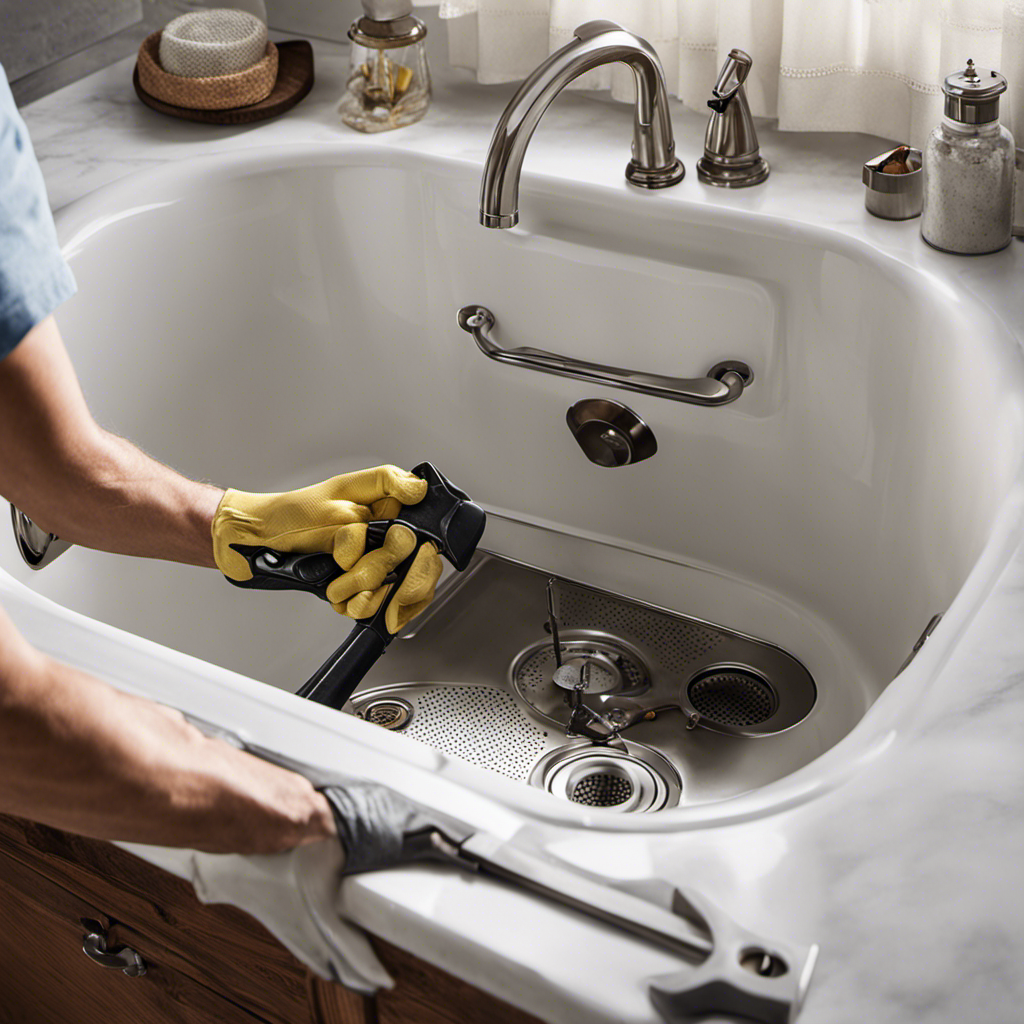
Removing Old Caulk
To remove the old caulk, you’ll need a caulk removal tool or a putty knife. The best caulk remover is a solvent-based product specifically designed for this purpose. It effectively softens the caulk, making it easier to scrape off.
Start by applying the caulk remover generously along the caulk line, making sure to cover the entire length. Allow the product to sit for the recommended amount of time, usually about 15 to 30 minutes. This allows the solvent to penetrate and dissolve the caulk.
Once the caulk has softened, use the caulk removal tool or putty knife to gently scrape away the old caulk, working from one end to the other. Be careful not to scratch or damage the surrounding surfaces.
Repeat the process if necessary until all the old caulk is removed.

WOODBRIDGE 72" Acrylic Freestanding Bathtub Contemporary Soaking White Tub with Brushed Gold Overflow and Drain,B0059-BG
✅ [DIMENSIONS AND SPECIFICATIONS]: Exterior dimensions: 72" Length x 35-3/8" Width x 22-7/8" Height;Internal dimensions: 51-5/8"Length x 21-1/4"...
As an affiliate, we earn on qualifying purchases.
Applying the New Caulk
Once you’ve removed the old caulk, it’s time to apply the new caulk using a caulk gun. This step is crucial to ensure a watertight seal and a professional-looking finish. Here are some key points to keep in mind when applying the new caulk:
-
Proper technique for smoothing caulk: After applying the caulk, use a caulk smoothing tool or your finger to smooth the caulk into a neat and even line. This will help create a seamless and professional finish.
-
Choosing the right caulk color: It’s important to choose a caulk color that matches or complements the color of your bathtub and tiles. This will help the caulk blend in seamlessly and enhance the overall appearance of your bathroom.
-
Applying the caulk evenly: Use steady pressure on the caulk gun to ensure a consistent flow of caulk. Apply the caulk in a continuous line, working from one end of the bathtub to the other. Take your time to ensure thorough coverage and avoid gaps or uneven application.
Finishing and Cleaning Up
After finishing the caulk application, it’s time to clean up any excess caulk and put away the tools.
The drying time for caulk can vary depending on the type you used, but typically it takes about 24 hours to fully cure. During this time, it’s important to avoid touching or disturbing the caulk to ensure a smooth finish.
To achieve a smooth finish, there are a few tips to keep in mind. First, use a caulk smoothing tool or your finger to smooth out any uneven areas or ridges. Apply consistent pressure and work in one direction for a seamless look.
Secondly, wipe away any excess caulk with a damp cloth or sponge before it dries. This will help create clean edges and prevent any unsightly residue.
Lastly, make sure to clean your tools thoroughly with water and soap, removing all traces of caulk before storing them away.
Conclusion
In conclusion, caulking around a bathtub is a simple yet important task that can prevent water damage and maintain the integrity of your bathroom.
By carefully assessing the bathtub surface, preparing the necessary tools and caulk, removing old caulk, and applying the new caulk with precision, you can ensure a tight and waterproof seal.
Remember, ‘a stitch in time saves nine,’ so don’t delay in addressing any caulk issues to avoid more extensive repairs in the future.
Happy caulking!