Hey there! Ever found yourself struggling with a stubborn bathtub drain plug that just won’t budge? Well, fear not, because I’ve got you covered!
In this article, I’ll share my tried and tested method for changing a bathtub drain plug. With just a few tools and a little know-how, you’ll be able to tackle this DIY project like a pro.
So, let’s dive right in and get that drain plug swapped out in no time!
Key Takeaways
- Clean the drain plug before adjusting or replacing it.
- Use pliers to unscrew the old drain plug, making sure the water is turned off and the area is clean and dry.
- Soak the old drain plug in a mixture of vinegar and baking soda, or use a commercial drain cleaner, before reinstalling it.
- When installing the new drain plug, make sure to align it with the drain mechanism and test for leaks by filling the bathtub with water.
Tools and Materials Needed
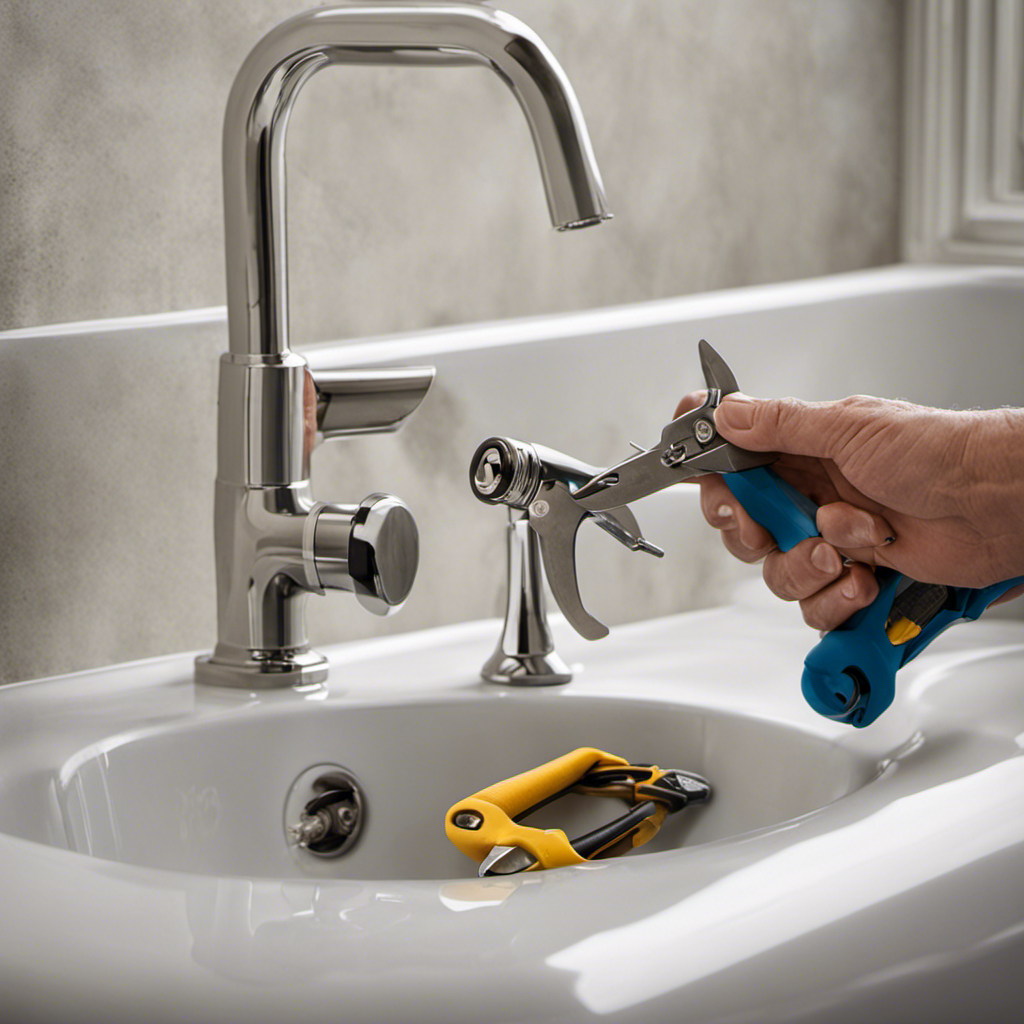
To change a bathtub drain plug, you’ll need a pair of pliers, a screwdriver, and a replacement drain plug.
There are various alternatives to consider when it comes to bathtub drain plugs. One option is a push-pull drain plug, which can be easily operated by pushing or pulling on the plug to open or close the drain. Another alternative is a twist-and-lock drain plug, which requires twisting the plug to secure it in place.
If your drain plug is damaged or not functioning properly, you may need to repair or replace it. Common issues include leaks or difficulty in opening or closing the drain.
To repair the drain plug, you can try cleaning it or adjusting the linkage. If these methods don’t work, you can replace the drain plug with a new one.
Removing the Old Drain Plug
You’ll need a pair of pliers to unscrew the old drain plug from the bathtub. Before you start, make sure the water is turned off and the area around the drain is clean and dry.
To remove the old drain plug, locate the small screw on the side of the plug and use the pliers to loosen it. Once the screw is loose, you can easily unscrew the drain plug by turning it counterclockwise. Be careful not to drop the plug into the drain.
As for cleaning the old drain plug, there are a few alternative options you can consider. One method is to soak the plug in a mixture of vinegar and baking soda. This will help break down any grime or buildup on the plug.
Another option is to use a commercial drain cleaner specifically designed for removing dirt and debris from drains. Be sure to follow the instructions on the cleaner carefully and rinse the plug thoroughly before reinstalling it.
Installing the New Drain Plug
First, make sure the new drain plug is clean and free of any debris. This is crucial to ensure a proper seal and prevent any leaks.
To install the new drain plug, start by inserting it into the drain hole and aligning it with the drain mechanism. Depending on the type of drain plug, you may need to rotate it or push it down firmly until it clicks into place.
Once the drain plug is securely in position, test it by filling the bathtub with water and checking for any leaks. If you notice any leaks, try adjusting the drain mechanism by either tightening or loosening it until the leak stops.
Troubleshooting common issues, such as leaks or a drain plug that won’t stay in place, will be covered in the next section.
Troubleshooting Common Issues
If leaks or stability issues persist, consider checking the alignment of the drain mechanism. It is important to identify the common causes of these issues in order to find potential solutions. Here are some common causes and their potential solutions:
| Common Causes | Potential Solutions |
|---|---|
| Loose drain plug | Tighten the plug securely |
| Damaged gasket | Replace the gasket |
| Clogged drain | Clear the clog using a plumbing snake or drain cleaner |
| Improper installation | Reinstall the drain plug correctly |
Maintenance and Care Tips
To maintain the proper functionality of your bathtub, it’s important to regularly clean and inspect the drain mechanism. Neglecting this essential maintenance can lead to clogged drains and costly repairs down the line.
Here are four cleaning techniques to prevent drain clogs and keep your bathtub in optimal condition:
-
Remove debris: Use a drain snake or plunger to remove any hair or other debris that may have accumulated in the drain. This will help prevent clogs from forming.
-
Use vinegar and baking soda: Mix equal parts vinegar and baking soda and pour it down the drain. Let it sit for about 30 minutes, then flush with hot water. This natural remedy will help break down any buildup in the pipes.
-
Install a drain cover: A drain cover can catch hair and other debris before it enters the drain, reducing the risk of clogs.
-
Regular maintenance: Make it a habit to clean your drain at least once a month, even if there are no visible clogs. This proactive approach will help prevent future issues and keep your bathtub drain running smoothly.
Conclusion
In conclusion, changing a bathtub drain plug is a simple task that anyone can do with the right tools and materials. By following the steps outlined in this article, you can easily remove the old drain plug and install a new one in no time.
Remember to troubleshoot any common issues that may arise and to regularly maintain and care for your bathtub drain to ensure its longevity.
So why wait? Take control of your bathroom today and give your bathtub a fresh new look!

Mateo’s flair for writing is matched only by his keen eye for design. As an interior designer turned writer, Mateo brings a unique perspective. He blends aesthetics with functionality in every piece he pens, providing readers with beautifully crafted content that’s also supremely useful.
Mateo loves exploring the latest bathroom tech trends and is our expert on smart toilets. When he’s not writing or designing, Mateo can be found sketching ideas for his next big project at local coffee shops.