I’ve been there before, standing in a grungy bathtub with cracked and discolored grout. It’s not a pretty sight, and it can make your whole bathroom feel dirty and neglected. But fear not, because I’m here to share my tried-and-true tips on how to grout your bathtub like a pro.
In this article, I’ll walk you through the steps of preparing the surface, choosing the right grout, applying it to the tiles, and finishing it off with a sparkling clean result.
Get ready to transform your bathtub into a pristine oasis.
Key Takeaways
- Thoroughly clean the bathtub surface before applying grout.
- Choose the right grout color and consistency based on your tiles and gaps.
- Apply the grout diagonally across the tiles using a rubber float.
- Clean the grout thoroughly before applying a sealer and regularly maintain and repair the grout.
Preparing the Bathtub Surface
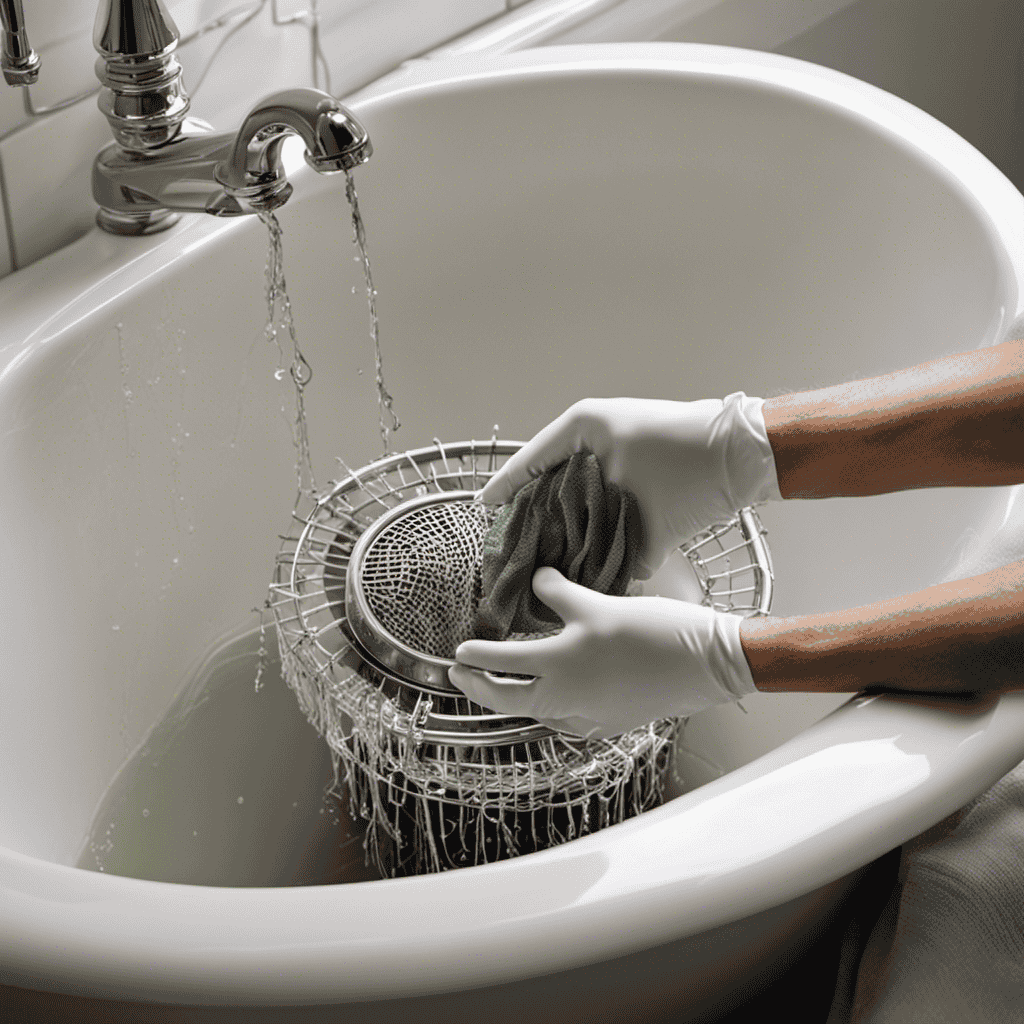
Before you can start grouting the bathtub, it’s important to properly prepare the surface. Bathtub surface preparation is crucial for achieving a durable and long-lasting grout job.
To begin, thoroughly clean the bathtub surface to ensure the grout adheres properly. Start by removing any loose debris or dirt using a soft brush or vacuum cleaner. Next, apply a bathtub cleaner or mild detergent and scrub the surface using a non-abrasive sponge or cloth. Pay extra attention to any stubborn stains or soap scum buildup.
Rinse the surface thoroughly with clean water and wipe it dry. It is essential to have a clean and dry surface before proceeding with grout application to ensure the best results.
Choosing the Right Grout
When choosing the right grout for your project, make sure to consider the color and texture that will best complement your tiles. The grout color can greatly affect the overall appearance of your bathtub, so it’s important to choose wisely. I recommend selecting a color that either matches or contrasts with your tiles, depending on the look you want to achieve.
Additionally, consider the grout consistency. A thicker consistency is ideal for larger gaps between tiles, as it provides better support and durability. On the other hand, a thinner consistency is better suited for smaller gaps, ensuring a smooth and uniform finish.
Applying the Grout to the Tiles
Once you have chosen the right color and consistency, it’s time to apply the grout to your tiles.
When it comes to grout application techniques, there are a few key steps to follow for a successful outcome.
First, make sure your tiles are clean and dry before you begin.
Next, mix the grout according to the manufacturer’s instructions, ensuring a smooth and lump-free consistency.
Using a rubber float, spread the grout diagonally across the tiles, pressing it into the joints.
Be sure to work in small sections to prevent the grout from drying too quickly.
Once the grout is applied, use a damp sponge to wipe away any excess and smooth the surface.
Now, let the grout dry completely before sealing it.
If you encounter any issues during the grout application, such as uneven drying or color inconsistency, consult the manufacturer’s troubleshooting guidelines for solutions.
Cleaning and Finishing the Grout
To achieve a polished look, wipe away any excess grout with a damp sponge and seal it once it’s completely dry. Sealing grout is an important step in preventing grout discoloration and maintaining the overall appearance of your bathtub.
Here are some tips to help you seal your grout effectively:
-
Choose the right sealer: There are different types of sealers available, such as penetrating sealers or topical sealers. Make sure to select the appropriate one for your grout type and bathtub material.
-
Clean the grout thoroughly: Before sealing, ensure that the grout is clean and free from any dirt or debris. Use a grout cleaner or a mixture of vinegar and water to remove any stains or residue.
-
Apply the sealer evenly: Use a small brush or a foam applicator to apply the sealer evenly over the grout lines. Make sure to cover every grout line and avoid any excess sealer on the tiles.
-
Allow sufficient drying time: Follow the manufacturer’s instructions for drying time. It is important to allow the sealer to dry completely before exposing it to water or any cleaning products.
-
Repeat the process: Depending on the type of sealer you are using, you may need to apply multiple coats. Follow the recommended number of coats for optimal protection.
Maintaining and Repairing Grout in the Bathtub
Regularly cleaning and inspecting your bathtub’s grout can help you identify any areas in need of repair or maintenance. By addressing these issues promptly, you can prevent further damage and ensure the longevity of your grout. When it comes to repairing grout cracks, there are a few steps you can follow. First, remove any loose or damaged grout using a grout saw or utility knife. Next, prepare a fresh batch of grout and apply it to the cracks using a grout float. Make sure to fill the cracks completely and smooth the surface. Allow the grout to dry and then wipe away any excess with a damp sponge. To prevent mold growth, it’s important to keep your grout clean and dry. Use a mildew-resistant grout and regularly apply a grout sealer to create a protective barrier. Additionally, ensure proper ventilation in your bathroom to reduce moisture buildup. By taking these steps, you can maintain and repair your bathtub’s grout effectively.
| Step | Description |
|---|---|
| 1 | Remove loose or damaged grout |
| 2 | Prepare fresh grout and apply |
| 3 | Smooth the surface |
| 4 | Allow grout to dry |
| 5 | Wipe away excess and seal grout |
Conclusion
In conclusion, grouting a bathtub is a task that requires attention to detail and proper technique. By following the steps outlined in this article, you can achieve a clean and professional-looking finish.
Remember to choose the right grout for your specific needs and take the time to properly clean and maintain it. With a little knowledge and experience, you’ll be able to tackle this project with confidence and enjoy a beautifully grouted bathtub for years to come.
So go ahead, dive into the world of grouting and transform your bathtub into a masterpiece.

Mateo’s flair for writing is matched only by his keen eye for design. As an interior designer turned writer, Mateo brings a unique perspective. He blends aesthetics with functionality in every piece he pens, providing readers with beautifully crafted content that’s also supremely useful.
Mateo loves exploring the latest bathroom tech trends and is our expert on smart toilets. When he’s not writing or designing, Mateo can be found sketching ideas for his next big project at local coffee shops.