
Hey there, folks! Ever found yourself struggling with a stubborn bathtub drain stopper? Well, fear not! In this handy guide, I’ll show you the step-by-step process of changing that pesky drain stopper.
Get ready to tackle this DIY project like a pro. With a few simple tools and a little bit of know-how, you’ll have that drain stopper replaced in no time.
So, let’s dive right in and get your bathtub drain back in tip-top shape!
Key Takeaways
- Gather the necessary tools such as pliers, screwdriver, and a drain key tool for removing the old drain stopper.
- Inspect the drain seal for any damage or wear before installing the new stopper.
- Ensure proper alignment and free movement of the new stopper after inserting it and twisting it clockwise to secure it.
- Test for leaks and drainage issues by filling the bathtub with water and clear any blockages with a plunger or drain snake if necessary.

Artiwell Tip-Toe Bathtub Drains Trim Set with Two-Hole Overflow Faceplate, Replacement Bath Drain Trim Kit with 2-Hole Overflow Faceplate and Universal Fine/Coarse Thread (Chrome Plated)
EASY TO USE: Artiwell Tip-Toe Bathtub Drain Stopper is the best ideal replacement for your bathtub drain as…
As an affiliate, we earn on qualifying purchases.
As an affiliate, we earn on qualifying purchases.
Tools and Materials Needed
To change your bathtub drain stopper, you’ll need a pair of pliers, a screwdriver, and a replacement stopper.
Before we get into the step-by-step process, let’s discuss some common bathtub drain problems and the different types of bathtub drain stoppers. Common problems include clogs caused by hair, soap scum, and debris, as well as stoppers that no longer hold water or won’t stay open.
There are various types of stoppers, such as the lift-and-turn, push-and-pull, toe-touch, and pop-up stoppers. Each type operates differently and requires specific methods to remove and replace. Understanding the type of stopper you have is crucial to successfully changing it.
Now that we have covered the necessary tools and discussed common problems and different stopper types, let’s move on to the step-by-step instructions for changing your bathtub drain stopper.
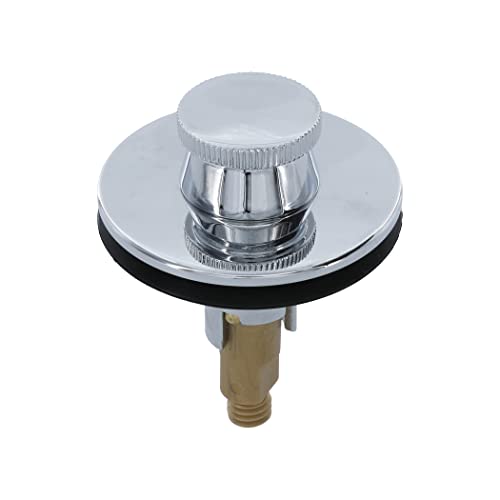
DANCO Lift and Turn Tub and Bath Drain Stopper, Chrome (88599)
BATHTUB DRAIN STOPPER: This tub drain stopper is ideal for replacing worn-out, dull and non-functioning bathtub drain stopper…
As an affiliate, we earn on qualifying purchases.
As an affiliate, we earn on qualifying purchases.
Removing the Old Drain Stopper
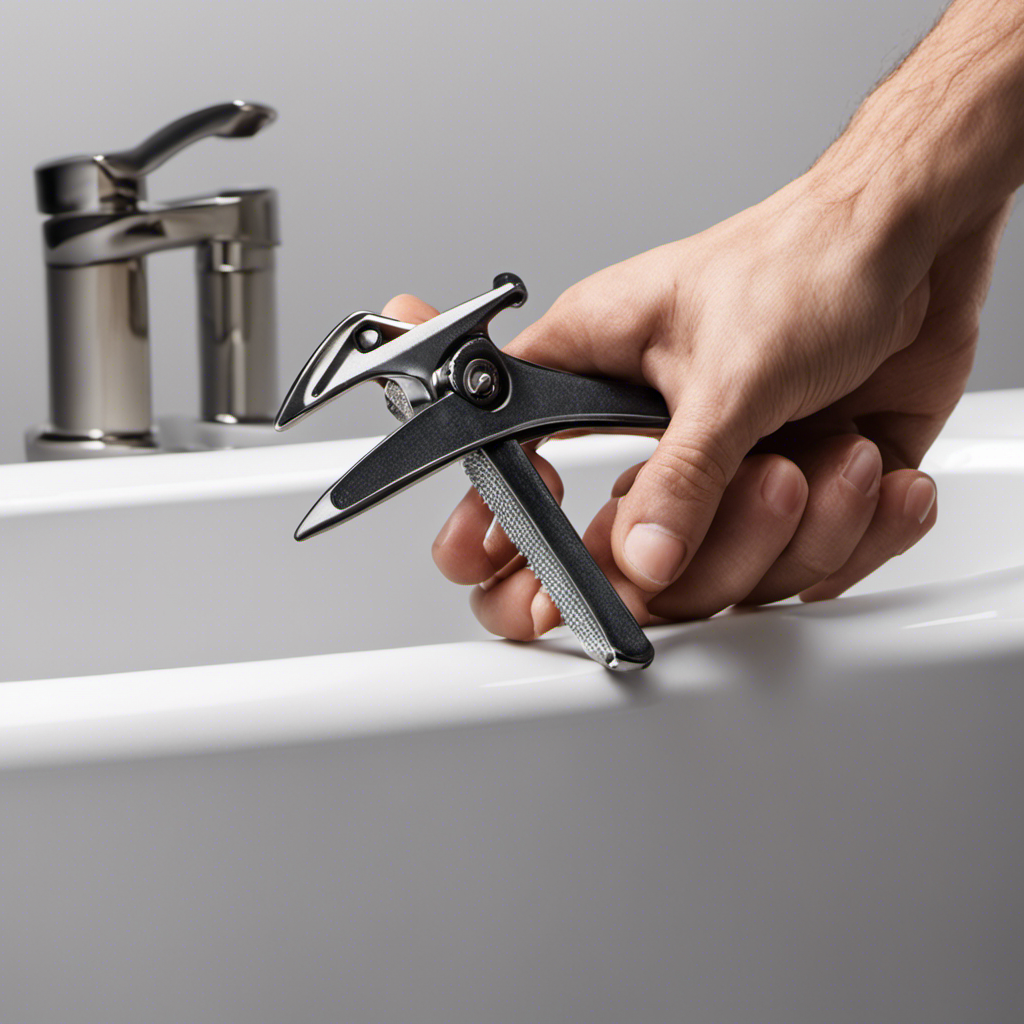
Before starting, make sure you have the necessary tools for removing the old drain stopper. To replace the drain cover and fix the drain seal, you will need a pair of pliers, a screwdriver, and a drain key tool.
Begin by removing the drain stopper’s visible parts, such as the knob or lever. Use the pliers to grip the stopper and twist counterclockwise to loosen it. If the stopper is stuck, you can try using a lubricant to loosen it.
Once the stopper is removed, inspect the drain seal for any damage or wear. If necessary, replace the drain seal with a new one.
Remember to clean the drain area thoroughly before installing the new drain cover.

Dreyoo 5 Pack Tub Stopper Gasket for Tub Drain Assemblies, Replaces Stopper Bathtub Drain Gasket, for Tip Toe Style Bathtub Stoppers (2-1/16 in. x 1 in. x 1/4 in), Easy Installation
Excellent Seal: These rubber tub stopper gasket provide an excellent seal that prevents any water leakage. you can…
As an affiliate, we earn on qualifying purchases.
As an affiliate, we earn on qualifying purchases.
Installing the New Drain Stopper
Once you’ve successfully removed the old drain stopper, it’s time to install the new one. Proper maintenance for bathtub drain stoppers is crucial to ensure they function correctly and prevent any issues.
Before installing the new stopper, it’s important to check for any damage or wear on the drain itself. If there are any cracks or breaks, it’s best to replace the entire drain assembly.
To install the new stopper, begin by inserting it into the drain and twisting it clockwise until it is securely in place. Ensure that the stopper is aligned properly and moves freely up and down.
Test the stopper by filling the bathtub with water and checking for any leaks or drainage issues. If you encounter any common issues with bathtub drain stoppers, such as clogs or slow drainage, you can use a plunger or a drain snake to clear the blockage.
Regularly cleaning and maintaining your bathtub drain stopper will help prevent these issues from occurring in the future.

35.5inch Drain Clog Remover(1pcs), 25inch Drain Snake Hair Remover(6pcs) & Cleaning Brush(2pcs), Hair Catcher Drain Auger Cleaner Tool Set For Toilet, Kitchen Sink, Bathroom Tub, Sewer, 9 Pack
【EXCELLENT LENGTH】Metal clog remover is 35.5 inches long with a claw extending from the top, which could easily…
As an affiliate, we earn on qualifying purchases.
As an affiliate, we earn on qualifying purchases.
Adjusting the Drain Stopper Mechanism
After installing the new stopper, you’ll need to adjust the mechanism to ensure it opens and closes properly.
Adjusting the drain stopper mechanism is crucial for preventing common drain stopper issues and ensuring smooth operation.
To begin, familiarize yourself with the different types of drain stoppers, as the adjustment process may vary depending on the type.
For example, a push-pull stopper may require adjusting the linkage rod or adjusting the nut on the lift rod.
On the other hand, a lift-and-turn stopper may need adjustment by loosening the set screw and repositioning the stopper.
It is important to follow the manufacturer’s instructions when making adjustments to avoid any damage.
Testing and Troubleshooting
To troubleshoot and test the mechanism, start by running water into the sink and observing the drainage to ensure that the adjustments have been successful.
This is an important step in the process of changing a bathtub drain stopper, as it allows you to identify any potential issues and make necessary adjustments before completing the installation.
Testing methods for the drain stopper include checking for proper sealing, ensuring smooth operation of the lever or knob, and verifying that the stopper effectively retains water when closed.
Common problems that may arise during testing include leaks, improper sealing, and difficulty in opening or closing the stopper.
Conclusion
Well, congratulations on successfully changing your bathtub drain stopper!
Who would have thought that such a simple task could bring so much satisfaction? Now you can enjoy your baths without any worries of water pooling around your feet.
It’s amazing how a small adjustment can make a big difference.
So, remember, the next time you encounter a pesky drain stopper, don’t fret. Just grab your tools, follow the steps, and voila! You’ll be the proud owner of a smoothly functioning bathtub drain.
Happy bathing!