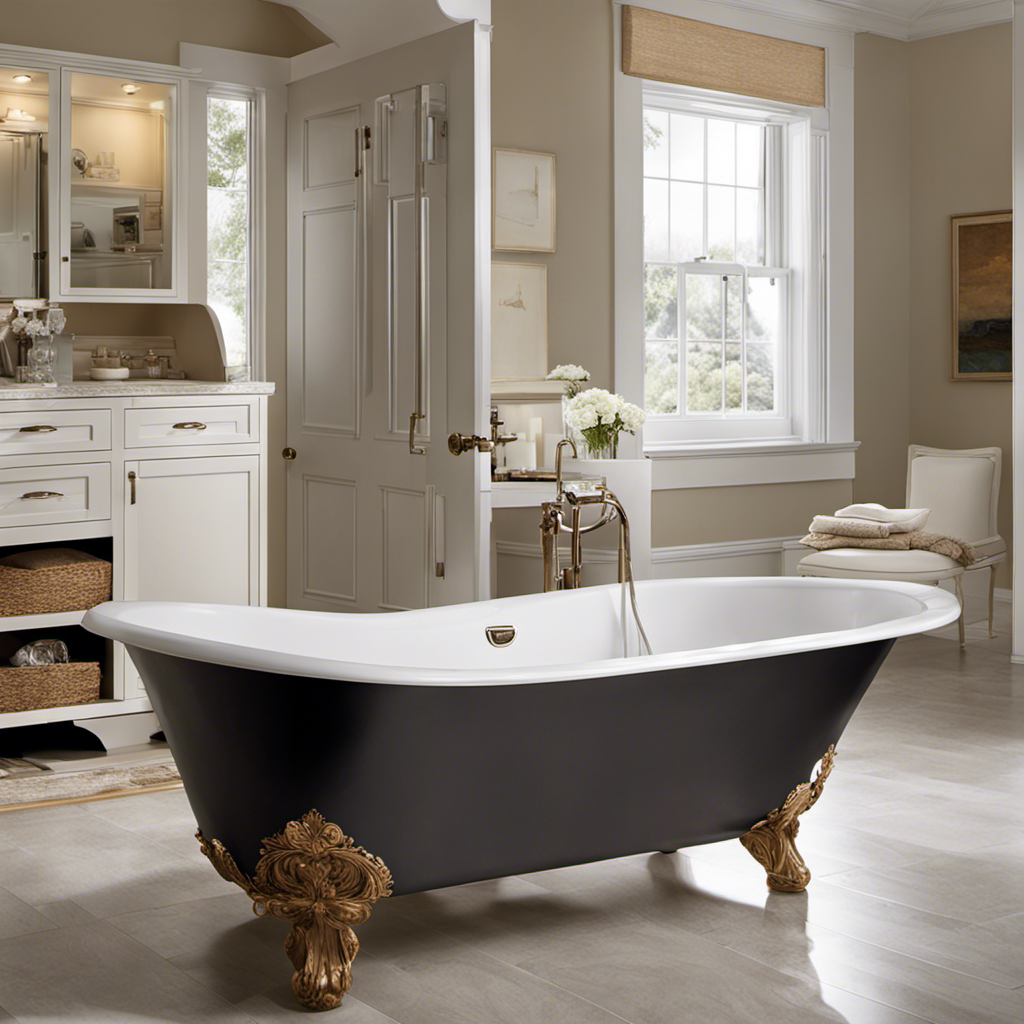

As a seasoned DIY enthusiast, I’ve tackled many home improvement projects, but nothing quite compares to the satisfaction of changing out a bathtub. It’s like giving your bathroom a fresh start, a brand new canvas to work with.
In this step-by-step guide, I’ll walk you through the process of:
- Assessing the condition of your existing bathtub
- Gathering the necessary tools and materials
- Removing the old tub
- Installing the new one
- Adding those finishing touches.
Let’s dive in and transform your bathroom into a haven of relaxation.
Key Takeaways
- Assess the condition of the existing bathtub for repair or replacement.
- Gather the necessary tools and materials for the bathtub replacement.
- Remove the old bathtub by disconnecting plumbing and breaking the caulking seal.
- Install the new bathtub by ensuring a proper fit, applying waterproof sealant, and securing it in place.
Assessing the Condition of the Existing Bathtub
Before you start, it’s important to assess the condition of your existing bathtub. Evaluating the damage will help you determine whether it’s necessary to replace the entire bathtub or if there are alternative solutions available.
First, inspect the surface of the bathtub for any cracks or chips. These can be filled and repaired if they are minor, but if they are extensive, it may be more cost-effective to replace the bathtub.
Next, check for any signs of water damage or leaks around the tub. This could indicate underlying issues with the plumbing or the bathtub itself.
Gathering the Necessary Tools and Materials
First, you’ll need to gather all the tools and materials required for the task. Here is a table outlining the necessary items:
| Tools | Materials |
|---|---|
| Screwdriver | Bathtub |
| Adjustable wrench | Plumbing tape |
| Pliers | Caulk |
| Utility knife | Silicone sealant |
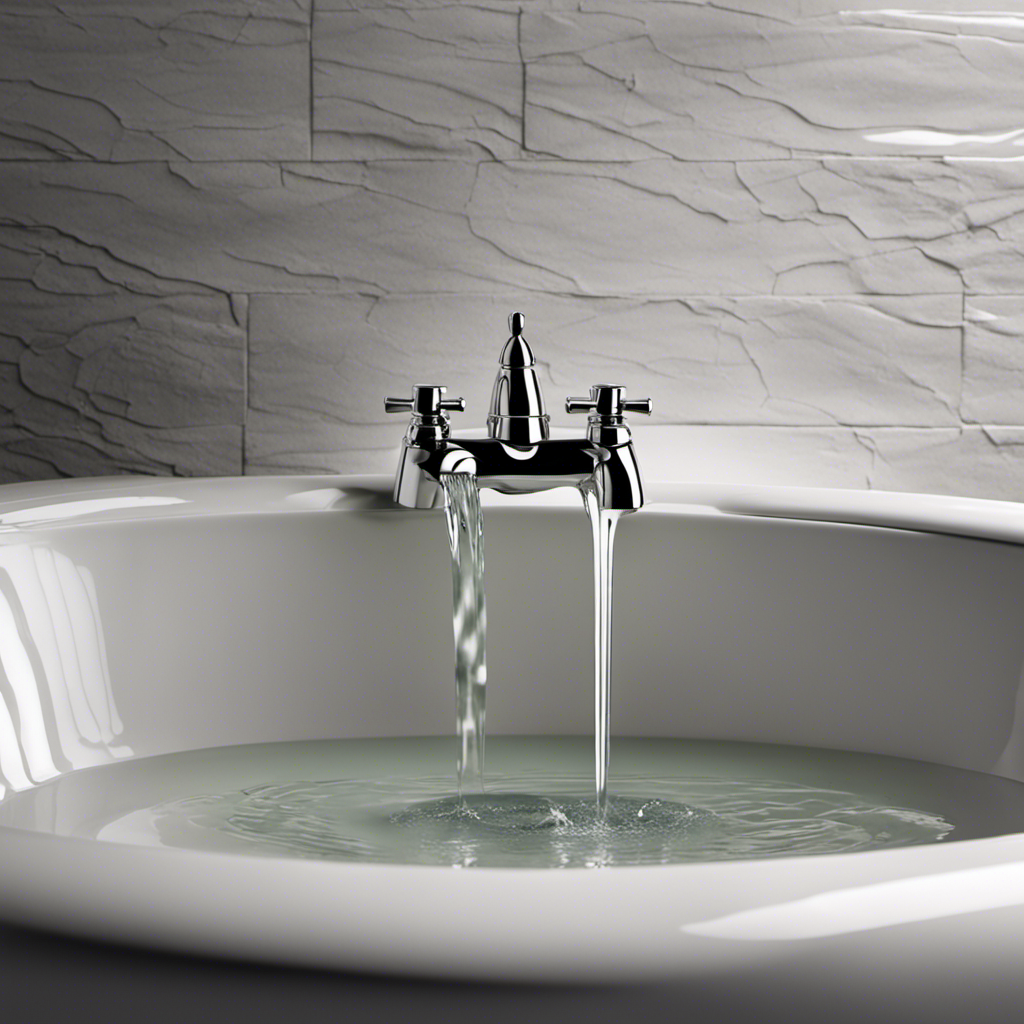
Choosing the right bathtub is crucial for a successful replacement. Consider the size, material, and style that best suits your needs and bathroom decor. Measure the space to ensure a proper fit.
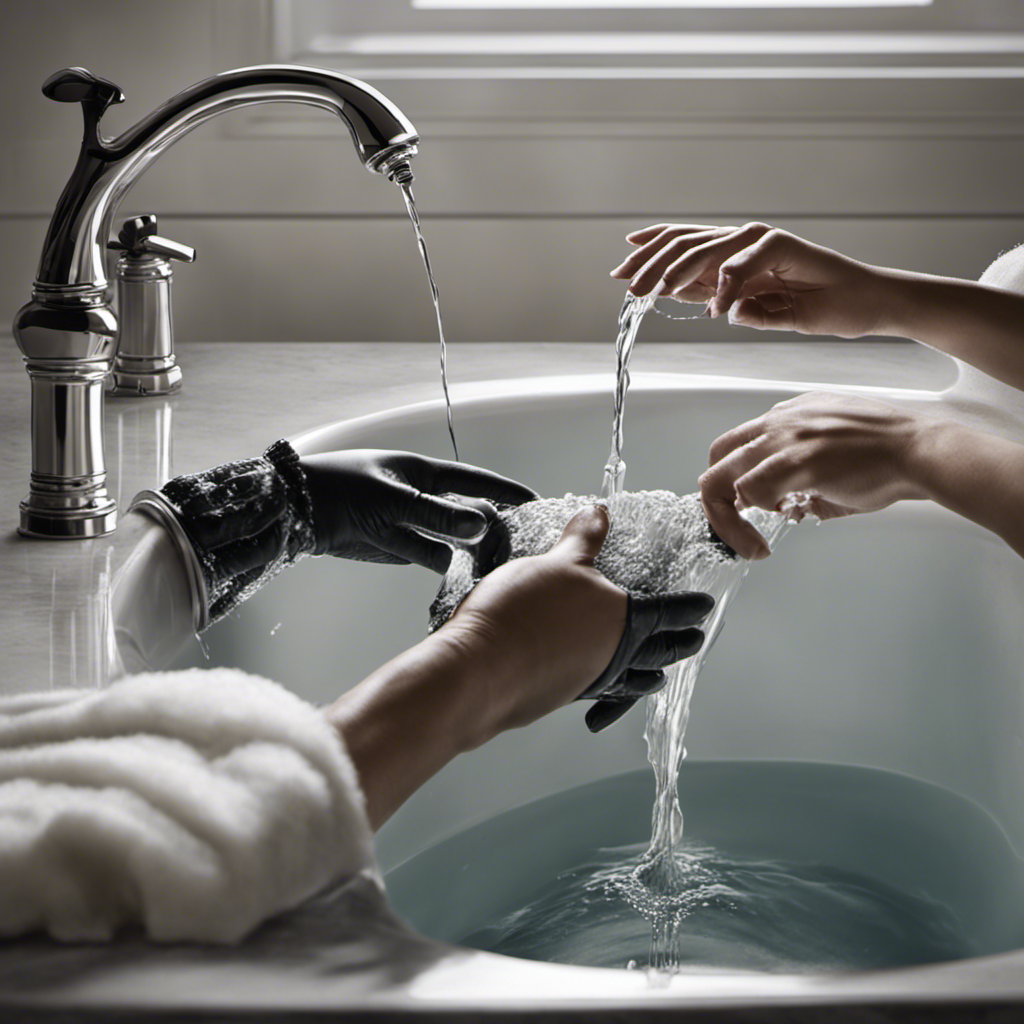
Now, let’s move on to some tips for bathtub removal and disposal. Start by turning off the water supply and disconnecting the plumbing. Remove any screws, nails, or caulking that hold the bathtub in place. Use a utility knife to cut through any remaining caulk and silicone sealant. Once the bathtub is free, carefully lift it out and dispose of it responsibly. Remember to clean up any debris and prepare the area for the installation of the new bathtub.
Removing the Old Bathtub
To begin the process, you’ll need to disconnect the plumbing and remove any screws, nails, or caulking holding the old bathtub in place.
Start by turning off the water supply and opening the faucet to drain any remaining water.
Next, locate the access panel or cut a hole in the wall to reach the plumbing connections. Use a wrench to disconnect the pipes and carefully remove them.
Once the plumbing is disconnected, examine the bathtub for any screws or nails securing it to the wall or floor. Remove these using a screwdriver or pry bar.
Finally, break the caulking seal around the edges of the bathtub using a utility knife or putty knife. With all the connections and fastenings removed, you can now lift and carefully remove the old bathtub.
When disposing of the old bathtub, check with your local authorities for any specific guidelines or regulations. You may need to schedule a special pickup or take it to a designated disposal facility.
Installing the New Bathtub
Once you have disconnected and removed the old bathtub, it’s time to start installing the new one. Before beginning the installation process, it’s important to choose the right bathtub for your needs. Consider factors such as size, material, and style to ensure a perfect fit for your bathroom.
To properly install the new bathtub, follow these step-by-step instructions:
-
Prepare the area: Clear the workspace and ensure the floor is clean and level.
-
Test the fit: Place the new bathtub in position to check for any adjustments needed.
-
Waterproofing techniques: Apply a waterproof membrane or sealant around the edges of the bathtub to prevent water damage.
-
Connect the plumbing: Attach the drain and water supply lines to the new bathtub.
-
Secure the bathtub: Use screws or brackets to secure the bathtub in place.
Finishing Touches and Clean-Up
Now that you’ve secured the bathtub in place, it’s time to focus on the finishing touches and clean-up. Before moving on, gather your cleaning supplies to ensure a sparkling result. Here’s what you’ll need:
- All-purpose cleaner
- Microfiber cloth or sponge
- Scrub brush
Once you have your supplies ready, follow these steps to clean your newly installed bathtub:
- Start by spraying the all-purpose cleaner on the bathtub surface and let it sit for a few minutes to loosen any dirt or grime.
- Use the scrub brush to scrub the entire surface of the bathtub, paying extra attention to the corners and edges.
- Rinse the bathtub thoroughly with warm water to remove any residue from the cleaner.
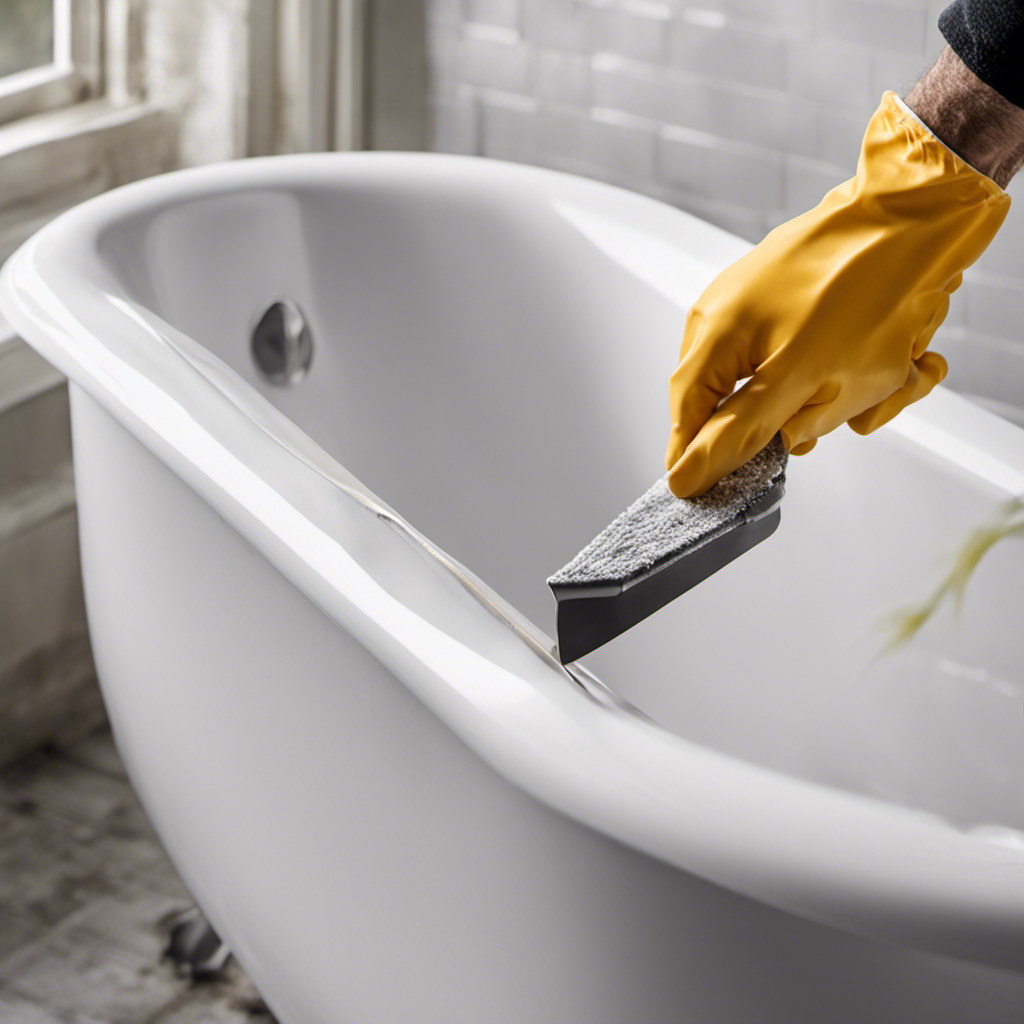
Now that your bathtub is clean, it’s time to apply the finishing touch – caulking. Caulking not only enhances the appearance but also prevents water damage. Follow these steps for a professional caulking technique:
- Cut the tip of the caulk tube at a 45-degree angle.
- Apply a thin, continuous bead of caulk along the joint between the bathtub and the wall.
- Use a caulk smoothing tool or your finger to smooth out the caulk and create a neat finish.
Conclusion
In conclusion, changing out a bathtub can be a challenging but rewarding DIY project.
By assessing the condition of the existing bathtub, gathering the necessary tools and materials, removing the old bathtub, and installing the new one, you can transform your bathroom.
Remember to pay attention to the finishing touches and clean-up to ensure a polished final result.
Did you know that according to a survey conducted by Houzz, 35% of homeowners choose to replace their bathtubs during a bathroom renovation?
This statistic highlights the popularity of bathtub replacements and the importance of proper installation.