I’ve been dealing with a slow-draining bathtub for far too long, and it’s finally time to take matters into my own hands.
In this article, I’ll guide you through the process of changing out your bathtub drain, step by step.
With the right tools and a little bit of know-how, you’ll be able to tackle this project with confidence.
Let’s dive in and get that drain flowing smoothly again!
Key Takeaways
- Gather all necessary tools and materials before starting the project
- Carefully remove old drain without damaging surrounding pipes or fixtures
- Clean and prepare drain area before installation for a proper seal of the new drain
- Test new drain for leaks by running water and checking for any signs of water escaping

Waterdrop T4-A Alkaline pH+ Reverse Osmosis Water Filter, Dual Flow, NSF/ANSI 372 Certified, 10-Stage, 450 GPD Tankless Undersink RO Filtration System, 2:1 Pure to Drain, BPA Free, Plug-in Required
𝐃𝐮𝐚𝐥 𝐖𝐚𝐭𝐞𝐫 𝐅𝐥𝐨𝐰: The WD-T4-A RO system offers two purified water options: a standard RO-purified stream and a...
As an affiliate, we earn on qualifying purchases.
Tools and Materials Needed
To change out the bathtub drain, you’ll need a pair of pliers, a screwdriver, and a new drain assembly. The installation process requires precision and attention to detail.
First, gather your tools and materials. Make sure you have the correct size drain assembly for your bathtub.
Next, remove the drain cover by unscrewing it counterclockwise with the screwdriver. Use the pliers to loosen the old drain assembly by turning it counterclockwise. Be careful not to damage the surrounding pipes or the bathtub surface.
Once the old drain assembly is loose, carefully lift it out of the drain hole. It’s important to avoid common mistakes such as forcing the assembly or using excessive force.
With the old drain removed, you are ready to move on to the next step of removing the old bathtub drain.

Waterdrop X8-WAN Alkaline Mineral Tankless Reverse Osmosis System, NSF/ANSI 42&58&372 Certified, 800 GPD RO Filter, 10-Stage Filtration UnderSink RO System, 2:1 Pure to Drain, LED Faucet, BPA Free
[ 0.0001μm RO + Added Minerals ] Waterdrop X8-Alkaline combines a precise 0.0001μm RO membrane with Alkaline mineralization...
As an affiliate, we earn on qualifying purchases.
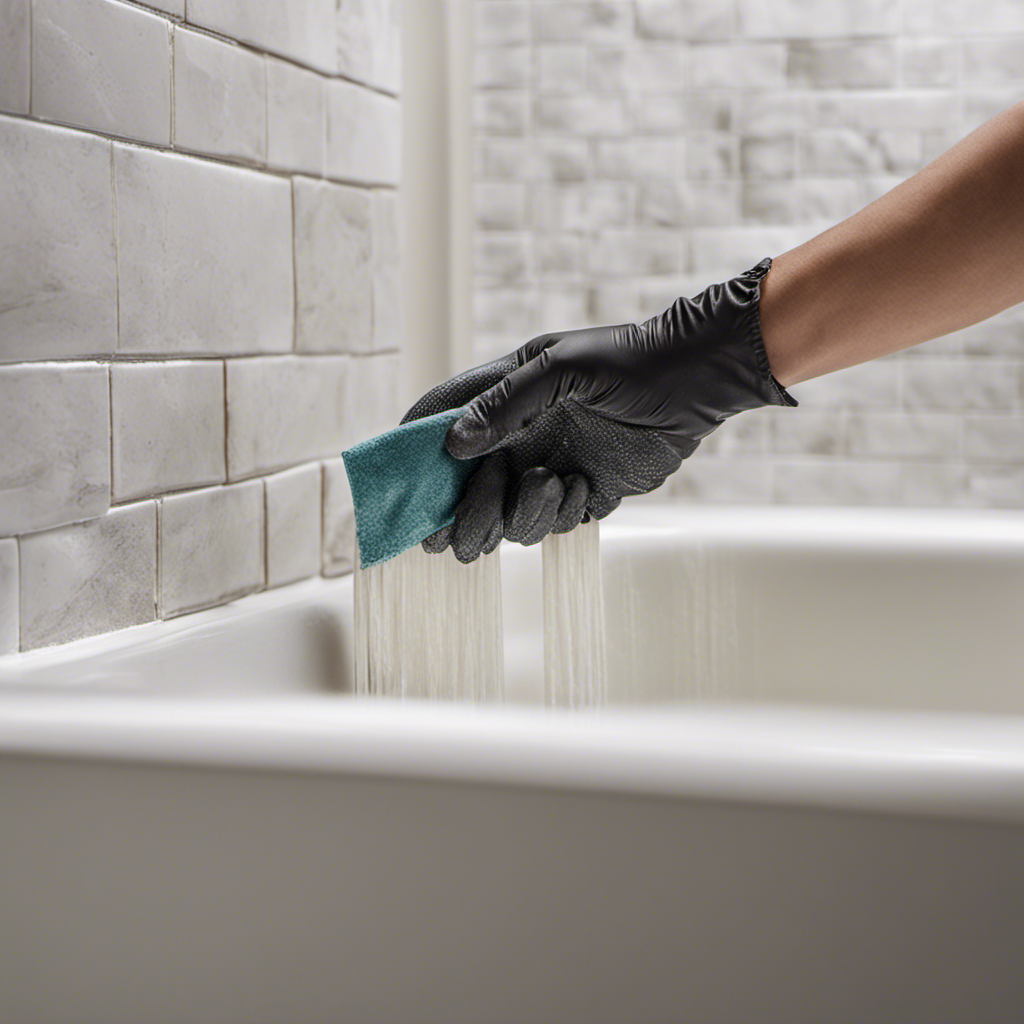
Removing the Old Bathtub Drain
First, you’ll need to unscrew the metal cover plate that is concealing the old drain.
To remove the old bathtub drain, follow these steps:
- Gather the necessary tools: pliers, drain key, and a bucket.
- Use pliers to remove the screws holding the cover plate in place.
- Once the cover plate is removed, inspect the drain for any signs of damage or corrosion.
- Insert the drain key into the drain and turn it counterclockwise to loosen the drain.
- Carefully lift the old drain out of the bathtub, ensuring not to damage the surrounding area.
- Clean the drain hole and remove any debris or buildup.
- Inspect the drain gasket for any signs of wear and replace if necessary.
- Finally, install the new drain by following the manufacturer’s instructions.
To prevent future drain clogs, consider using a drain stopper or hair catcher to prevent hair and debris from entering the drain. Avoid using harsh chemicals that can damage the pipes and always dispose of grease properly.

Frizzlife Reverse Osmosis Water Filter - Alkaline Mineral pH+, NSF/ASNI 58&53&42&372 Standard, 600GPD Tankless RO Reverse Osmosis System, Under Sink, 2:1 Pure to Drain, Reduce FPAS/PFOA, PD600-TAM3
【Remineralization & Alkalization Under Sink Water Filter】: The water from the RO membrane is slightly acidic, which also...
As an affiliate, we earn on qualifying purchases.
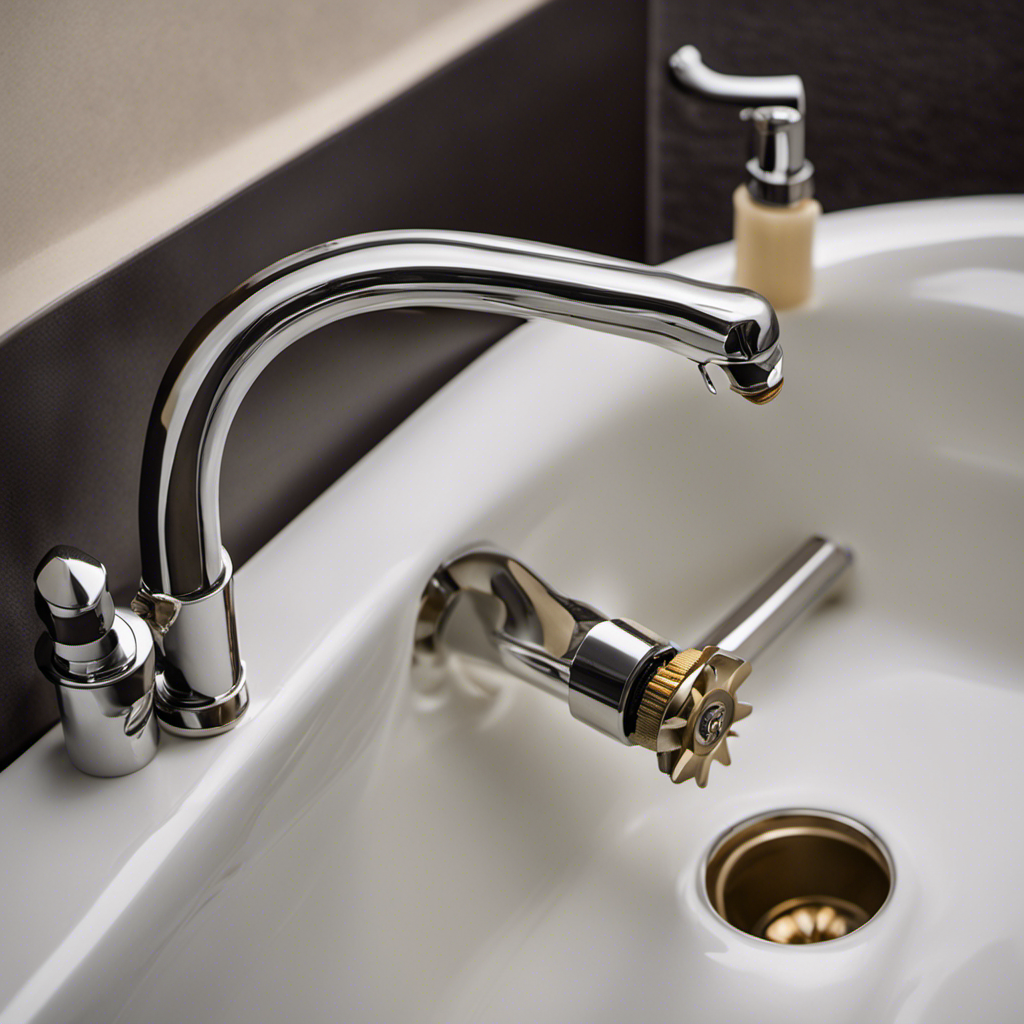
Installing the New Bathtub Drain
Once you have removed the old drain, the next step is to carefully position the new drain in the bathtub.
When installing a new drain, there are a few common mistakes to avoid. Firstly, ensure that you have chosen the correct size and type of drain for your bathtub.
Secondly, make sure to properly clean and prepare the drain area before installation. This includes removing any debris or old sealing material.
Next, it is crucial to focus on the importance of proper sealing during drain installation. Use a high-quality plumber’s putty or silicone sealant to create a watertight seal. This will prevent any leaks or water damage.
Take your time and follow the manufacturer’s instructions carefully to ensure a successful installation.

HammerHead Showers Solid Metal Single-Handle Trim Kit with Rough-In Shower Valve, Volume and Temperature Control, Pressure Balance, Chrome
THE PLUMBER'S CHOICE – Designed for EASY INSTALLATION and MAINTENANCE with a durable BRASS and STAINLESS STEEL construction,...
As an affiliate, we earn on qualifying purchases.
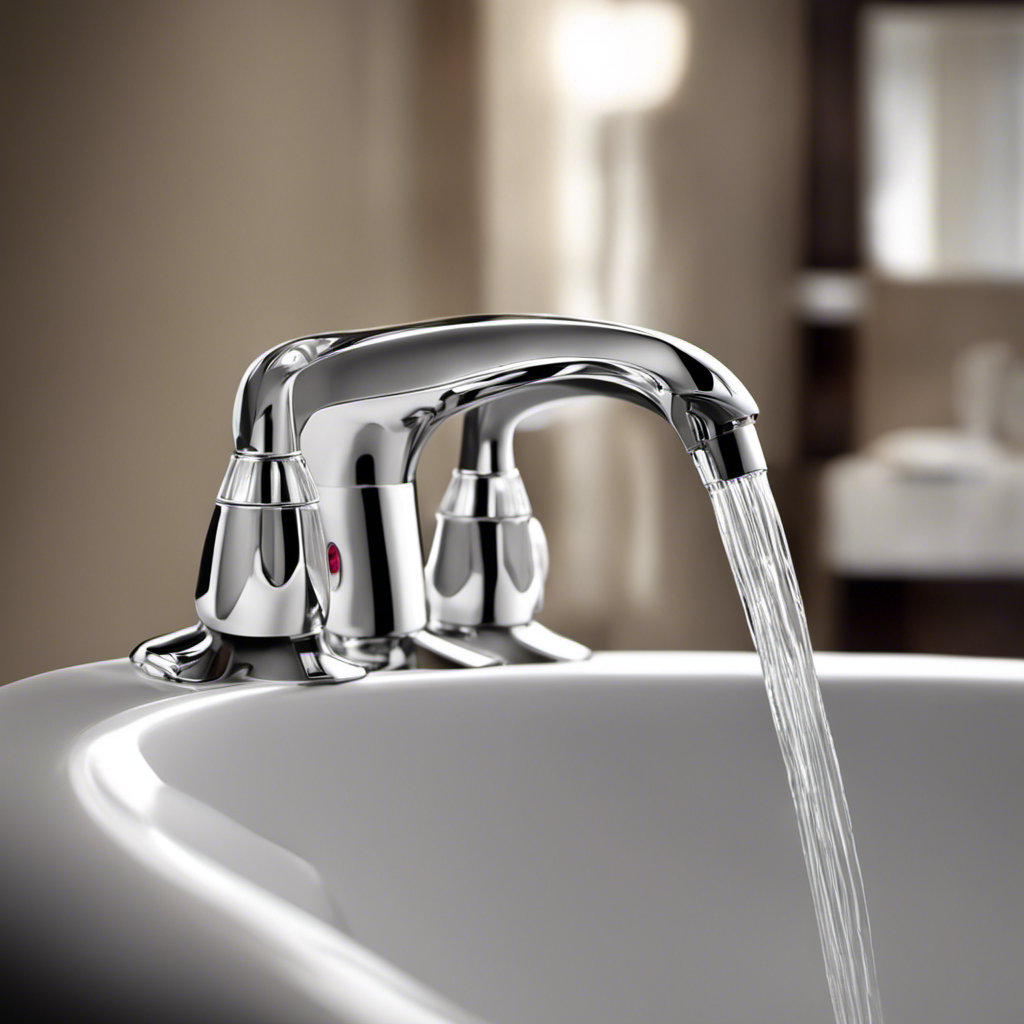
Testing and Checking for Leaks
Now that the new drain is installed, it’s important to test for any leaks to ensure a proper seal. To prevent leaks and troubleshoot any potential issues, I recommend performing a thorough check.
Start by filling the bathtub with water and inspecting the drain area for any signs of leakage. Look for water seeping through the drain or any visible gaps between the drain and the bathtub surface. Additionally, check the connections and joints for any signs of water leakage.
If you notice any leaks, make sure to tighten the connections or apply plumber’s putty as needed. It’s crucial to address any leaks promptly to avoid water damage or further complications.
Now that we have covered leak prevention and troubleshooting leaks, let’s move on to the next section where I will share some tips and tricks for a successful drain replacement.
Tips and Tricks for a Successful Drain Replacement
To ensure a successful drain replacement, it’s essential to follow these tips and tricks.
First, make sure to gather all the necessary tools and materials before starting the project. Common mistakes include not having the right wrench or sealant on hand, which can lead to delays and frustration.
Next, carefully remove the old drain by loosening the securing screws and gently pulling it out. Be cautious not to damage the surrounding pipes or fixtures.
Once the old drain is removed, thoroughly clean the area to ensure a proper seal for the new drain.
Troubleshooting tip: if you encounter any difficulties during the installation process, refer to the manufacturer’s instructions or seek professional assistance.
Finally, test the new drain for leaks by running water and checking for any signs of water escaping.
Conclusion
In conclusion, changing out a bathtub drain is a task that requires precision and attention to detail. The process, much like the draining water, symbolizes the release of old and worn-out parts of our lives, making way for new beginnings.
By following the steps outlined in this article, you can successfully replace your bathtub drain and ensure a leak-free experience. Remember to gather the necessary tools and materials, remove the old drain carefully, install the new one securely, and test for leaks.
Happy draining!