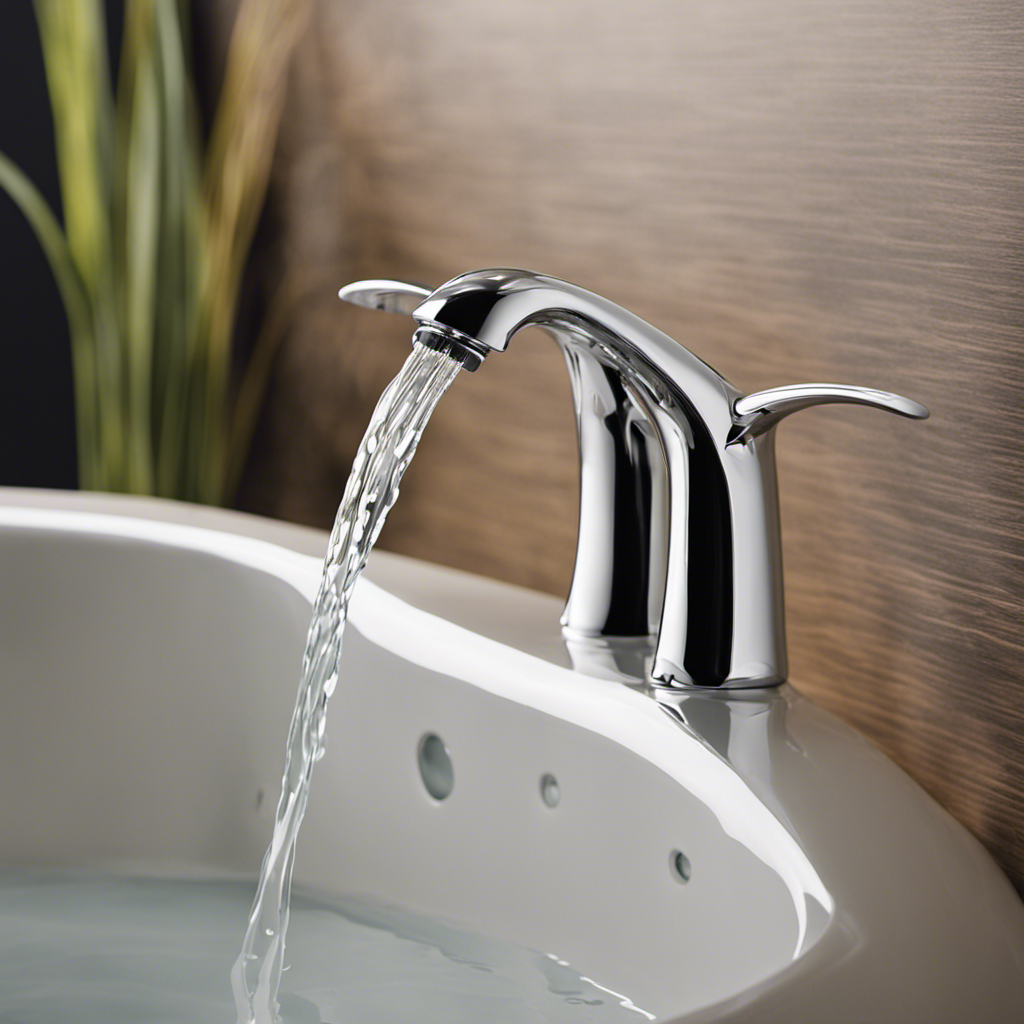
So, you’ve got a bathtub faucet that’s seen better days. It’s time to give it a little makeover and replace it with something shiny and new. Don’t worry, I’ve got you covered.
In this article, I’m going to show you step by step how to change out your bathtub faucet. We’ll start by gathering the necessary tools and materials, then shut off the water supply, remove the old faucet, install the new one, and finally, give it a test run and add those finishing touches.
Let’s get started!
Key Takeaways
- Different types of bathtub faucets to consider: compression, ball, cartridge, disc
- Importance of shutting off the water supply before starting work
- Gathering necessary tools: adjustable wrench, screwdriver, pliers
- Importance of testing for leaks after installation
Tools and Materials Needed
You’ll need a few tools and materials to change out the bathtub faucet.
When it comes to choosing the right faucet, there are different types to consider.
The first type is the compression faucet, which has separate hot and cold handles and requires you to tighten or loosen the handles to control the water flow.
Another type is the ball faucet, which has a single handle that rotates to control both the temperature and water flow.
The third type is the cartridge faucet, which also has a single handle but uses a cartridge mechanism to control the water flow.
Lastly, there is the disc faucet, which has a single handle and uses a ceramic disc to regulate the water flow.
Depending on the type of faucet you choose, you may need different tools and materials such as a wrench, pliers, Teflon tape, and a new faucet.
Shutting Off the Water Supply
To prevent water from flowing, it’s important to shut off the water supply before beginning any work. Before changing out a bathtub faucet, locating and turning off the water valves is crucial. In most cases, you will find the shut-off valves under the sink or in a nearby utility room. These valves control the flow of water to the faucet, allowing you to shut it off completely.
To shut off the water, simply turn the valve clockwise until it is fully closed. It’s important to note that some older homes may not have individual shut-off valves for each fixture, in which case, you will need to shut off the main water supply to the entire house. This ensures that no water flows while you work on the faucet.
Removing the Old Faucet
Before removing the old faucet, it’s best to gather the necessary tools for the job. You will need a few common tools to successfully remove the old faucet. The first tool you will need is an adjustable wrench, which will help loosen and remove any nuts or bolts holding the faucet in place. Additionally, a screwdriver may be required to remove any screws or fasteners. It’s also a good idea to have a pair of pliers on hand to help with any stubborn connections.
When removing the old faucet, it’s important to be aware of common faucet problems that may arise. These can include corrosion, mineral buildup, or worn-out parts that may make the removal process more difficult. By being prepared with the proper tools, you will be able to tackle these issues and remove the old faucet with ease.
Now that you have gathered the necessary tools and are aware of common faucet problems, you are ready to move on to the next step: installing the new faucet.
Installing the New Faucet
Once the old faucet has been removed, it’s time to start installing the new one. Before you begin, make sure you have all the necessary tools and materials, including a new faucet, plumber’s tape, and a wrench.
Here are some key points to remember during the installation process:
-
Common installation mistakes to avoid:
-
Forgetting to turn off the water supply before starting the installation.
-
Not using plumber’s tape to ensure a watertight seal.
-
Over-tightening the connections, which can damage the fittings.
-
Different types of bathtub faucets:
-
Single-handle faucets: These have a lever or knob to control both the temperature and water flow.
-
Two-handle faucets: These have separate handles for hot and cold water control.
-
Wall-mounted faucets: These are installed on the wall rather than the bathtub itself.
With these considerations in mind, you can now proceed to the next step of testing and finishing touches, ensuring a successful faucet installation.
Testing and Finishing Touches
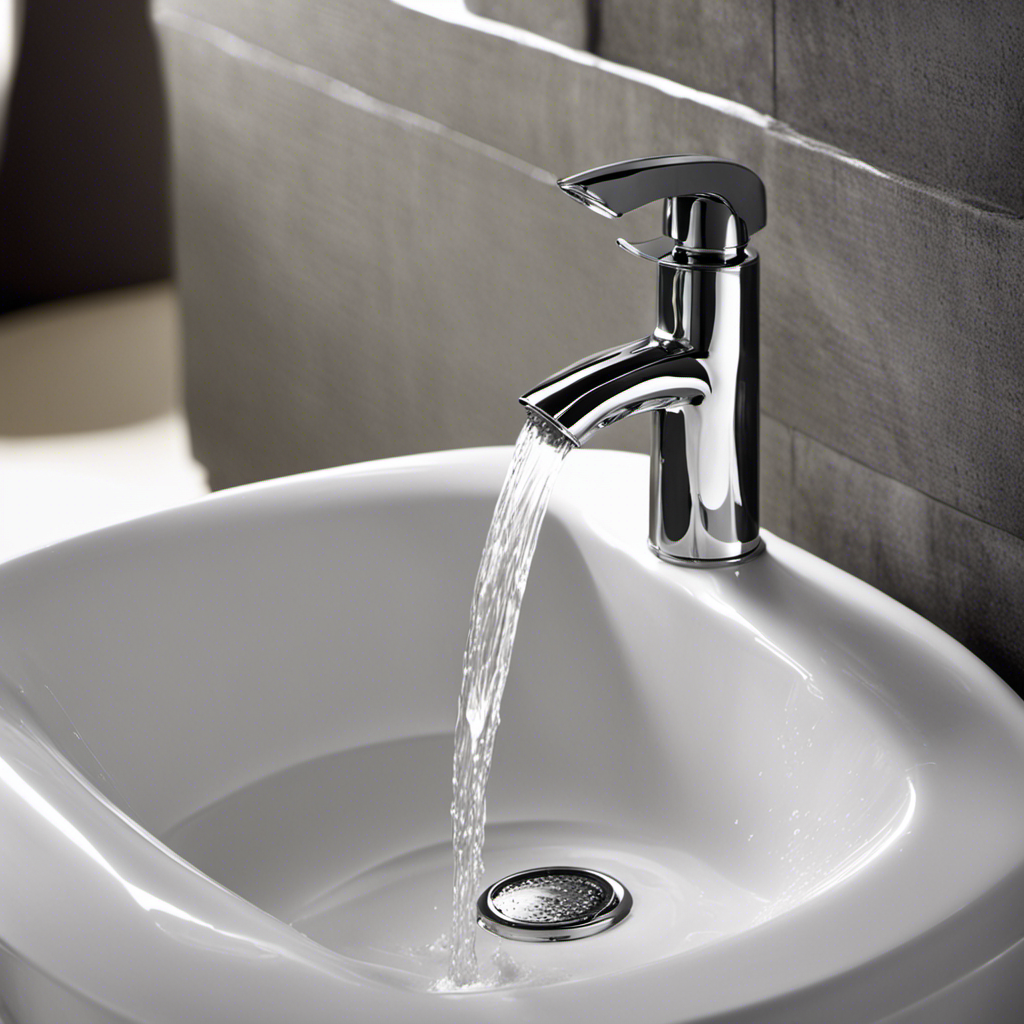
After you have completed the faucet installation, it’s important to test for any leaks and make any necessary finishing touches. To ensure a properly functioning bathtub faucet, there are a few testing techniques you can employ. First, turn on the water and check for any leaks around the base or handles of the faucet. If there are leaks, tighten the connections or replace any faulty parts. Additionally, test the hot and cold water separately to ensure they are working correctly. Troubleshooting tips include checking the water pressure and adjusting it if necessary, as well as inspecting the aerator for any blockages. Finally, don’t forget to add any finishing touches, such as caulk around the edges of the faucet to create a watertight seal.
| Testing Techniques | Troubleshooting Tips |
|---|---|
| Check for leaks | Adjust water pressure |
| Test hot and cold water separately | Inspect aerator |
| Add caulk for watertight seal |
Conclusion
In conclusion, changing out a bathtub faucet is a straightforward task that can be accomplished with the right tools and a little know-how.
By shutting off the water supply, removing the old faucet, and installing the new one, you can transform your bathroom into a haven of relaxation.
Just like a chef uses the perfect blend of ingredients to create a delicious dish, replacing a faucet requires the perfect combination of skill and precision.
So go ahead, dive into this project and enjoy the satisfaction of a job well done!
