Fixing a bathtub faucet that won’t turn off is like solving a puzzle with water at stake. It can be frustrating, but with a few simple steps, you can regain control.
In this guide, I will walk you through the process of:
- Identifying the issue
- Shutting off the water supply
- Removing the faucet handle
- Inspecting and replacing the cartridge or valve
- Testing and reassembling the faucet
With these tips, you’ll be able to tackle this common household problem with confidence.
Key Takeaways
- Troubleshooting methods can help identify the issue with a bathtub faucet that won’t turn off.
- Shutting off the water supply is important before attempting any repairs.
- Removing the faucet handle is a necessary step in accessing and inspecting the cartridge or valve.
- Testing the faucet before reassembling is crucial to ensure proper functionality and to check for leaks.

RP25513 faucet stem assembly Replacement Kit for two handle faucet repair kit with RP24096 Cartridge RP4993 Seats Springs RP24097 1/4 Turn stop, 2 Pack
- Package Includes: 2 stems, 2 stops, 2 seats, 2 springs
- Universal Compatibility: Fits hot and cold faucets
- Reliable Repair Kit: Fixes leaks caused by stem, spring, or seat failure
As an affiliate, we earn on qualifying purchases.
As an affiliate, we earn on qualifying purchases.
Identifying the Issue
First, you’ll need to determine why your bathtub faucet won’t turn off. There are several troubleshooting methods you can use to identify the issue.
One common cause could be a worn-out or faulty valve cartridge. This is the part that controls the flow of water and can become damaged over time.
Another possible cause is a loose or broken handle. If the handle is not properly attached or if the internal components are damaged, it can prevent the faucet from turning off completely.
Additionally, a faulty diverter valve or a corroded pipe can also cause this problem.
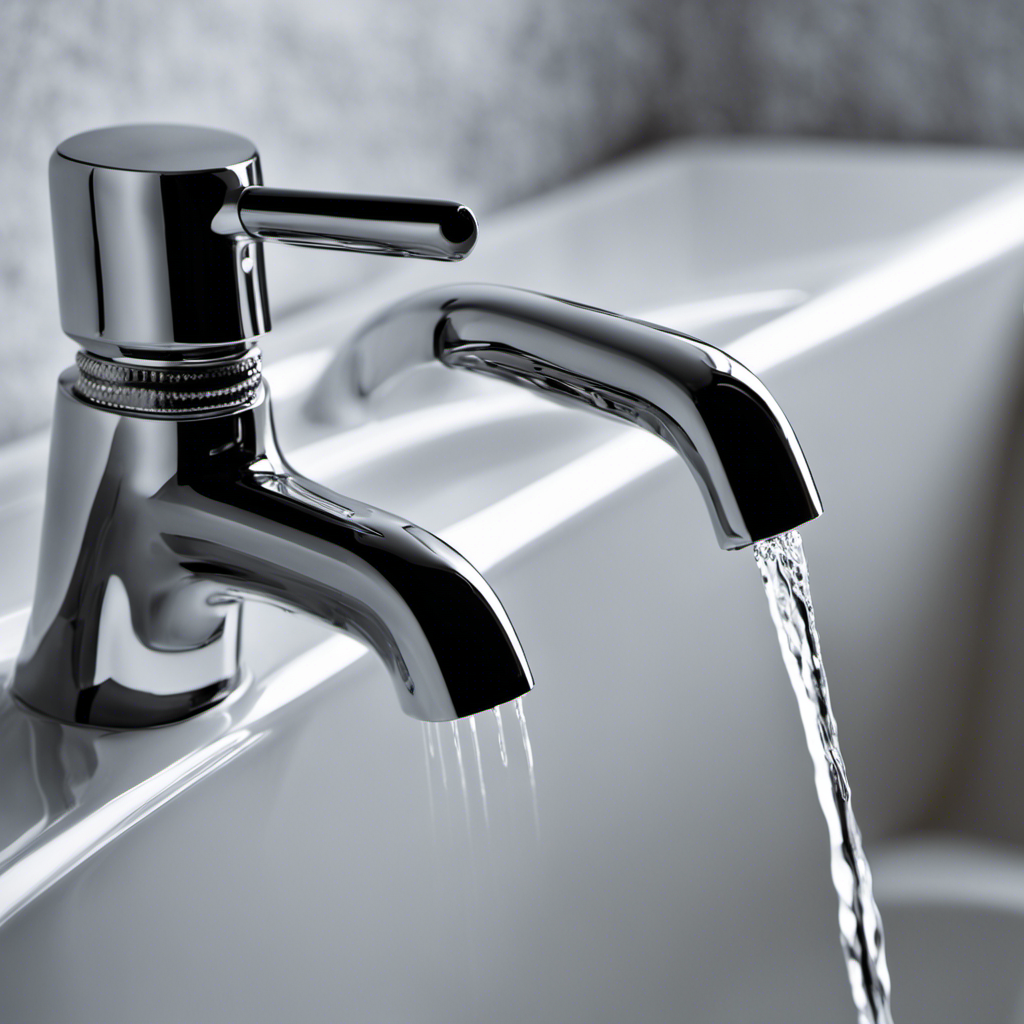
Shutting off the Water Supply
To stop the flow of water, you’ll need to shut off the main water supply to the bathtub. Turning off the water is a crucial step in fixing a bathtub faucet that won’t turn off.
The main water supply valve is typically located near the water meter or in the basement. It may be a lever, a round wheel, or a handle that you need to turn clockwise to shut off the water. Make sure to turn it firmly but not too forcefully to avoid damaging the valve.
Once the water supply is shut off, you can safely work on fixing the faucet. Remember to turn the water back on after completing the repairs to ensure proper functioning.
Removing the Faucet Handle
Once you’ve shut off the water supply, you can start removing the faucet handle. This is an important step in repairing or replacing a faulty faucet handle. To guide you through the process, here is a step-by-step guide:
- Begin by locating the set screw on the handle. It is usually located on the underside or the side of the handle.
- Use a screwdriver or an Allen wrench to remove the set screw. Turn it counterclockwise until it is loose enough to remove completely.
- Once the set screw is removed, you can now take off the handle. Gently pull it straight out to detach it from the faucet.
- If the handle doesn’t come off easily, you may need to use a handle puller tool to remove it without causing any damage.
By following these steps, you can successfully remove the faucet handle and proceed to the next step of inspecting and replacing the cartridge or valve.
Now, let’s move on to inspecting and replacing the cartridge or valve.
Inspecting and Replacing the Cartridge or Valve
Now that you’ve successfully removed the faucet handle, it’s time to inspect and replace the cartridge or valve.
Common cartridge problems can include leaks, drips, or difficulty turning the faucet on or off. To determine if the cartridge is the issue, carefully examine it for any signs of wear or damage. If you notice any cracks or leaks, it’s likely that the cartridge needs to be replaced.
When choosing the right replacement valve, make sure to match the brand and model of your existing faucet. This will ensure compatibility and a proper fit. Additionally, consider the type of valve you prefer, such as a ceramic disc or compression valve.
Once you have selected the appropriate replacement, you can proceed to testing and reassembling the faucet to complete the repair.
Testing and Reassembling the Faucet
Make sure to test the faucet by turning on the water and checking for any leaks or issues before reassembling it. Here are four steps to follow when testing and reassembling your faucet:
-
Turn on the water supply: Open the shut-off valves underneath the sink to allow water to flow to the faucet. Check for any leaks around the supply lines or connections.
-
Operate the handles: Turn the faucet handles on and off to see if the water flow is smooth and the handles are functioning properly. Pay attention to any unusual noises or resistance.
-
Check for leaks: Look for any signs of water leakage around the faucet base, handles, or spout. If you notice any leaks, tighten the connections or replace faulty parts.
-
Reassemble the faucet: If everything looks good, carefully reassemble the faucet by following the reverse order of disassembly. Make sure all connections are secure and tight.
Conclusion
In conclusion, fixing a bathtub faucet that won’t turn off may seem like a daunting task, but with the right steps and a little bit of patience, it can be accomplished.
Remember the old saying, ‘Where there’s a will, there’s a way.’ By identifying the issue, shutting off the water supply, and inspecting and replacing the cartridge or valve if necessary, you can successfully repair your faucet and regain control over your water flow.
So don’t hesitate to tackle this problem head-on and restore your bathtub to its fully functional state.