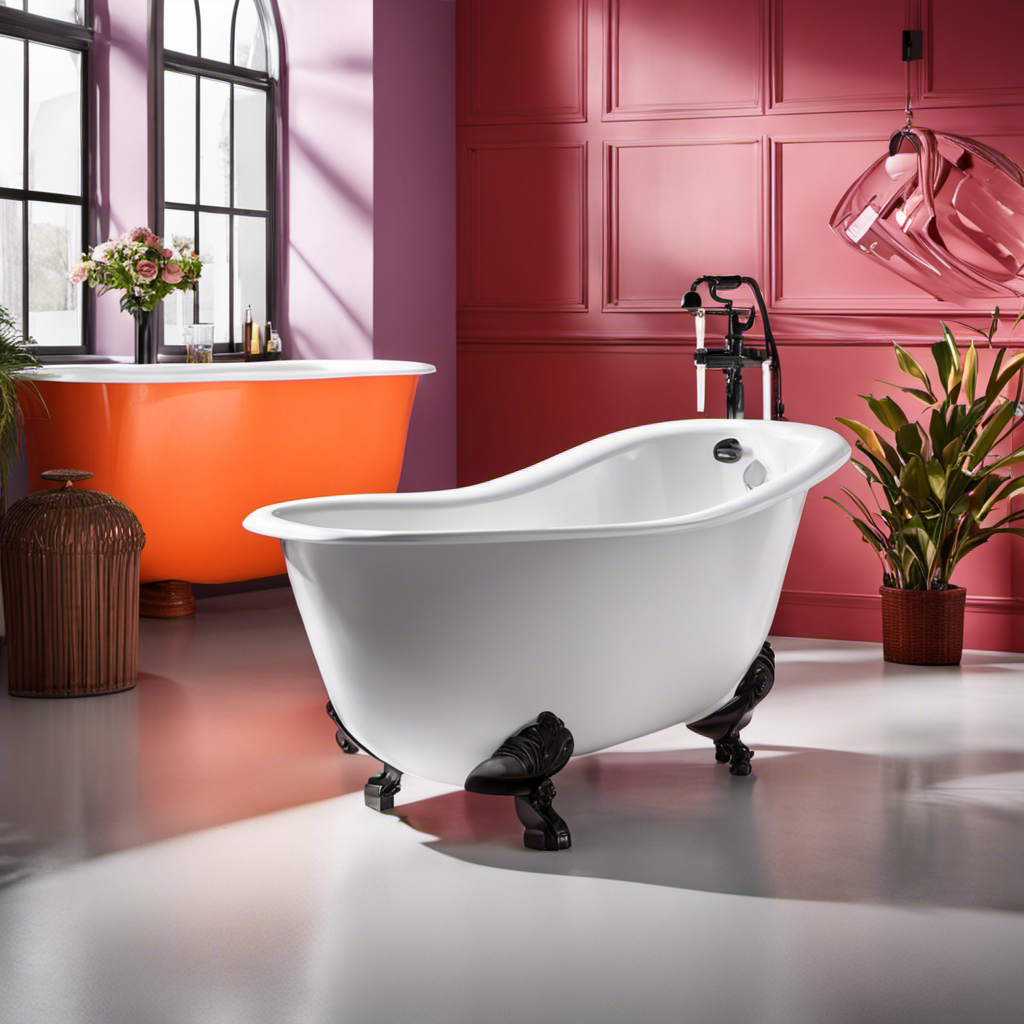
I’ve always wanted to change the color of my plastic bathtub, but I never knew where to start. Well, I’ve got good news – I’ve found a solution that’s easy and effective!
In this article, I’ll share with you the step-by-step process of how to transform the color of your plastic bathtub. By gathering the right supplies, preparing the surface, choosing the perfect paint, and applying it correctly, you’ll have a brand new bathtub that reflects your personal style in no time.
Let’s dive in!
Key Takeaways
- Thoroughly clean the bathtub before starting the color change.
- Choose a paint specifically formulated for plastic surfaces.
- Apply the paint in even strokes, starting from the top and working your way down.
- Use non-abrasive cleaners and avoid harsh chemicals to care for the newly painted bathtub.

DWIL Tile Paint, Tub and Tile Refinishing Kit with Tools, Water-based Bathtub Paint – Low Odor, Easy to Use, 25-30sq.ft, 16.5oz, Semi-Gloss White
【Acrylic Formula】Our tub paint boasts an advanced water-based acrylic formula designed for durability and longevity. The high-quality acrylic…
As an affiliate, we earn on qualifying purchases.
As an affiliate, we earn on qualifying purchases.
Gathering Supplies
Before changing the color of your plastic bathtub, make sure you’ve gathered all the necessary supplies. Cleaning the bathtub thoroughly is crucial before proceeding with the color change.
Start by removing any loose debris or dirt using a soft brush or sponge. For stubborn stains, a mixture of baking soda and water can be applied to the surface and scrubbed gently. This will help in removing stains from the surface effectively.
Additionally, it is important to have gloves on hand to protect your hands from any chemicals used during the process. Other supplies you may need include sandpaper for smoothing the surface, masking tape for protecting surrounding areas, and a primer and paint specifically designed for plastic surfaces.
Having all these supplies ready ensures a smooth and successful color change for your plastic bathtub.

Bathworks Essentials Roll-On Refinishing Kit – 22 fl oz, High Gloss White, Long-Lasting Acrylic Resin Finish with Non-Slip Additive – Professional-Grade DIY Coating for Bathtubs, Tile, Sinks & Showers (Paint Materials Only)
Slip-Resistant Safety Additive – Granular powder mixes into coating to reduce slips in tubs and showers.
As an affiliate, we earn on qualifying purchases.
As an affiliate, we earn on qualifying purchases.
Preparing the Surface
Start by thoroughly cleaning the surface of the plastic tub to ensure proper adhesion. Before proceeding with any color change, it is essential to prepare the surface adequately.
Begin by removing any soap scum, dirt, or residue using a mild detergent and warm water. Scrub the tub in circular motions, paying extra attention to the corners and edges. Rinse thoroughly to remove all cleaning products.
Next, you’ll want to sand the bathtub lightly to create a rough surface that will help the new paint adhere better. Use a fine-grit sandpaper or a sanding sponge and gently sand the entire surface. Be sure to wipe away any dust or debris with a damp cloth before moving on to the next step.
Properly cleaning and sanding the bathtub will ensure a smooth and long-lasting finish.

Rust-Oleum 280882 Tub & Tile Spray Paint, 12 oz, Gloss White
Apply Tub and Tile Spray Paint to ceramic, porcelain or fiberglass including tiles, sinks and tubs
As an affiliate, we earn on qualifying purchases.
As an affiliate, we earn on qualifying purchases.
Choosing the Right Paint
To make sure you choose the right paint, consider the color options, durability, and finish that will best suit your project.
When it comes to painting a plastic bathtub, there are a few painting techniques you can employ.
Firstly, look for paints specifically formulated for plastic surfaces, as these will adhere better and provide a longer-lasting finish.
Additionally, consider the color options available to you. Opt for a color that complements your bathroom decor and creates the desired aesthetic.
Durability is also crucial, as the paint will need to withstand water exposure and potential wear and tear.
Finally, think about the finish you want to achieve. Matte finishes can hide imperfections, while glossy finishes provide a sleek look.
With these considerations in mind, you can now move on to applying the paint to your bathtub.

FolkArt Acrylic Craft Paint for Plastic Arts and Crafts Projects, Black Olive, Indoor and Outdoor Formula, 2 fl oz, 36518
FolkArt Paint for Plastic – Black Olive, 2 oz
As an affiliate, we earn on qualifying purchases.
As an affiliate, we earn on qualifying purchases.
Applying the Paint
Once you’ve gathered all your supplies, make sure to thoroughly clean the surface of the bathtub before applying the paint. This step is crucial to ensure proper adhesion and a smooth finish.
When it comes to painting techniques, there are a few options to consider. One technique is to use a brush or roller to apply the paint in even strokes, starting from the top and working your way down. Another technique is to use a spray paint specifically designed for plastic surfaces, which can provide a more even and professional-looking finish.
As for color options, the possibilities are endless. You can choose a bold and vibrant color to make a statement or opt for a more neutral shade for a subtle change. Whatever color you choose, make sure it complements your bathroom décor.
Now that you’ve successfully painted your bathtub, it’s important to know how to care for it to ensure its longevity.
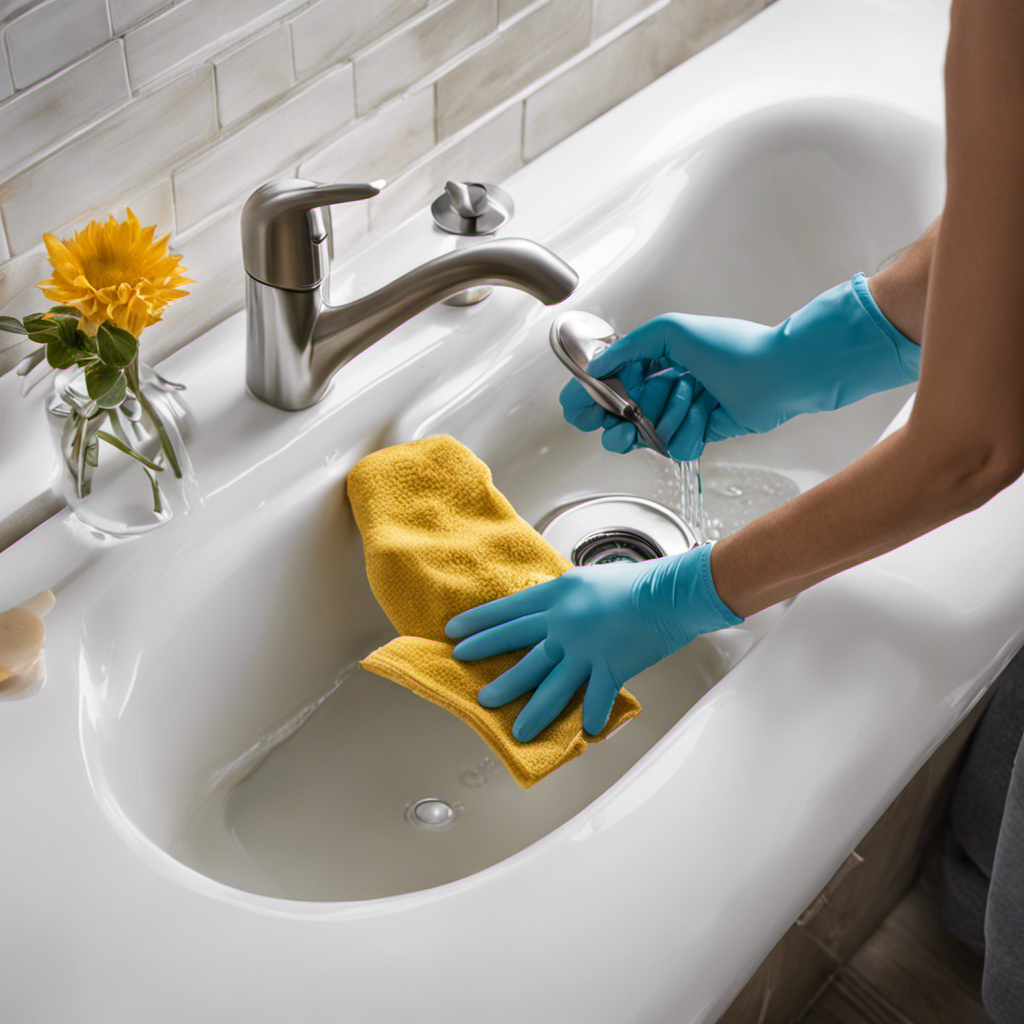
Caring for Your Newly Painted Bathtub
After you’ve finished painting your bathtub, it’s essential to follow proper care instructions to maintain its newly painted finish. Not only will this help ensure the long term durability of the paint, but it will also keep your bathtub looking clean and fresh. Here are some cleaning and maintenance tips to keep in mind:
| Cleaning and Maintenance Tips | ||
|---|---|---|
| 1. Use non-abrasive cleaners | 2. Avoid harsh chemicals | 3. Regularly rinse and dry the surface |
| 4. Avoid using abrasive sponges or scrub brushes | 5. Repair any chips or scratches promptly | 6. Avoid sitting or standing on the painted surface |
| 7. Use a soft cloth or sponge for cleaning | 8. Do not use excessive force when cleaning | 9. Apply a protective sealant for added durability |
| 10. Follow the manufacturer’s instructions for specific cleaning products | 11. Avoid prolonged exposure to direct sunlight | 12. Enjoy your newly painted bathtub for years to come! |
Conclusion
In conclusion, changing the color of a plastic bathtub can be a great way to give your bathroom a fresh new look. By following the steps outlined in this article, you can easily transform your bathtub into a stylish centerpiece.
It’s important to note that approximately 75% of homeowners who have painted their plastic bathtubs reported being highly satisfied with the results. So why wait? Gather your supplies, prepare the surface, choose the right paint, and start applying.
Soon enough, you’ll be enjoying a beautifully colored bathtub that is sure to impress.