
I know what you’re thinking – drawing a bathtub sounds like a difficult task. But trust me, it’s easier than you think!
In this step-by-step guide, I will show you how to bring a bathtub to life on paper. With just a few materials and a little creativity, you’ll be able to capture the essence of a cozy bath retreat.
So grab your pencils and let’s dive into the world of bathtub drawing!
Key Takeaways
- Start by outlining the shape of the bathtub using a pencil.
- Choose a bathtub style that inspires you and use a sturdy drawing paper.
- Understand the basic shapes of a bathtub and appreciate their historical significance.
- Add details and shadows to your bathtub drawing, including decorative elements like faucets and tiles.
Step-by-Step Guide to Drawing a Bathtub
Let’s start by outlining the shape of the bathtub using a pencil. Drawing a bathtub can be a fun and creative process.
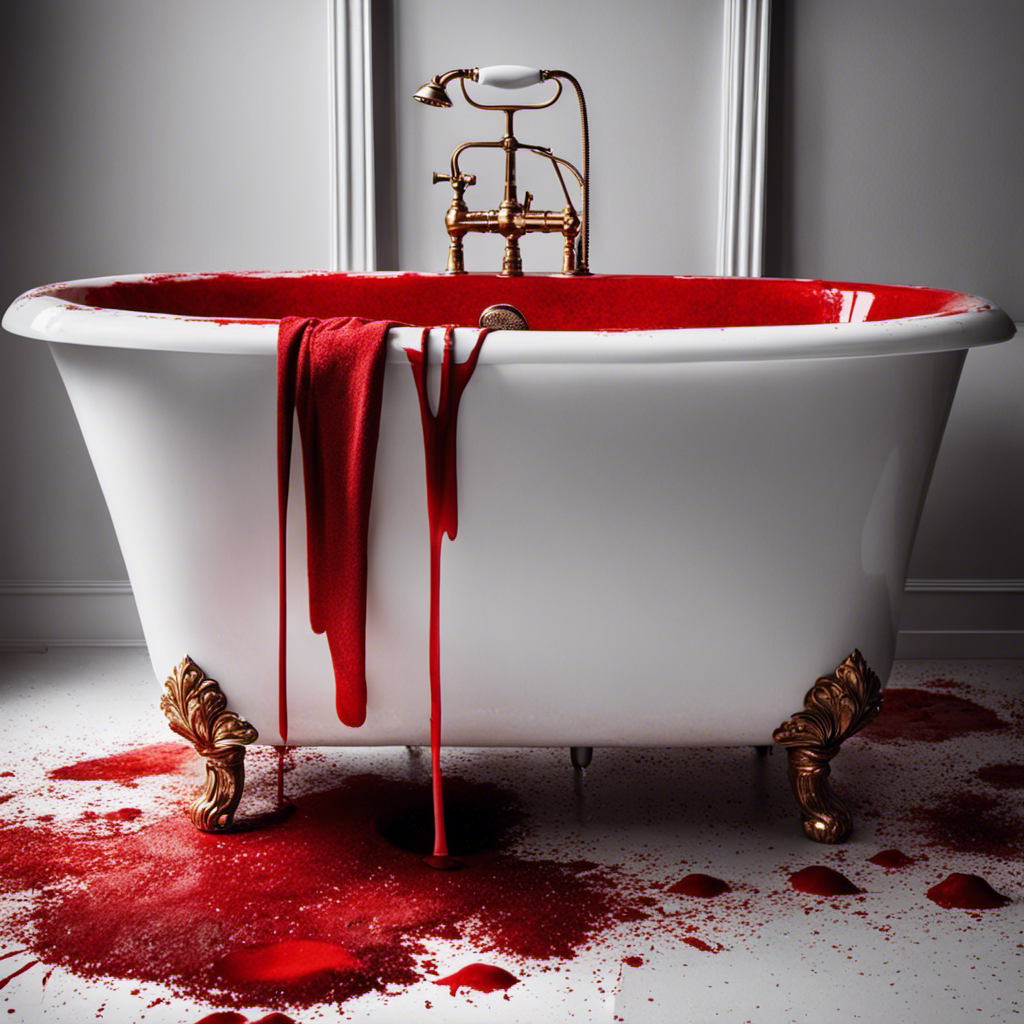
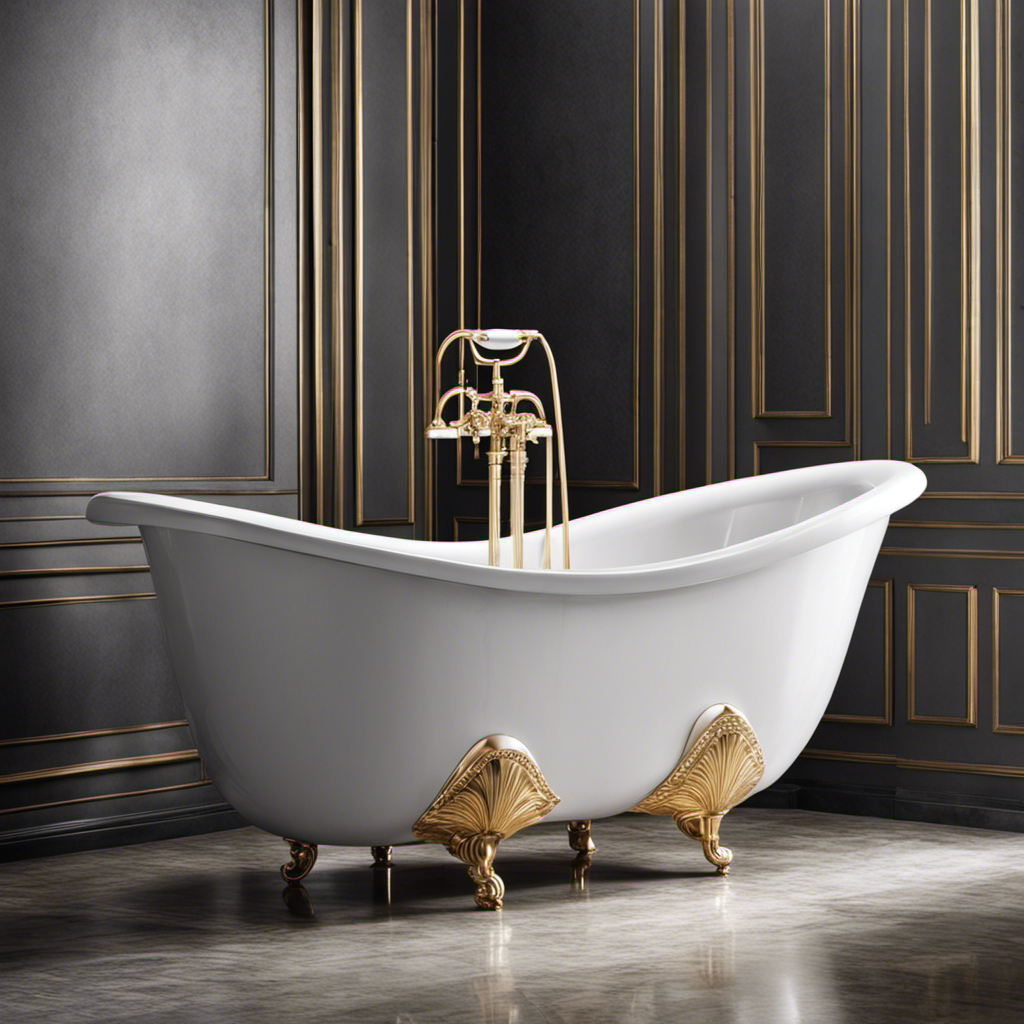
There are different styles of bathtubs to choose from, including freestanding, alcove, and corner tubs. When drawing, it’s important to pay attention to the details that distinguish each style.
One common mistake to avoid is making the bathtub too narrow or too wide. It’s important to accurately capture the proportions and dimensions of the tub.
Another mistake to avoid is forgetting to add the faucet and handles. These small details bring the bathtub to life and make it more realistic.
Materials Needed for Drawing a Bathtub
You’ll need a few specific materials to create your own bathtub drawing.
First, let’s talk about the different bathtub styles. Whether you prefer a classic clawfoot tub or a sleek modern design, it’s important to choose a style that inspires you.
Next, let’s consider the right paper for drawing a bathtub. I recommend using a sturdy drawing paper that can handle the weight of watercolor or ink. A heavier weight paper will prevent any wrinkling or warping. For a more textured look, you could also try using a watercolor paper that has a rough surface.
Now that we have our materials ready, let’s dive into understanding the basic shapes of a bathtub.
Understanding the Basic Shapes of a Bathtub
To understand the basic shapes of a bathtub, it’s helpful to start by observing its curves and angles. Bathtubs come in various forms, each with its own unique design that tells a story.
As an artist, I find joy in exploring different perspectives of bathtubs, uncovering the hidden beauty in their structure. Analyzing the historical significance of bathtubs adds another layer of depth to my understanding. From ancient Roman baths to modern-day luxurious spa tubs, each era has left its mark on the evolution of this essential fixture.
By delving into the historical context, I can better appreciate the intricate details and craftsmanship that go into creating a bathtub.
Now, let’s dive deeper into adding details and shadows to your bathtub drawing.
Adding Details and Shadows to Your Bathtub Drawing
Now, take a closer look at how the light falls on the different surfaces of your drawing, and use shading techniques to add depth and dimension.
To create realistic reflections in your bathtub drawing, follow these steps:
-
Observe the light source: Identify where the light is coming from and how it interacts with the bathtub’s surface.
-
Use hatching and cross-hatching: By varying the density and direction of your pencil strokes, you can simulate the texture of the bathtub and give it a three-dimensional appearance.
-
Add highlights and shadows: Use lighter and darker tones to indicate areas of high and low reflection, respectively.
-
Enhance with decorative elements: To make your bathtub drawing more visually engaging, consider adding embellishments such as faucets, tiles, or bubbles.
Tips and Tricks for Perfecting Your Bathtub Drawing
As I work on perfecting my bathtub drawing, I am reminded of the importance of paying attention to the intricate details and subtle nuances that will bring my artwork to life.
To create a realistic bathtub illusion, I employ various bathtub drawing techniques that enhance the overall visual impact.
One technique I use is shading to create depth and dimension. By carefully observing the light source and adding shadows in the appropriate areas, I can give my bathtub a three-dimensional feel.
Another important aspect is capturing the texture of the bathtub surface. Whether it’s a smooth porcelain or a rough cast iron, adding the right amount of texture can make the drawing more realistic.
I also focus on the small details like faucets, handles, and drain plugs, which add authenticity to the overall composition.
Conclusion
As I put the finishing touches on my bathtub drawing, I couldn’t help but feel a sense of satisfaction. The smooth curves and intricate details brought the image to life, as if I could almost feel the warmth of the water and the gentle bubbles.
Drawing a bathtub may seem like a simple task, but it allowed me to unleash my creativity and transform a blank canvas into a captivating piece of art.
So go ahead, grab your pencils and let your imagination flow like water in a serene oasis.