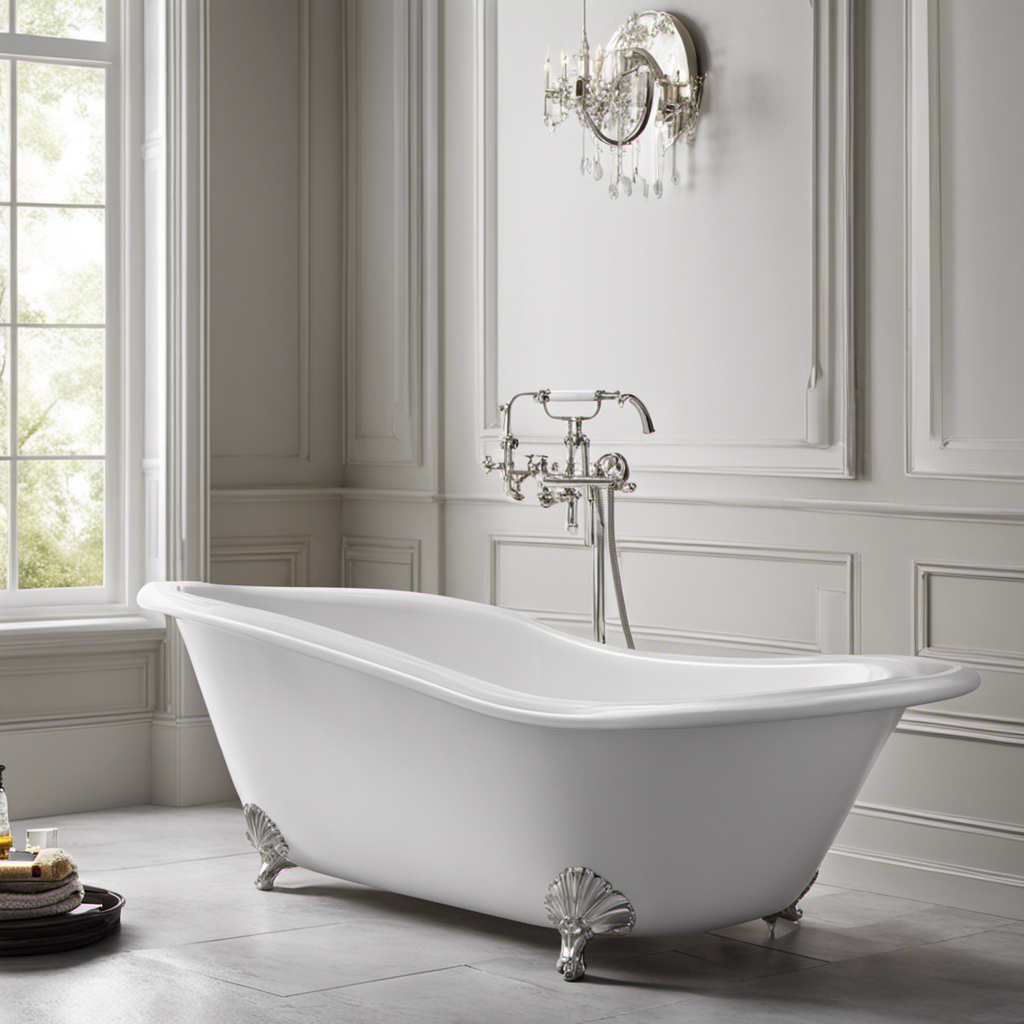
Are you tired of staring at that worn-out, dull bathtub? Well, get ready to transform it into a sparkling oasis!
In this step-by-step guide, we’ll show you how to epoxy your bathtub like a pro. It’s as easy as a Sunday morning, and the results will leave you feeling like you’re soaking in a luxurious spa.
So, grab your tools and let’s dive into the world of bathtub epoxying!
Key Takeaways
- Properly preparing the bathtub surface is essential before applying epoxy
- Choosing the right epoxy for high-moisture environments and compatibility is important
- Applying the epoxy evenly and avoiding drips or bubbles is crucial for a smooth finish
- Allowing sufficient time for the epoxy to cure and following proper drying instructions is necessary for durability

Cement Mixer, Handheld Electric Concrete Mixer, Portable Mortar Mixer with 6 Adjustable Speed, 110V Mud Mixer Machine Drill Tool for Paint Mortar Fodder Mixing Drywall Grout Plaster (Red)
【Powerful Copper Motor】This Electric Concrete Mixer equipped 2100W/110V copper motor, Handheld Mud Mixer offers a more efficient and...
As an affiliate, we earn on qualifying purchases.
Preparing the Bathtub Surface
You’ll need to start by thoroughly cleaning the bathtub surface before applying the epoxy. Begin by removing any existing caulk or sealant using a putty knife.
Next, spray the surface with a bathtub cleaner and let it sit for a few minutes to loosen any dirt or grime. Scrub the surface with a non-abrasive sponge or brush, paying special attention to any stained or discolored areas.
Rinse the bathtub thoroughly with warm water to ensure all the cleaner is removed. Once the surface is clean and dry, it’s time to sand it. Use medium-grit sandpaper to lightly sand the entire bathtub, focusing on any rough or uneven areas.
This will help the epoxy adhere better and create a smooth surface for the final coat. With the bathtub surface clean and sanded, you can now move on to choosing the right epoxy for the job.

MAXXT Mixer 13A Single Paddle Concrete Mortar Mixer, 5/8" Keyed Chuck, Soft Start, Come w/100mm Large Spiral Mixing Paddle
SOFT Start & Constant Speed Technology: This mixer enables a slow startup to prevent splashes and extend the...
As an affiliate, we earn on qualifying purchases.
Choosing the Right Epoxy
To make sure you choose the right epoxy for your project, consider factors such as durability and compatibility with the surface you’re working on. Epoxy application can be a great solution for a variety of projects, including bathtub refinishing. The benefits of using epoxy for this task are numerous.
Here are three important factors to consider when choosing the right epoxy for your bathtub project:
-
Durability: Look for an epoxy that is specifically designed for high-moisture environments, as bathtubs are constantly exposed to water and chemicals. This will ensure that your epoxy finish will last for years to come.
-
Compatibility: Check if the epoxy is compatible with the material of your bathtub. Different bathtubs may require different types of epoxy, such as acrylic or porcelain-specific formulas.
-
Ease of application: Consider an epoxy that is easy to apply, with clear instructions and a smooth application process. This will make your bathtub refinishing project much simpler and more efficient.

MAXXT Mixer 12A Single Paddle Concrete/Mortar Mixer, 5/8" Keyed Chuck,Soft Start,Come w/100mm Large Spiral Mixing Paddle
SOFT Start Technology: The mixer incorporates a soft start feature, gradually powering up to prevent splashes, extend the...
As an affiliate, we earn on qualifying purchases.
Applying the Epoxy to the Bathtub
Applying the epoxy to your bathtub is a simple and straightforward process that will give your bathtub a fresh and renewed look.
To ensure a smooth and seamless epoxy finish, there are a few tips and tricks you can follow.
First, make sure to thoroughly clean your bathtub and remove any existing coatings or residue. This will help the epoxy adhere properly.
Next, mix the epoxy according to the manufacturer’s instructions and apply it evenly using a brush or roller. Be careful to avoid drips or bubbles, as these can lead to an uneven finish.
If you encounter any problems during the application process, such as streaks or uneven coating, troubleshooting can help.
One common issue is air bubbles forming in the epoxy. To prevent this, gently blow on the surface or use a heat gun to remove the bubbles.
Another problem is the epoxy not drying or curing properly. This can be caused by improper mixing or temperature conditions. Make sure to follow the instructions carefully and provide adequate ventilation and temperature control in the room.
With these tips in mind, you can achieve a beautiful and flawless epoxy finish on your bathtub.

IMAYCC Cement Mixer 2100W, Portable Concrete Mixer, 110V Handheld Mud Mixer for Motar,Paint, Grout, Plaster, Thinset,Fodder Stirring Tool
【Powerful Motor】This Cement mixer equiped 2100 Watt motor with 270-900 RPM, Suitable for mixing oil paint, cement, fodder,...
As an affiliate, we earn on qualifying purchases.
Curing and Drying the Epoxy
After mixing the epoxy and applying it to the bathtub, it’s important to allow sufficient time for the curing and drying process. The epoxy curing process is crucial for ensuring a durable and long-lasting finish on your bathtub.
Here are some tips for drying epoxy quickly:
-
Increase air circulation: Open windows, turn on fans, or use a dehumidifier to create airflow in the room. This will help the epoxy dry faster.
-
Use a heat source: Applying gentle heat to the epoxy can speed up the drying process. You can use a hairdryer on low heat or a heat lamp to accelerate the curing time.
-
Follow manufacturer’s instructions: Each epoxy product may have specific instructions for drying time and conditions. Make sure to read and follow these guidelines carefully.
Finishing Touches and Maintenance
Remember, regular cleaning and maintenance are essential for preserving the longevity and appearance of your newly finished bathtub.
When it comes to bathtub cleaning, it’s important to remove any old epoxy that may have built up over time. To do this, start by filling the tub with warm water and adding a mild detergent. Let it sit for a few minutes to loosen the epoxy.
Then, use a soft scrub brush or sponge to gently scrub the surface, focusing on the areas with the old epoxy. Rinse the tub thoroughly with clean water to remove any residue. For stubborn epoxy, you can use a commercial epoxy remover, following the instructions carefully.
After cleaning, make sure to dry the tub completely to prevent any water spots or damage.
Frequently Asked Questions
Can I Epoxy a Bathtub That Has Chips or Cracks in It?
Yes, you can epoxy a bathtub with chips or cracks. Start by repairing the chips using a filler. Then, fill the cracks with epoxy putty and smooth it out. Finally, apply epoxy coating to the entire bathtub for a seamless finish.
How Long Does the Epoxy Take to Fully Cure?
To fully cure, epoxy for bathtub repair typically takes around 24-48 hours. During this time, it’s important to avoid using the bathtub to allow the epoxy to harden and provide a durable, long-lasting finish.
Can I Use Regular Paint Instead of Epoxy to Refinish My Bathtub?
You’re wondering if regular paint can be used to refinish your bathtub. While it may seem like a cheaper option, there are some pros and cons to consider. Let’s dive into the details.
Is It Necessary to Wear Protective Gear While Applying Epoxy to the Bathtub?
When applying epoxy to your bathtub, it is crucial to wear protective gear to ensure your safety. Safety precautions, such as gloves, goggles, and a respirator, are important to prevent any harm from the epoxy fumes or skin contact.
Can I Use the Bathtub Immediately After Applying the Epoxy?
After applying epoxy to the bathtub, you should wait before using it. It typically takes about 24 hours for the epoxy to fully cure. Avoid rushing the process to ensure a long-lasting and durable finish.
Conclusion
In conclusion, epoxying your bathtub is a straightforward process that can give your bathroom a fresh new look. By following the steps outlined in this article, you can easily prepare the surface, choose the right epoxy, apply it effectively, and ensure proper curing and drying.
Remember, a well-epoxied bathtub is like a shining jewel in your bathroom, adding a touch of elegance and durability. So don’t hesitate to give your bathtub the makeover it deserves.
Happy epoxying!