
Hey there folks! Are you tired of staring at that unsightly crack in your bathtub? Well, fear not, because I’ve got just the solution for you.
In this handy guide, I’ll walk you through the step-by-step process of fixing that pesky crack all by yourself. So, grab your tools and get ready to roll up your sleeves, because we’re about to tackle this problem head-on.
Trust me, with a little know-how and some elbow grease, your bathtub will be as good as new in no time!
Key Takeaways
- Identifying the cause of the crack and assessing for structural issues or water damage is important before attempting to fix it.
- Gathering the necessary materials such as epoxy-based patching material, safety gear, and basic tools is essential for the repair process.
- Preparing the crack for repair involves assessing its size and depth, using appropriate tools to widen larger cracks if needed, and choosing the right filler.
- Applying the patching material evenly, following the manufacturer’s instructions, and allowing sufficient drying time are crucial steps for a successful repair.
Top picks for "crack bathtub"
Open Amazon search results for this keyword.
As an affiliate, we earn on qualifying purchases.
Assessing the Damage
Before you start fixing the crack, it’s essential to assess the damage. Identifying the cause of the crack is crucial to determine the appropriate repair method.
Inspect the bathtub carefully, looking for any signs of structural issues or water damage. Check for loose tiles, rusted pipes, or any other potential underlying problems that may have contributed to the crack.
If you’re unsure about the cause or if the damage seems severe, it’s advisable to seek professional help. A professional can provide a more accurate assessment and recommend the best course of action to fix the crack.
Once you have identified the cause and assessed the damage, you can proceed to the next step of gathering the necessary materials for the repair process.
Gathering the Necessary Materials
To start, you’ll need a few materials to patch up the crack in your tub. Here’s what you’ll need:
-
Patching Material: Choosing the right patching material is crucial for a successful repair. Look for epoxy-based products that are specifically designed for bathtub repairs. These materials are durable, waterproof, and resistant to chemicals commonly found in bathrooms.
-
Safety Gear: Proper safety precautions are essential when working with patching materials. Make sure you have protective gloves, safety goggles, and a dust mask to prevent any potential harm from chemicals or dust particles.
-
Tools: You’ll need a few basic tools to apply the patching material effectively. These include a putty knife or scraper to remove any loose debris around the crack, sandpaper to smooth the surface, and a caulking gun or syringe to apply the patching material precisely.
Now that you have gathered the necessary materials, let’s move on to preparing the crack for repair.
Preparing the Crack for Repair
Once you’ve gathered your materials, start by assessing the size and depth of the damage to determine the best approach for preparing the area. For small cracks, using a razor blade or sandpaper to remove any loose or damaged material is usually sufficient.
However, for larger cracks, it may be necessary to widen the crack with a chisel or grinder to create a V-shaped groove. This will help the filler adhere better and prevent further cracking.
After preparing the crack, it’s important to choose the right filler for the job. Epoxy-based fillers are ideal for their durability and waterproof properties. Make sure to follow the manufacturer’s instructions for mixing and applying the filler.
Once the crack has been properly repaired, you can move on to applying the patching material to ensure a seamless finish.
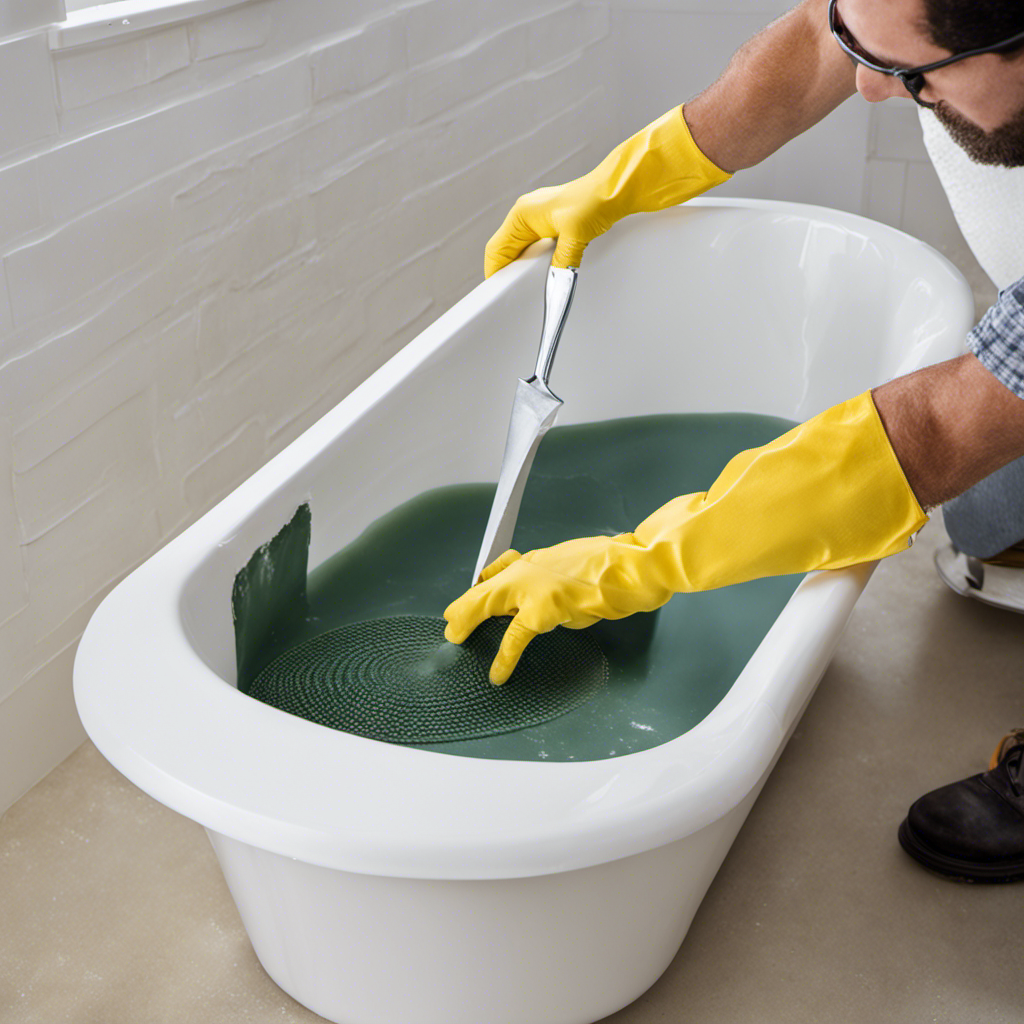
Applying the Patching Material
After mixing the patching material according to the manufacturer’s instructions, apply it to the repaired crack using a putty knife. This step is crucial in ensuring a seamless and durable repair.
Here are three essential patching techniques to follow:
-
Spread the patching material evenly: Use the putty knife to spread the material over the crack, ensuring it covers the entire area. Apply gentle pressure to ensure good adhesion and a smooth finish.
-
Feather the edges: To create a seamless blend between the patch and the surrounding surface, feather the edges of the applied material. This involves tapering the edges using the putty knife, gradually decreasing the thickness towards the edges.
-
Allow sufficient drying time: The drying time for the patching material may vary depending on the specific product. It is crucial to follow the manufacturer’s instructions for the recommended drying time. Avoid using the repaired bathtub until the patch is fully cured to prevent any damage or compromise to the repair.
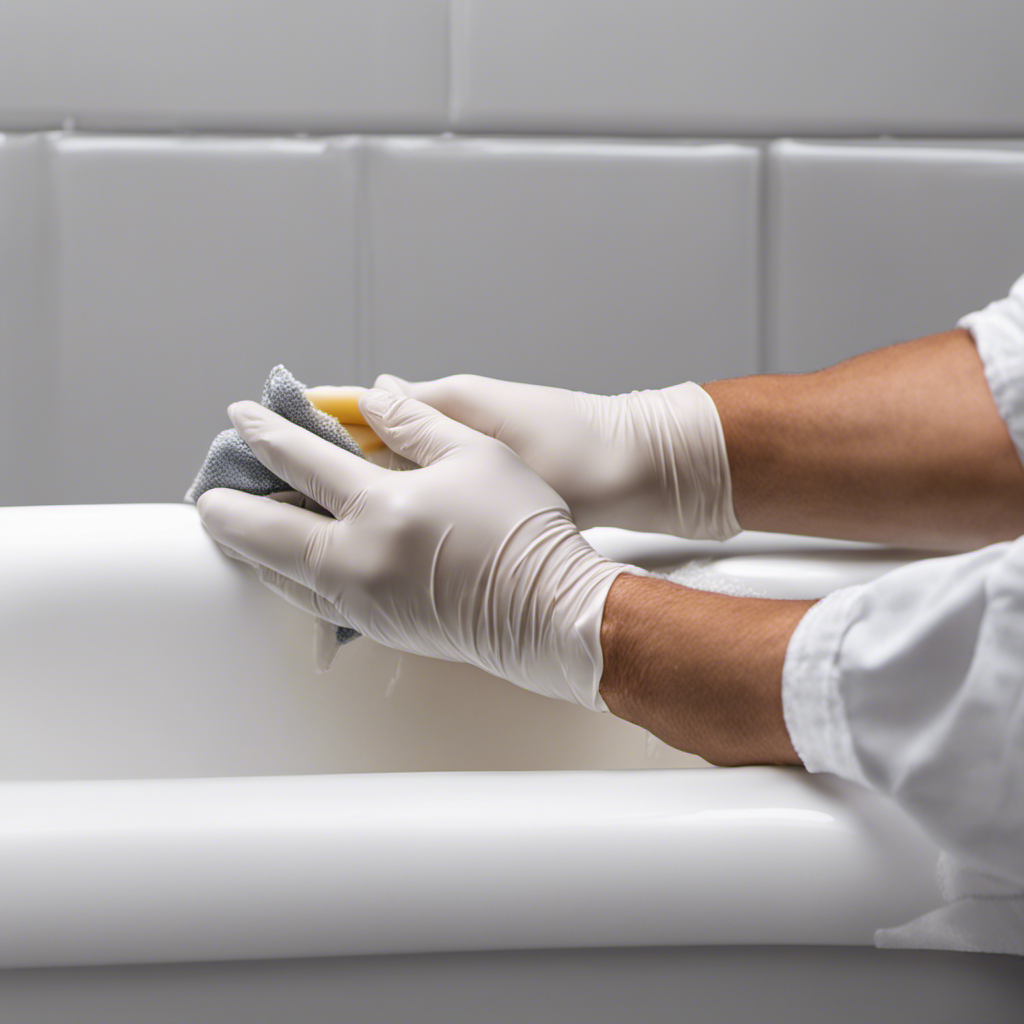
Finishing Touches and Maintenance Tips
Feathering the edges of the patching material creates a seamless blend between the applied material and the surrounding surface.
Once the patch has dried completely, it is important to perform regular maintenance to ensure its long term durability. Establishing a maintenance schedule will help prolong the life of the repaired crack.
To maintain the patch, it is recommended to clean the bathtub regularly using non-abrasive cleaners. Avoid using harsh chemicals or abrasive materials that could damage the patch.
Additionally, inspect the patched area periodically for any signs of wear or deterioration. If any issues are detected, it is crucial to address them promptly to prevent further damage.
Conclusion
In conclusion, repairing a crack in your bathtub is a task that can be easily accomplished with the right materials and techniques.
By assessing the damage, gathering the necessary materials, preparing the crack for repair, applying the patching material, and finishing with some maintenance tips, you can restore your bathtub to its former glory.
Did you know that approximately 35% of homeowners experience cracks in their bathtubs at some point? By following these steps, you can join the majority who successfully fix their bathtub cracks and enjoy a beautifully restored bathing experience.