So, you’ve found a crack in your bathtub, huh? Don’t worry, it happens to the best of us. But lucky for you, fixing it is easier than you might think. In this step-by-step guide, we’ll show you how to assess the crack, gather the necessary tools, prepare the bathtub surface, apply the epoxy filler, and so much more.
By the time you’re finished, your bathtub will be as good as new. Let’s get started, shall we?
Key Takeaways
- Determine the severity of the crack and assess if it can be fixed on your own.
- Consider professional repair options for larger cracks and seek expert advice for the best course of action.
- Gather the necessary tools and materials, such as a bathtub repair kit, gloves, safety goggles, and a dust mask.
- Properly prepare the bathtub surface by cleaning it thoroughly and ensuring proper adhesion for the filler.

Tub Repair Kit White, Tub Chip and Bathtub Repair Kit for Enamel, Fiberglass, Acrylic, Porcelain, Patch and Repairs Chips, Crack, Scratches, Rust, Holes on Tubs, Toilet, Sink, Shower, Tray in Bathroom
Permanently Repair Bathtub Chips, Cracks and Holes: For Fiberglass, Enamel, Acrylic; restore a glossy, non-yellowing, leak-stopping and chip…
As an affiliate, we earn on qualifying purchases.
As an affiliate, we earn on qualifying purchases.
Assessing the Crack
Now, take a close look at the crack and see if it’s small enough to fix on your own. Start by evaluating the damage to determine the severity and potential solutions.
If the crack is less than an inch long and doesn’t extend through the entire thickness of the bathtub, you might be able to fix it yourself. However, if the crack is larger or goes all the way through, it’s best to consider professional repair options.
A professional can assess the extent of the damage and provide expert advice on the best course of action. They have the necessary tools and materials to ensure a long-lasting repair.
epoxy filler for bathtub cracks
As an affiliate, we earn on qualifying purchases.
As an affiliate, we earn on qualifying purchases.
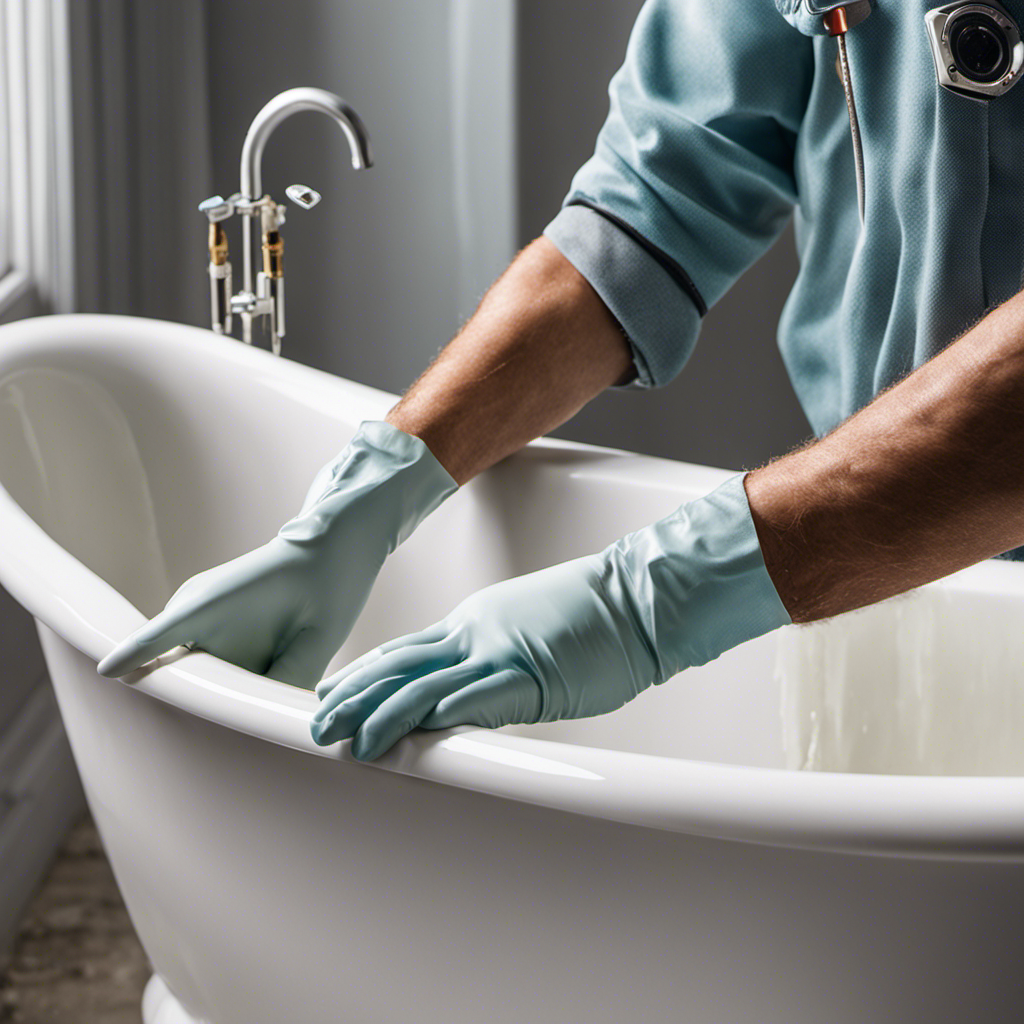
Gathering the Necessary Tools
First, you’ll need to gather all the necessary tools for the job. When it comes to fixing a crack in your bathtub, choosing the right materials is crucial.
Start by getting a repair kit specifically designed for bathtub cracks. These kits usually contain a filler compound, a putty knife, sandpaper, and a bathtub refinishing paint. Additionally, make sure to have a pair of gloves, safety goggles, and a dust mask for protection.
Safety precautions during the repair are essential to prevent any accidents. Before starting, turn off the water supply and ensure the area is well-ventilated. It’s also important to follow the instructions provided with the repair kit and take breaks if needed.
bathtub repair tools set
As an affiliate, we earn on qualifying purchases.
As an affiliate, we earn on qualifying purchases.
Preparing the Bathtub Surface
To prepare the surface, you’ll want to clean the area thoroughly using a mild detergent and a sponge. Start by filling a bucket with warm water and adding a small amount of mild detergent. Dip the sponge into the soapy water and gently scrub the cracked area of the bathtub. Be sure to remove any dirt, grime, or soap scum that may be present.
Rinse the area with clean water and dry it completely before proceeding with any repairs. Cleaning the surface is crucial for ensuring proper adhesion of any repair materials you’ll be using.
Additionally, regular cleaning and maintenance can help prevent future cracks by keeping the surface clean and free from debris.
bathtub refinishing paint
As an affiliate, we earn on qualifying purchases.
As an affiliate, we earn on qualifying purchases.
Applying the Epoxy Filler
When it comes to applying epoxy filler to fix a crack in your bathtub, there are a few key points to keep in mind.
First, you’ll need to learn the proper application techniques to ensure a smooth and even finish.
Next, choosing the right epoxy for the job is crucial, as there are different types available for various surfaces.
Epoxy Filler Application Techniques
For a smoother application, it’s important to mix the epoxy filler thoroughly before applying it to the crack in the bathtub. Here are some techniques to help you achieve the best results:
-
Clean the crack: Before applying the epoxy filler, make sure to clean the crack in the bathtub with a mild detergent and water. This will remove any dirt or debris and ensure better adhesion.
-
Prepare the epoxy filler: Follow the manufacturer’s instructions to mix the epoxy filler. Usually, you will need to combine equal parts of the resin and hardener. Use a stir stick to thoroughly mix the components until you achieve a uniform color.
-
Apply the epoxy filler: Using a putty knife, apply the mixed epoxy filler to the crack in the bathtub. Fill the crack completely and smooth the surface with the putty knife. Allow the filler to dry completely before sanding and refinishing.
Choosing the Right Epoxy
You can ensure the best results by selecting the appropriate epoxy for your project. When choosing an epoxy, consider the specific needs of your application.
There are different types of epoxy available, each with its own set of properties. For example, if you’re repairing a crack in your bathtub, you’ll want to choose an epoxy that is specifically designed for use in wet environments. This will ensure that the epoxy adheres well and provides a durable, waterproof seal.
Additionally, pay attention to the drying time of the epoxy. Some epoxies dry quickly, while others may take longer to fully cure. Consider the urgency of your project and select an epoxy with a drying time that suits your needs.
Drying and Sanding Process
Now that you’ve chosen the right epoxy for your bathtub crack repair, it’s time to move on to the next step: the drying and sanding process. This crucial step ensures that the surface is clean and smooth, ready for the epoxy to adhere properly.
To effectively prepare the surface, follow these simple steps:
-
Start by cleaning the area around the crack thoroughly using a mild detergent and water. Remove any dirt, grime, or soap residue.
-
Once the surface is clean, carefully evaluate the crack. Look for any loose or jagged edges that may need to be smoothed out before proceeding.
-
Use a fine-grit sandpaper to gently sand the edges of the crack, creating a smooth surface. Be careful not to apply too much pressure, as this can damage the surrounding area.
Smoothing and Leveling the Filler
To achieve a smooth surface, use a putty knife to spread the filler evenly over the crack in your bathtub. Ensure that the filler extends slightly beyond the crack to ensure a strong bond. Once the filler is applied, you will need to smooth and level it to create a seamless repair. Here are some techniques and methods you can use:
| Smoothing Techniques | Leveling Methods |
|---|---|
| Feathering | Sanding |
| Scraping | Scraping |
| Wet finger | Wet sponge |
| Dry sponge | Trowel |
| Sanding block |
Start by feathering the edges of the filler using a sanding block or a scraper. This will help blend the filler with the surrounding surface. Then, use a wet finger or a wet sponge to smooth out any ridges or uneven areas. If necessary, you can also use a dry sponge or a trowel to level the filler further. Once you are satisfied with the smoothness and levelness of the repair, move on to the next step of allowing the filler to cure.
Allowing the Filler to Cure
Now that you’ve successfully smoothed and leveled the filler on your bathtub crack, it’s important to allow it to cure properly.
Proper curing time is crucial to ensure that the filler sets and hardens completely. This step is essential to guarantee a long-lasting repair, so make sure to follow the recommended curing time provided by the filler manufacturer.
Proper Curing Time
Make sure you give the crack in your bathtub enough time to cure properly. Proper curing time is of utmost importance when fixing a crack in your bathtub. Rushing the curing process can lead to a less durable repair, and you may end up having to fix the crack again sooner than expected.
To ensure a successful repair, avoid these common curing mistakes:
- Not following the manufacturer’s recommended curing time.
- Exposing the repaired area to excessive moisture or water before it has fully cured.
- Applying any additional coatings or finishes before the filler has completely cured.
By allowing the crack filler to cure properly, you are ensuring that it sets and hardens to its full strength, providing a long-lasting repair.
Once the crack has cured, you can move on to the next step: ensuring complete drying of the repaired area.
Ensuring Complete Drying
After allowing the crack filler to cure properly, it’s important to ensure that the repaired area is completely dry. Complete drying is crucial to prevent any moisture from seeping into the crack and causing further damage. To ensure complete drying, follow these simple steps:
-
Use a clean, dry cloth to gently pat the repaired area. Make sure to remove any excess moisture that may be present.
-
Allow the area to air dry naturally for at least 24 hours. Avoid using the bathtub during this time to prevent any moisture from disrupting the drying process.
-
If necessary, use a fan or a hairdryer set on low heat to speed up the drying process. Keep the device at a safe distance to prevent any damage to the repaired area.
-
Finally, use a moisture prevention sealant to create a protective barrier over the repaired crack. This will help to keep the area dry and prevent any future moisture-related issues.
Sanding the Filled Area
Once you’ve filled the crack in the bathtub, start sanding the area to smooth it out. Sanding is an important step in the repair process, as it helps to create a seamless finish.
Here are some sanding techniques and equipment you can use:
- Use a fine-grit sandpaper to gently sand the filled area. Start with a lower grit and gradually move to a higher grit for a smoother result.
- Use a sanding block or a sanding sponge to ensure even pressure and avoid creating uneven surfaces.
- Sand in a circular motion to blend the filled area with the surrounding surface.
By following these sanding techniques and using the right equipment, you’ll be able to achieve a smooth and professional-looking finish.
Once you’re done sanding, you can proceed to the next step of cleaning and preparing the patch for the final repair.
Cleaning and Preparing for the Patch
To ensure a successful patch, it’s important to choose the right cleaner and properly prepare the surface.
Start by selecting a cleaner that is suitable for the material you are working with, such as a mild detergent for most surfaces or a specialized cleaner for more delicate materials.
Next, thoroughly clean the area to remove any dirt, grease, or grime that could interfere with the patch. Use a scrub brush or sponge to apply the cleaner and make sure to rinse the area well afterwards.
Choosing the Right Cleaner
When choosing the right cleaner for the bathtub crack, it’s important to consider the type and severity of the crack. Different cleaning techniques and alternative cleaners are available to help you effectively clean and prepare the crack for repair. Here are some options to consider:
-
Mild soap and water: This is a gentle and safe option for light surface cleaning. Simply mix mild soap with warm water and use a soft cloth or sponge to clean the crack.
-
Vinegar and baking soda: This natural cleaning solution is effective for removing stains and grime. Mix equal parts vinegar and baking soda to create a paste. Apply the paste to the crack and scrub gently with a soft brush.
-
Commercial cleaners: There are various commercial cleaners available specifically designed for cleaning bathtub cracks. Follow the instructions on the product label for best results.
Remember to always wear gloves and ventilate the area when using cleaners.
Surface Preparation Techniques
You can start by thoroughly cleaning the surface of the crack with a mild soap and water solution. This will remove any dirt, grime, or residue that could interfere with the repair process. Once the surface is clean, you can proceed with the necessary preparations to fix the crack in your bathtub.
One of the most important steps in surface preparation is ensuring that the area is completely dry before proceeding with any repairs. Moisture can affect the adhesion of the repair materials, so it’s crucial to remove any excess water and allow the surface to air dry.
In addition to cleaning and drying the surface, you may also consider using alternative repair options for fixing the crack. Here is a table that outlines some popular surface cleaning methods and alternative repair options:
| Surface Cleaning Methods | Alternative Repair Options |
|---|---|
| Sanding | Epoxy Resin |
| Acetone | Fiberglass Patch |
| Vinegar | Bathtub Repair Kit |
Applying the Patching Compound
Start by smoothing out the crack using a putty knife before applying the patching compound. This step is crucial as it ensures a clean and even surface for the compound to adhere to.
Once the crack is smooth, follow these epoxy application tips to ensure a successful repair:
- Mix the epoxy according to the manufacturer’s instructions. Be sure to measure accurately to achieve the correct consistency.
- Apply the epoxy to the crack using a putty knife or a small brush. Make sure to fill the crack completely and level it with the surrounding surface.
- Smooth out any excess epoxy and let it dry according to the manufacturer’s recommended drying time.
Avoid these common mistakes in patching:
- Rushing the process: Take your time to properly prepare and apply the patching compound for a long-lasting repair.
- Neglecting to clean the surface: Ensure that the crack is free from dirt, grease, and loose material before applying the compound.
- Overfilling the crack: Apply the patching compound in thin layers, allowing each layer to dry before adding more. This will prevent excessive buildup and ensure a smooth finish.
Sanding and Finishing the Patch
Once the epoxy has dried, sand the patched area to create a smooth and even surface. Sanding is an essential step in the bathtub crack repair process as it helps to blend the patch with the surrounding surface.
To achieve the best results, start by using a fine-grit sandpaper, such as 220-grit, and gently sand the patched area in a circular motion. This will help to remove any rough edges or excess epoxy. Be careful not to sand too aggressively, as it may damage the surrounding surface.
After sanding, wipe away any dust with a damp cloth.
Now, you have the option to finish the patch using various techniques. You can either leave it as it is for a natural look or apply a bathtub refinishing kit for a more polished finish. The choice is yours!
Applying a Protective Coating
To ensure long-lasting durability, it’s important to apply a protective coating over the patched area. A protective coating not only helps to maintain the integrity of the repaired crack but also provides added benefits for your bathtub.
Here’s why you should consider using a protective coating:
-
Enhanced durability: The protective coating forms a barrier that shields the patched area from moisture, chemicals, and everyday wear and tear, ensuring that your repair lasts for years to come.
-
Easy maintenance: Applying a protective coating makes cleaning your bathtub a breeze. The smooth surface created by the coating prevents dirt and grime from sticking, making it easier to wipe away any stains or buildup.
-
Improved appearance: A protective coating adds a glossy finish to your bathtub, giving it a polished and refined look. It can also help to restore the original shine of your tub, making it look brand new again.
Frequently Asked Questions
Can I Use Regular Household Glue Instead of Epoxy Filler to Fix the Crack in My Bathtub?
You can use regular household glue as an alternative to epoxy filler for fixing a crack in your bathtub. However, there are pros and cons to consider. Household glue may be less durable and may not provide a long-lasting fix compared to epoxy filler.
How Long Does the Epoxy Filler Take to Cure Completely?
To properly apply epoxy filler and ensure it cures completely, follow the instructions on the packaging. Allow sufficient time for the filler to dry before using the bathtub. To prevent future cracks, avoid excessive weight and temperature fluctuations.
Can I Use a Hairdryer to Speed up the Curing Process of the Epoxy Filler?
Using a hairdryer to speed up epoxy filler curing is not recommended. It may cause uneven curing and damage the bathtub. Follow the recommended curing time to ensure a proper fix.
Can I Apply the Patching Compound Directly Over the Epoxy Filler Without Sanding It?
Yes, you can apply caulk over the patching compound without sanding it. To blend the patching compound with the bathtub’s surface, smooth it out using a putty knife or your finger.
What Type of Protective Coating Should I Use for My Bathtub After Applying the Patch?
After applying the patch to your bathtub, you should consider using a protective coating to ensure durability. There are various options available, such as epoxy or enamel paint, that can provide an alternative repair method.
Conclusion
Now that you’ve learned how to fix a crack in your bathtub, you’re just moments away from enjoying a smooth and flawless surface once again.
With the necessary tools in hand, you carefully apply the epoxy filler, smoothing and leveling it with precision.
As you clean and prepare for the final patching compound, anticipation builds.
Finally, the moment arrives to apply the finishing touches and protect your hard work with a shiny, protective coating.
Get ready to step into your bathtub oasis, knowing you’ve conquered that crack with confidence.