So, you’ve decided to take on the challenge of installing bathtub plumbing yourself? Well, you’re in the right place!
In this article, I’m going to walk you through the step-by-step process of how to install bathtub plumbing like a pro. With the right tools and materials, a little preparation, and some patience, you’ll have your bathtub up and running in no time.
Let’s get started!
Key Takeaways
- Properly seal the bathtub to prevent water leakage
- Choose the appropriate type of drain assembly (Toe Touch, Trip Lever, Pop-up)
- Connect the water valves to the pipes using suitable pipe material (copper or PEX)
- Test and troubleshoot the plumbing system to check for leaks, low water pressure, and inconsistent temperature

GIOTOHUN Cat Water Fountain Filter Replacement: 12 Cat Fountain Filter - 12 Pet Fountain Filter - 6 Carbon Filters & 6 Foam Filters - Suitable for GIOTOHUN Stainless Steel Cat Fountain S11
- Compatible with GIOTOHUN Stainless Steel Fountain: Fits GIOTOHUN 2.2L cat water dispenser
- Set of 12 Filters: Includes 6 carbon and 6 sponge filters
- Long-lasting Filters: Suitable for 3-6 months of use
As an affiliate, we earn on qualifying purchases.
Required Tools and Materials
To begin installing bathtub plumbing, you’ll need a few tools and materials. It is important to follow plumbing code requirements to ensure a safe and functional plumbing system.
Some common bathtub plumbing problems include leaks, clogs, and improper drainage. To tackle these issues effectively, you’ll need a few essential tools such as a pipe wrench, pliers, and a hacksaw. Additionally, you’ll need materials like PVC pipes, fittings, and plumber’s putty.
Plumbing code requirements vary depending on your location, so it’s crucial to research and understand the regulations specific to your area. By having the right tools and materials on hand, you’ll be well-equipped to address any plumbing issues and ensure a successful installation.
Now, let’s move on to preparing the bathtub area.
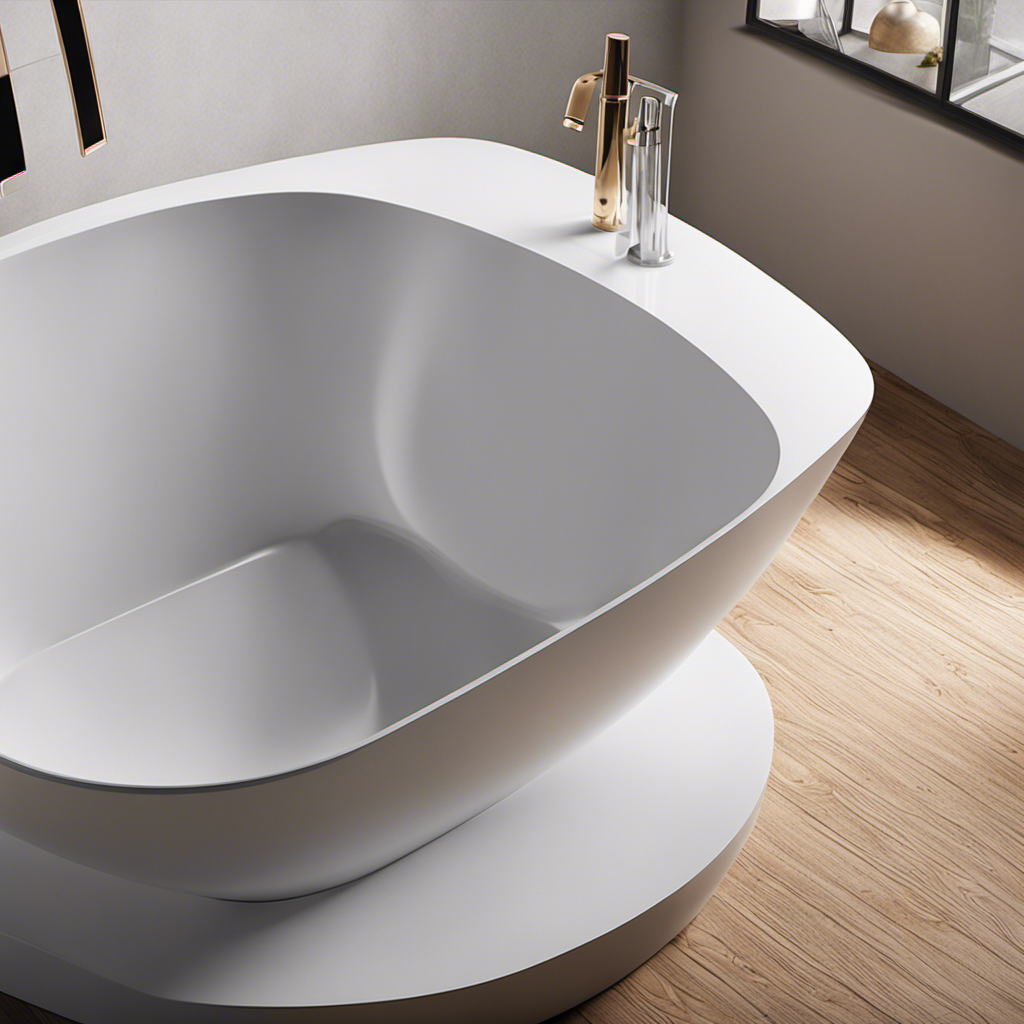
Preparing the Bathtub Area
Before you start, make sure the area around the bathtub is clean and free of any debris. This is important to ensure a smooth installation process.
The first step in preparing the bathtub area is to measure the dimensions of the bathtub. This will help you determine if it will fit properly in the designated space. Use a measuring tape to measure the length, width, and height of the bathtub. Once you have the measurements, you can proceed to the next step.
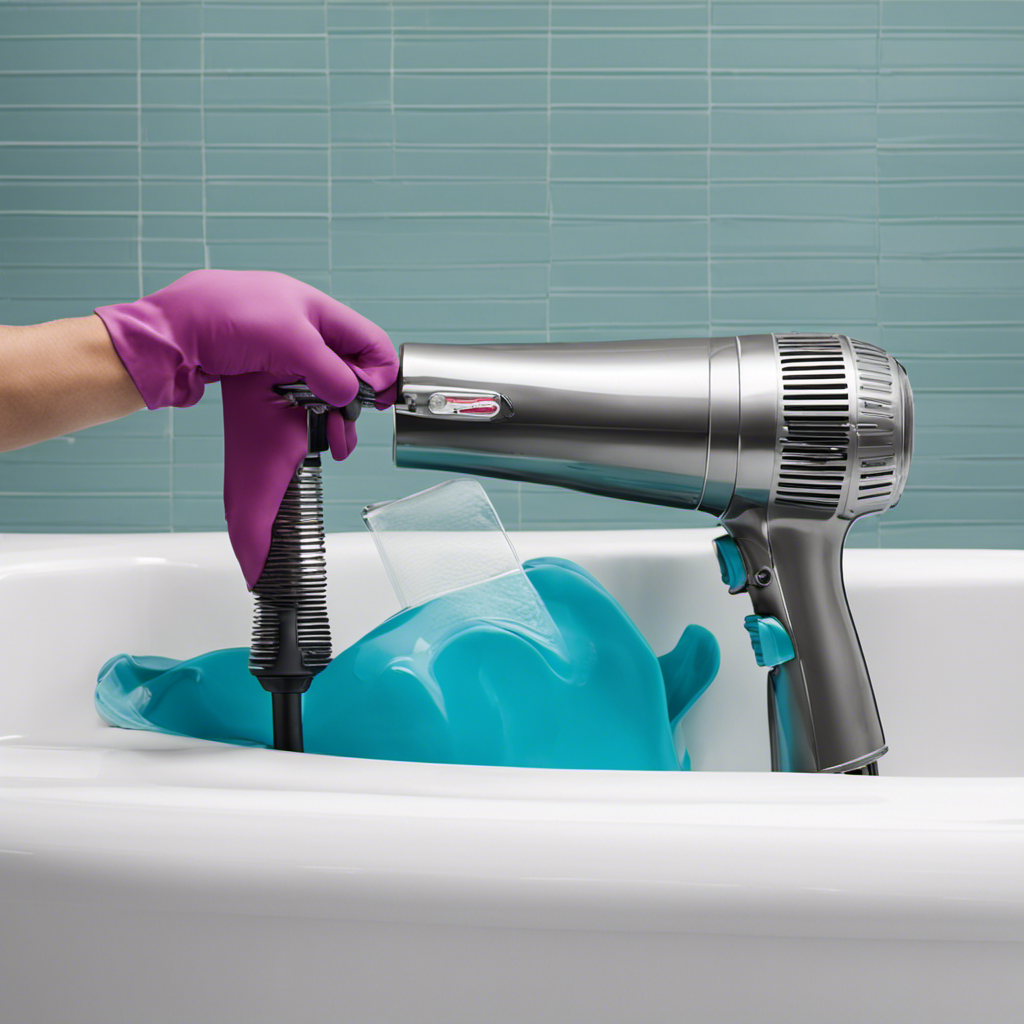
The next step is sealing the bathtub. This is done to prevent any water leakage or damage to the surrounding areas. Apply a bead of silicone or caulk along the edge of the bathtub, ensuring a tight seal. Allow it to dry completely before moving on to the next step.
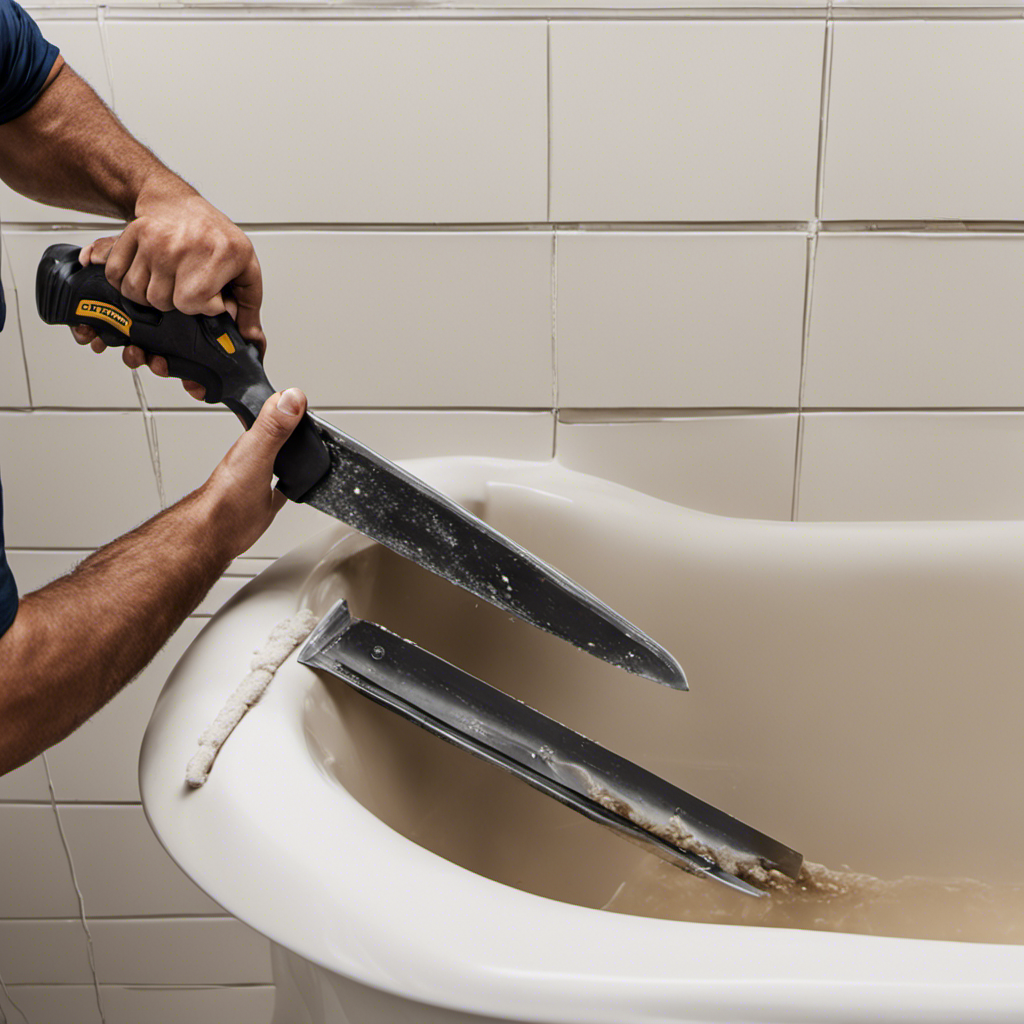
Installing Drain and Overflow Assembly
Make sure you have all the necessary tools and materials ready for installing the drain and overflow assembly. Proper sealing techniques are crucial to prevent any leakage and water damage. There are different types of drain assemblies available, so choose the one that best suits your bathtub. Here is a table highlighting the main types of drain assemblies:
| Type of Drain Assembly | Description |
|---|---|
| Toe Touch | This type of drain assembly is operated by pressing it with your toe. It is easy to use and requires no additional tools. |
| Trip Lever | The trip lever drain assembly has a lever that you can pull up or push down to open or close the drain. It provides a more traditional look and feel. |
| Pop-up | The pop-up drain assembly has a push-button mechanism for easy opening and closing of the drain. It is sleek and modern in design. |
Now that you have installed the drain and overflow assembly, it’s time to move on to connecting the water supply lines.
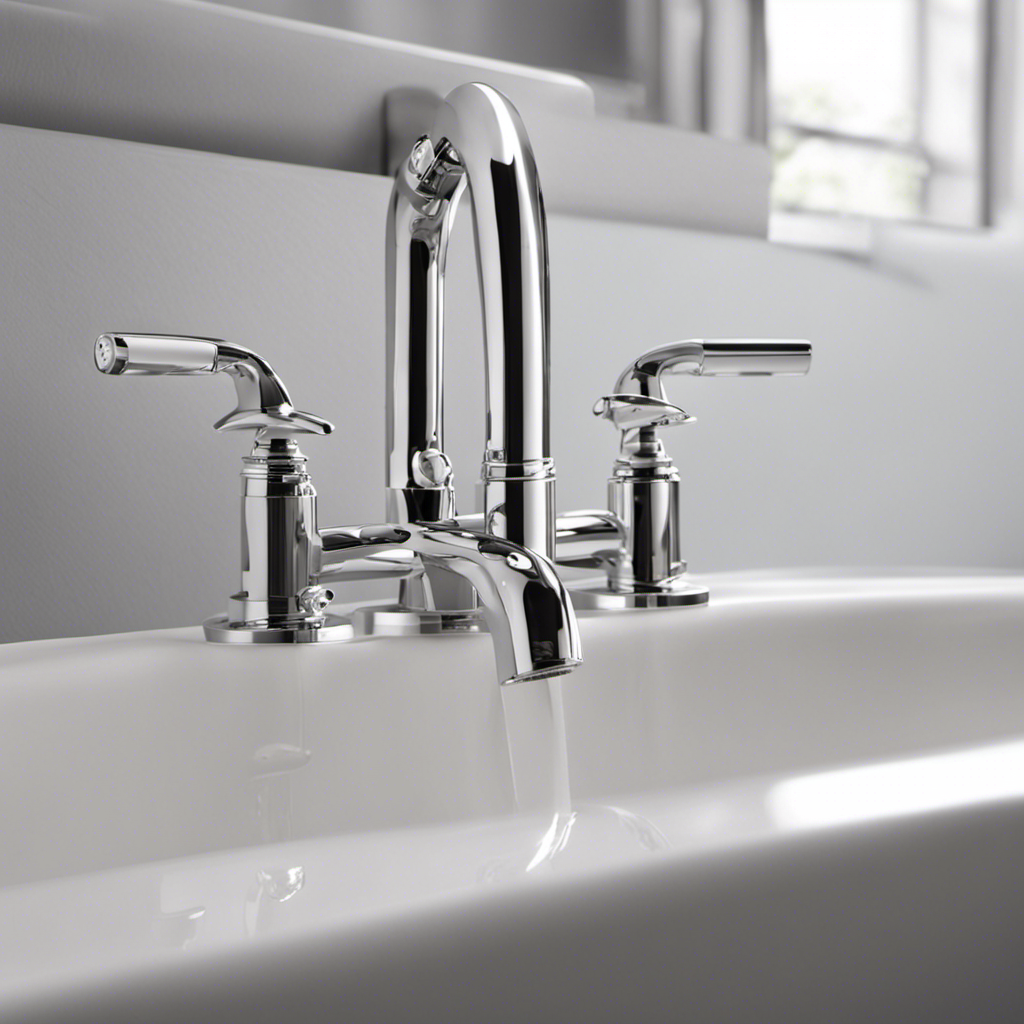
Connecting the Water Supply Lines
Once you have chosen the appropriate type of drain assembly, connect the water supply lines to ensure proper functioning of your bathtub.
Start by connecting the water valves to the pipes. Make sure to choose the right pipe material, such as copper or PEX, based on your preferences and local plumbing codes. Use a wrench to tighten the connections securely.
Next, attach the flexible supply lines to the water valves, ensuring that the hot water line is connected to the hot water valve and the cold water line to the cold water valve. Again, use a wrench to tighten the connections.
It is important to check for any leaks and make adjustments if necessary before moving on to testing and troubleshooting the bathtub plumbing.
Testing and Troubleshooting
To test and troubleshoot, you should check for any leaks in the water supply lines and make any necessary adjustments. Here are some testing methods and common plumbing issues to look out for:
-
Testing Methods:
-
Visual inspection: Look for any visible leaks or drips along the supply lines and connections.
-
Pressure testing: Use a pressure gauge to test the water pressure in the lines. If it’s too high, it can cause leaks or burst pipes.
-
Flow rate testing: Measure the flow rate of water from the faucet to ensure it’s within the recommended range.
-
Common Plumbing Issues:
-
Leaking connections: Check all the connections for any signs of leaks. Tighten them if necessary or replace faulty parts.
-
Low water pressure: If the water pressure is too low, it could indicate a clog or a problem with the supply lines.
-
Inconsistent temperature: If the water temperature fluctuates, it could be due to a faulty mixing valve or water heater.
Conclusion
In conclusion, installing bathtub plumbing may seem like a daunting task, but it can be accomplished successfully with the right tools and materials. By following the steps outlined in this article, you can create a comfortable and functional bathing space in your home.
Remember, just like the soothing water that flows through your bathtub, completing a DIY project can bring a sense of peace and accomplishment. So go ahead, tackle that plumbing project and enjoy the serenity of a well-deserved soak in your newly installed bathtub.